
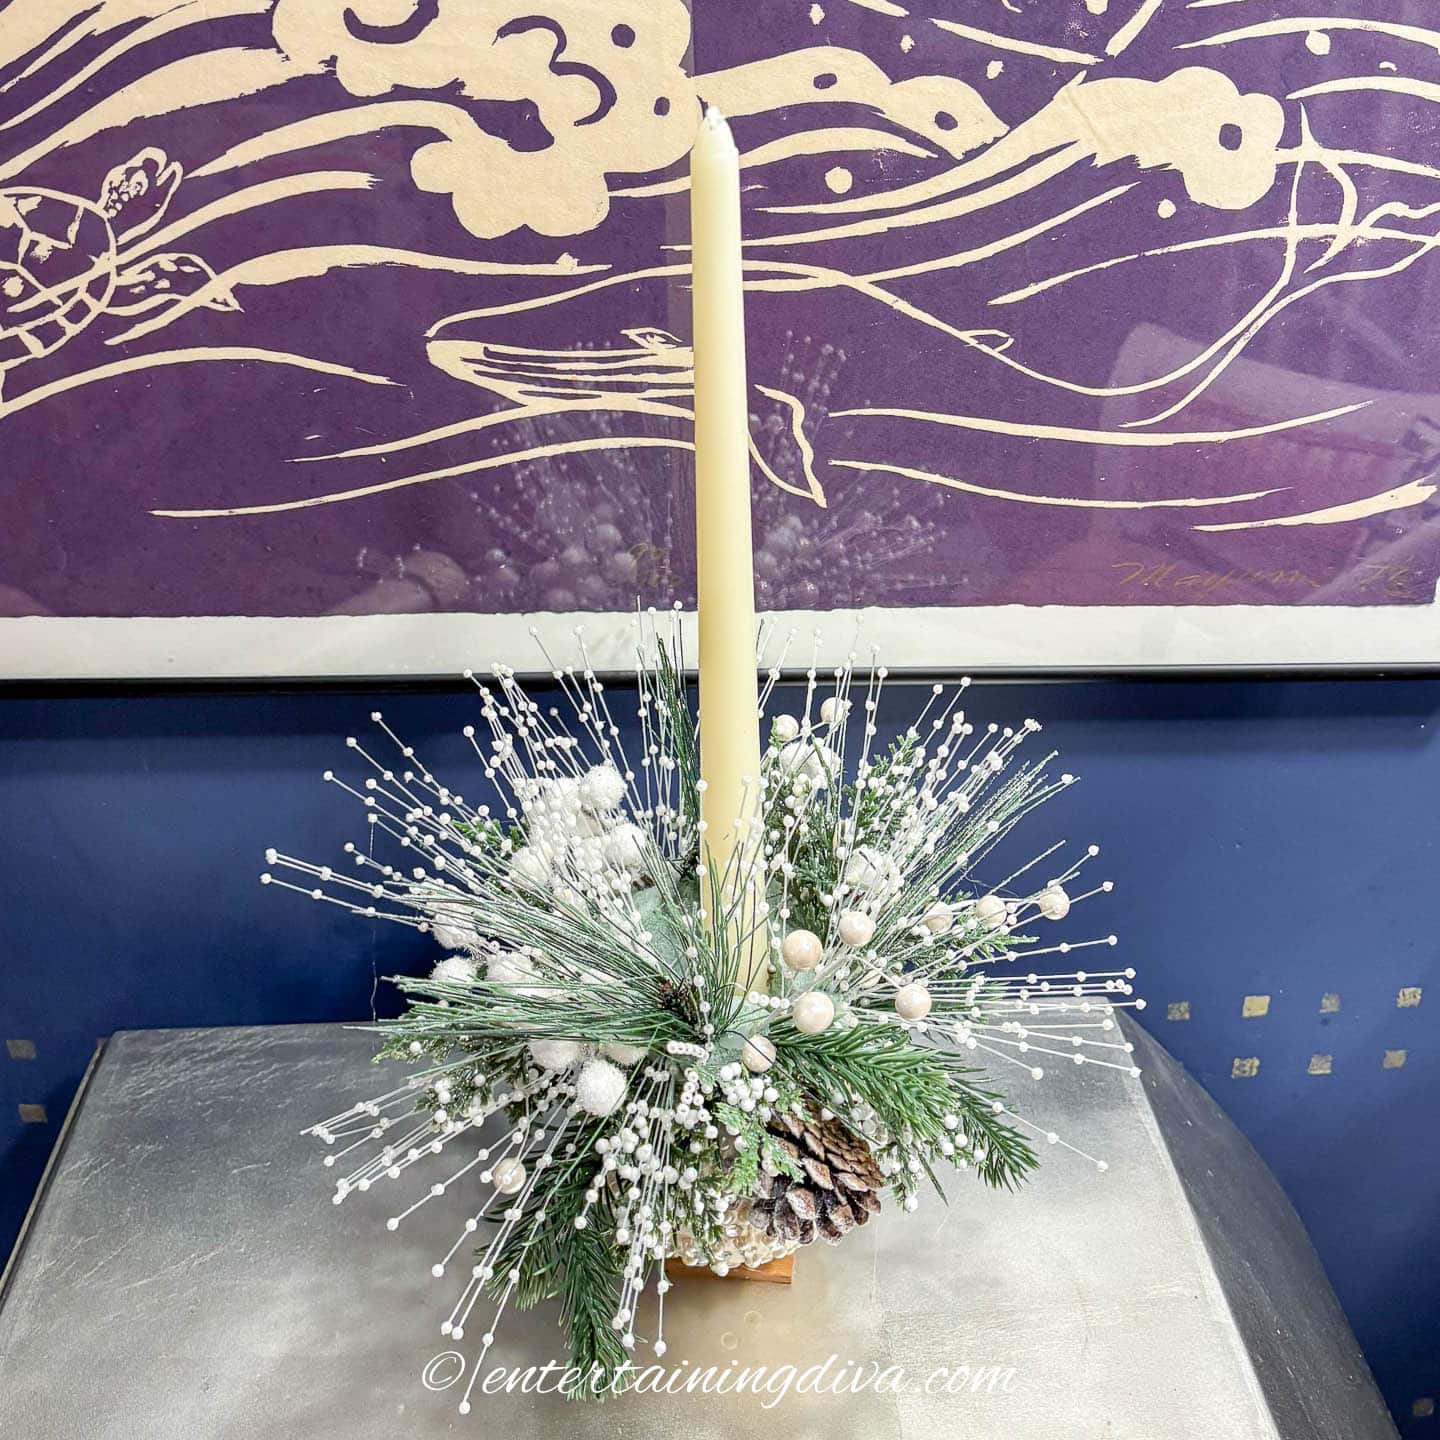
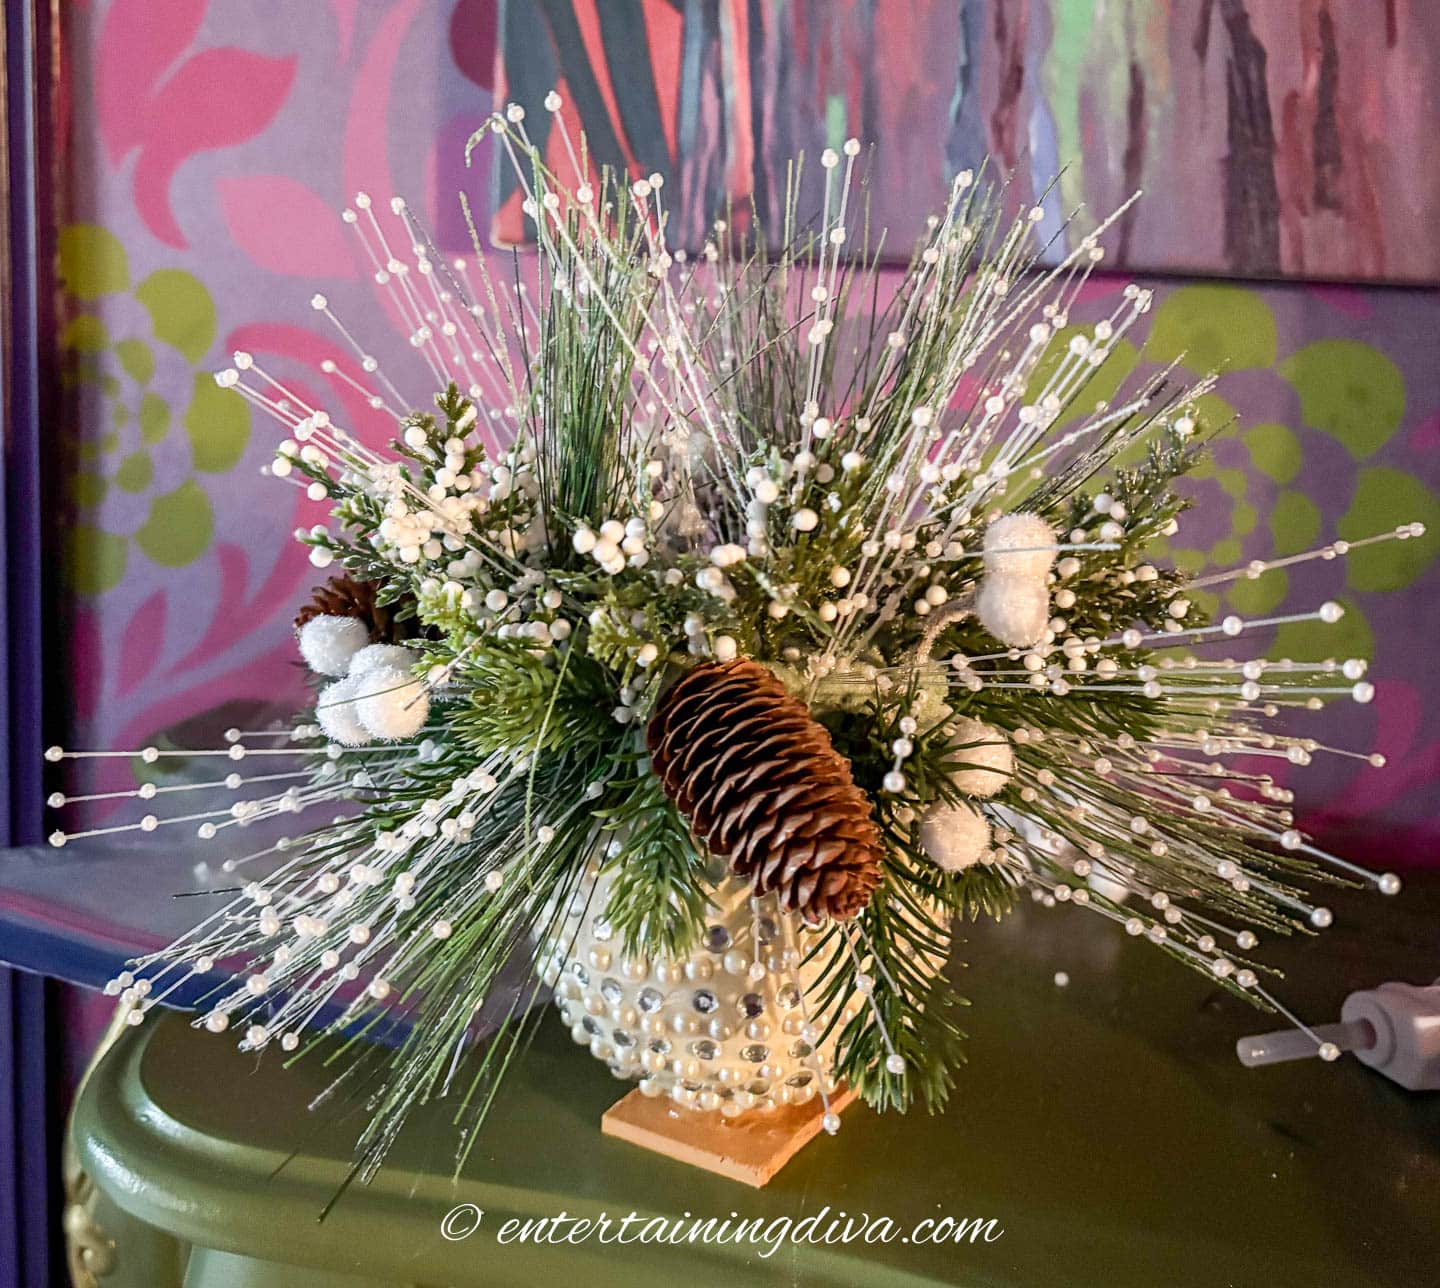
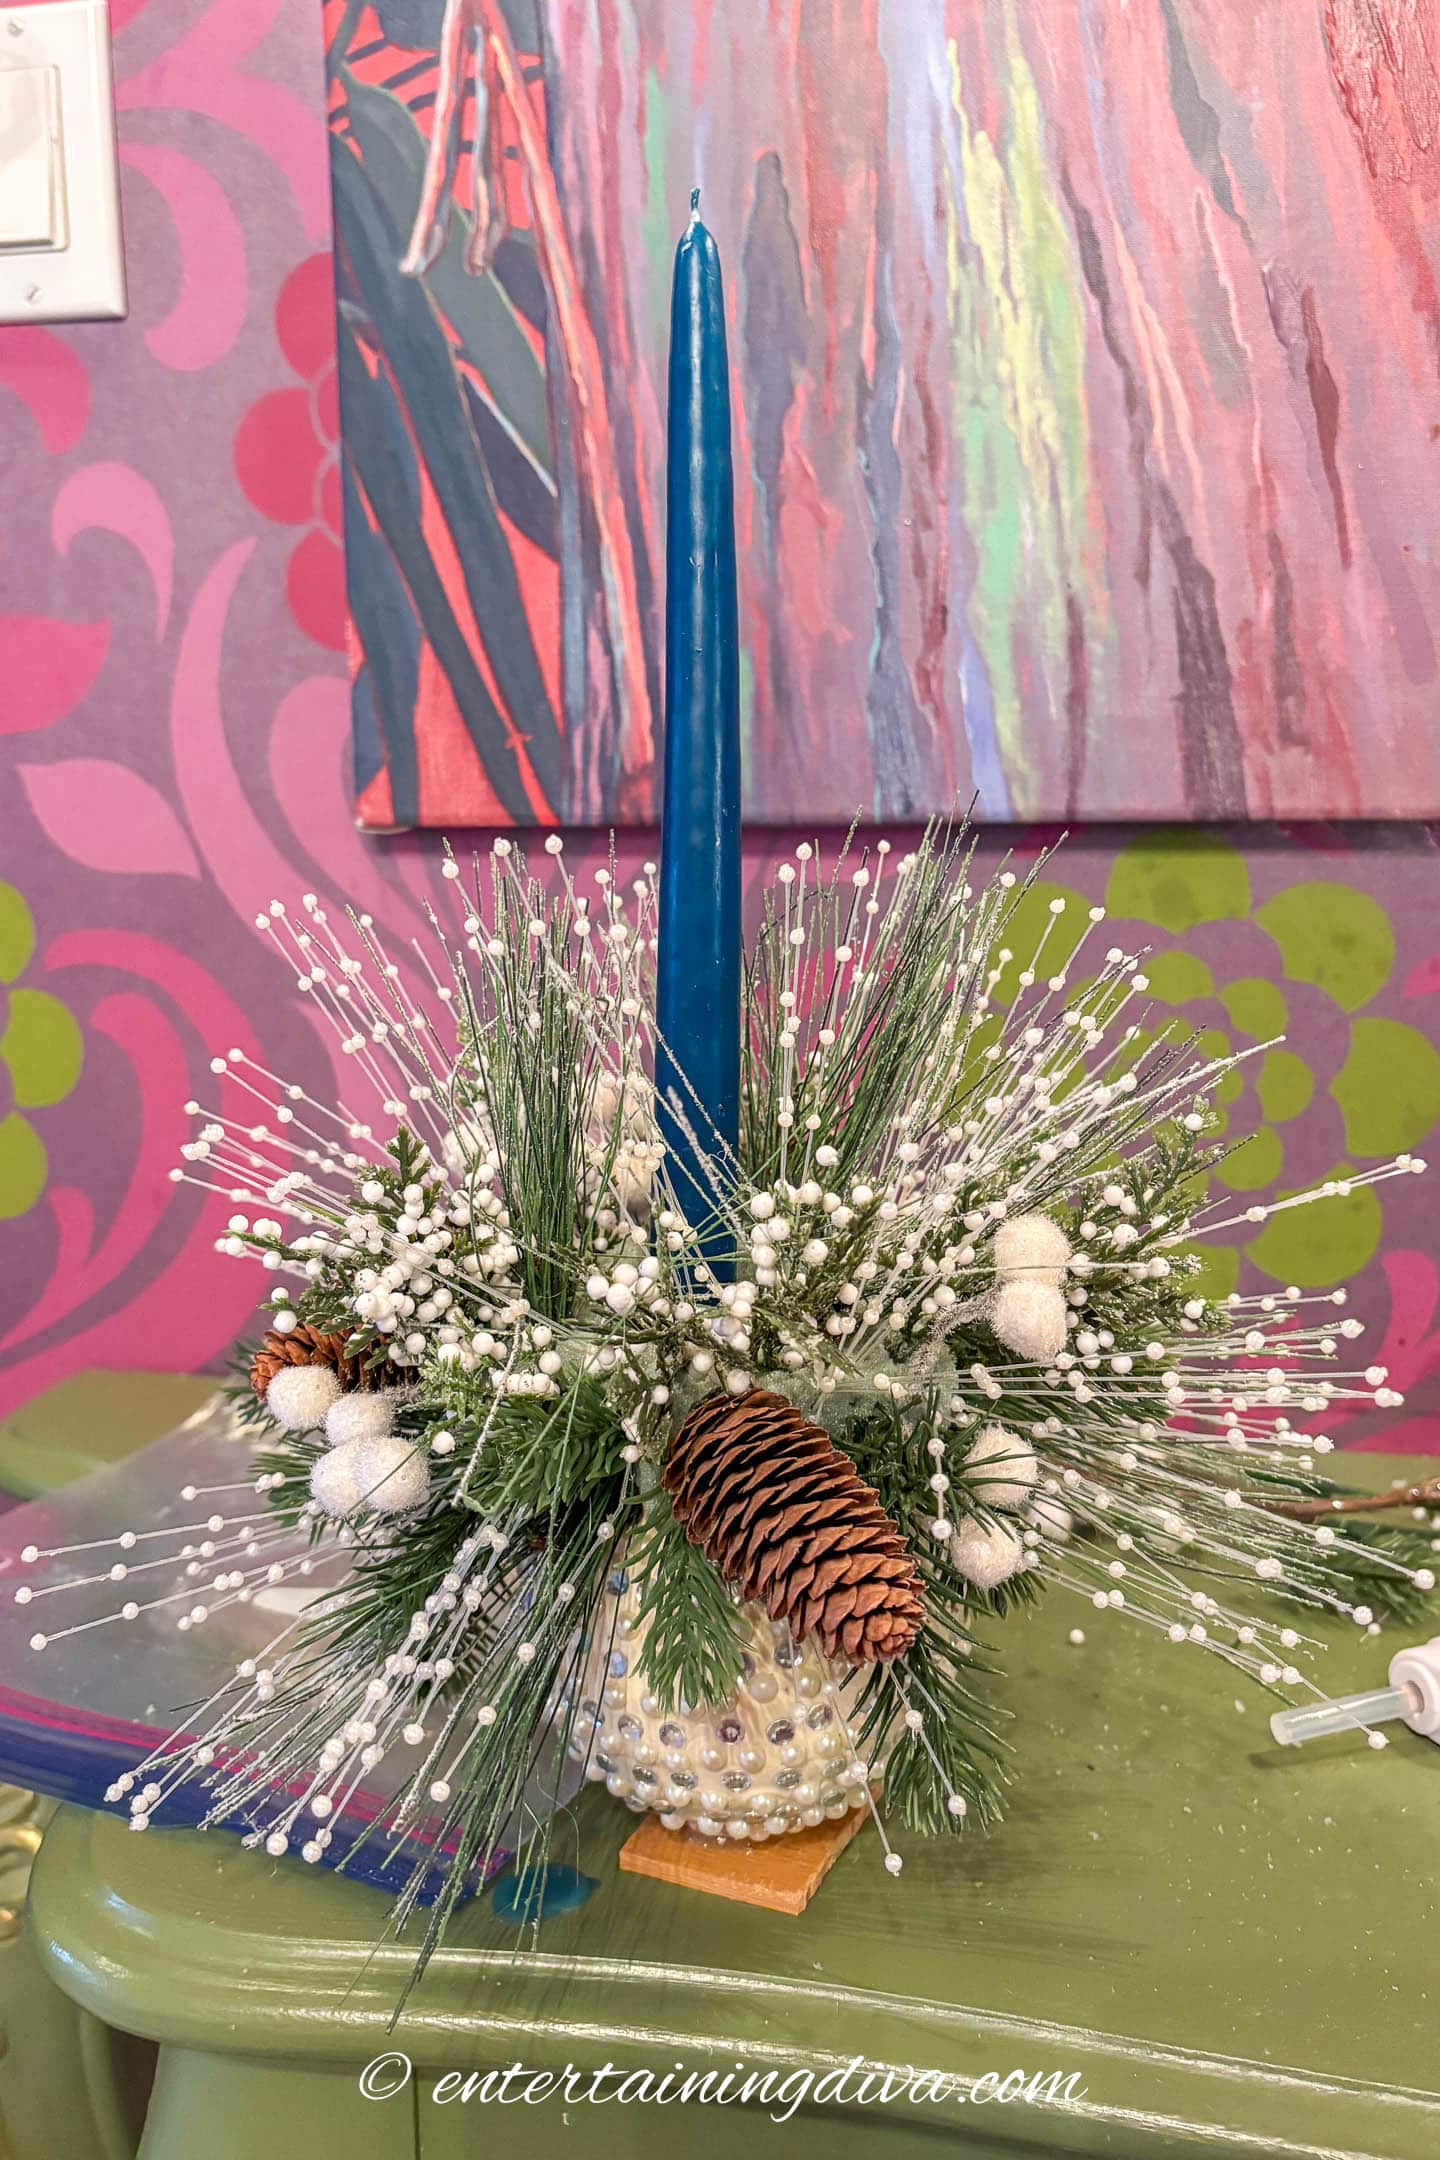
This Small Christmas ball DIY centerpiece is an easy way to turn a plain ornament into a festive arrangement with greenery, berries, pearls, and a taper candle. It comes together quickly and adds a pretty, seasonal touch to any table or shelf.

It is the holiday season and there is a lot to do, so this quick and easy DIY Christmas ball centerpiece is perfect.
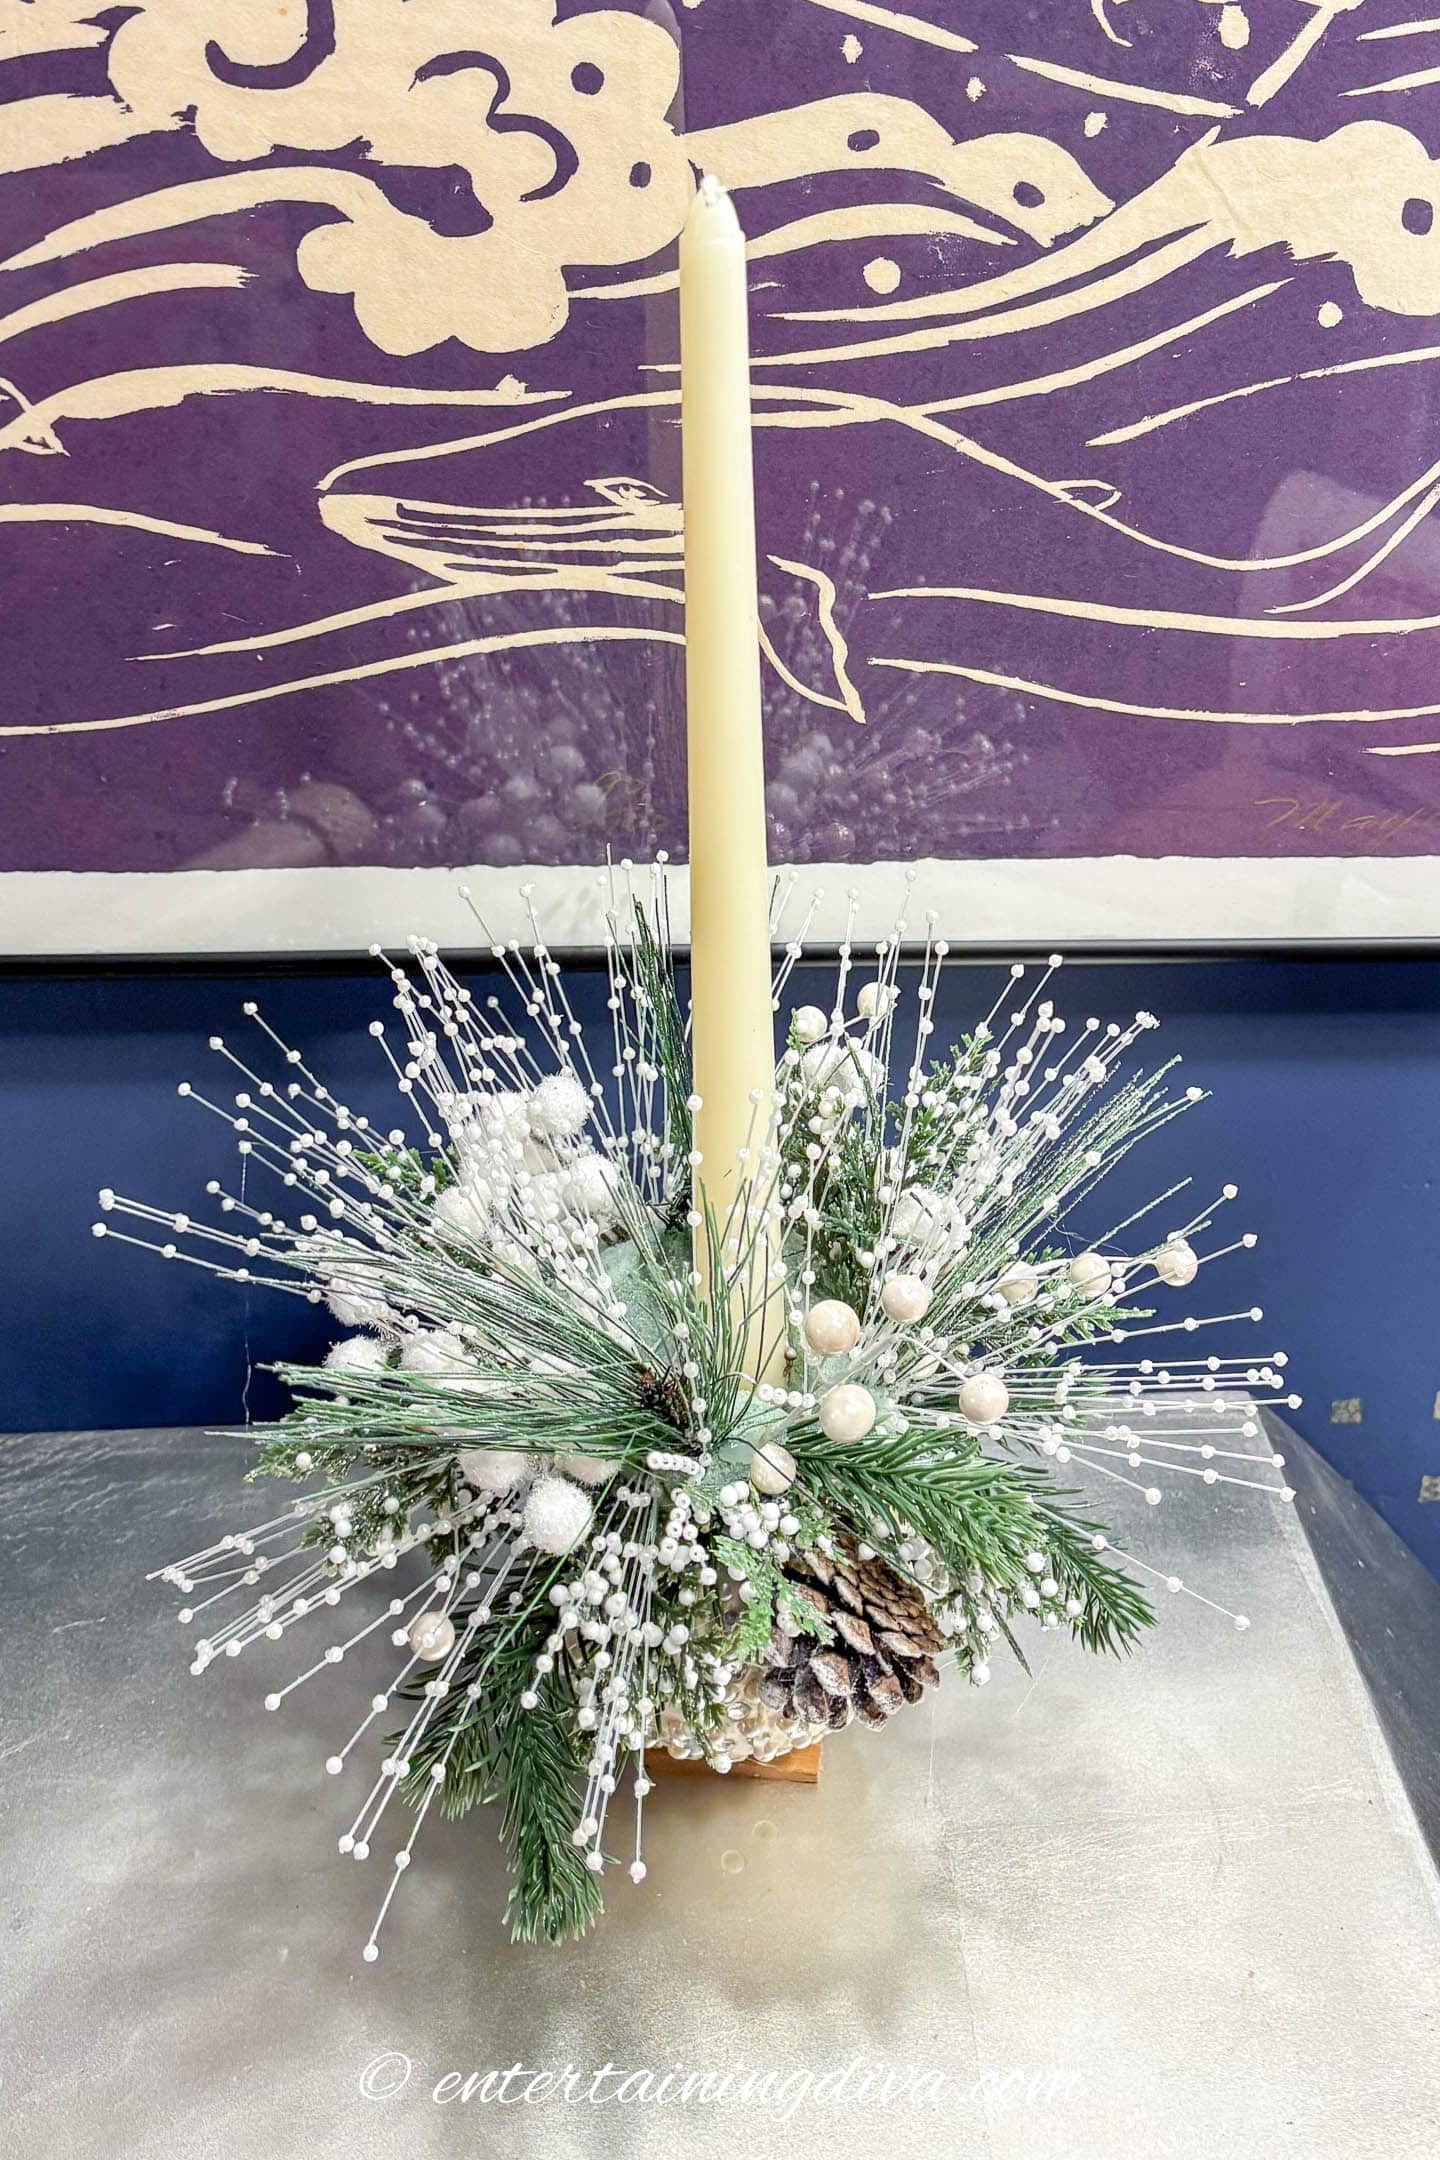
It fills in a small nook with festive cheeriness or is ideal for the center of the dinner table because it does not take up much space or block diners’ cross-table view.
On a larger table I would have a pair of them.
This inexpensive table decor uses supplies that I had on hand and takes very little time to assemble.
Here is how I made it.
Looking for more easy DIY Christmas centerpieces? You'll love DIY Christmas Centerpiece Ideas and Red And White Christmas Centerpiece.
Supplies
Materials:
- 4″ to 6″ diameter Christmas ball
- small piece of wood 2″ square or a furniture glide
- 3 pieces florist’s foam
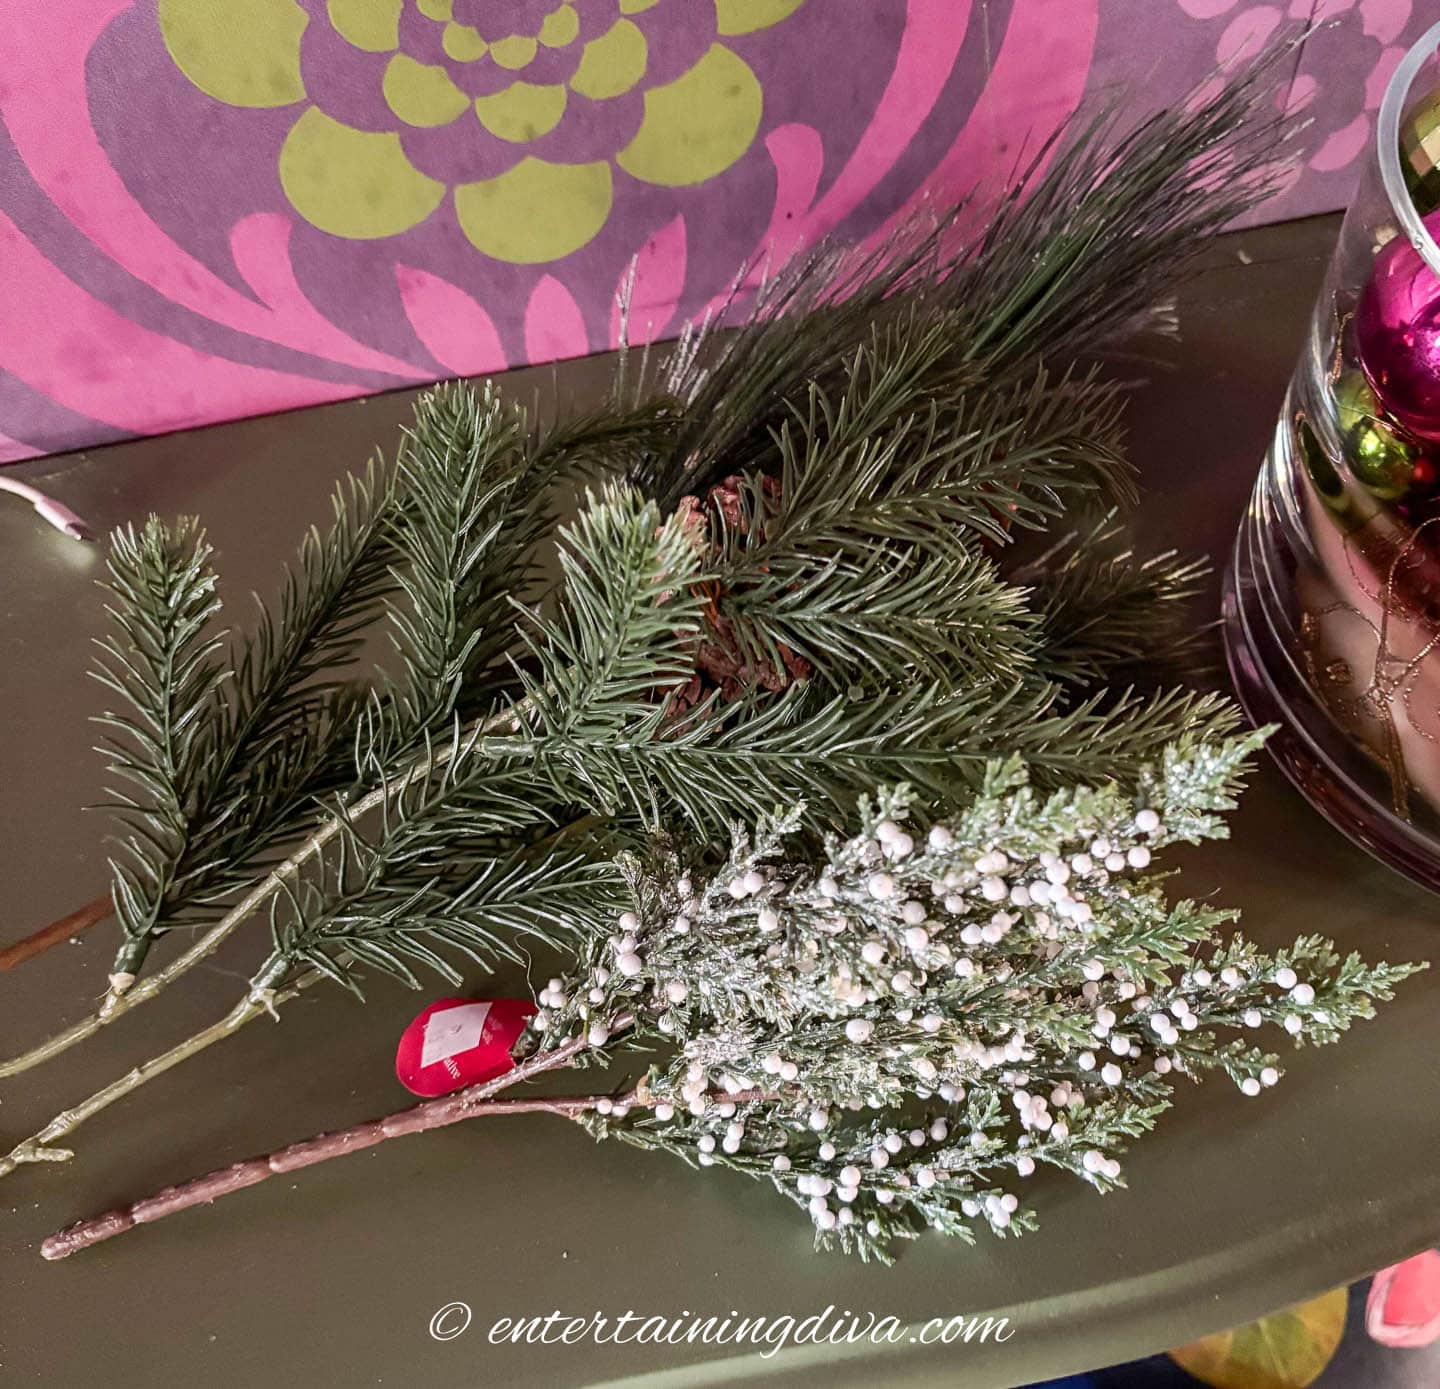
- 2 types of artificial greenery of your choice – One should be thicker and the other thinner. I used artificial spruce (thicker) and pine sprigs (thinner) from Michael’s.
- artificial berry sprigs
- small pearl picks
- taper candle
Tools:
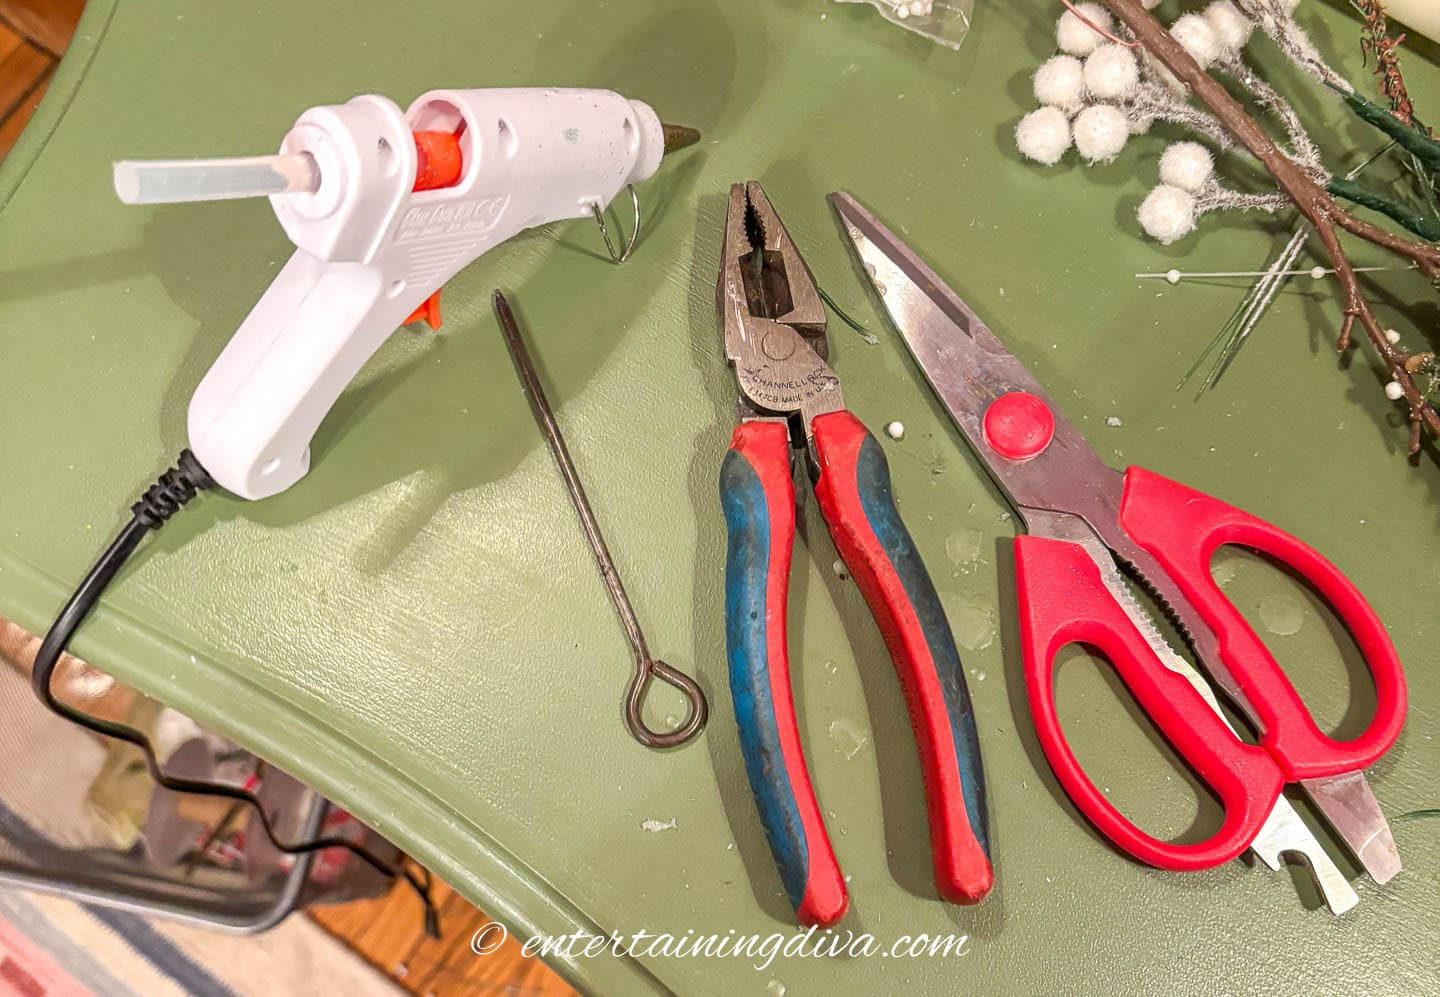
- hot glue gun and glue sticks
- sharp knife – for cutting florist foam.
- scissors or wire cutters – for cutting the picks, I find wire cutters work better than scissors.
- metal skewer (optional) – for poking holes in the florist foam.
How to make a small DIY Christmas ornament centerpiece
1 | Make the base
Start by removing the metal hanger from the top of the ornament.
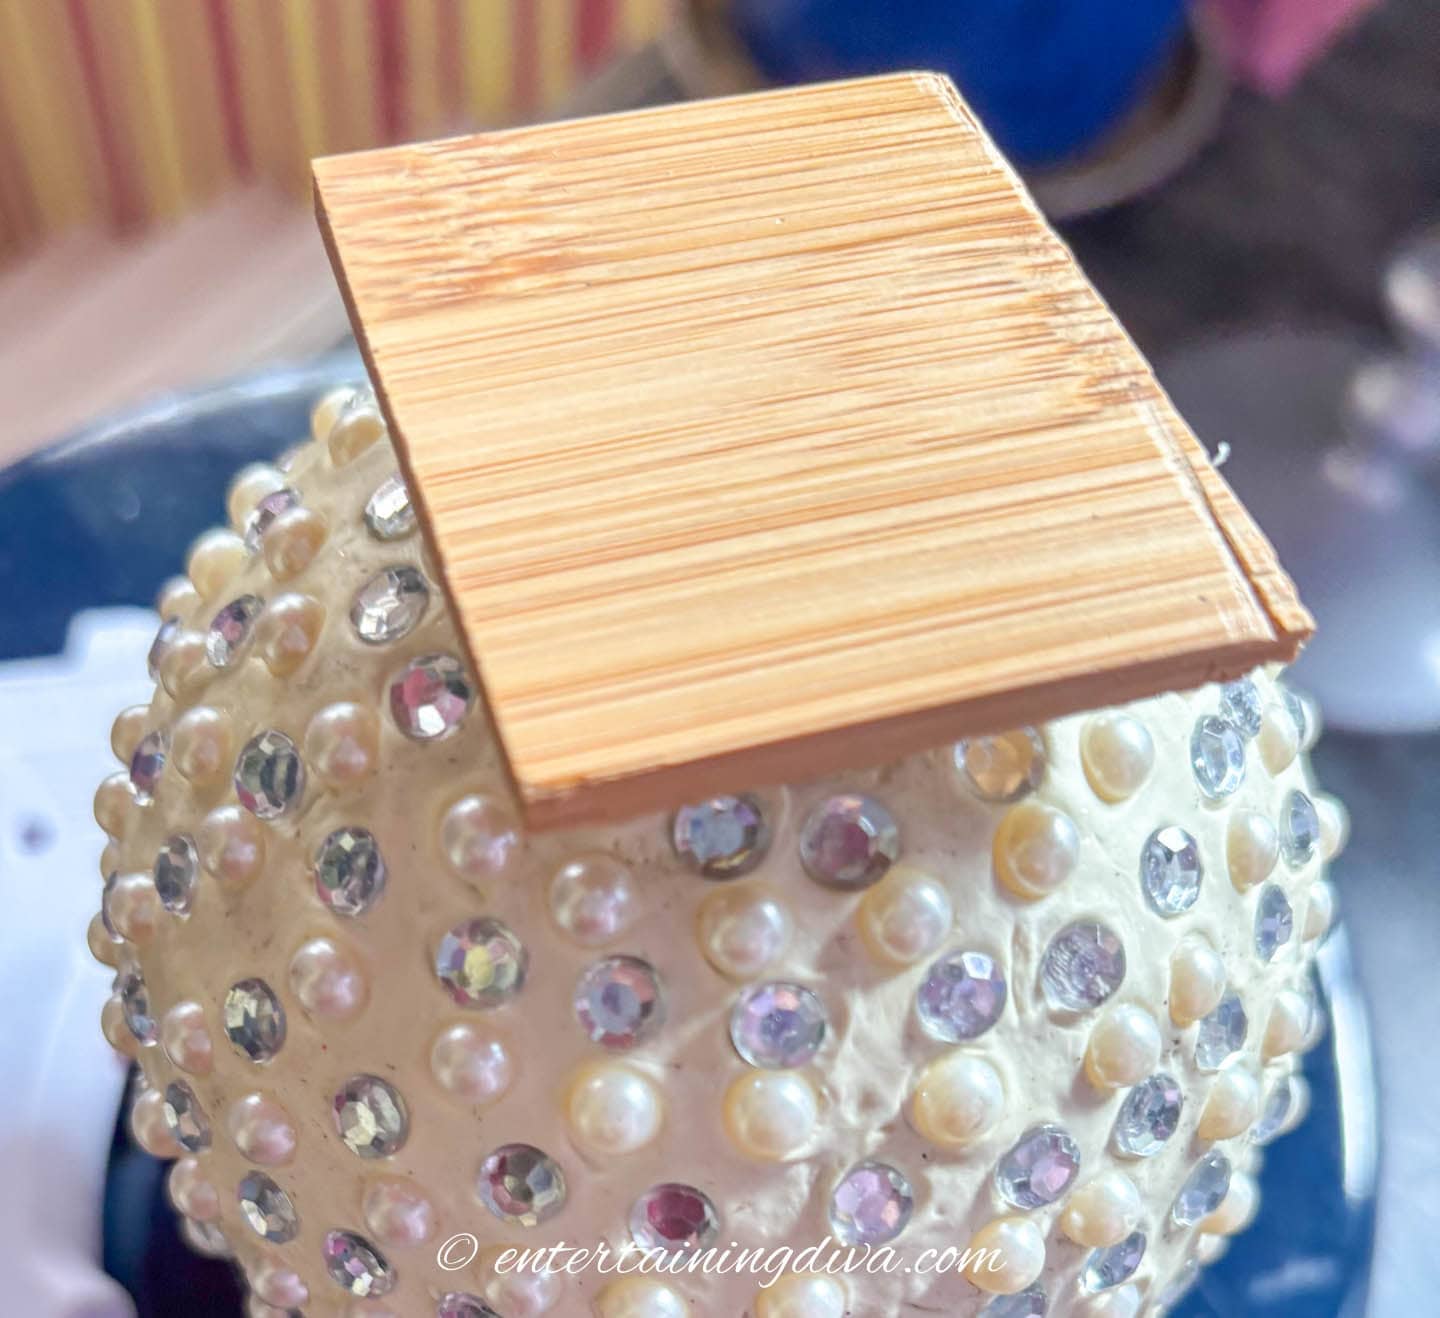
Then we need to add a base to the bottom of it to prevent it from rolling around.

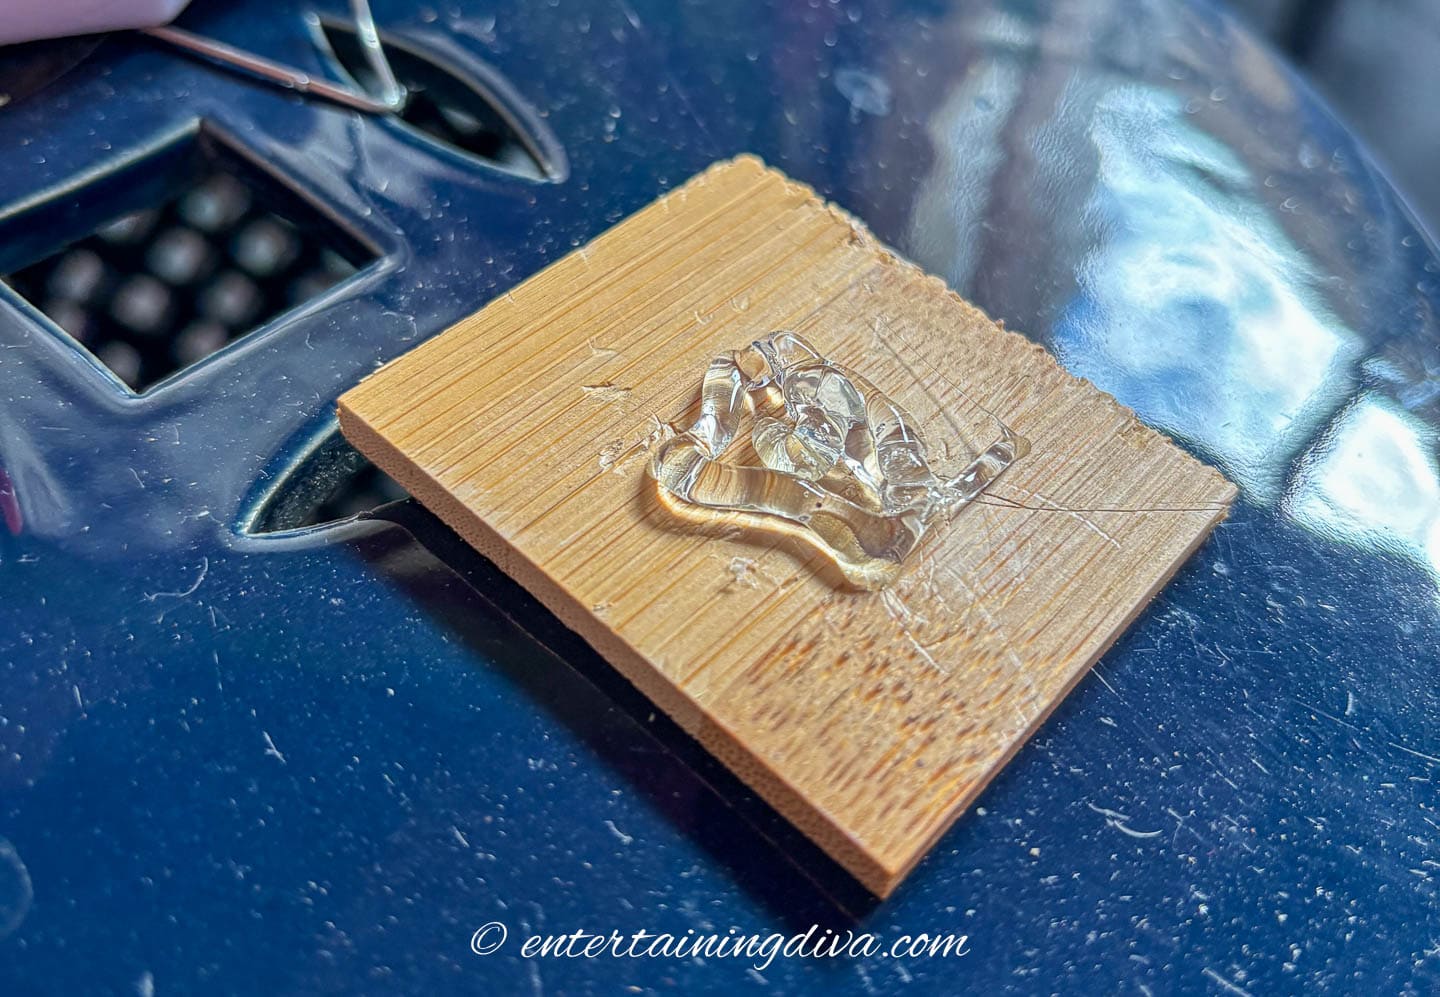
To do this, cut a small piece of plywood that’s about as wide as the ornament. If you’re worried about it showing, you can paint it to match your ornament. (I don’t mind the natural look of the wood so I didn’t).
Cover the center of the wood with hot glue.
Then gently push the bottom of the ornament onto the glue.

Let it dry for a few minutes before continuing. You should be able to turn it upside down without the wood moving.
2 | Attach the foam

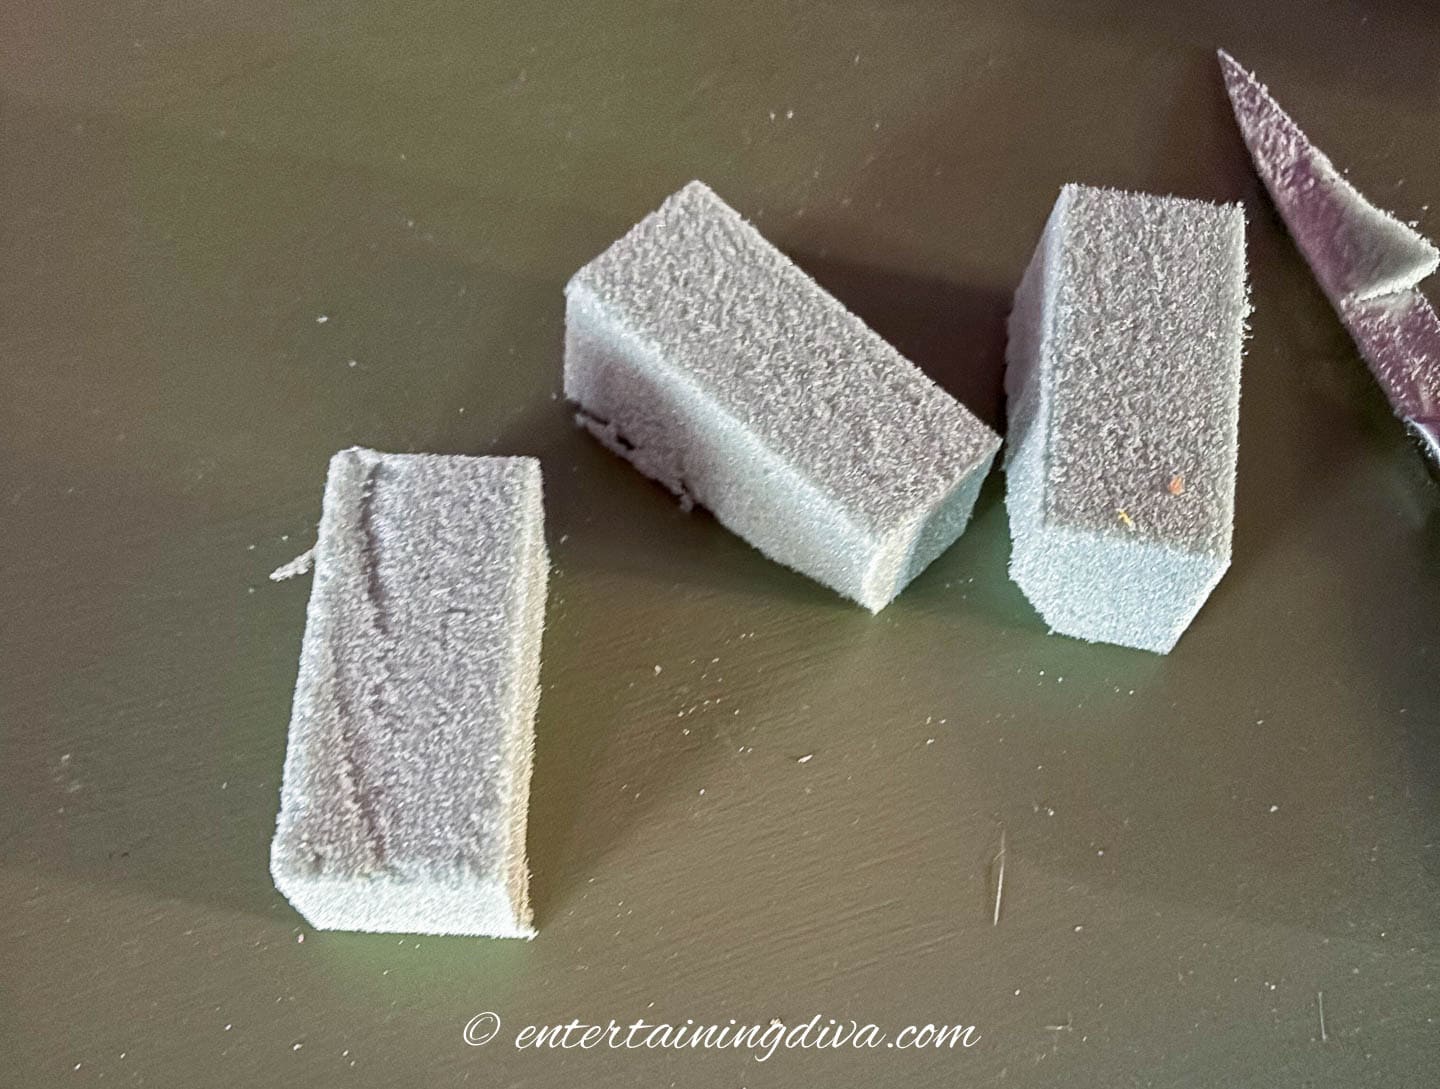
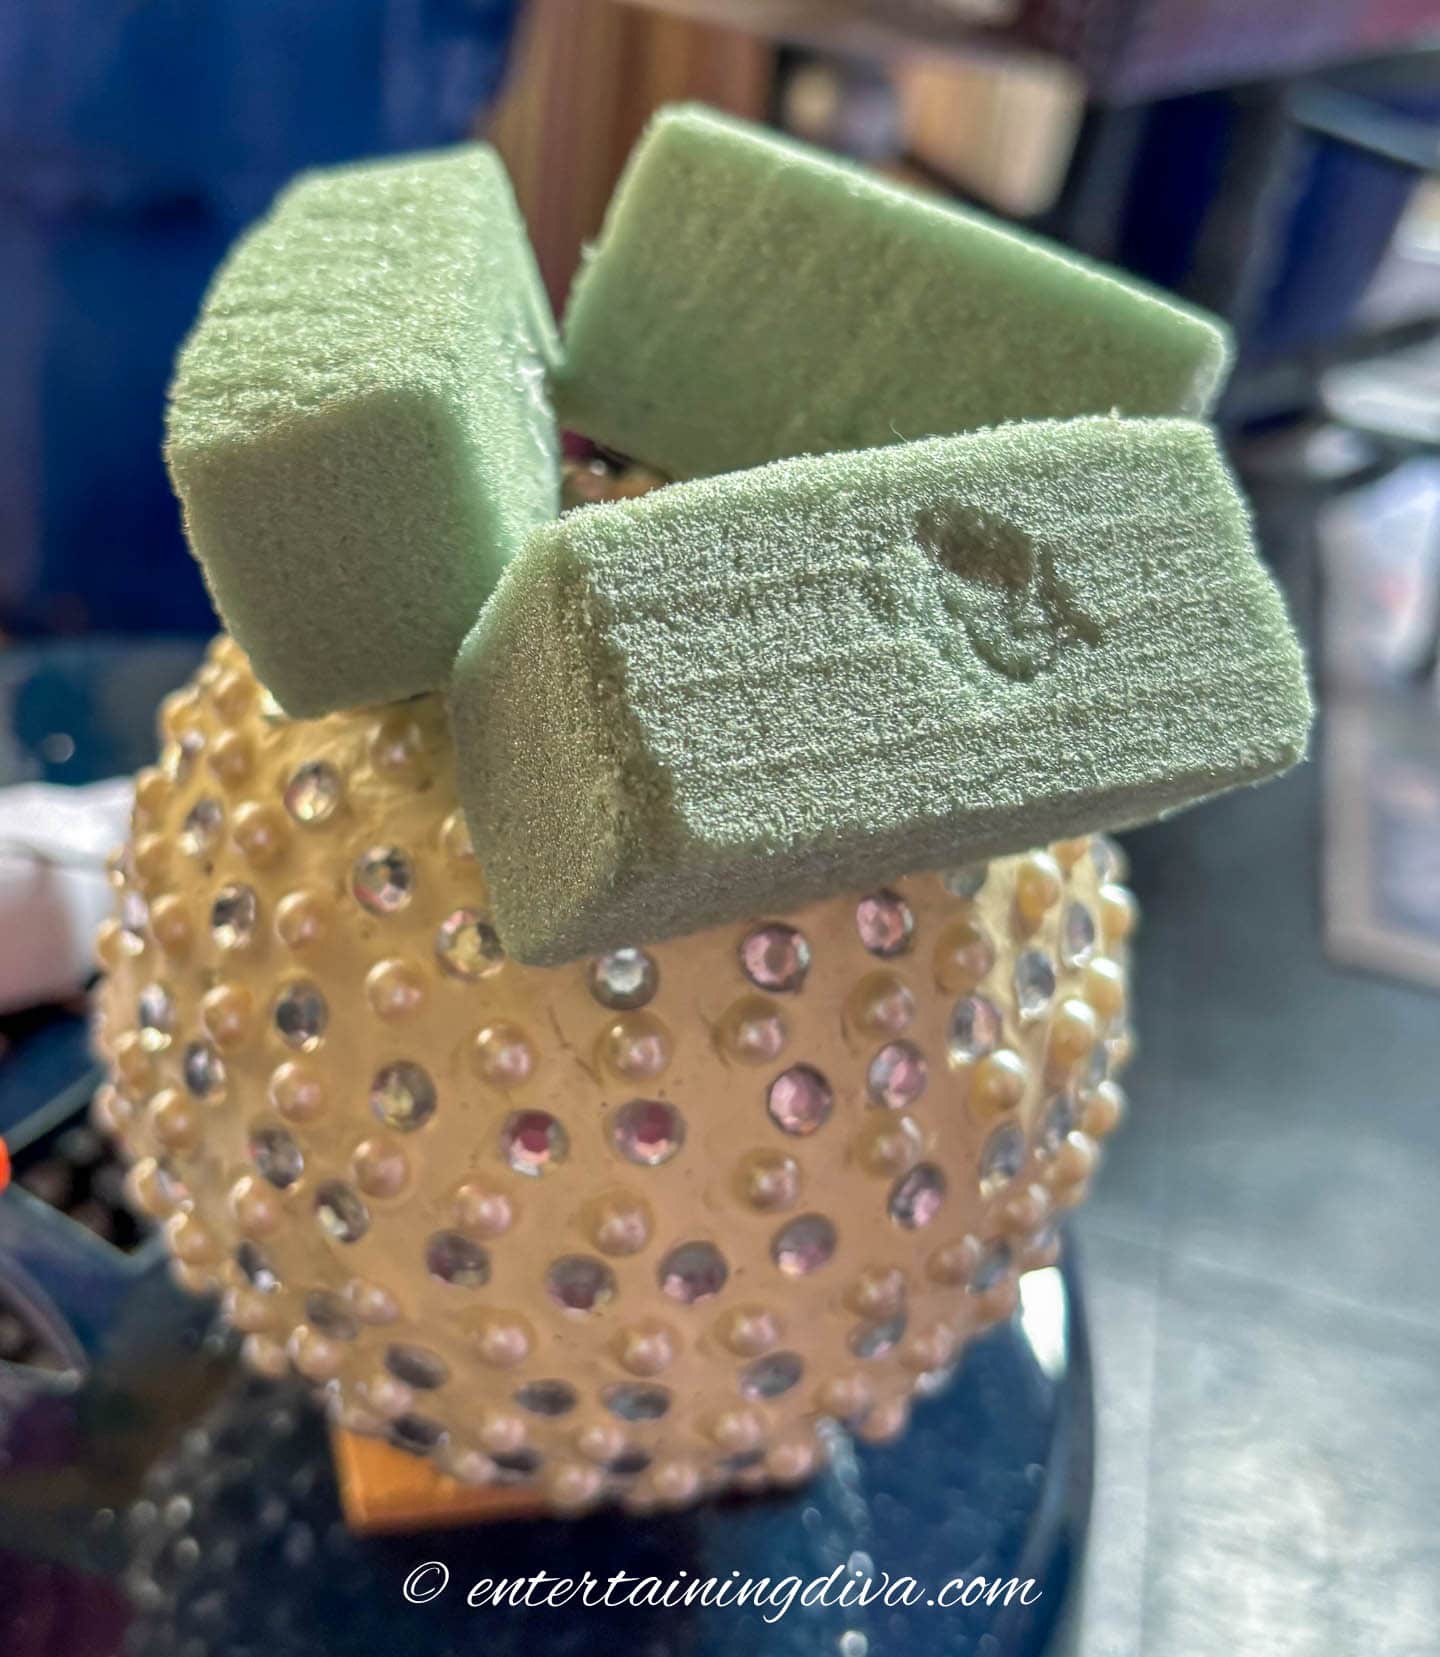
Cut a 1″ slice off of the end of a florists’ foam block.
Then divide the slice into thirds.

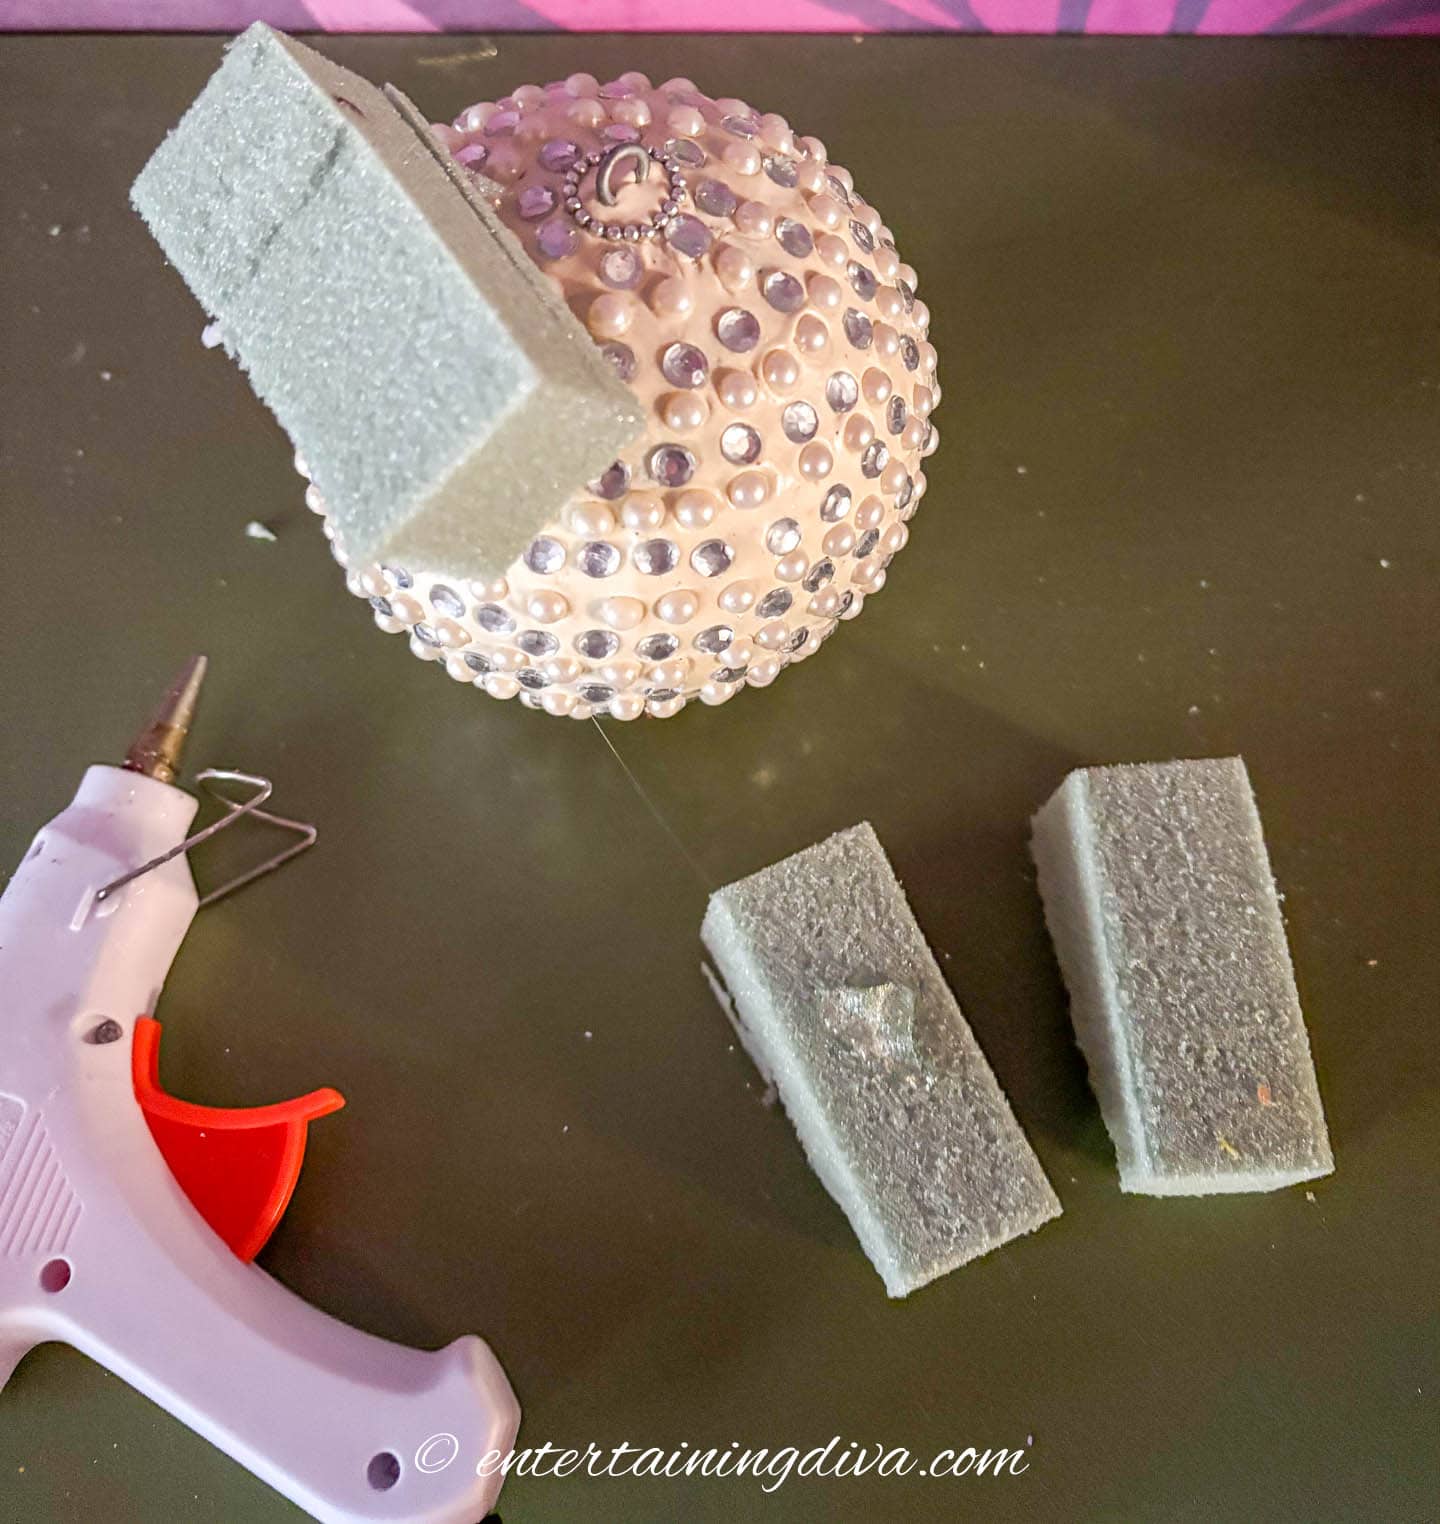
Apply hot glue to one side of the cut foam pieces.
Then stick them around the top knob of the Christmas ball.

They will form a triangle at the top of the ball with the center knob in the middle.
Let the glue dry for a few minutes.
3 | Insert artificial greenery

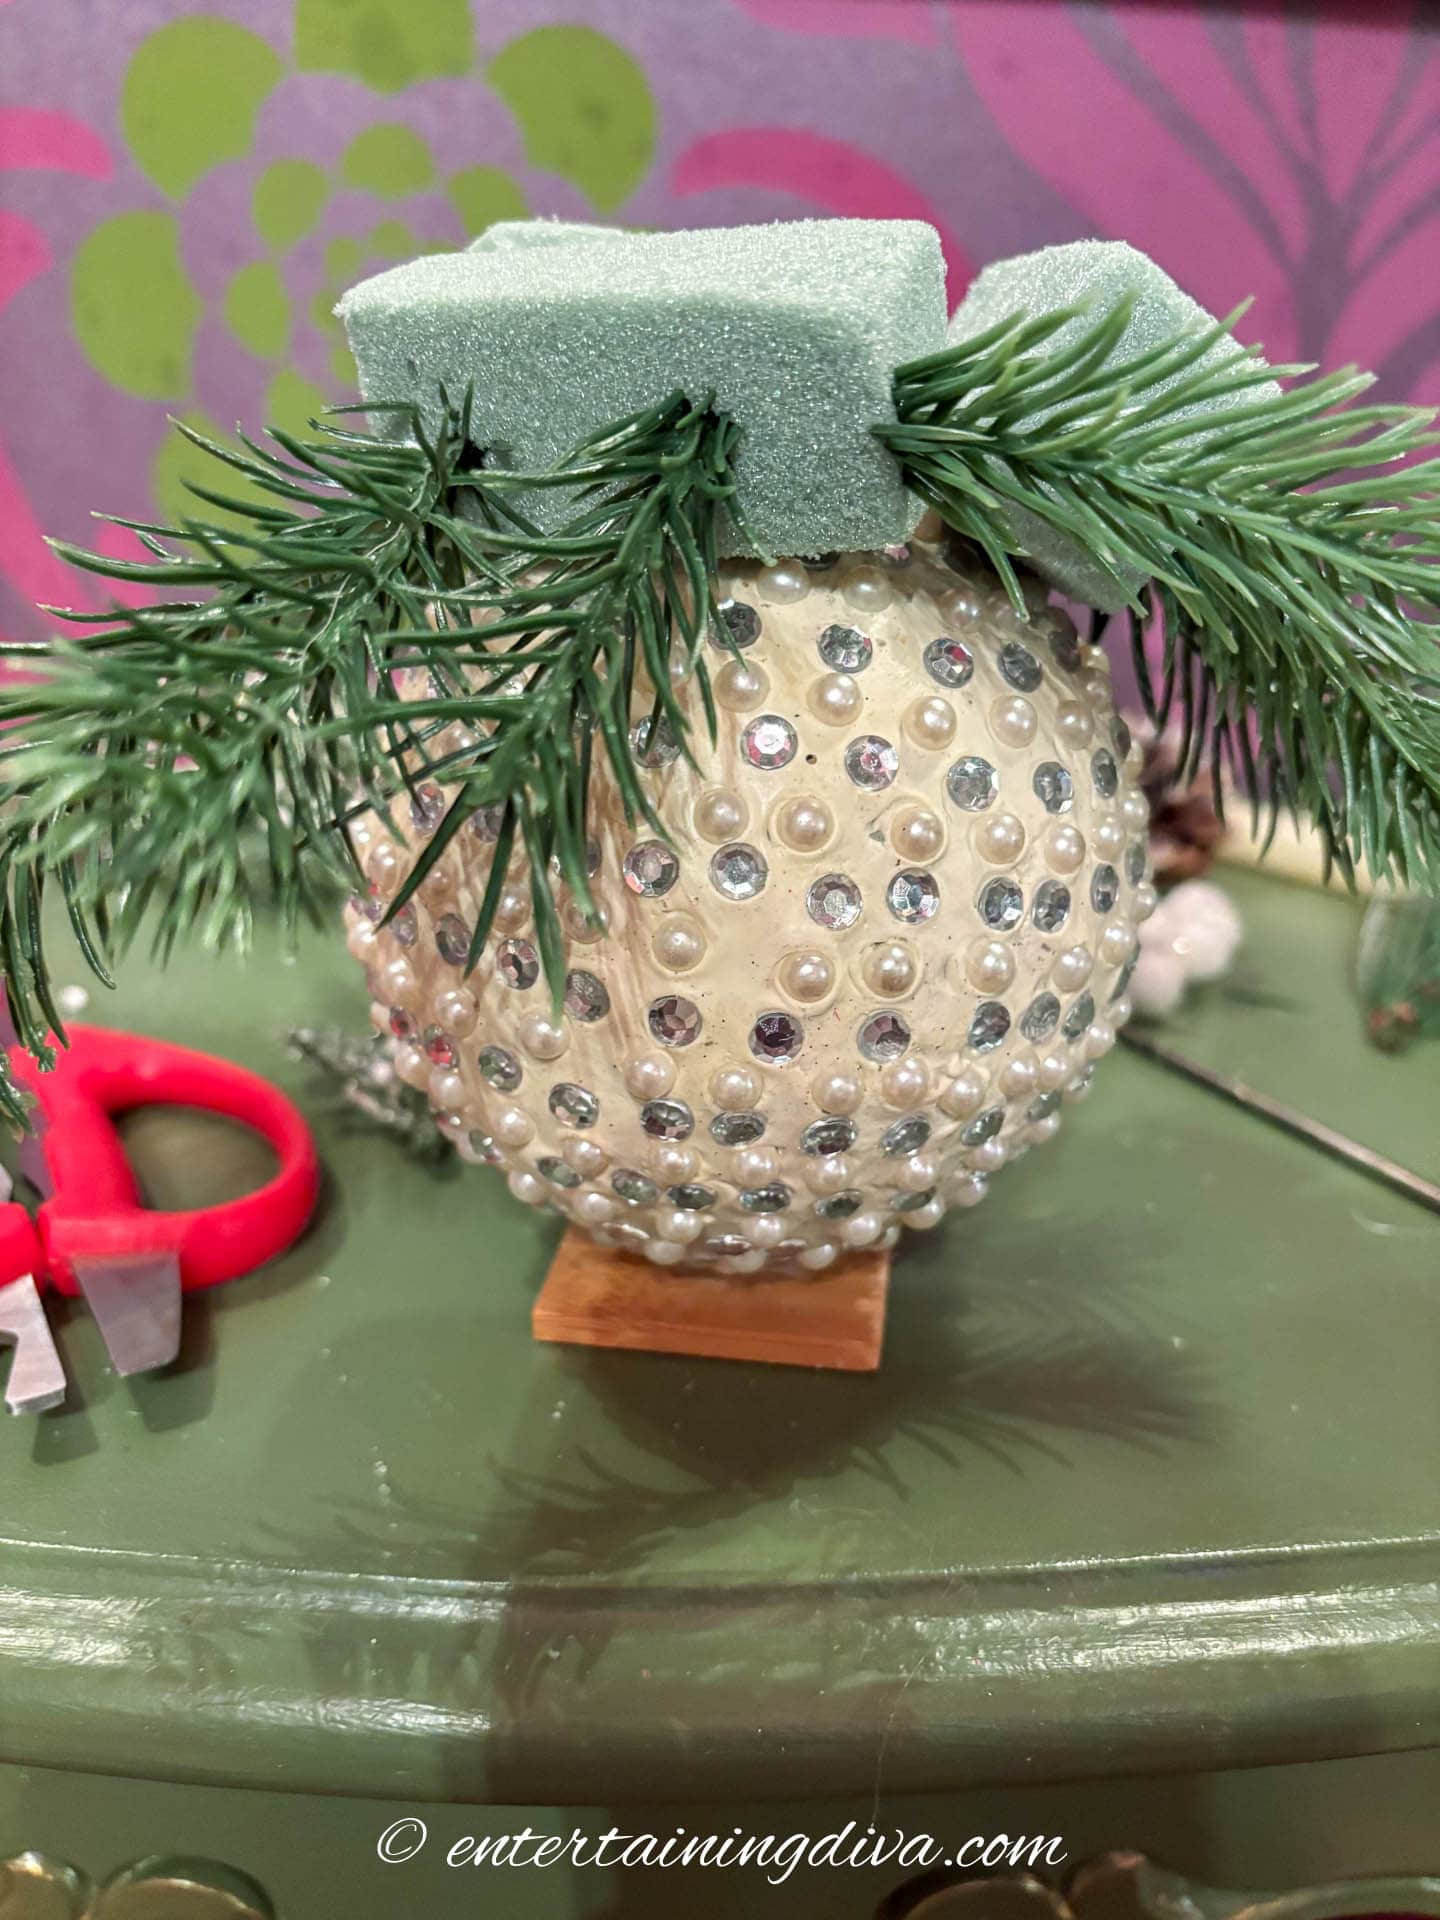
Cut the artificial greenery into short lengths of about 2 to 3″ each.
Then carefully insert the ends of the thicker pieces (spruce in my case) into the sides of the foam triangle. They should be closer to the bottom of the foam and angle down slightly.
Then add some of the thicker and some of the thinner pieces onto the top of the foam at different angles. Try to space them out so them look natural.
4 | Attach berries
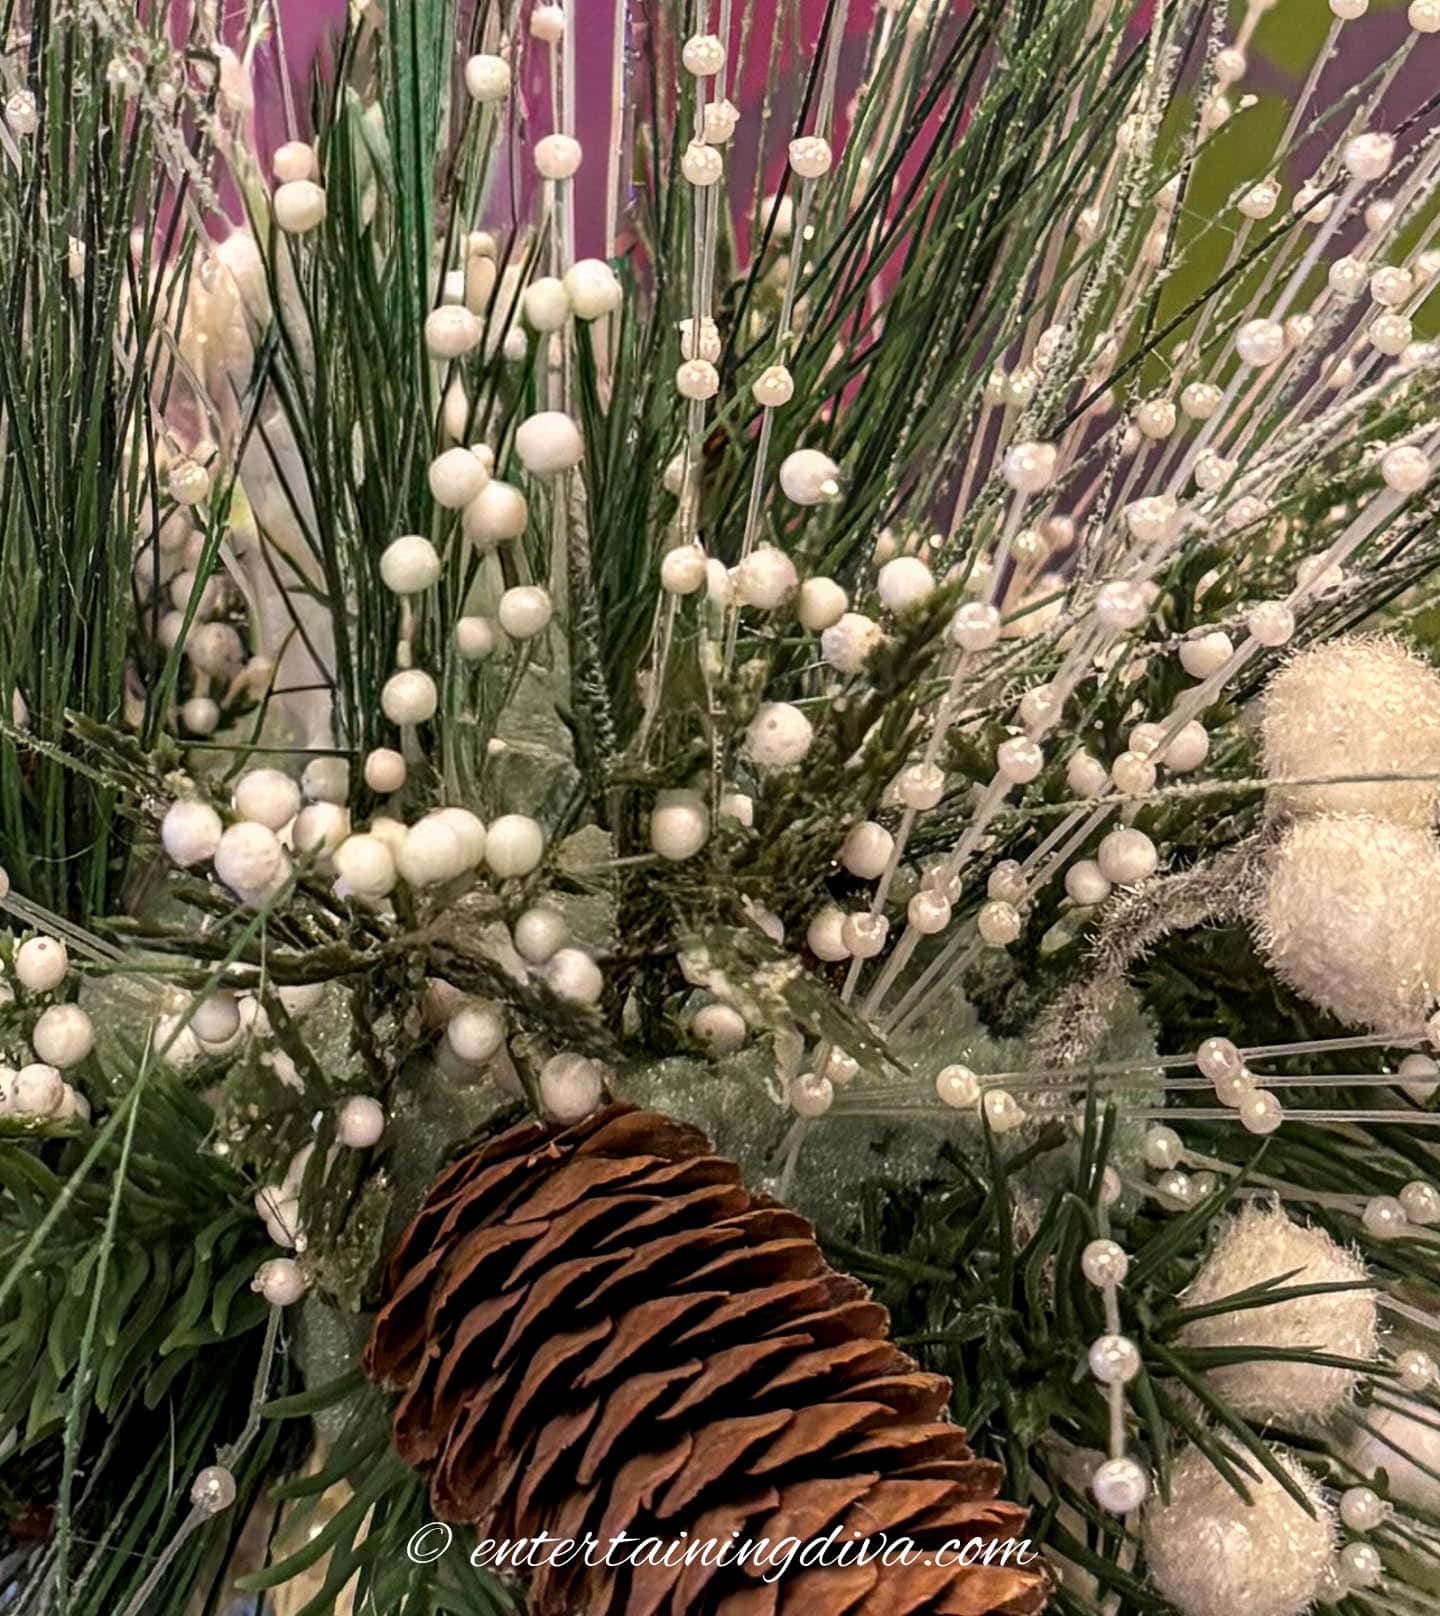
Cut the berry pick into short pieces with a few berries per sprig.
Insert the stems into the top part of the foam, spacing them out around the evergreen picks.
5 | Add pearl picks

Cut the stems of the pearl picks to about 3 inches (or desired length).
Insert them all around the foam, filling in any of the spaces.

If your pine sprigs happened to come with any pine cones, you can add them here and there.
Take a look at your arrangement to make sure it looks even. Move any of the picks that look out of place, or fill in gaps with more.
6 | Finish with a candle
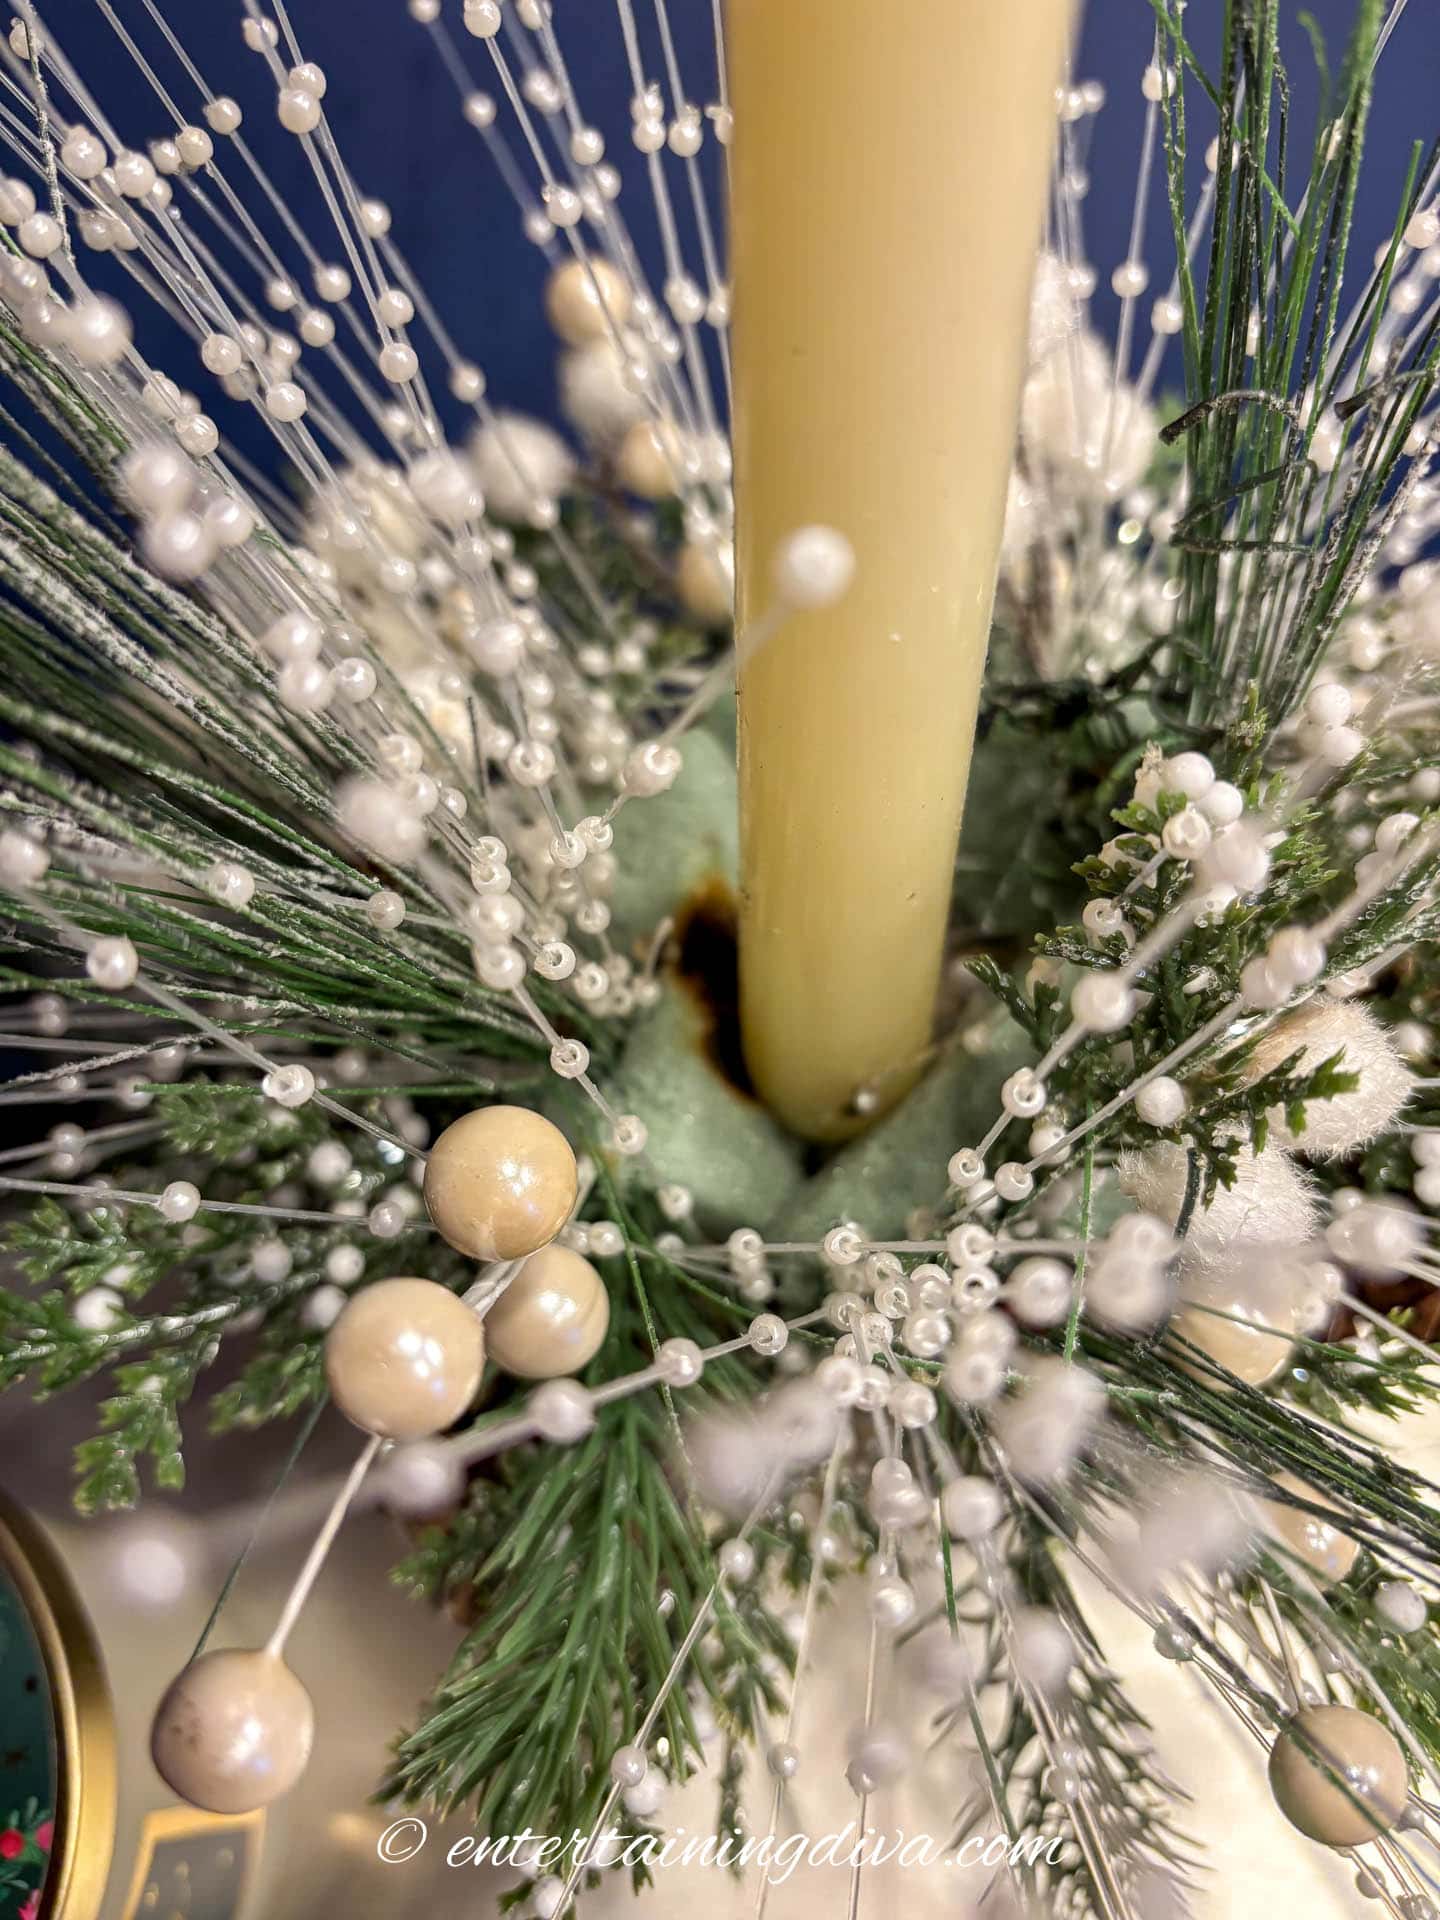
Choose a taper candle to set into the center of the ball.
To keep it from moving, I dripped hot wax onto a spot near where two of the foam pieces meet.
Then set the candle in the glue so it was leaning up against the foam.

That way the foam helped to hold it straight and the hot wax kept it in place.
Have comments or questions about our small Christmas ball DIY centerpiece? Tell us in the section below.