
DIY Beetlejuice Silhouette Pictures


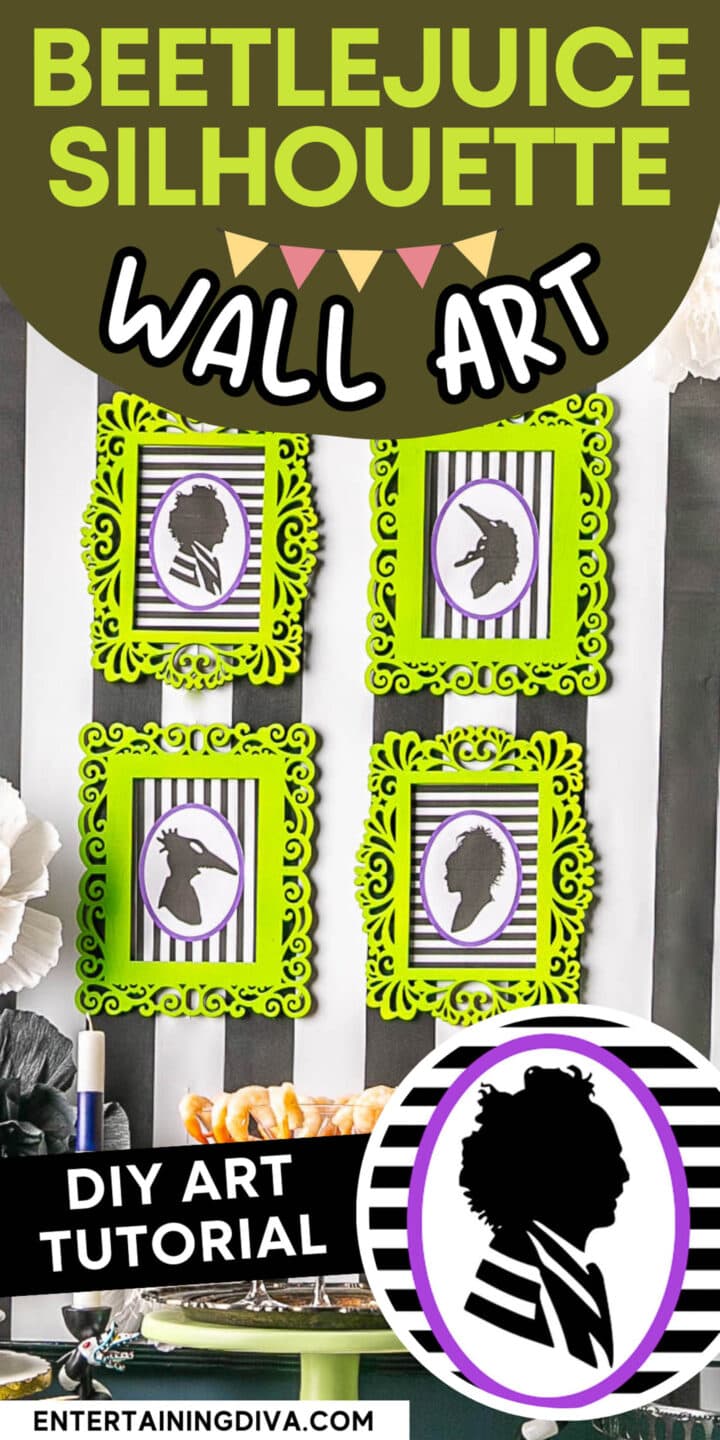
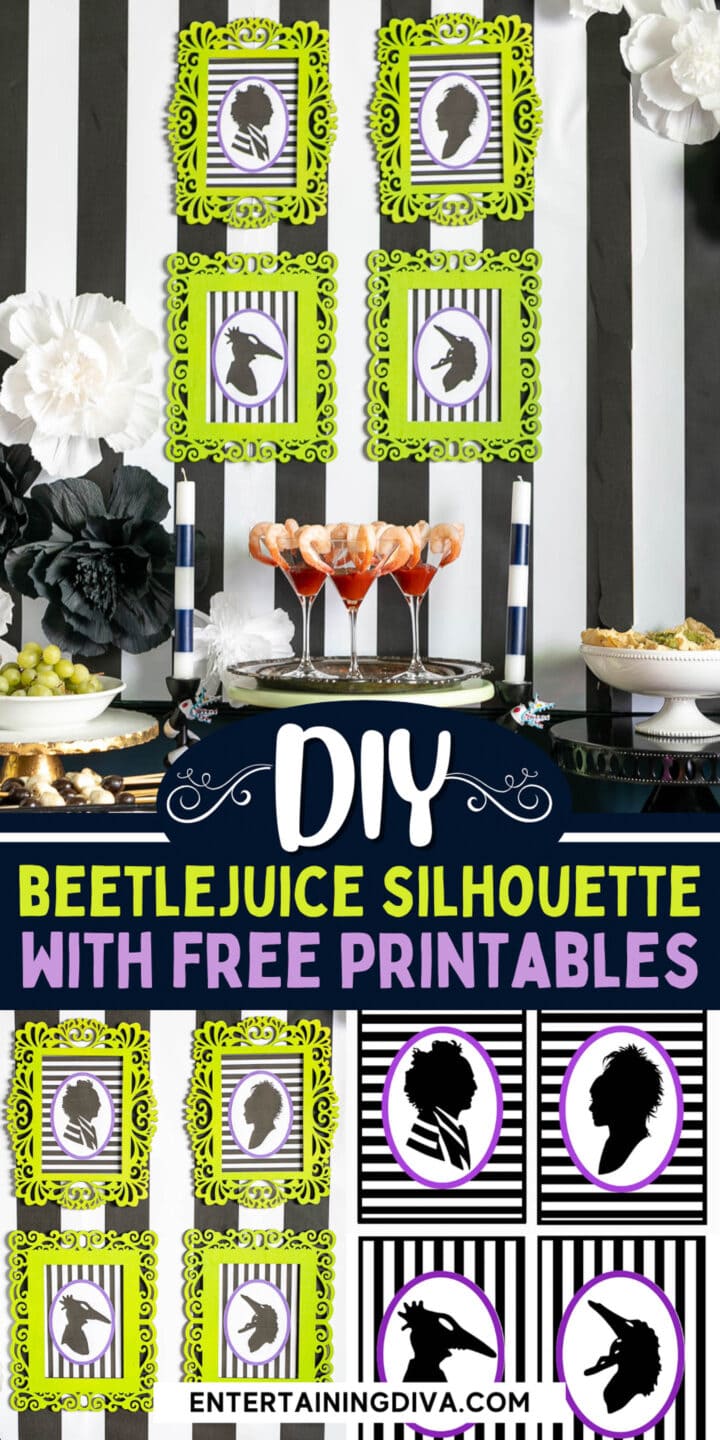
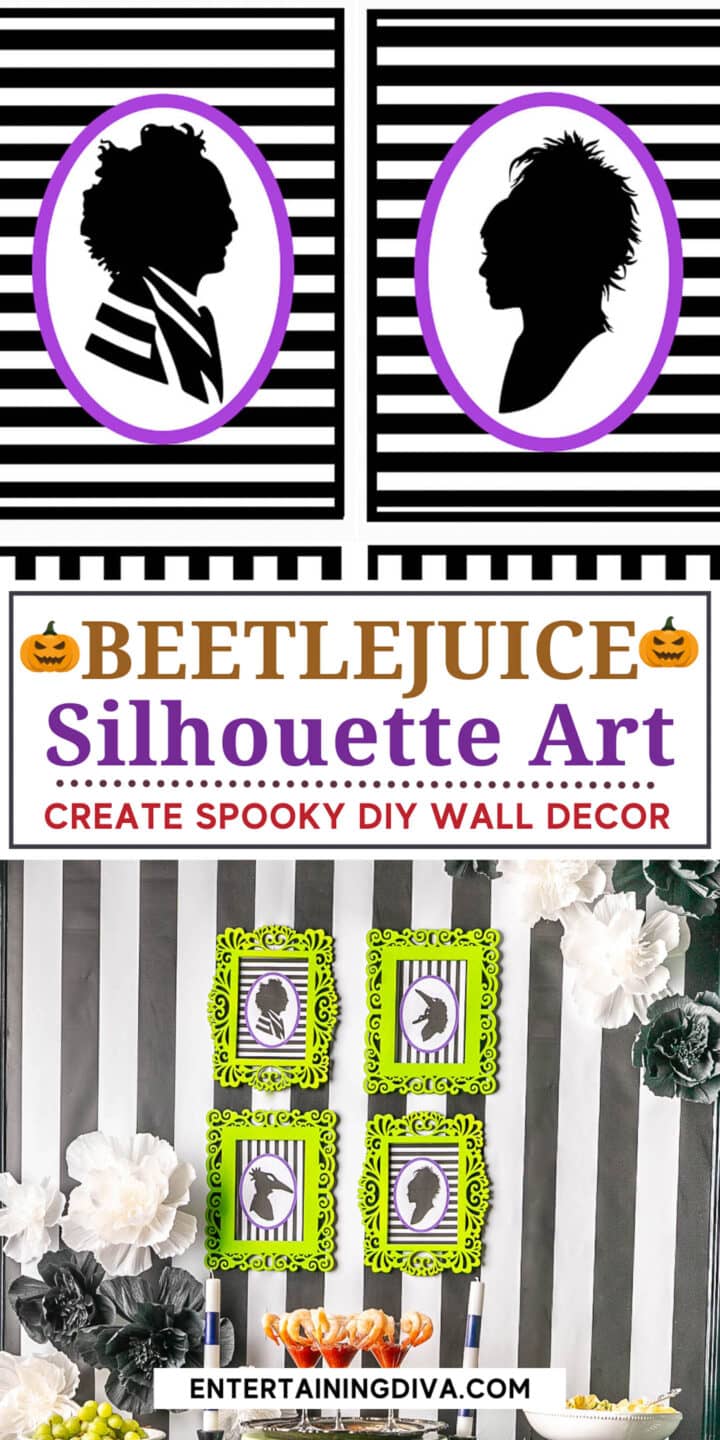
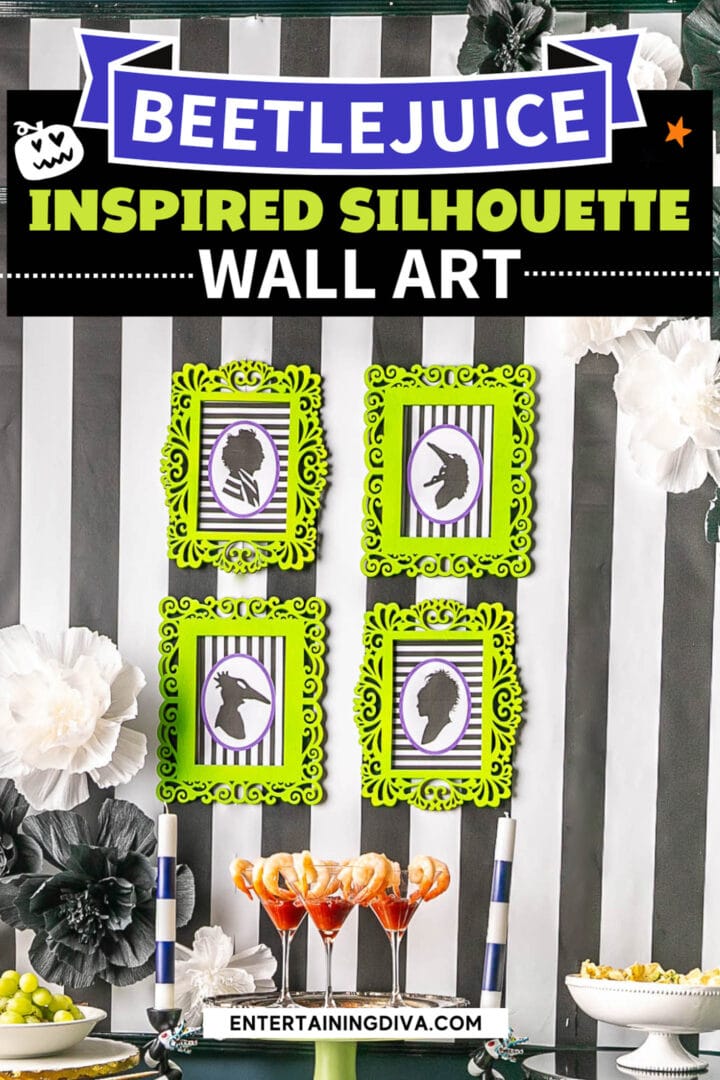
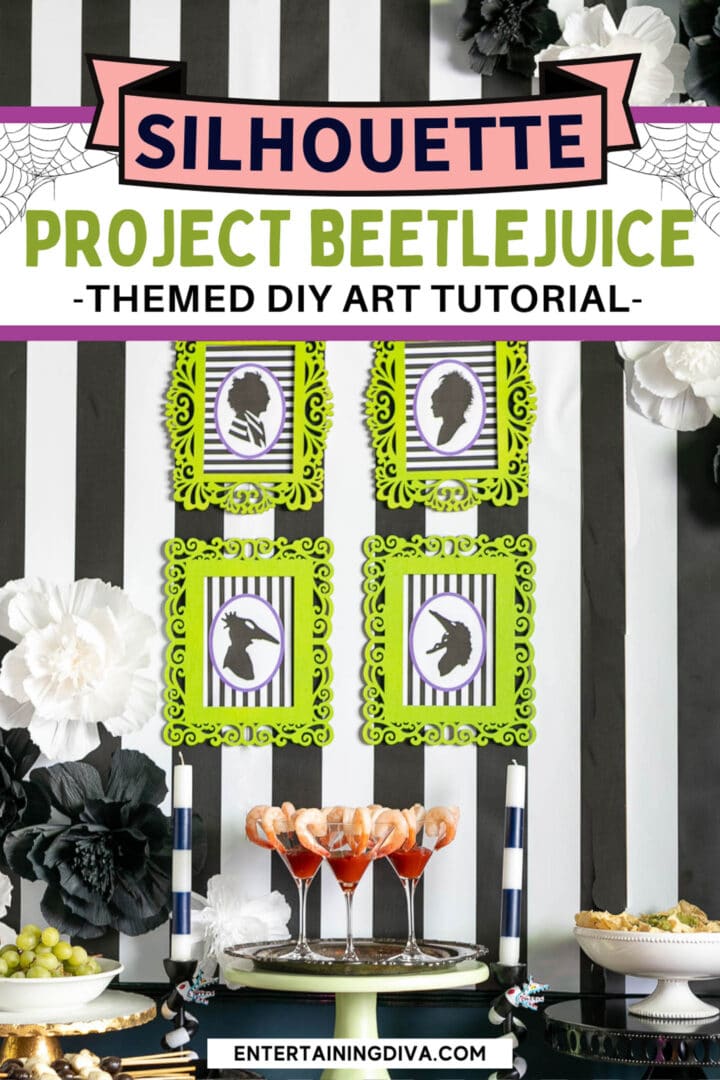
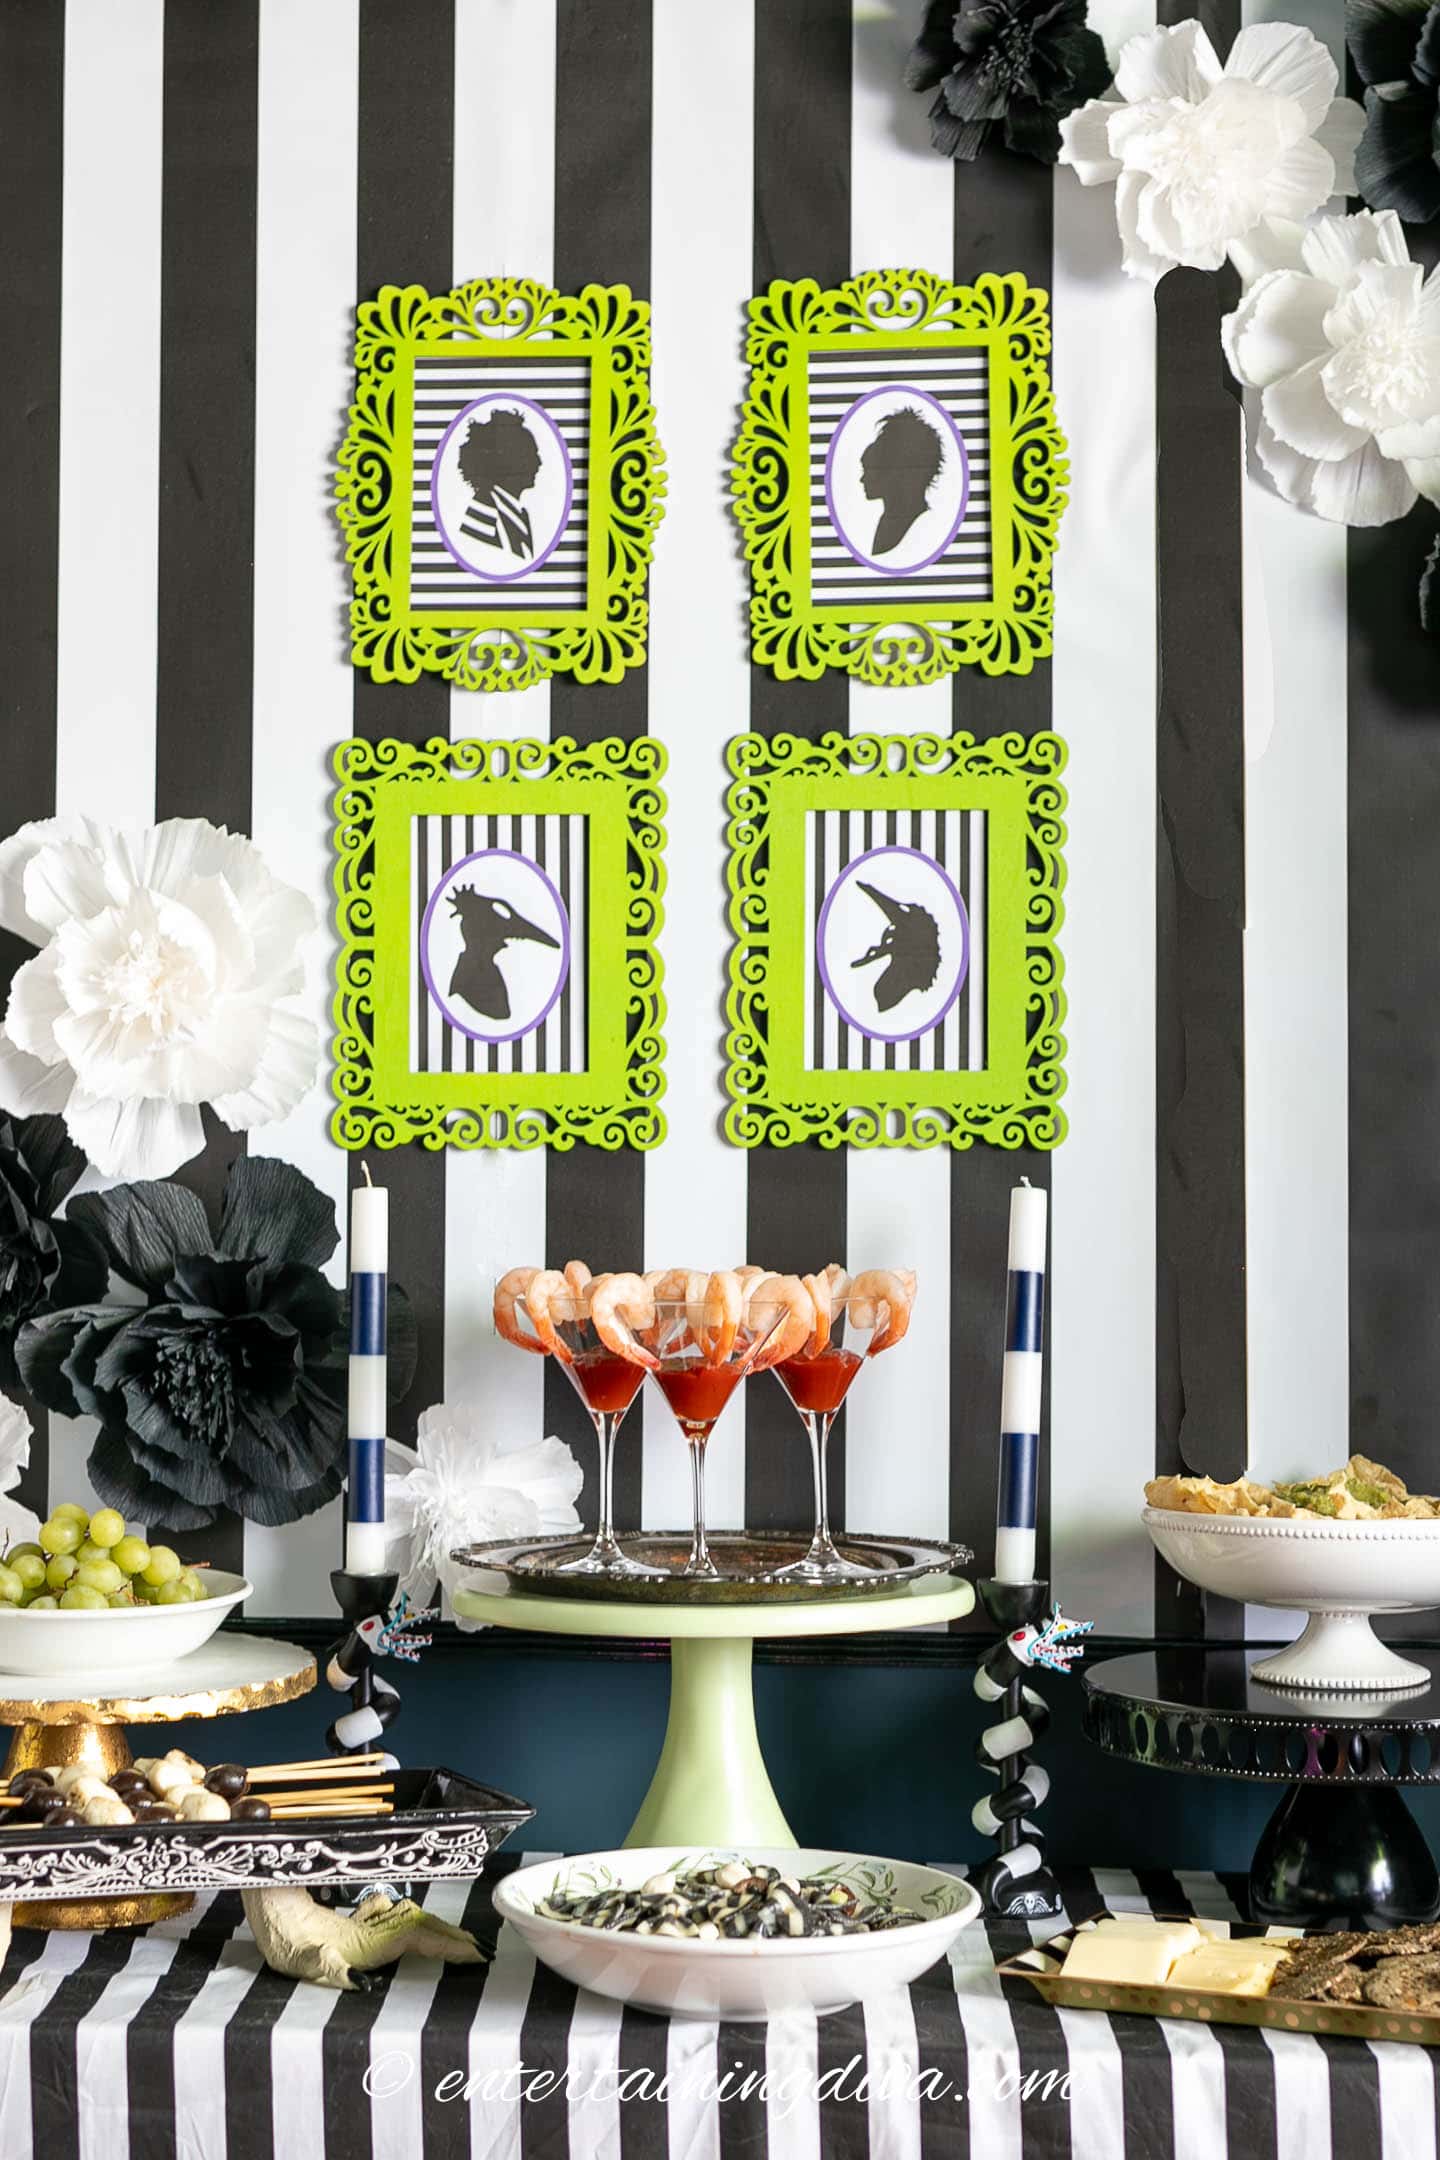
If you’re looking for some easy decorations to make for your Beetlejuice Halloween party, you’ve come to the right place. Just print and frame these DIY Beetlejuice silhouette pictures of Beetlejuice, Lydia, Barbara and Adam to add some themed decor to your walls.
Whenever I’m hosting a theme party (like my Beetlejuice Halloween party), I love to create themed printables to go with it.
They are a great way to add to your party decor without spending a lot of money.
And these Beetlejuice silhouette pictures are no different.
You can print and hang them for the absolute easiest way to go.
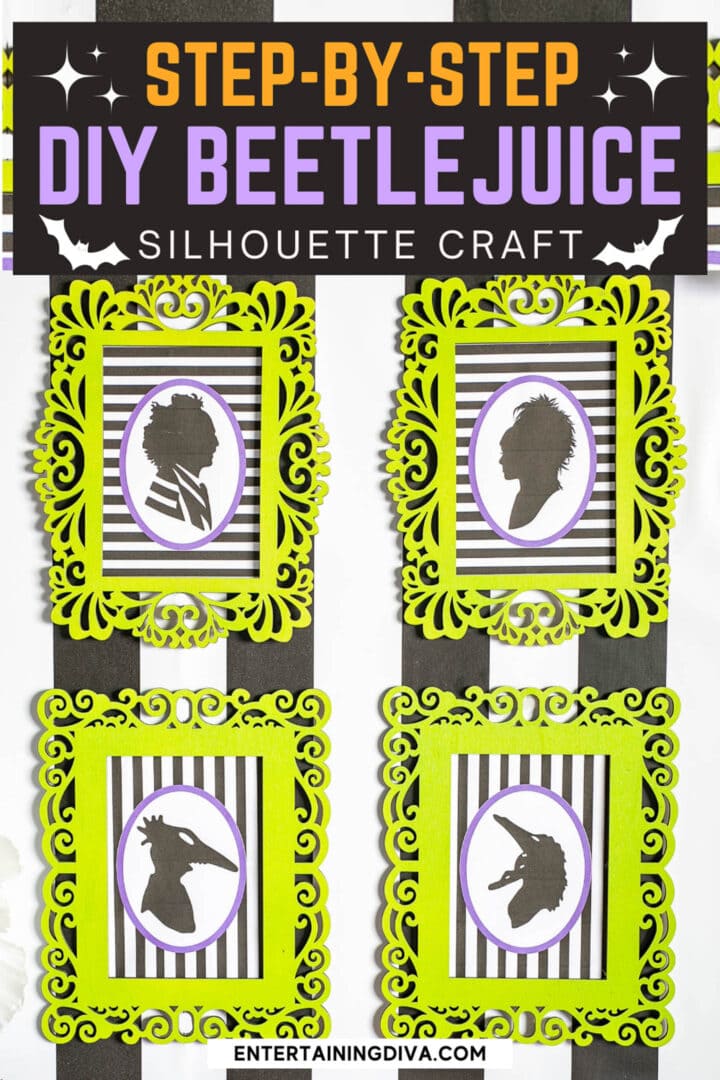
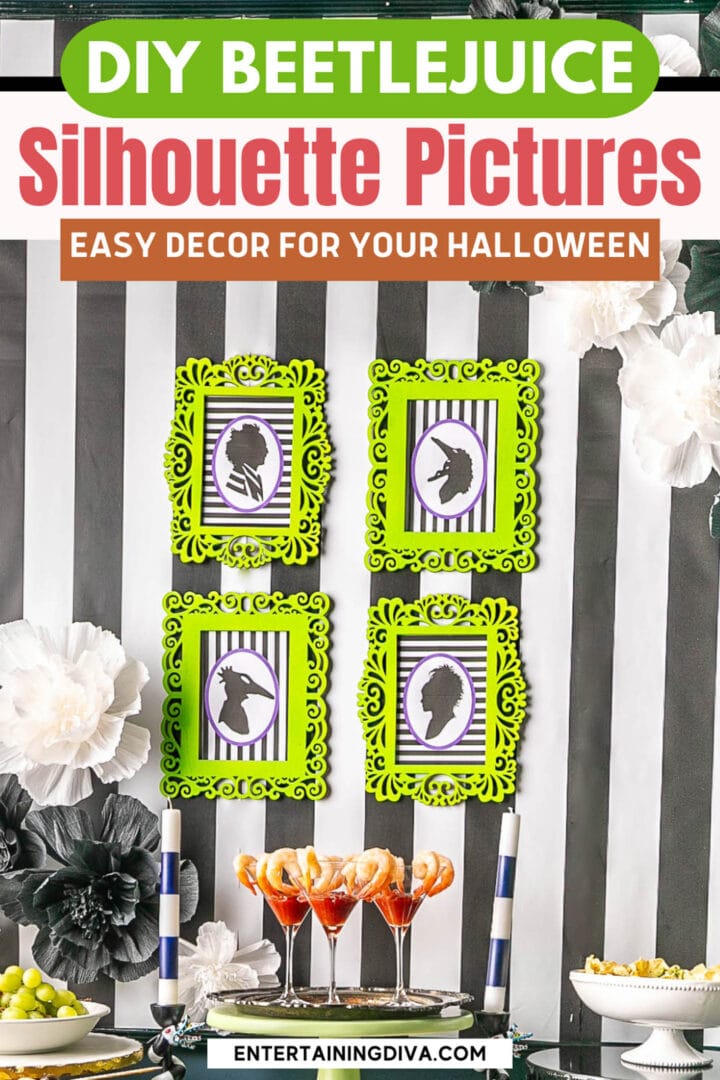
But adding an inexpensive frame spray painted in a Beetlejuice color (like lime green) really makes them stand out.
Supplies
Here are all of the supplies you will need for this project.
Materials
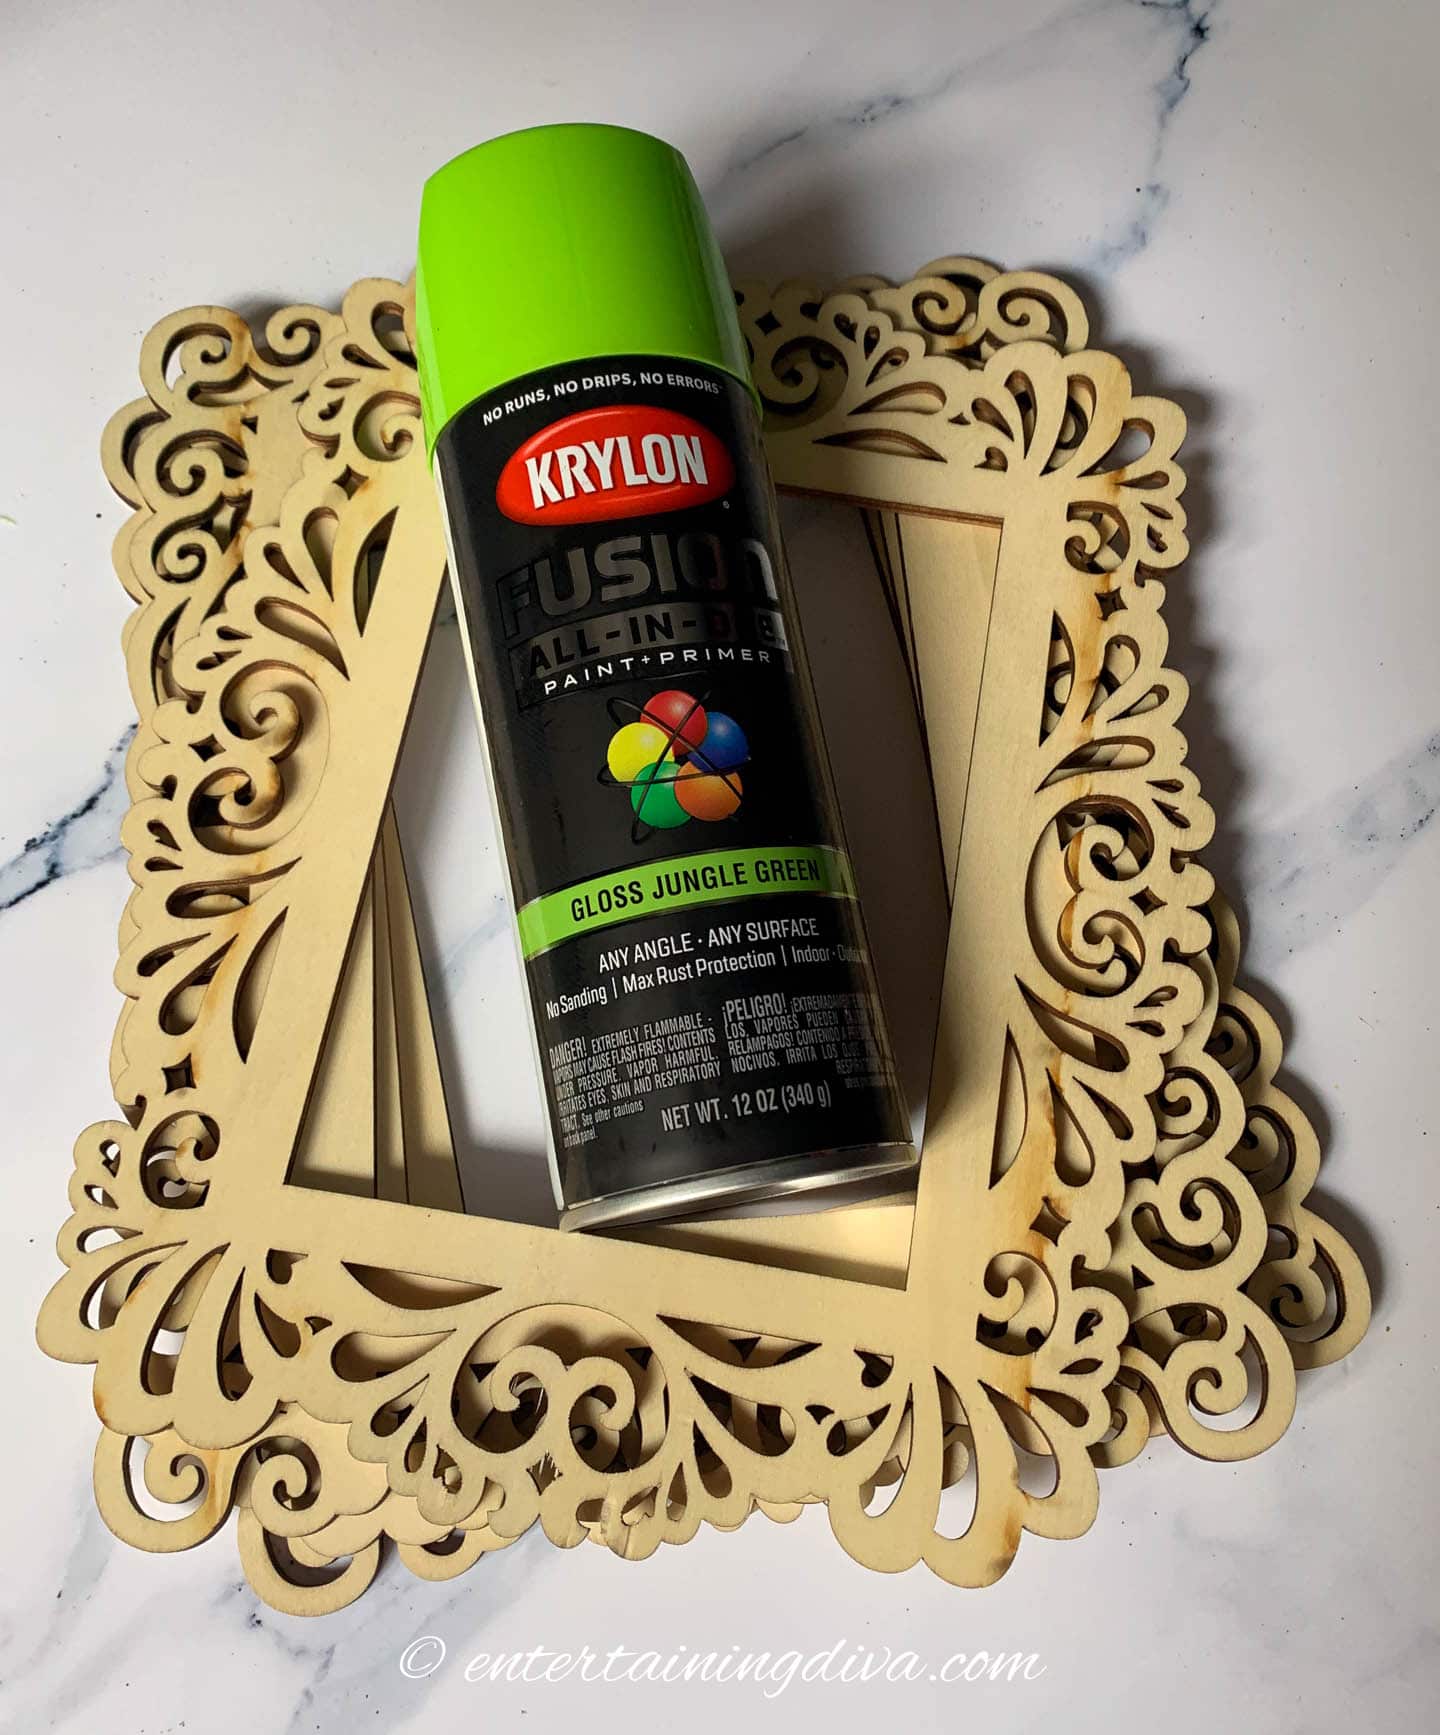
- 4 5″ x 7″ frames – I used these lacy wood ones*, but you could reuse some frames you already own or pick up inexpensive ones from the thrift store.
- Spray paint – Lime green spray paint is the perfect Beetlejuice color to make your silhouette pictures pop. (You can find it HERE*.) But purple or red will also work.
- Silhouette pictures of Beetlejuice characters – These are available in our subscriber’s Resource Library.
- Tape – We’ll use this to attach the pictures to the back of the frame. I used scotch tape but masking tape or packing tape would also work.
- Nails or command hooks for hanging
- Large cardboard box, newspaper, plastic or a drop cloth to protect your workspace (optional)
Tools
- Printer with paper and black ink
- Scissors
- Hammer (if you’re hanging the pictures up with nails)
How to make DIY Beetlejuice silhouette pictures
Here are the step-by-step instructions for putting these pictures together.
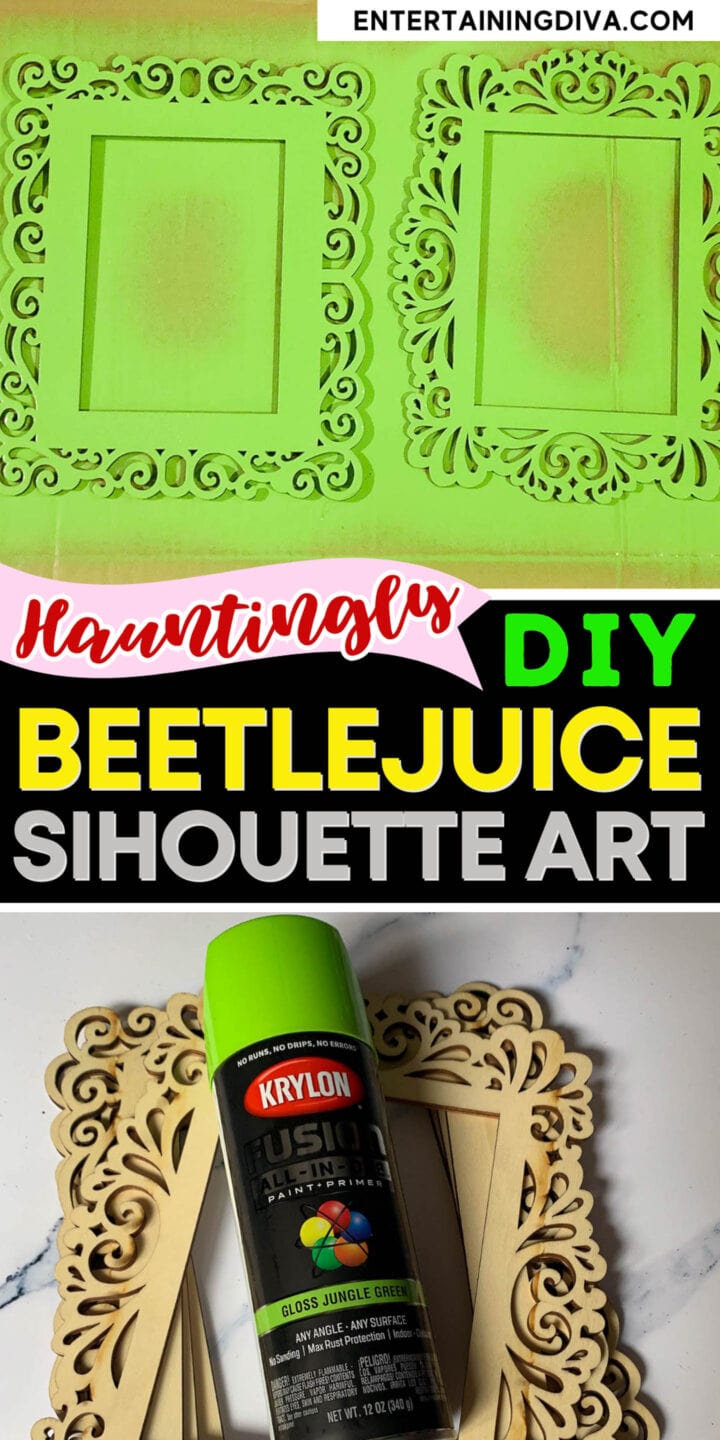
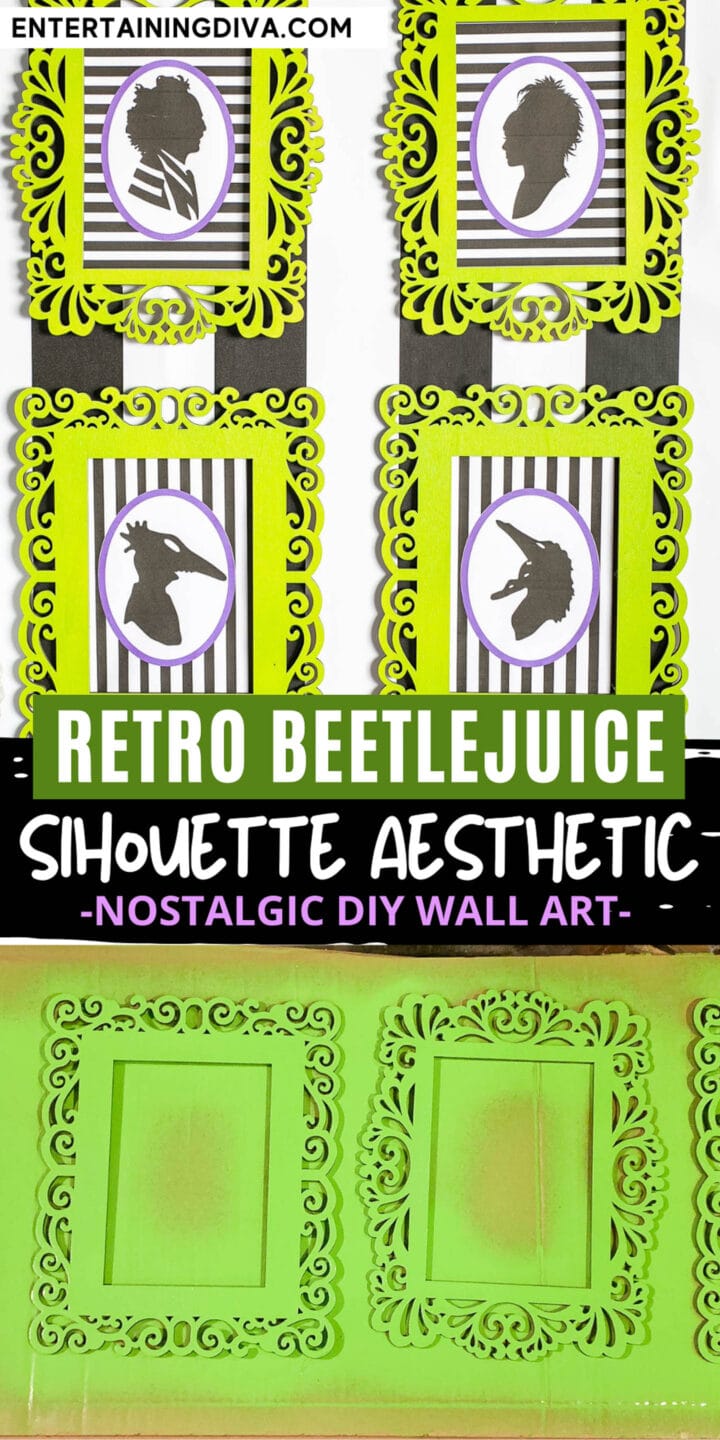
1 | Paint the frames
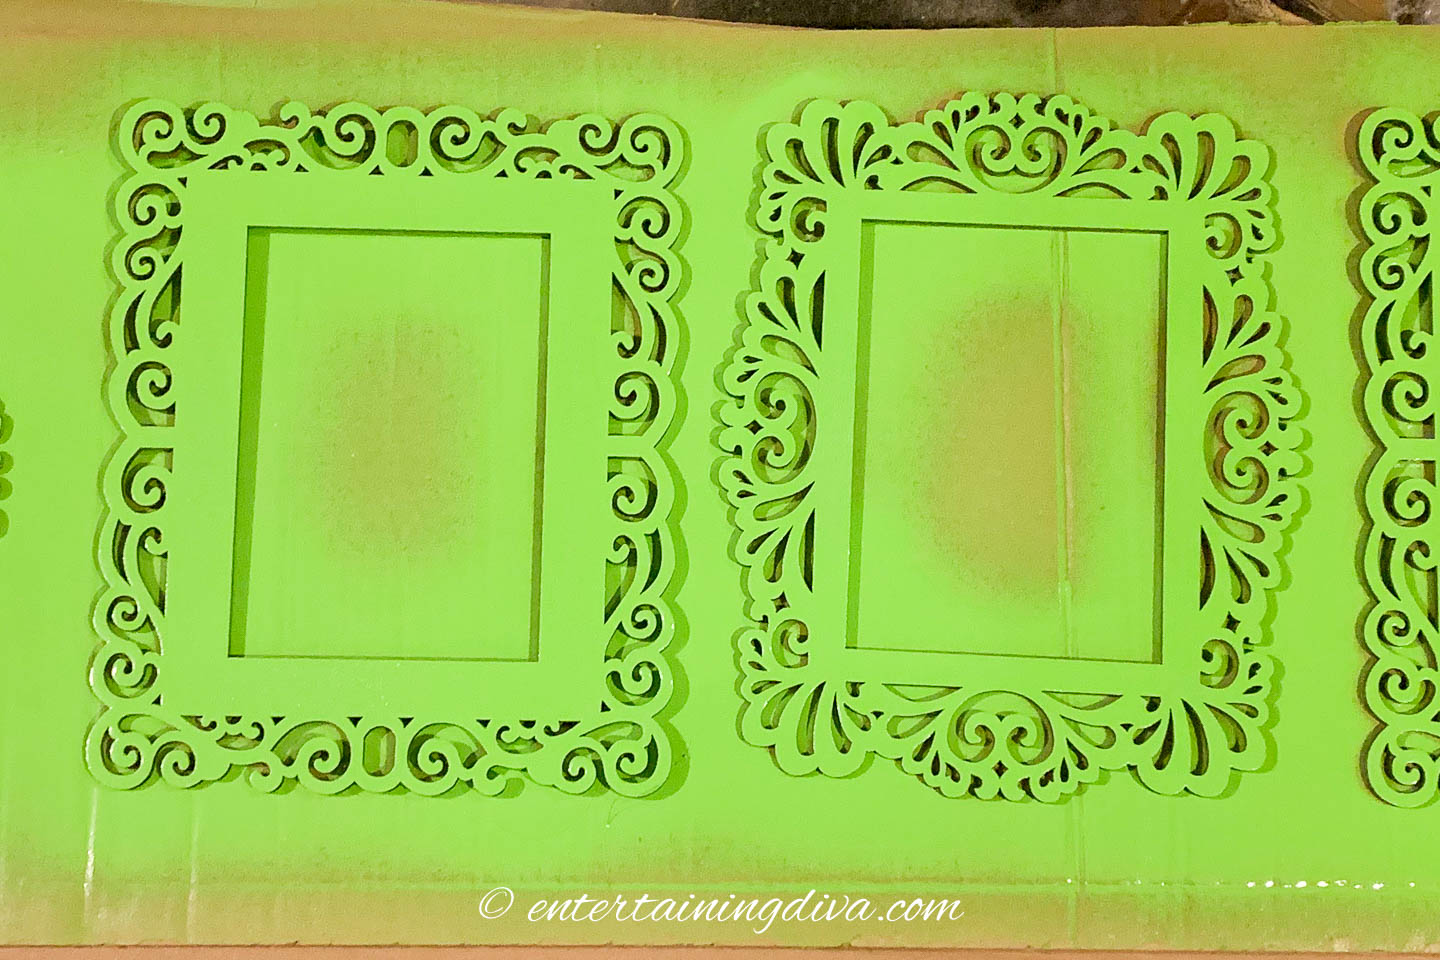
The first step is to spray paint the frames. If you are using ones that have a glass front, remove the glass so it doesn’t get paint on it.
I like to put them in a large cardboard box to prevent the paint from going everywhere.
But you can also spread out some newspapers, plastic garbage bags or a drop cloth.
In any case, make sure you’re painting in an area that has good ventilation (outdoors is best) since spray paint fumes aren’t very good for your health.
Shake the lime green spray paint for about a minute to make sure the color goes on evenly.
Then hold the can about 8″ above the frame and move your arm back and forth while spraying them with paint.
Depending on the color of frames you are painting, you may need more than one coat. But the great thing about spray paint is you don’t have to wait to start the next one.
Allow the frames to dry completely before moving on to the next step.
2 | Print the silhouette pictures
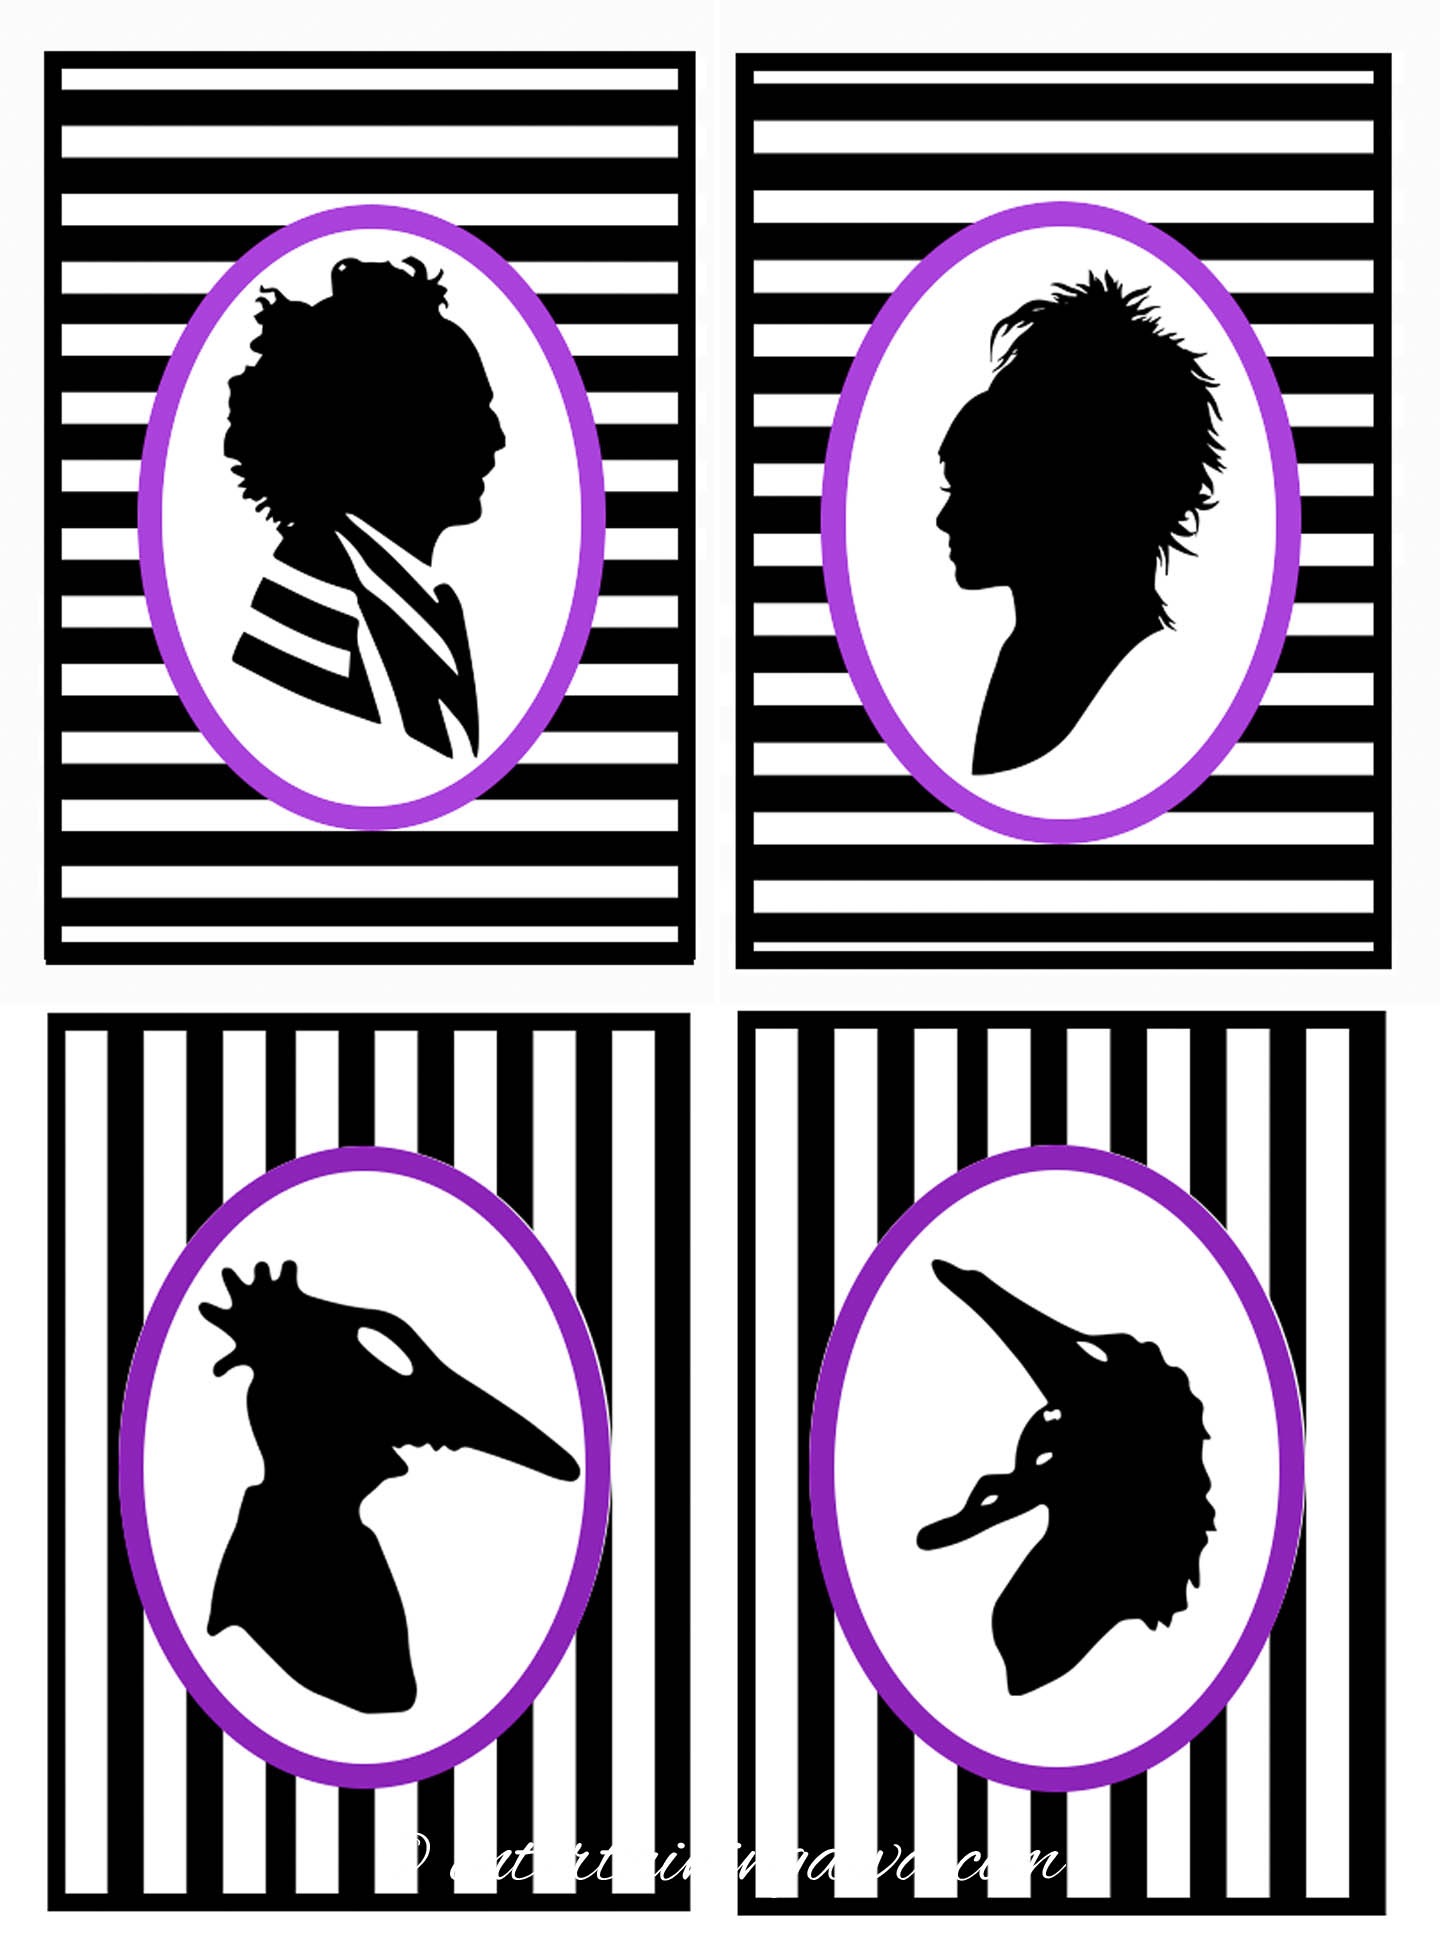
While the frames are drying, you can print out your Beetlejuice characters.
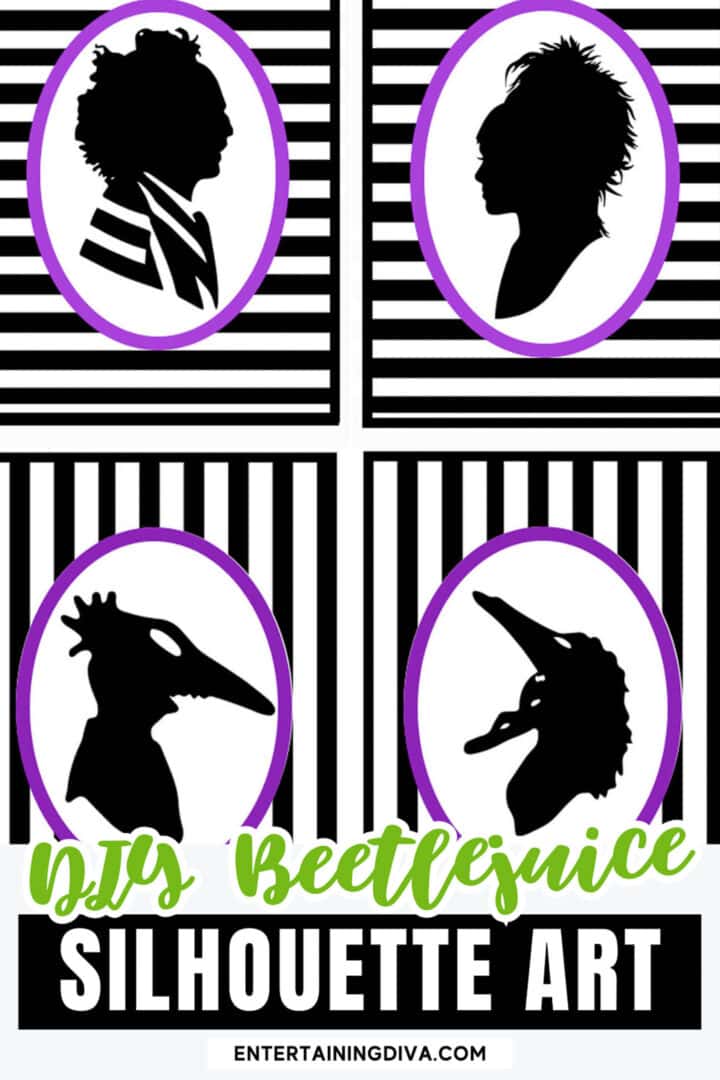
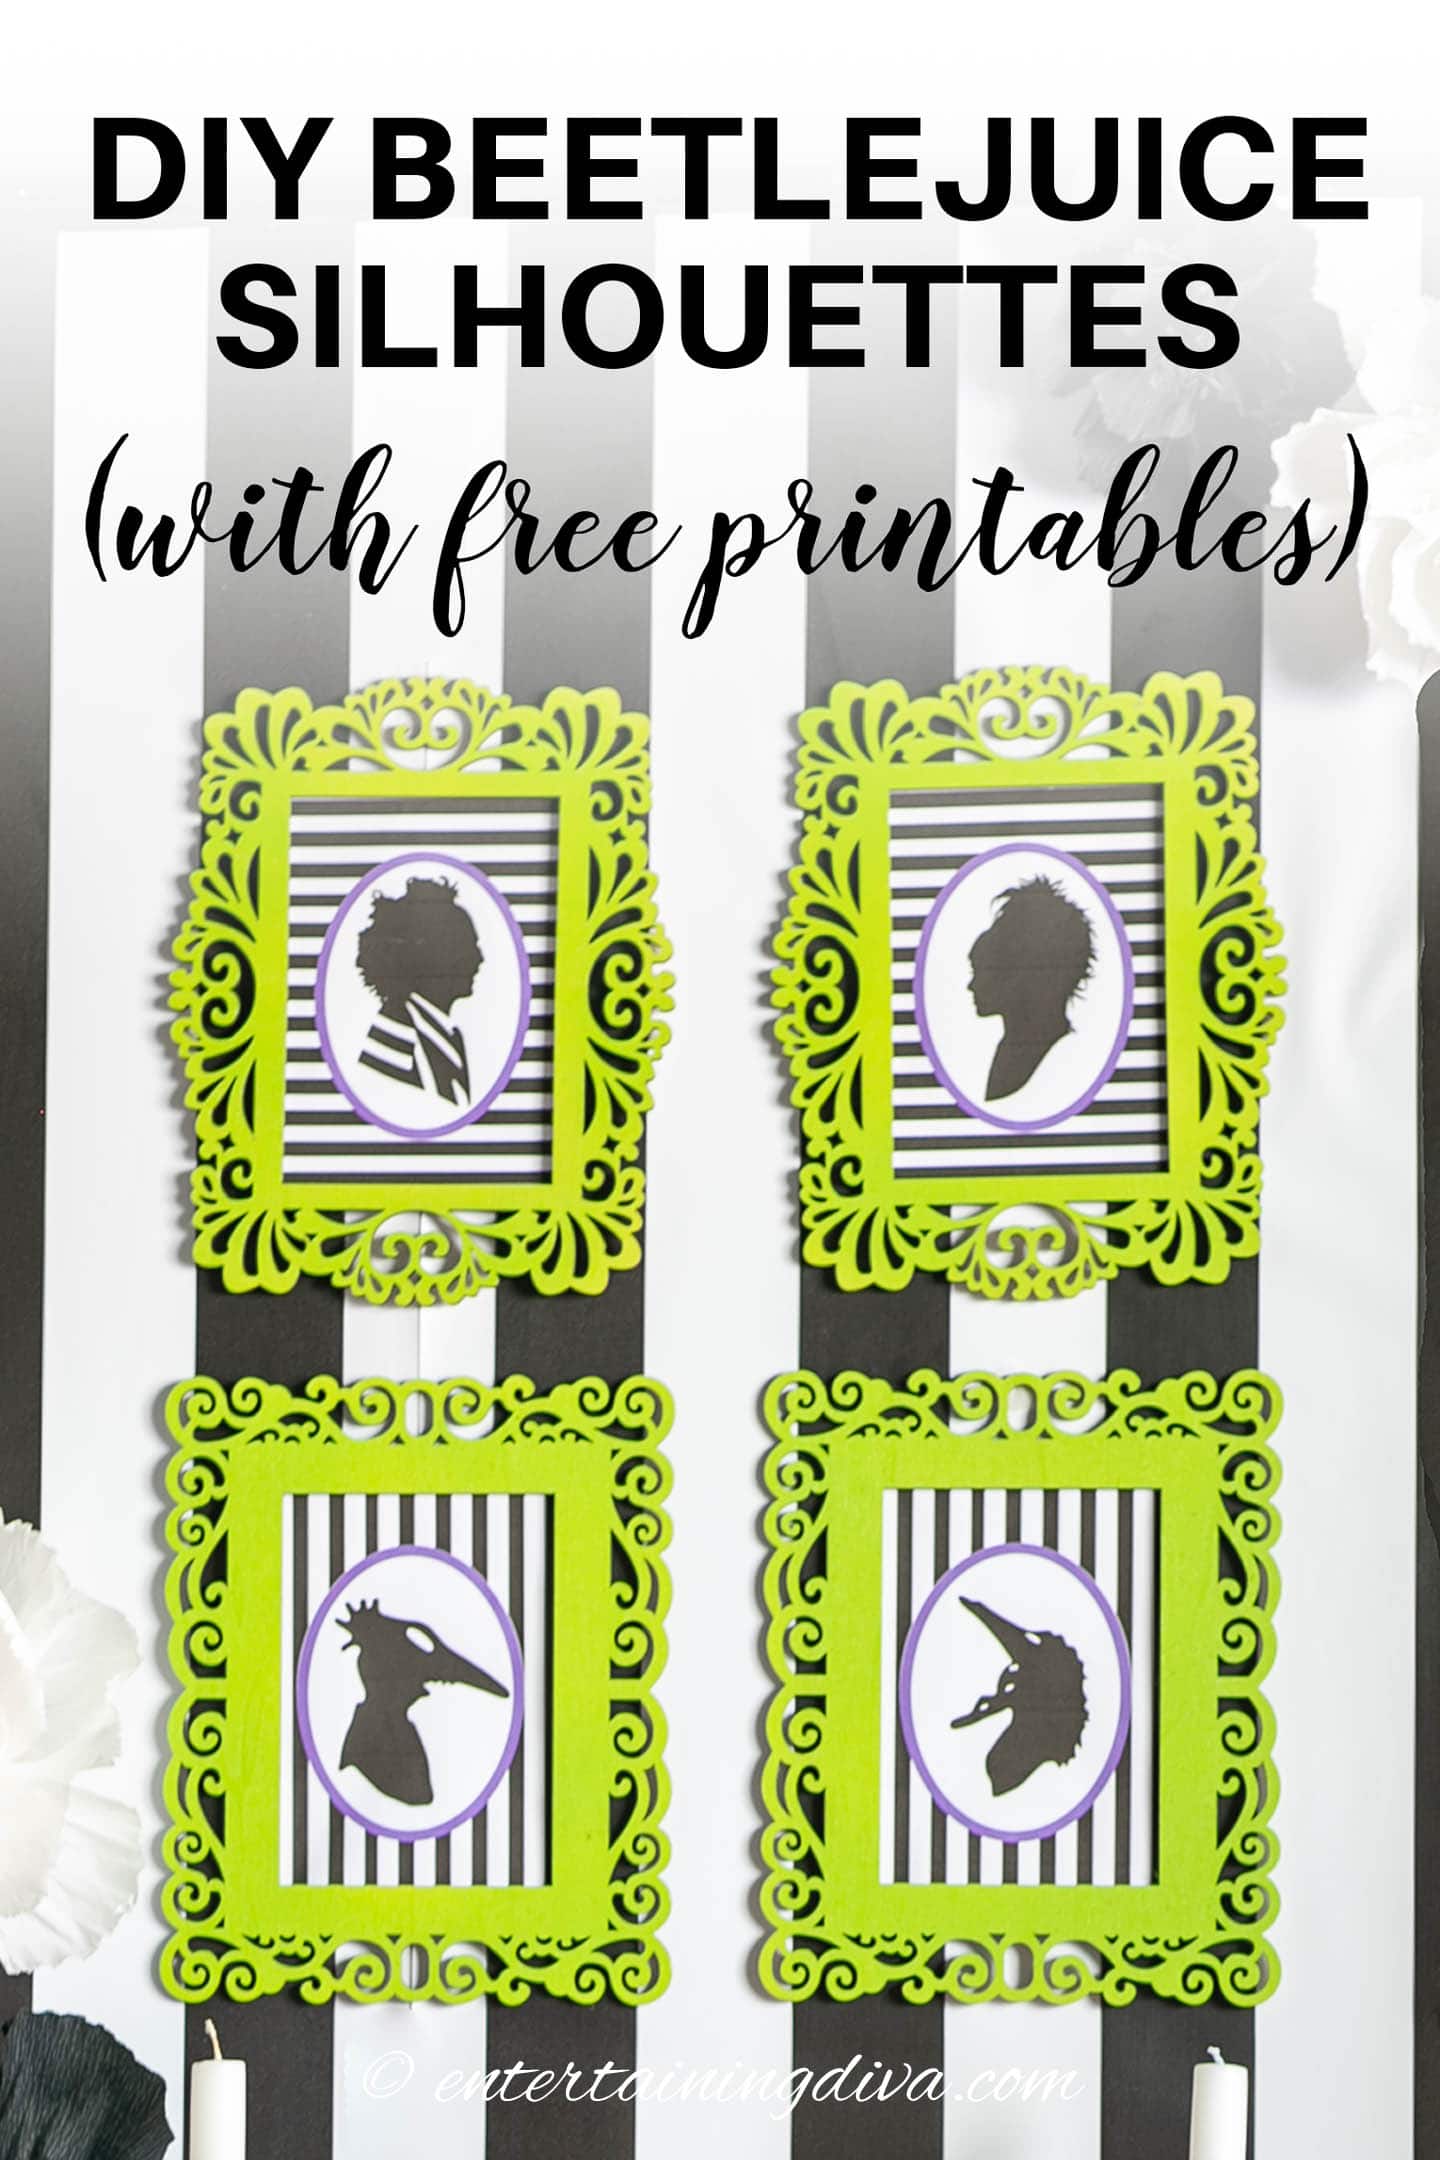
We’ve made it easy for you by offering 4 different silhouette pictures in our free Subscriber’s Resource Library – Beetlejuice, Lydia, Adam and Barbara Maitland. You can find them in the Beetlejuice Party section.
If you’re not already a subscriber, you can get access to all of our free print-ables by signing up for our newsletter.
3 | Trim the pictures to fit the frames
After the frames are dry, align the prints behind the frame to see how they will fit.
If the pictures are too large for your frames, use scissors to trim off the edges.
If you are using the same frames as I did, make sure to leave enough paper around the edges to be able to tape them to the back.
4 | Put the pictures in the frames
If you are using traditional frames, put the glass back in and add the picture behind it. Use tape to hold it in place if necessary. Then put the back on the frame and you’re done.
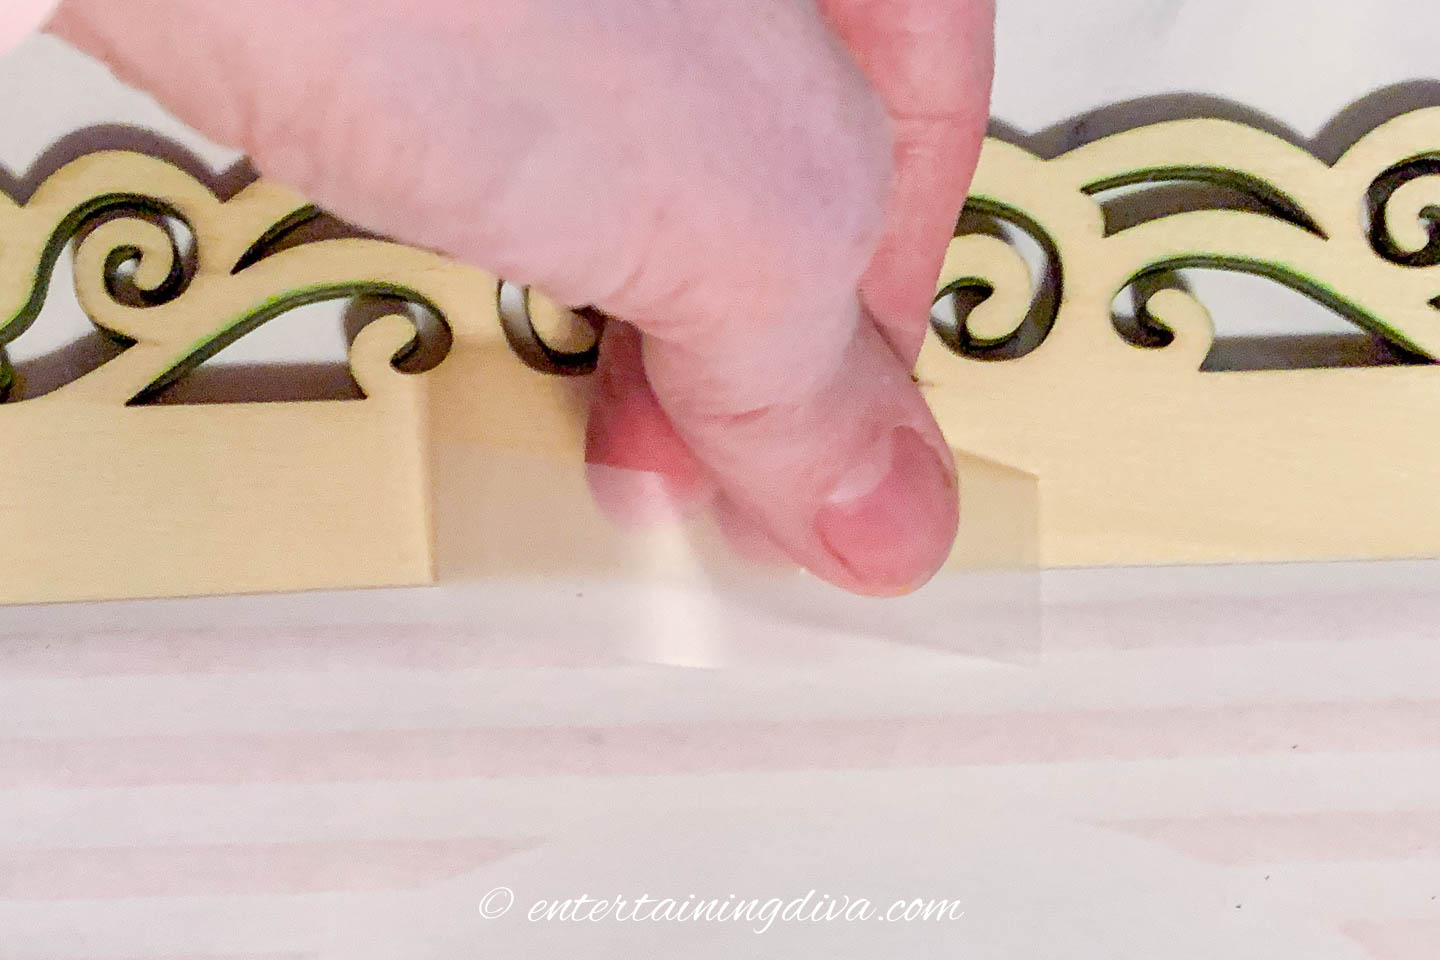
If you are using the type of frames I did (which don’t come with a built-in way to secure the pictures), you’ll need to tape them to the backs. To do this:
- Flip the frame over to its back side.
- Position the picture so that it is facing the front of the frame. Make sure it is centered and straight.
- Use tape to secure the silhouette pictures to the back of the frames. Clear tape works best so it won’t be visible from the front.
5 | Hang Your Beetlejuice Silhouette Pictures
Your Beetlejuice silhouette pictures are now ready to be displayed!
You can hang them with small nails if you prefer them to be more permanent.
Or use command hooks if you want a less damaging option for your walls.
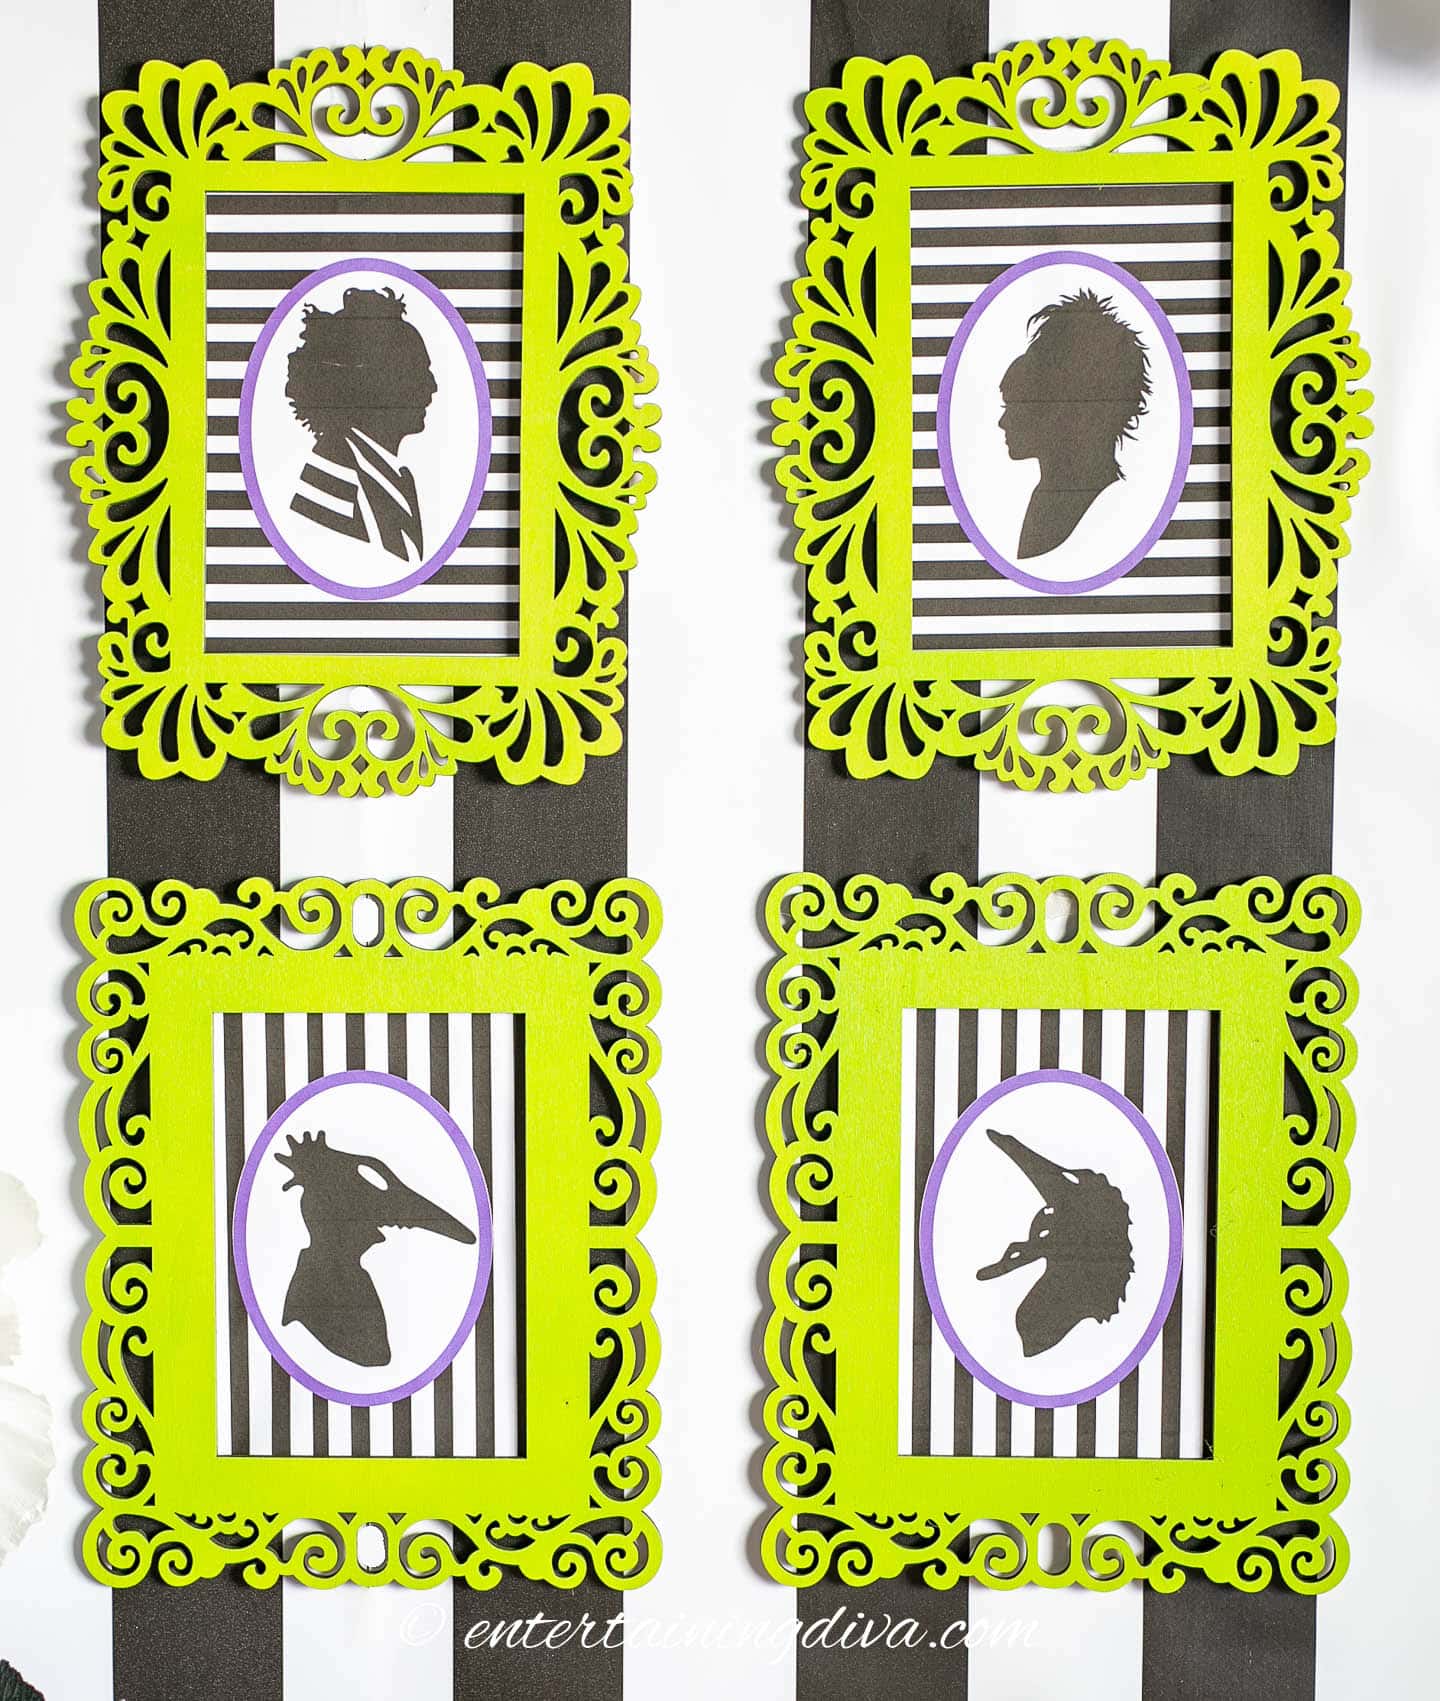
The finished pictures
There you have it!
Your very own Beetlejuice-themed silhouette pictures that are bound to add some spooky charm to your Halloween party.
Other Beetlejuice decorations you might like
Or read all about our Beetlejuice themed Halloween party.
Have comments or questions about our DIY Beetlejuice silhouette pictures? Tell us in the section below.
This post was originally published on July 2, 2023 but was updated with new content on November 1, 2023.