
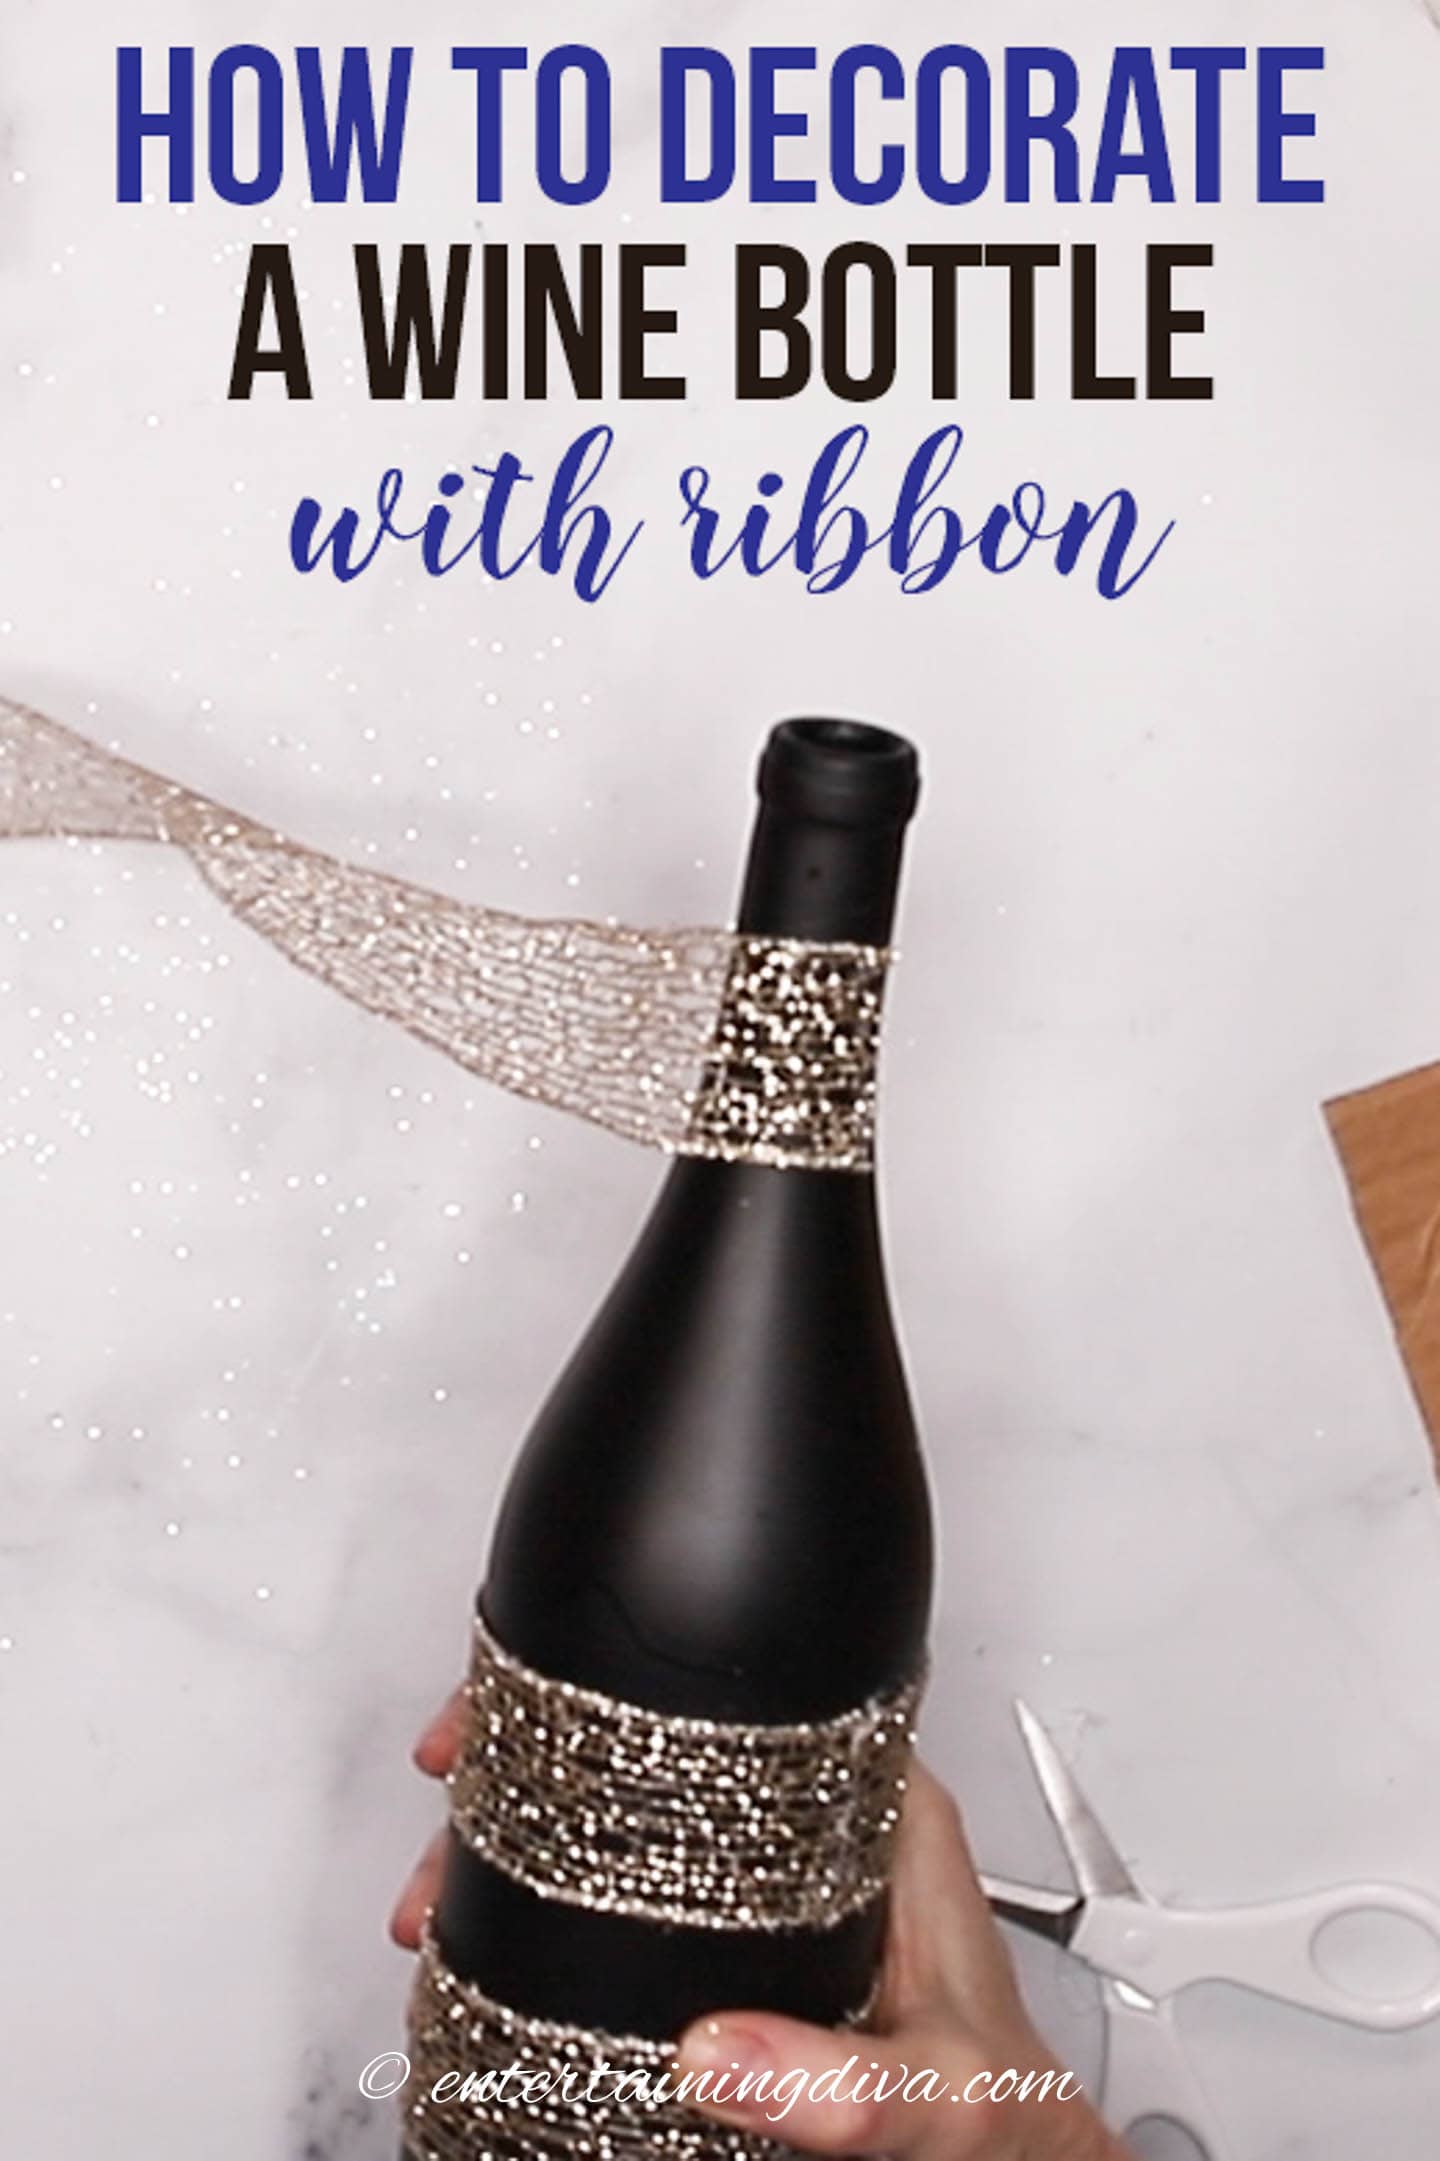
How To Decorate A Wine Bottle With Ribbon
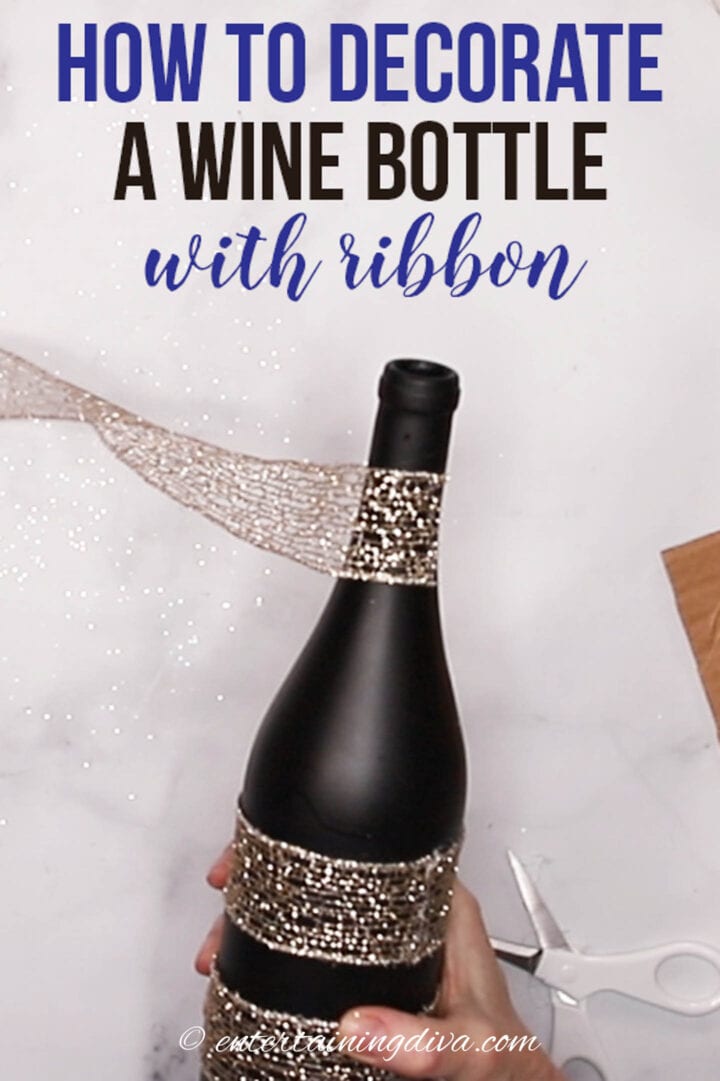
Decorating a wine bottle with ribbon is one of my favorite ways to create inexpensive centerpieces for parties. It’s super easy to do and with so many different types of ribbon available, you can create a variety of looks.
Setting up dinner parties and creating beautiful, memorable events that my friends and family will always remember is always one of my goals when I’m entertaining.
One way to really make your homemade event shine is by creating decorations that are one-of-a-kind and special.
And decorating a wine bottle with ribbon is one of the easiest ways to do this without spending a lot of money.
With all the colors, shapes and textures of ribbons that are available, it’s simple to create simple decorations that are unique to your party.
There are a three different ways you can attach ribbon to the bottle, depending on what type of ribbon you are using.
You can skip directly to the section you want using the following links:
- Attaching a narrow ribbon (less than 4″ wide)
- Gluing on a wider ribbon (great than 4″ wide)
- Attaching a string of pearls or beads
If you prefer to watch a video, all of these techniques are demonstrated (along with a few other ideas) in the following video on decorating wine bottles:
Supplies
Here’s what you’ll need to decorate a wine bottle with ribbon.
Materials
- ribbon up to 6″ in width – Ribbon that is wider than this is hard to lay flat on the bottle.
Tools
- empty box (optional) – only if you are using the spray adhesive
- mini glue gun on low heat or repositionable spray adhesive*
- scissors
Prep work
You may want to prep your wine bottle before you attach the ribbon.
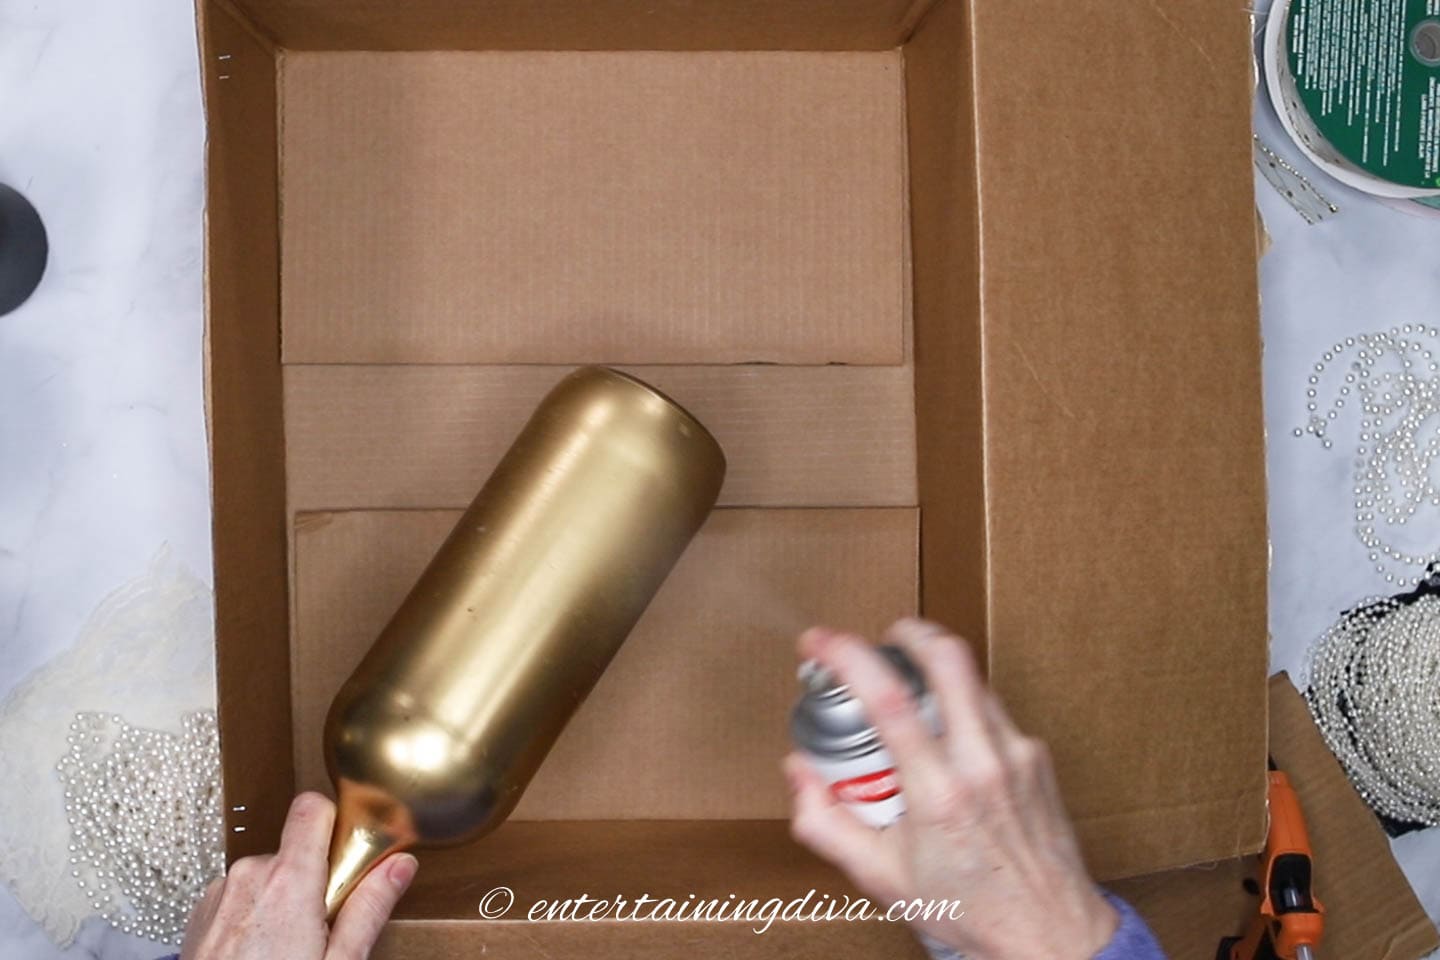
This includes removing the labels, washing the bottle and spray painting it (if you want it to be a different color).
To find all the details for doing this, read how to spray paint wine bottles.
Method #1 – For narrower ribbon
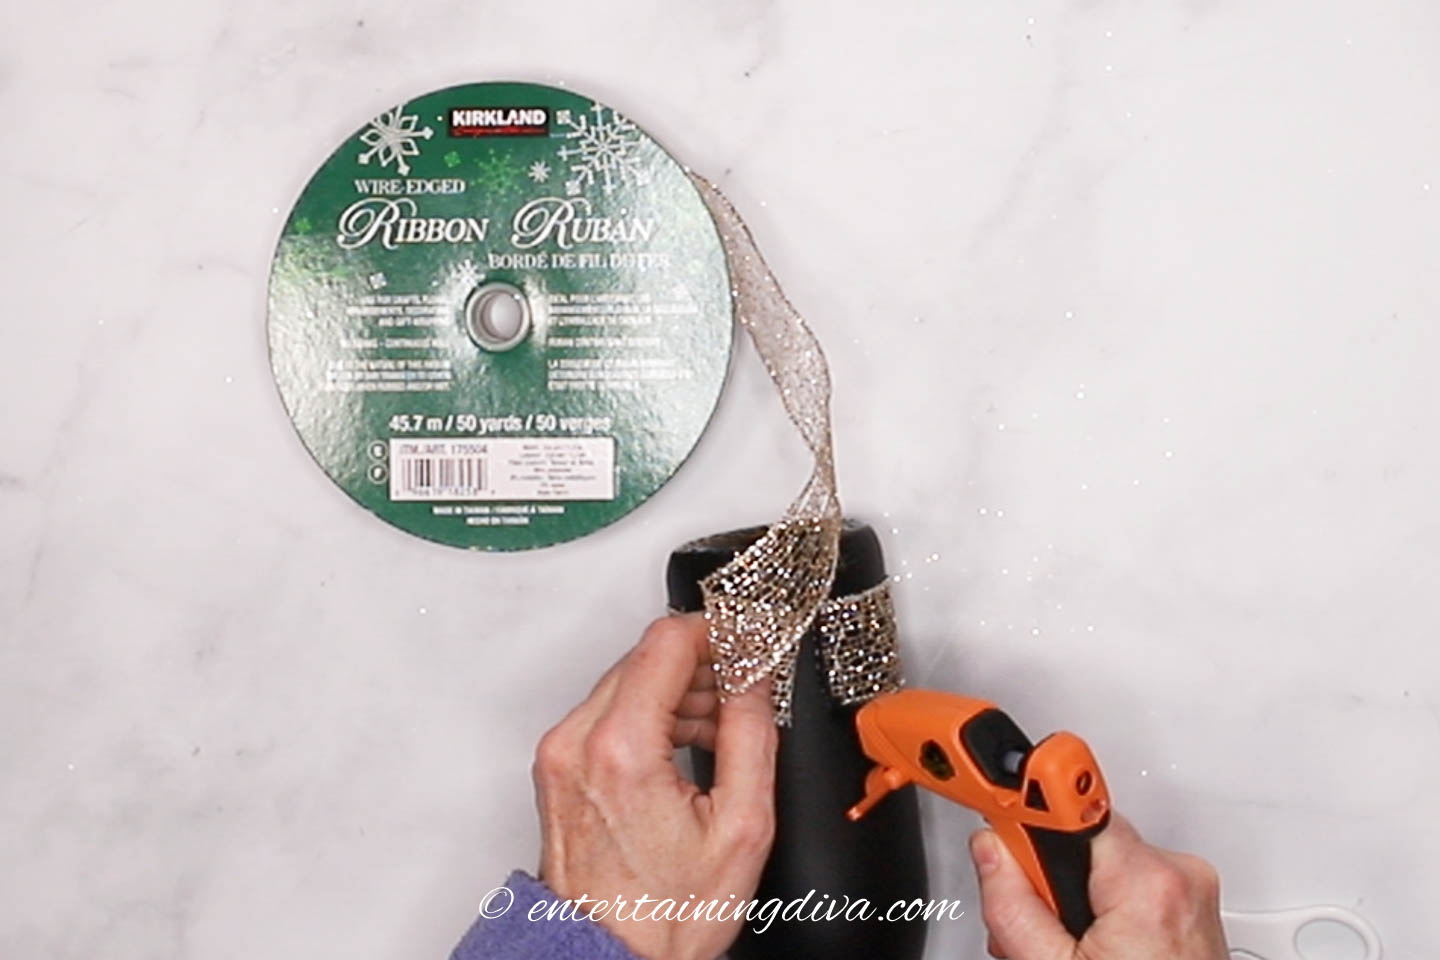
For narrower ribbon that is less than 4 inches wide, it is easiest to use a glue gun. Mostly because the repositionable adhesive tends to cover a wide area of the bottle, so the narrow ribbon won’t cover it all.
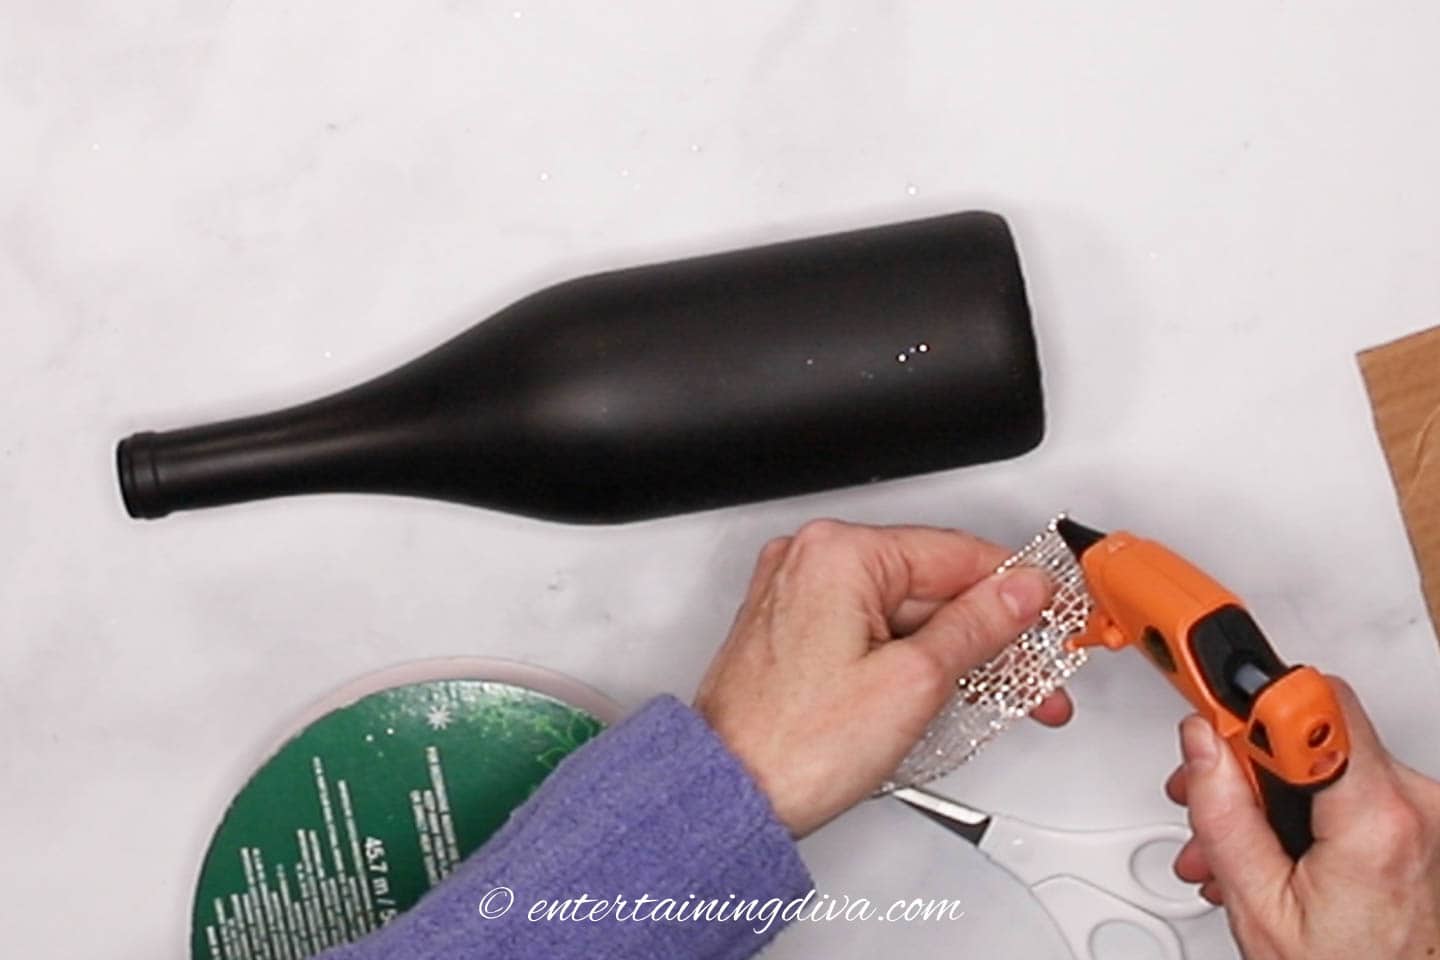
Add a line of hot glue along one end of the ribbon.
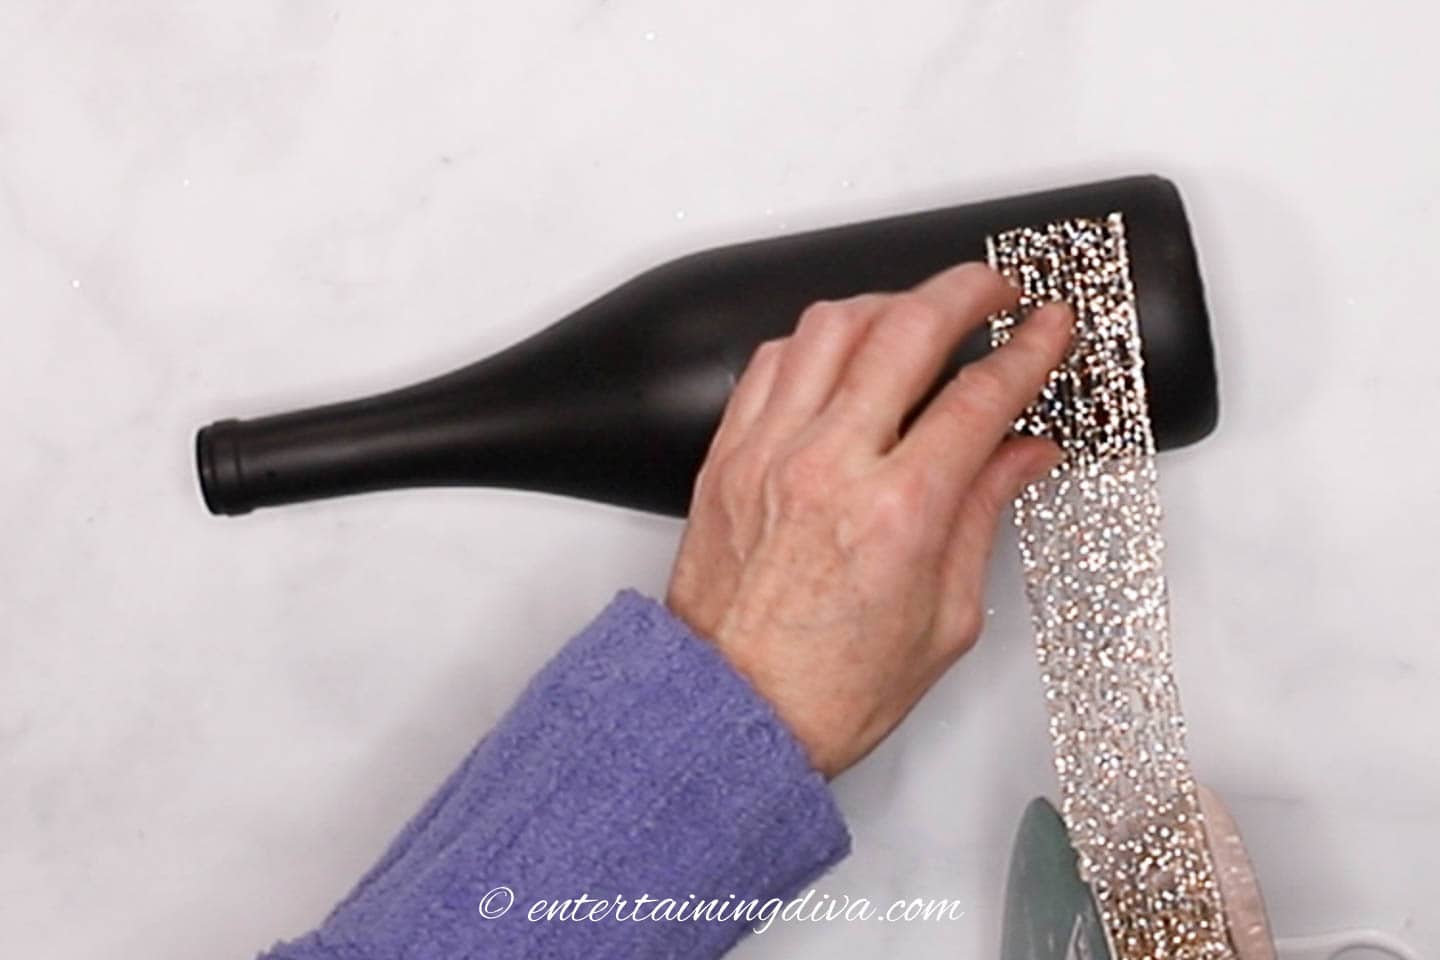
Stick the end onto the bottle where you want it.
Make sure it is lined up straight.
Wrap the ribbon around the bottle and hot glue the other end to the bottle.
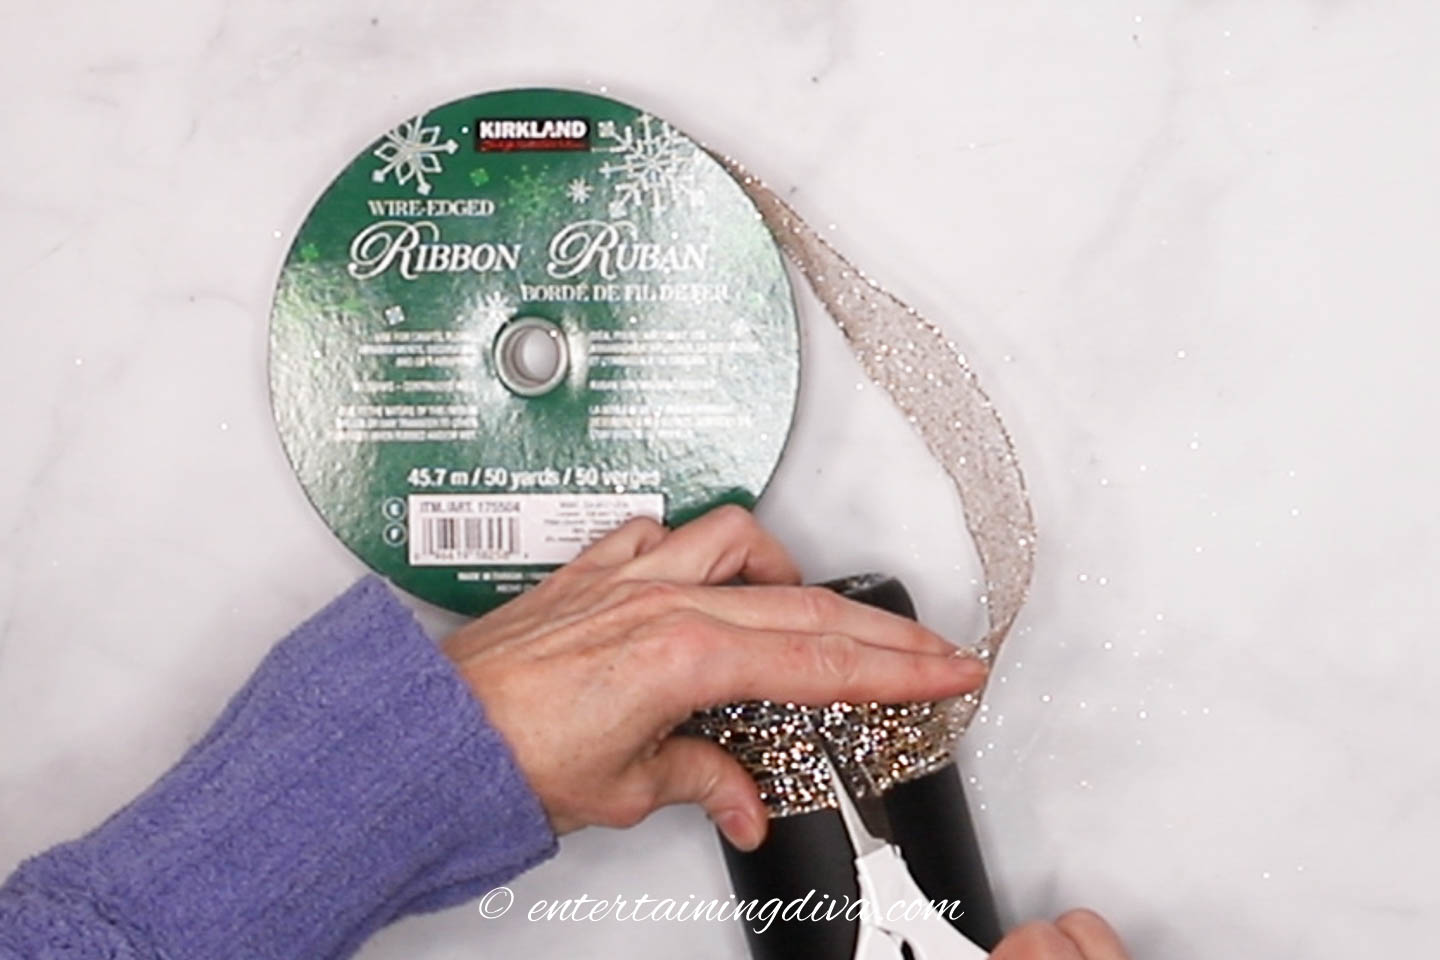
Cut off the extra ribbon.
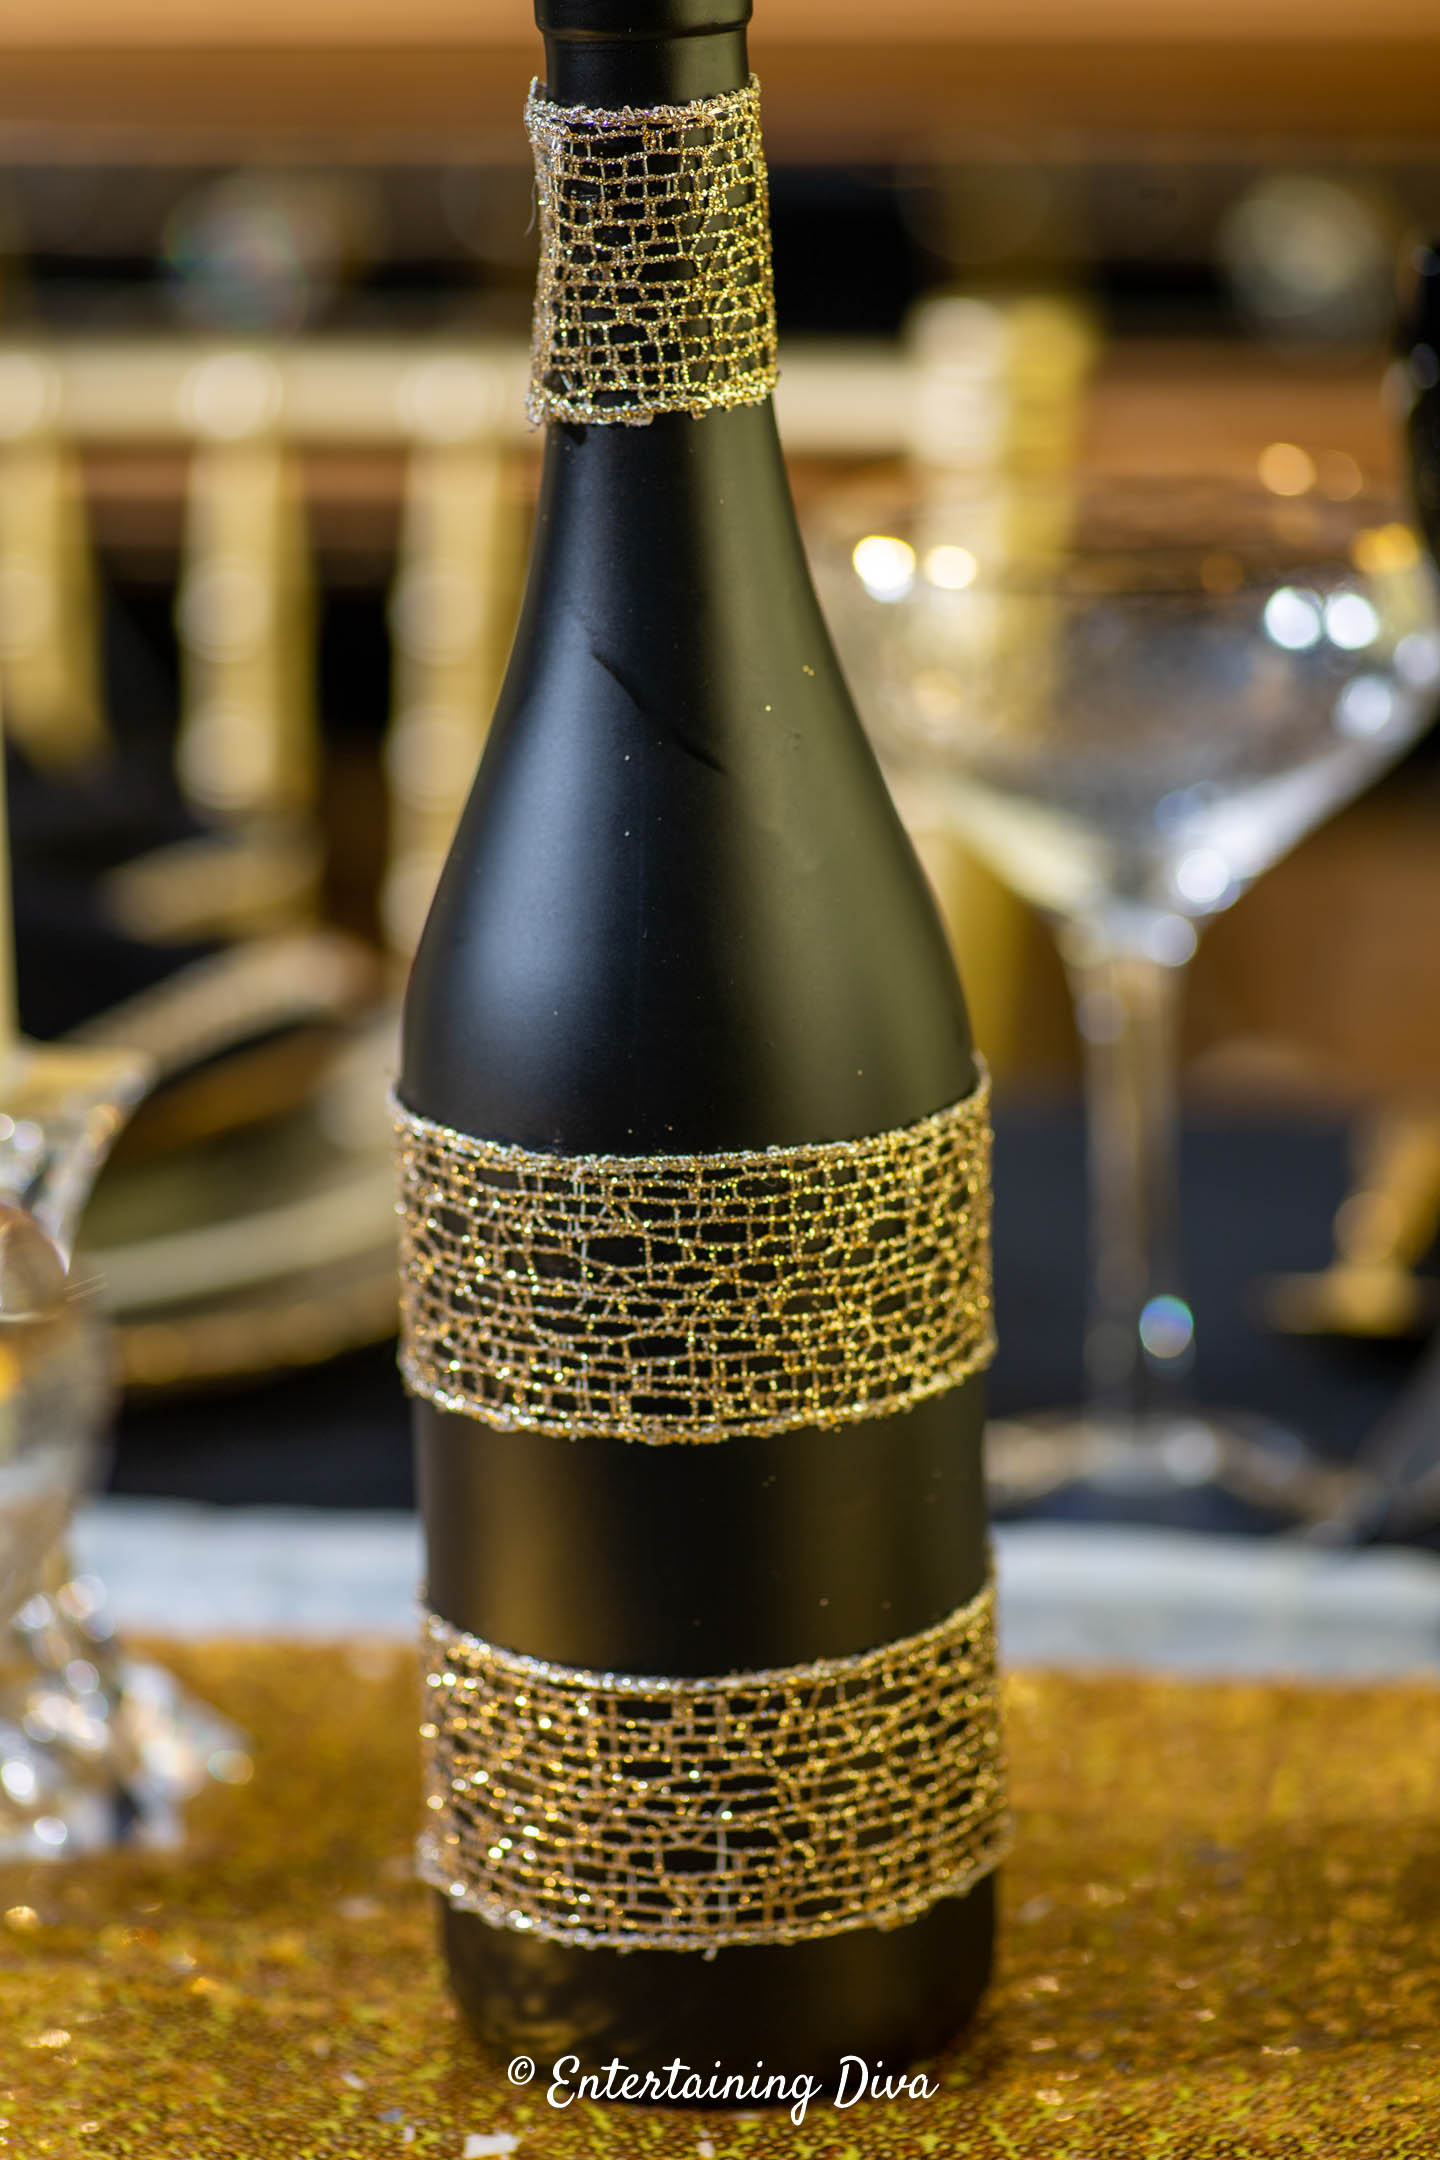
If you want to have more rows of ribbon (like this bottle that has 3 of them), you can repeat the same steps to add more layers.
Avoid wrapping the ribbon around sections of the bottle that are on an angle since that will make it difficult to get the ribbon to lay flat.
Method #2 – For wide ribbon
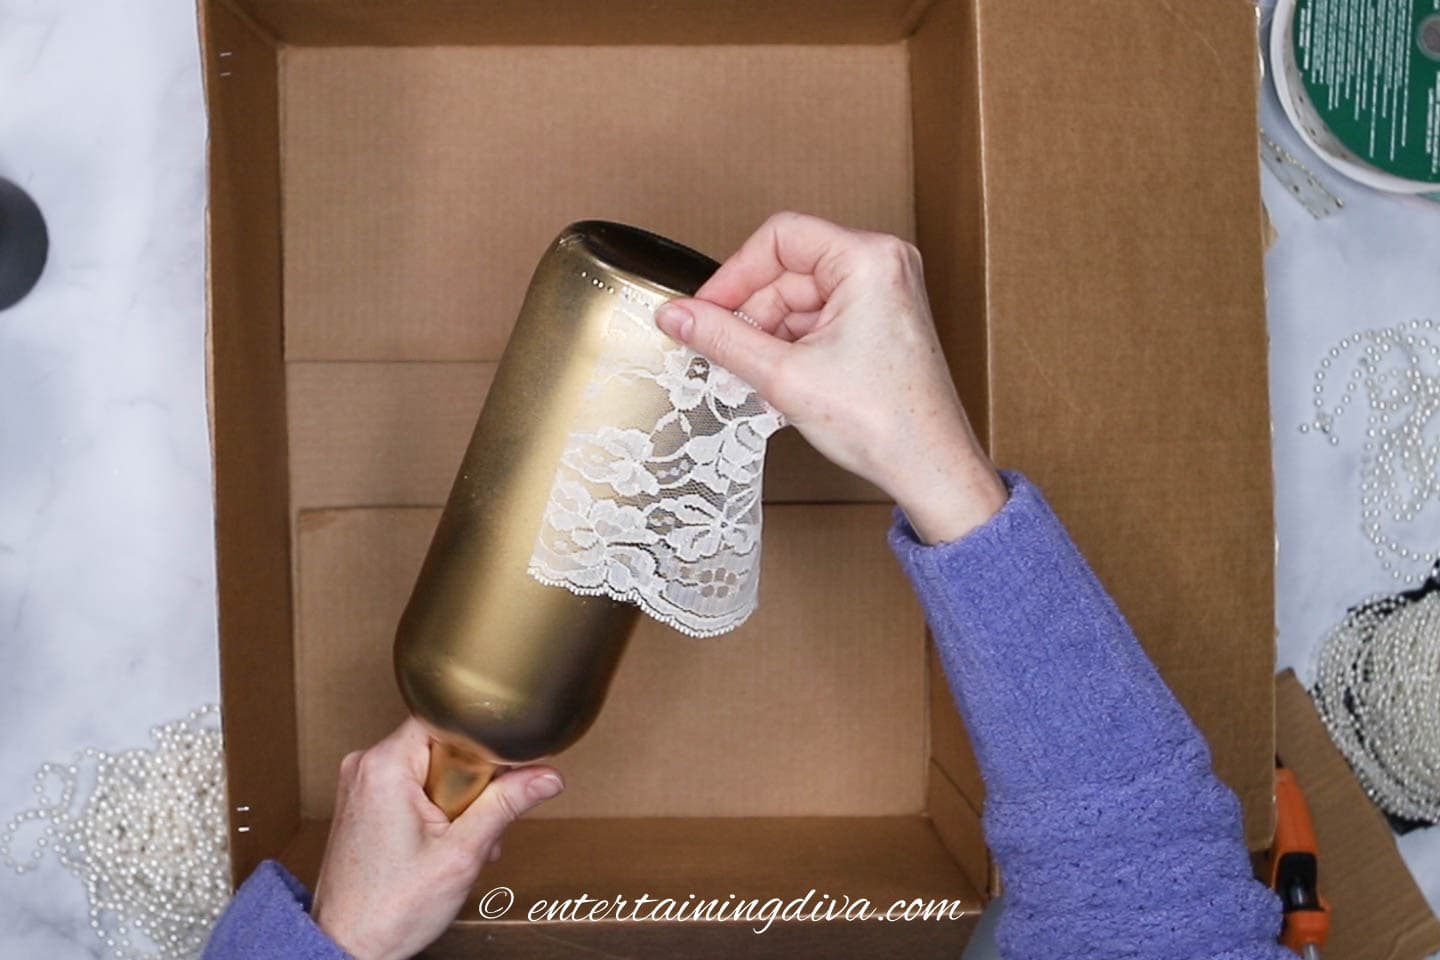
If you are using a wide ribbon (4 inches or wider), then using repositionable adhesive is the easiest way to glue it on.
Spray the area of the wine bottle where you want to attach the ribbon with the repositionable adhesive.
I like to do this in an empty cardboard box since it keeps the adhesive from going everywhere.
I find that putting wide ribbon around the bottom of the bottle works the best since you can line it up with the bottom edge to keep it straight.
Of course, you are free to change the position if you want to.
Wrap the ribbon around the bottle where you sprayed the adhesive.
Since the glue is repositionable, you can lift the ribbon up and move it if you don’t get it on right the first time.
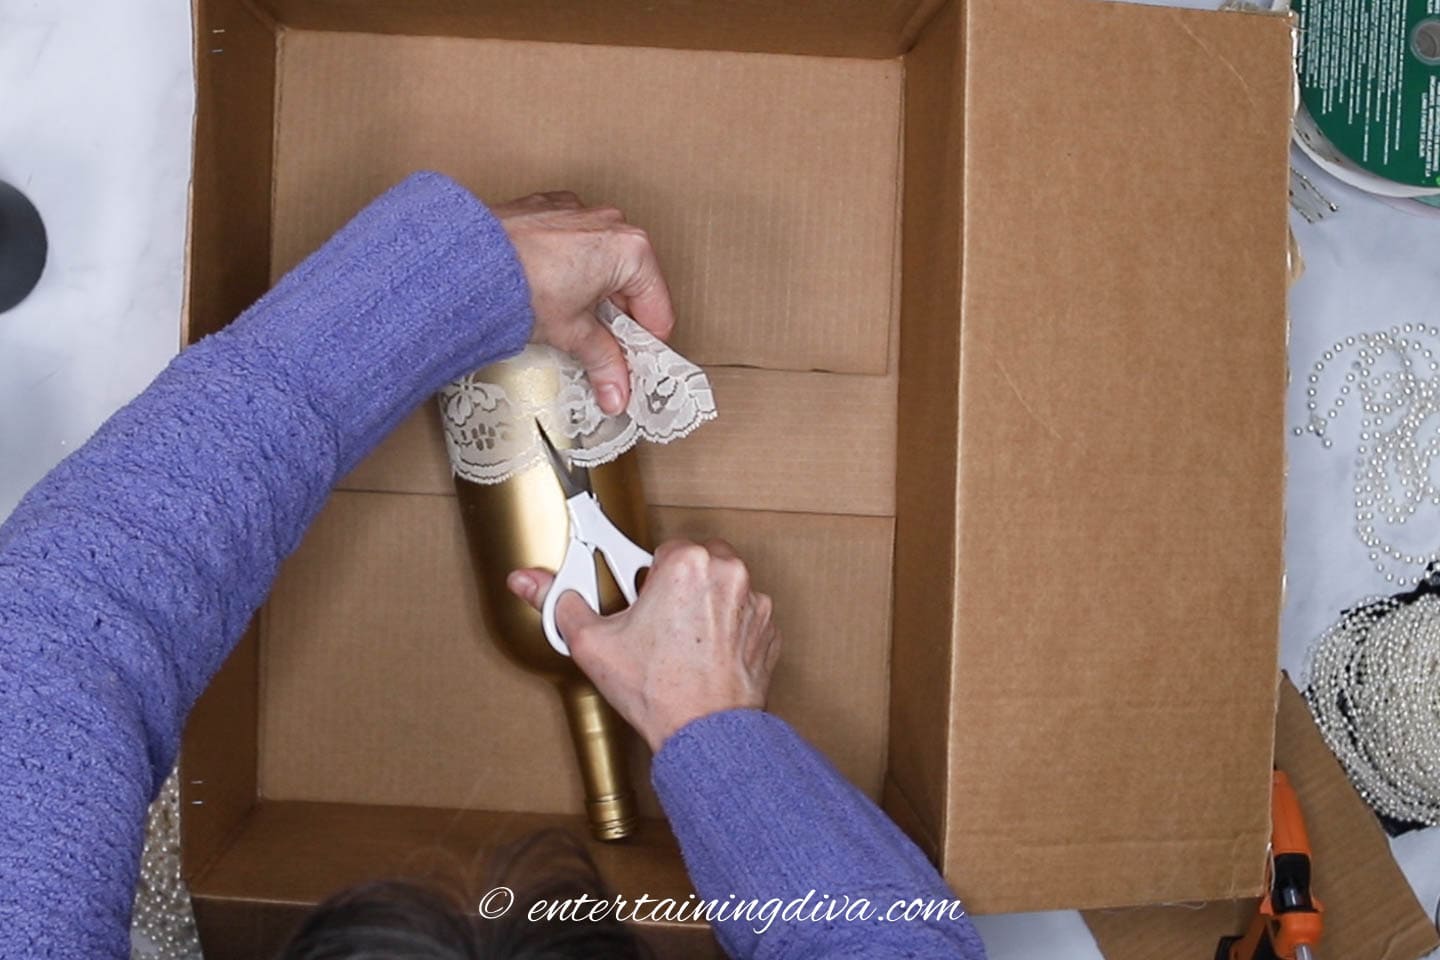
Cut off any excess ribbon.
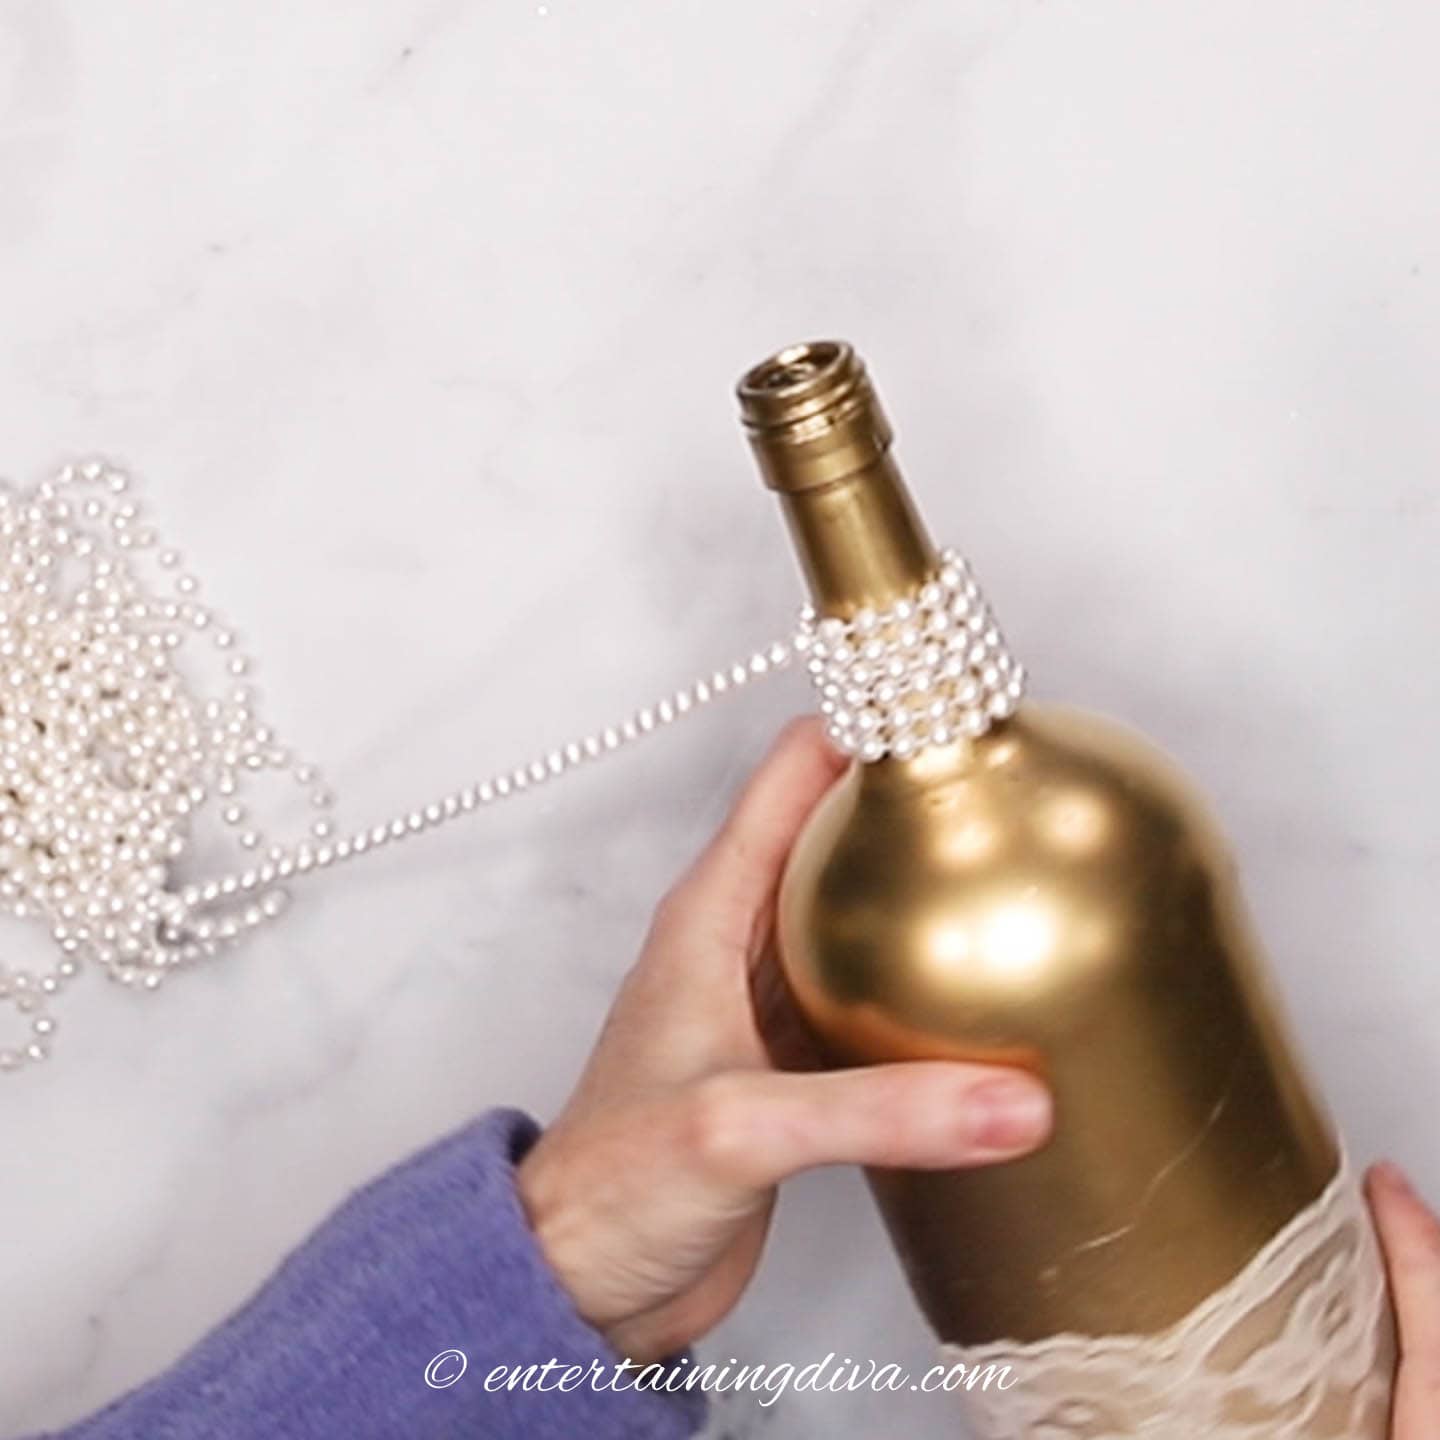
Method #3 – For strings of pearls or beads
Using a glue gun method will also work for attaching strings of faux pearls or beads to a wine bottle.
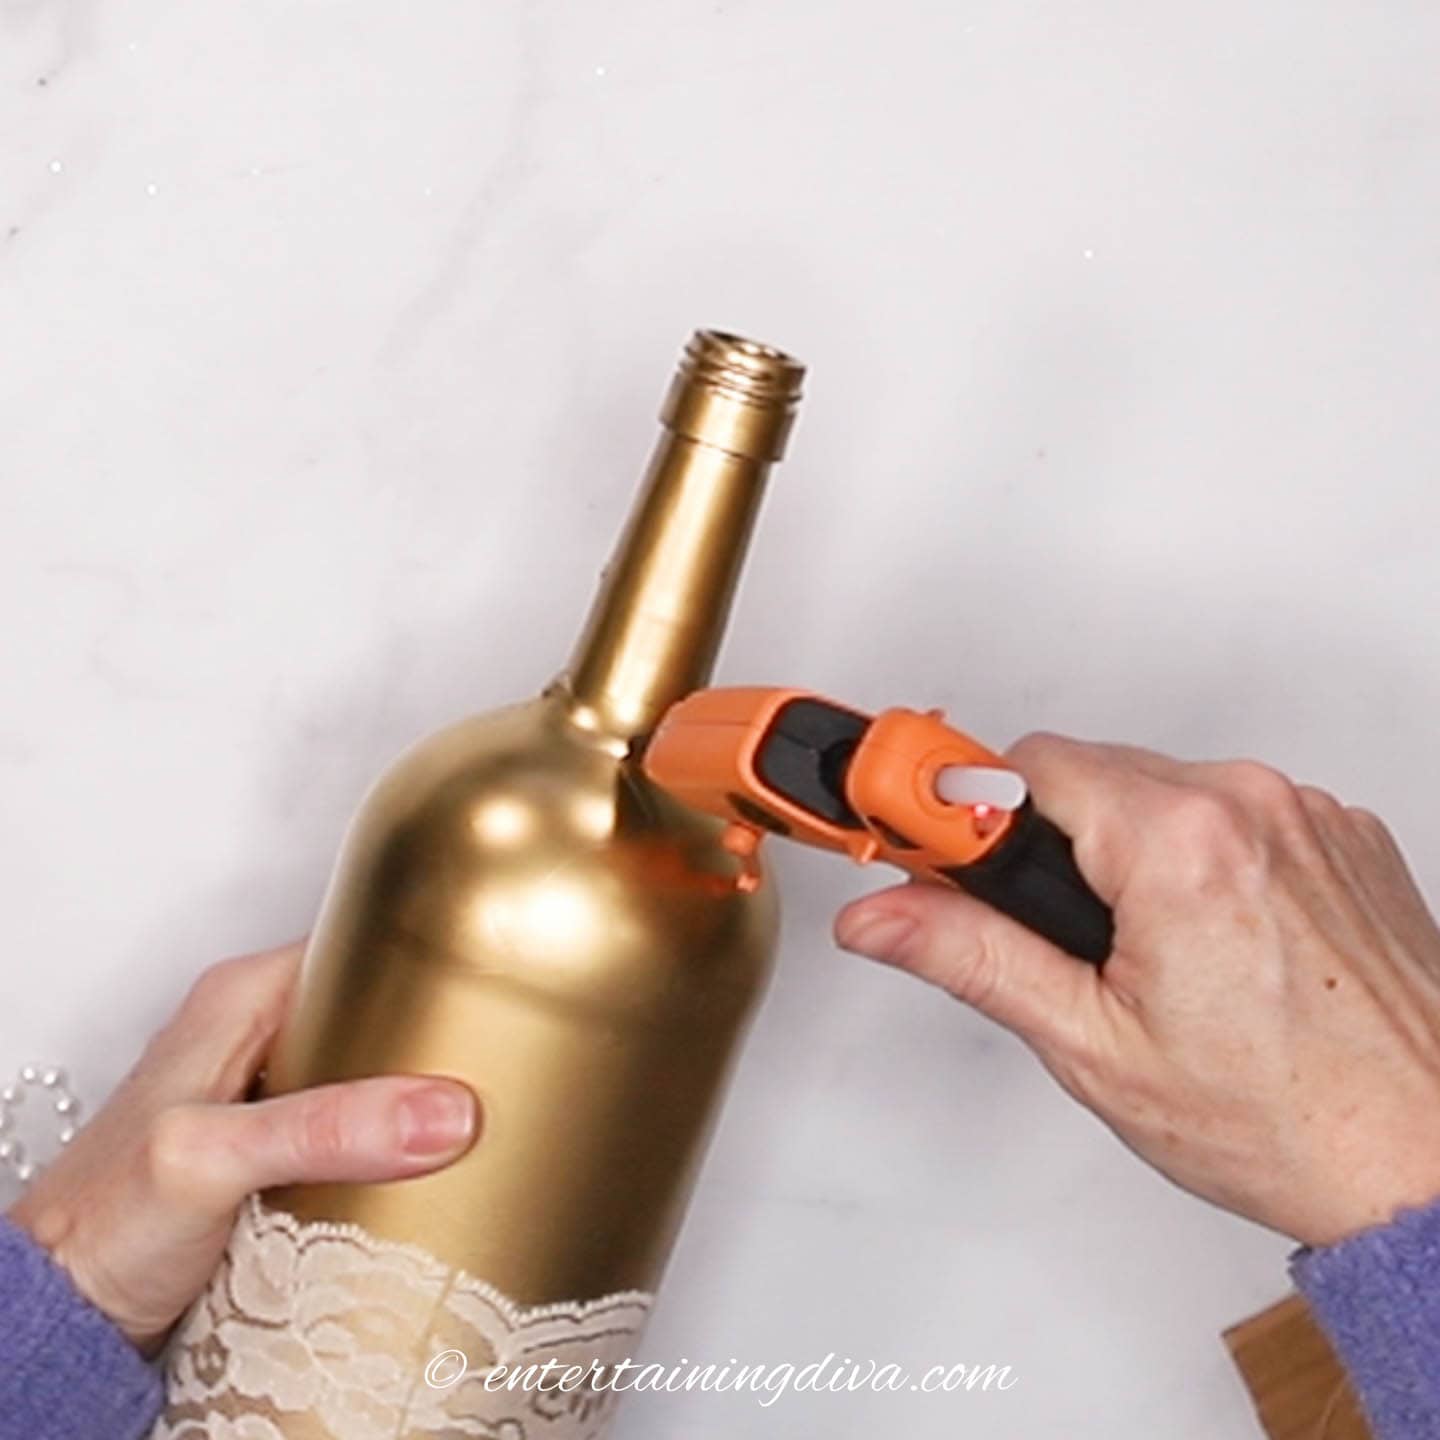
Put a line of glue on the bottle where you want the beginning of the string to be attached.
Attach the first end of the string to the glue.
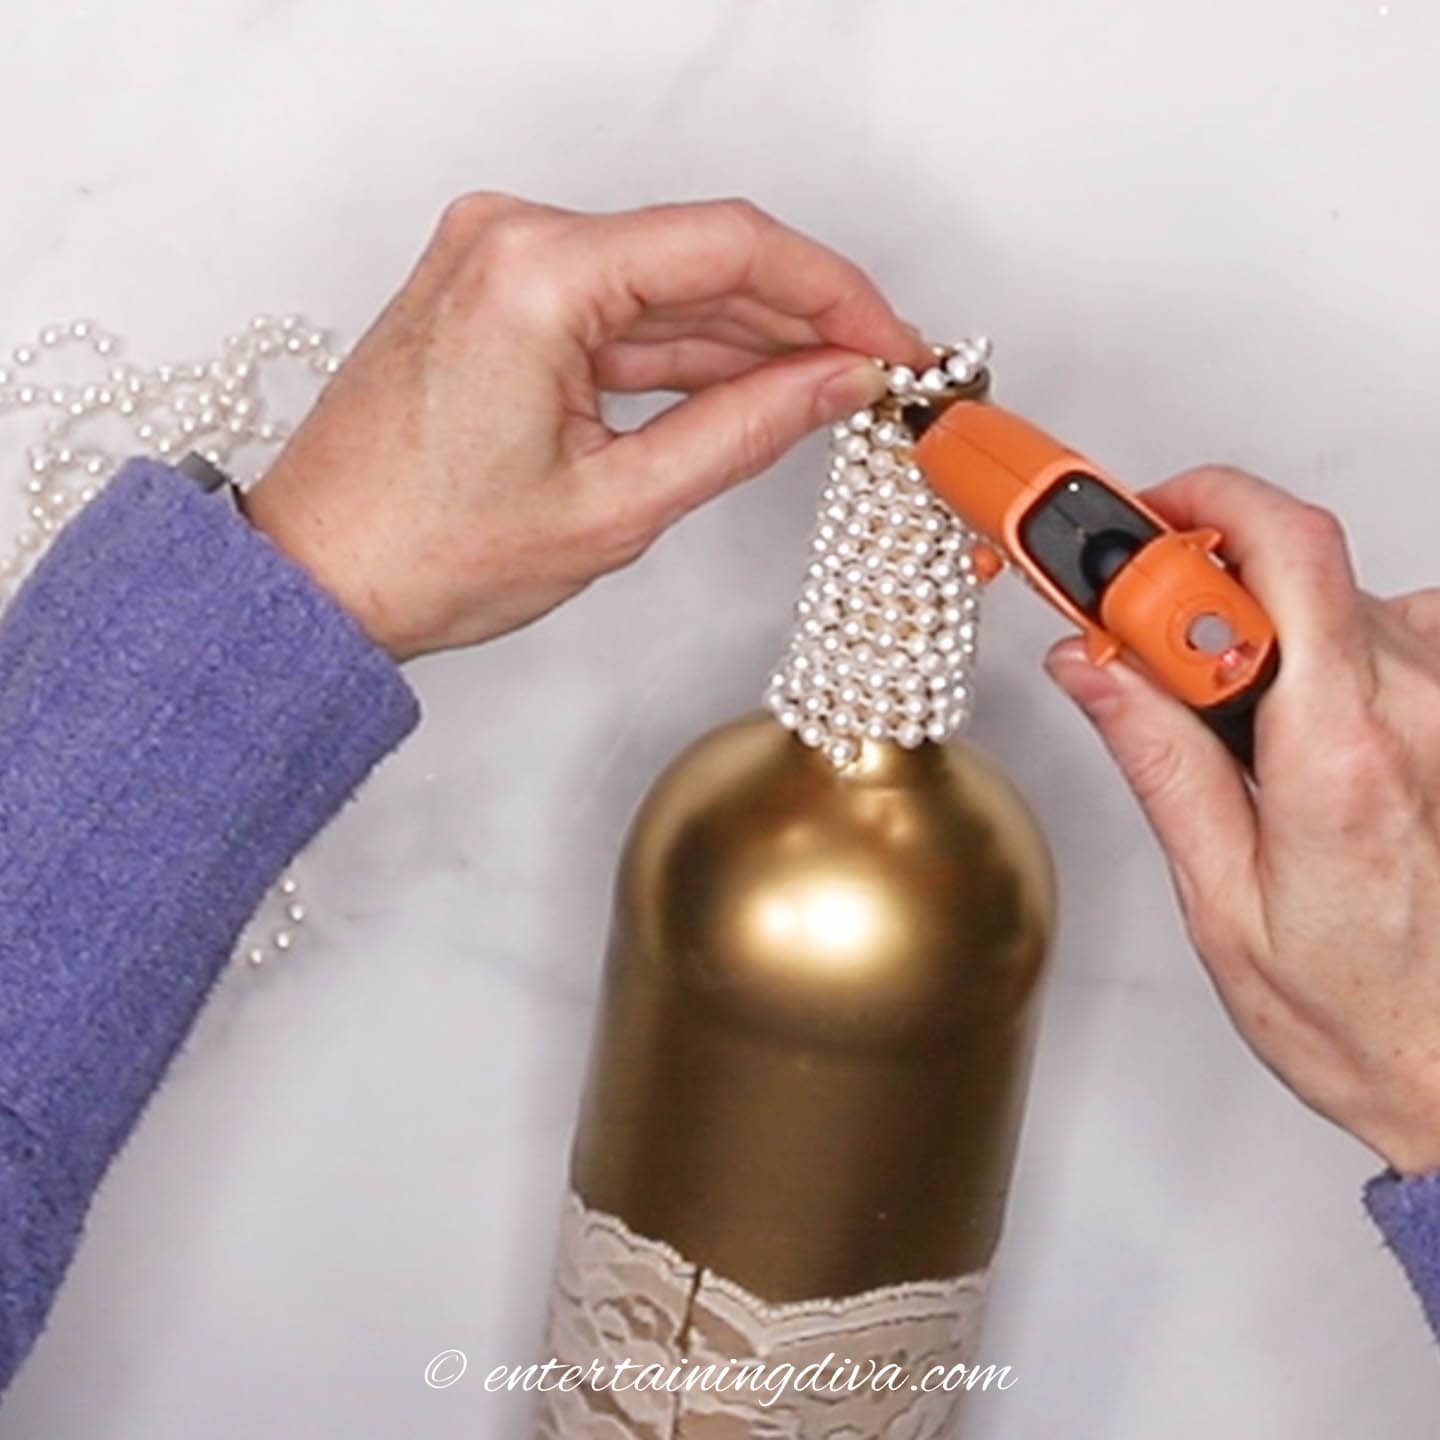
Do this quickly so it doesn’t have a chance to dry.
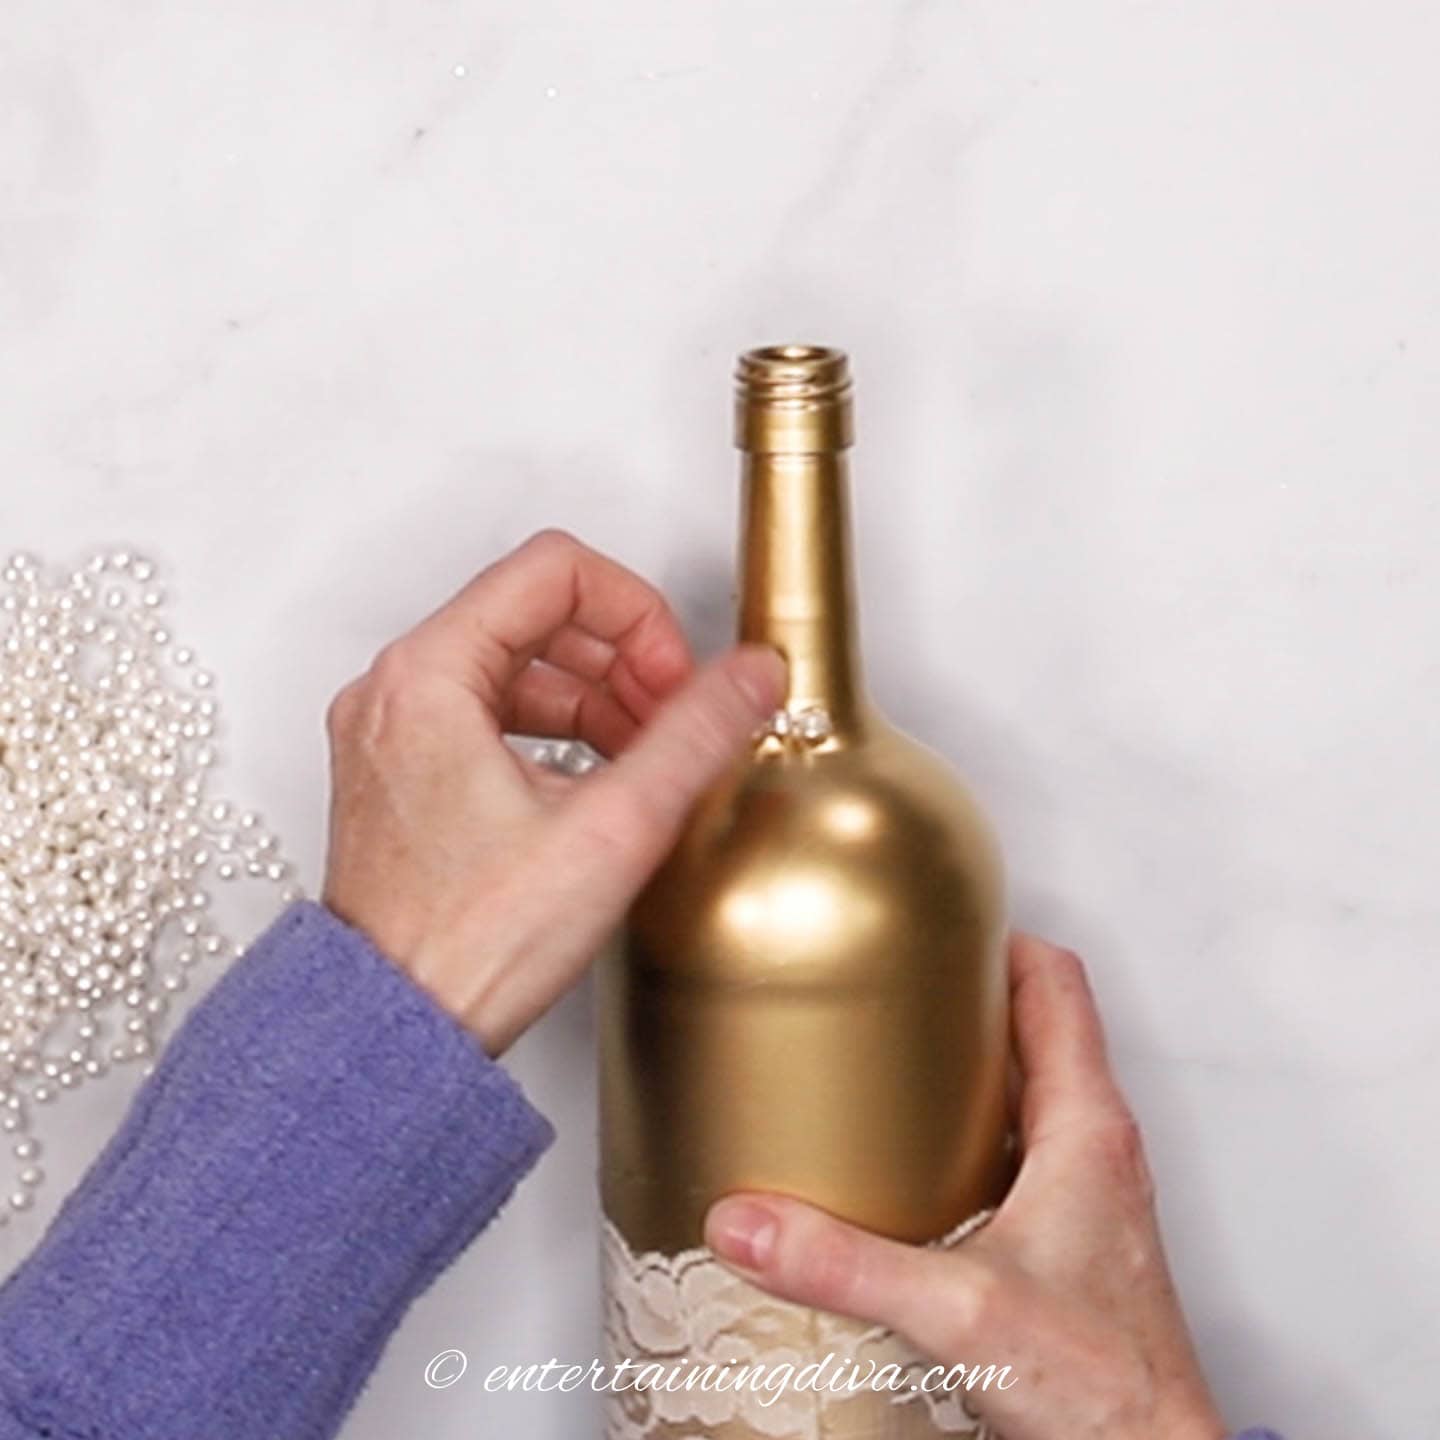
Then wrap the string around the bottle tightly as many times as you want to.
You may need to hold the string at the starting point to make sure it doesn’t move.
Finally, attach the other end of the string with another line of hot glue.
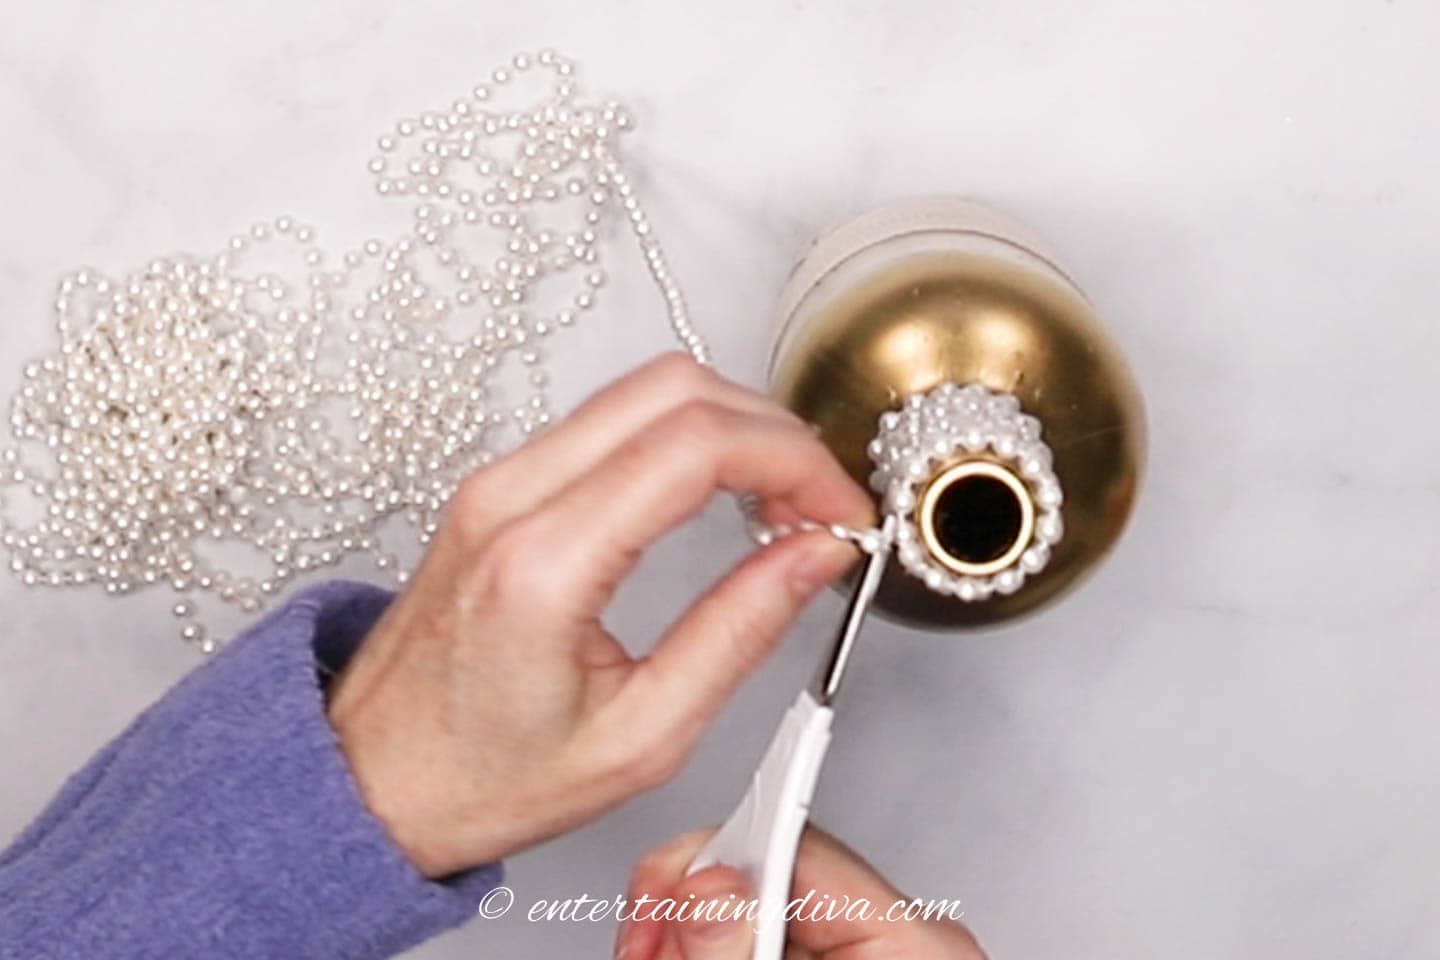
Cut off the excess string.
If the beads are slipping, you may need to add a line of glue around the bottom edge of the string to keep it in place.
Then the ones above should stay.
Other wine bottle decorating ideas you might like
- How to decorate wine bottles for centerpieces
- DIY gold wine bottle with black lace
- DIY black wine bottle with rhinestones and pearls
Have comments or questions on how to decorate a wine bottle with ribbon? Tell us in the section below.
This post was originally published on March 28, 2023 but was updated with new content on December 13, 2023.