
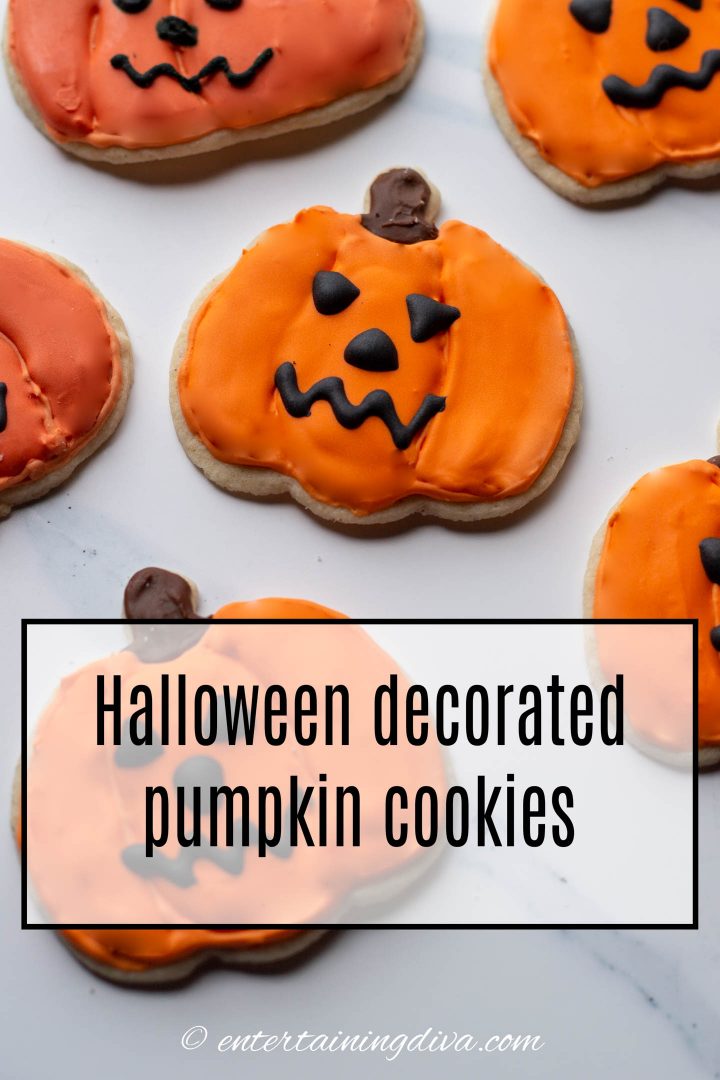
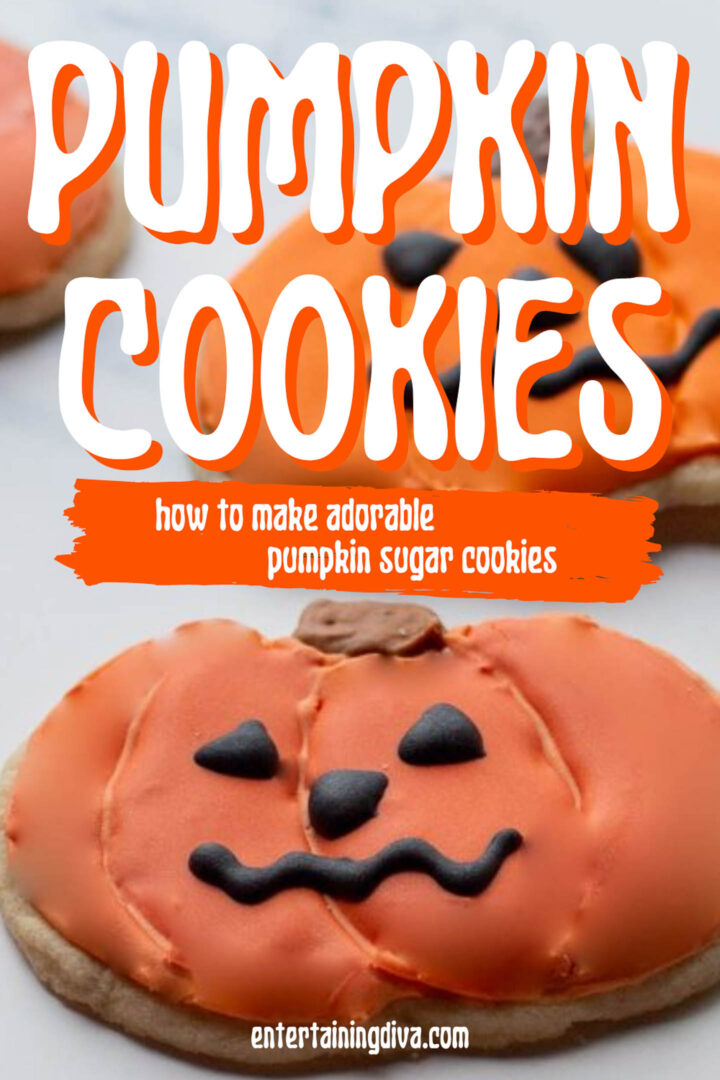
Decorated Pumpkin Sugar Cookies With Orange Royal Icing
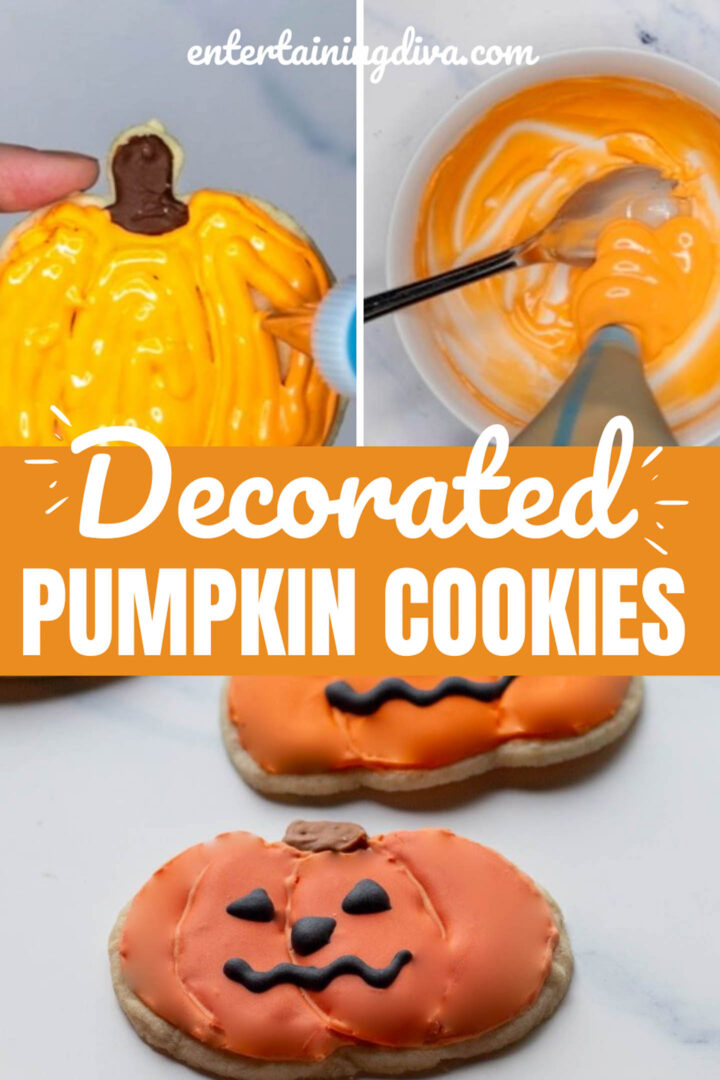


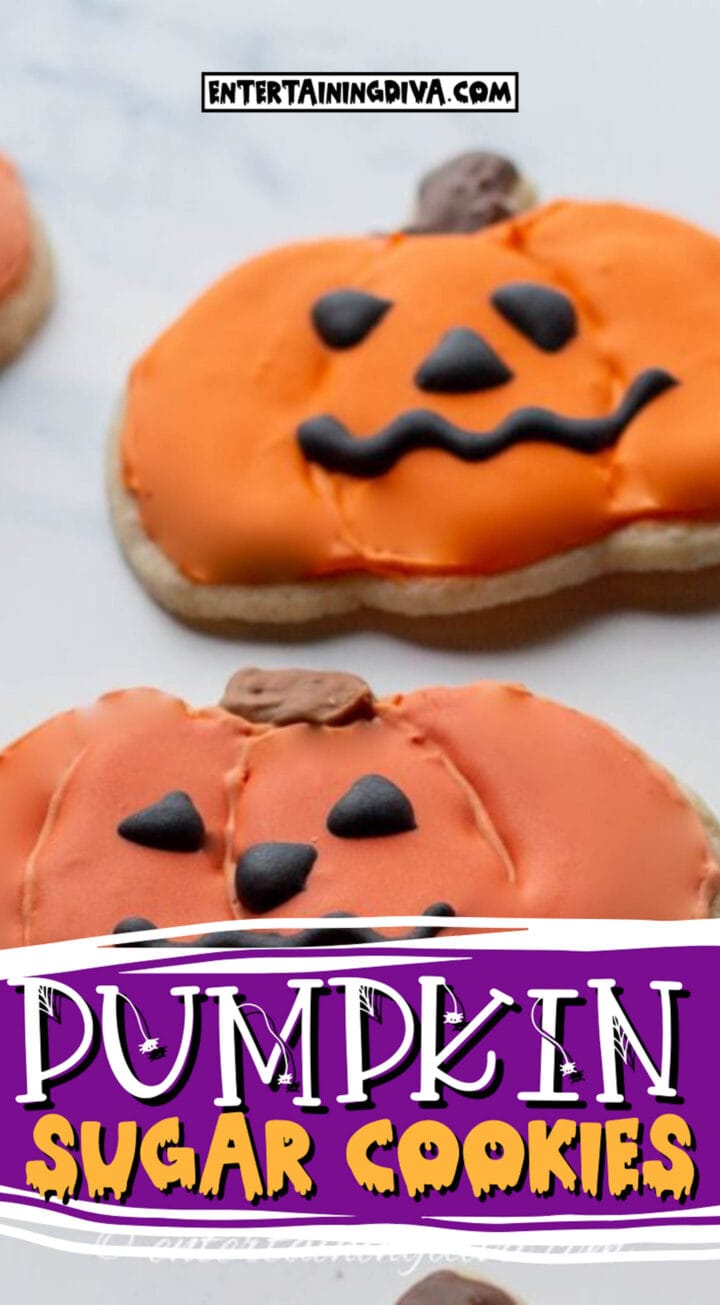

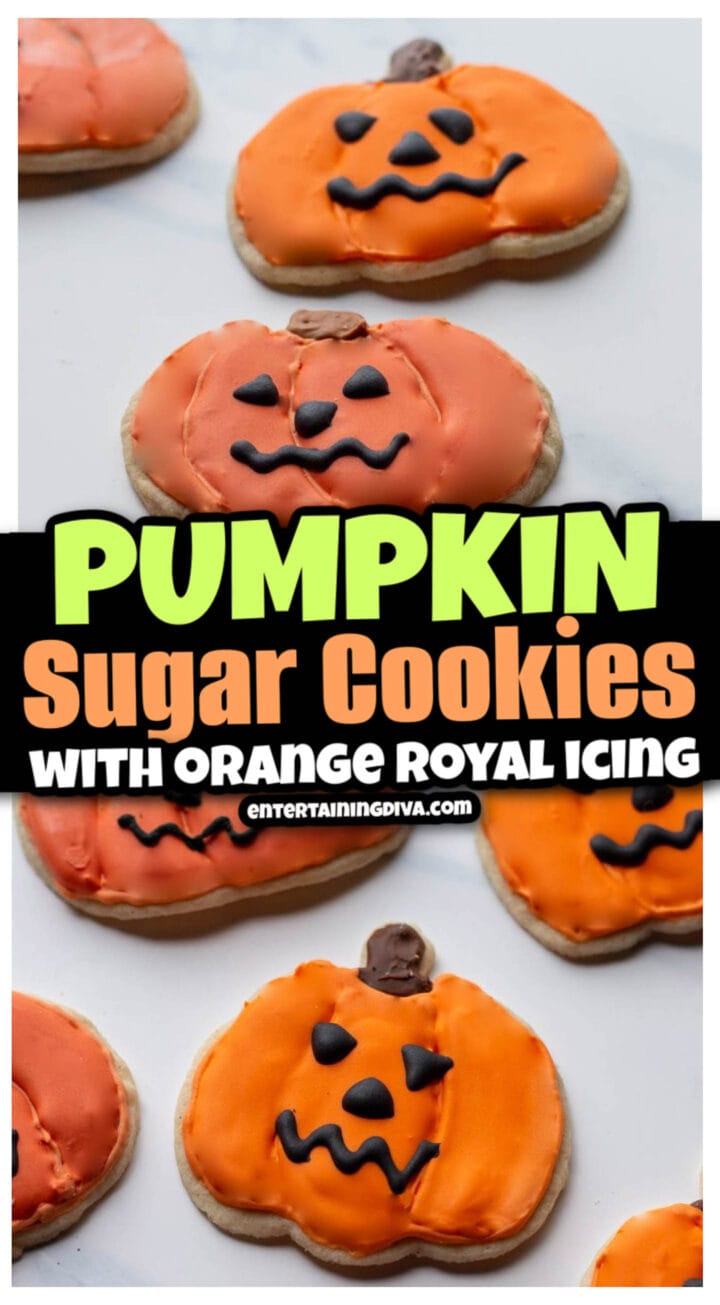


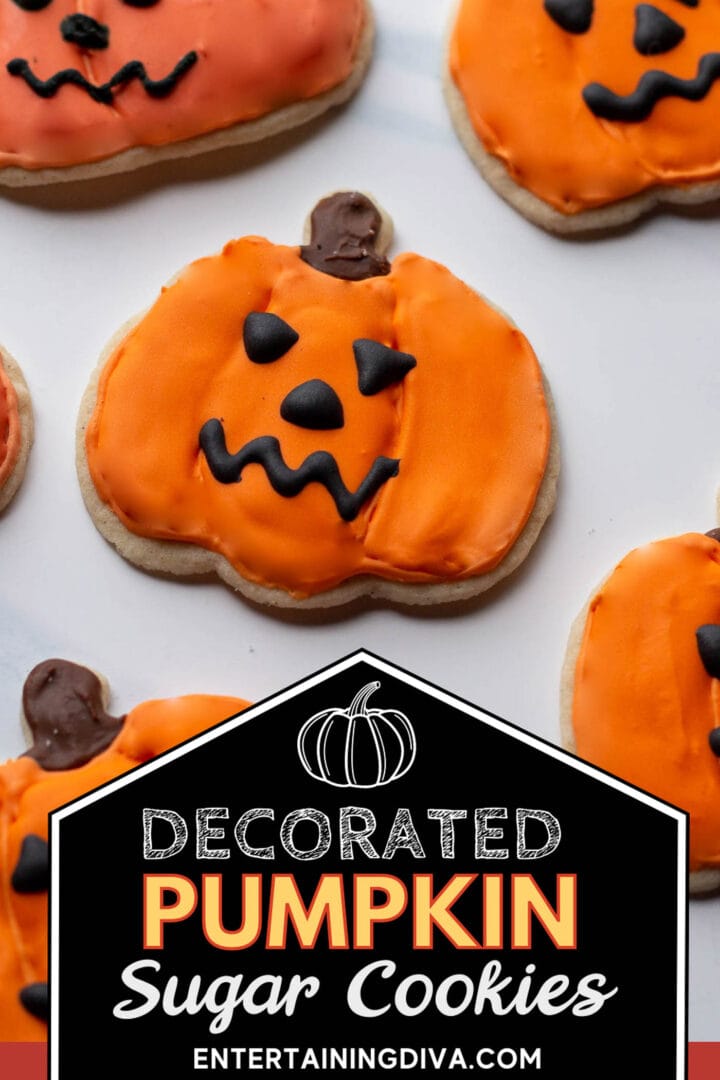
This decorated pumpkin sugar cookies recipe takes a little time to put together, but the results are an adorable Halloween treat that is worth the wait! They’re made with pumpkin spice extract for some extra fall flavor and orange royal icing for that pumpkin fall color.
I admit it.
I’m not really a baker.
But I do love Halloween.
And I love the look of decorated cookies.
This year I finally decided to learn how to make them myself.
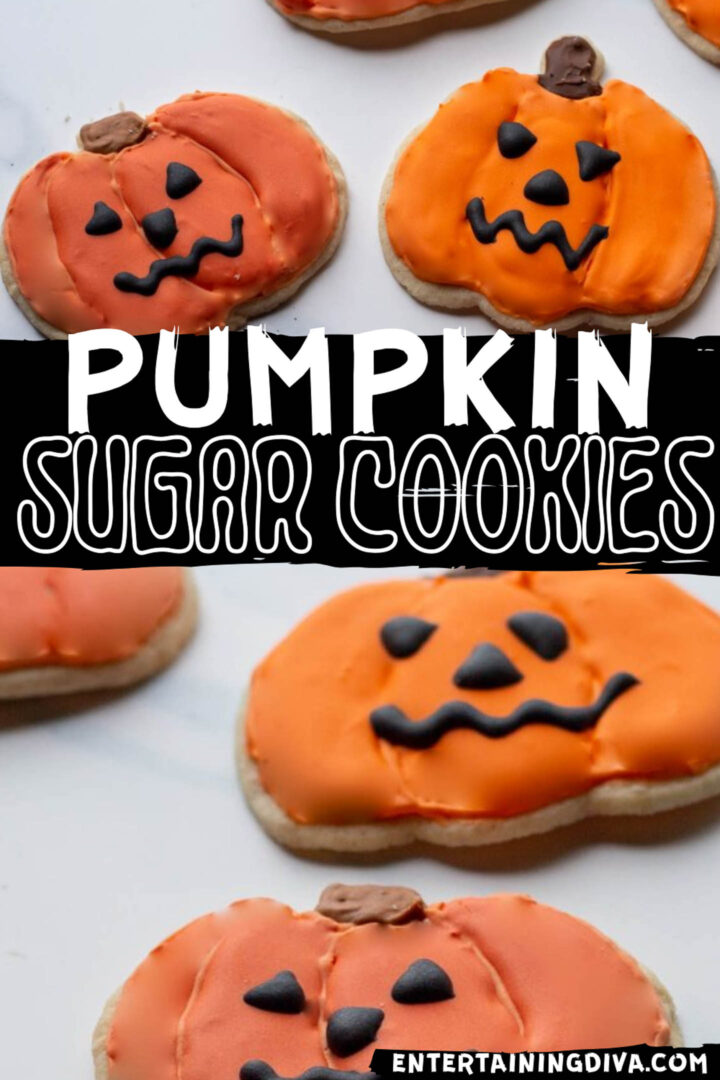
And these cute Halloween pumpkin cookies were one of the recipes I had to make.
Especially after I found out there’s a pumpkin pie spice extract you can use to give them that fall flavor everyone loves!
So I tried out all the options to figure out how to make the sugar cookies that hold their shape, how to get the icing to be the right consistency and the best way to make orange royal icing.
Not to mention using a piping bag to decorate my pumpkin cookies. A new skill for me so I’m definitely not an expert (watch for an upcoming post on everything I’ve learned so far).
Without further ado, here’s my decorated pumpkin cookies recipe.
Decorated Pumpkin Cookies Ingredients
This post may contain affiliate links. We make a small commission if you buy the products from these links (at no extra cost to you). As an Amazon Associate, I earn from qualifying purchases. But we only recommend products we would use ourselves. For more information, click here to see our disclosures
Here is your shopping list:
- 1 egg
- flavoring: vanilla extract, pumpkin pie spice blend extract – the pumpkin pie spice extract is optional but I think it makes the cookies taste better. You can find it HERE*.
- baking supplies: salt, baking powder, baking soda, meringue powder
- flour – you can use regular all-purpose flour or measure-for-measure gluten-free flour (this gluten-free brand* works the best)
- sugar: granulated sugar, 1 pound icing sugar
- dairy: cold unsalted butter
- cocoa powder – Dutch processed cocoa powder is best because it is a darker brown.
- brown gel food coloring (optional) – gel food coloring works better than liquid because it doesn’t alter the texture of the icing
- orange gel food coloring – I used this brand*. You can also mix your own with yellow and red gel food coloring
- black gel food coloring – This brand* creates the darkest black with the least amount of food coloring.
Supplies
- 2 mixing bowls
- food processor
- stand mixer with mixing bowl
- cookie sheet – rimless cookie sheets work best
- parchment paper
- rolling pin
- pumpkin cookie cutter*
- thin spatula
- plastic wrap
- 3 small bowls
- piping bag – I like these reusable ones*.
- piping tip #1
- piping tip #4 or #5 – you can get a cookie decorating kit like this one* if you don’t have any piping supplies
- coupler (optional)
How to make the cookies
Make The Dough
You can find all of our tips and tricks for making sugar cookies HERE.
In a small bowl, combine an egg, 1 teaspoon vanilla extract, ¼ teaspoon pumpkin pie spice extract and ¾ teaspoon salt. Set aside.
In another bowl, mix 2½ cups of flour, ¼ teaspoon baking soda and ¼ teaspoon baking powder. Set aside.
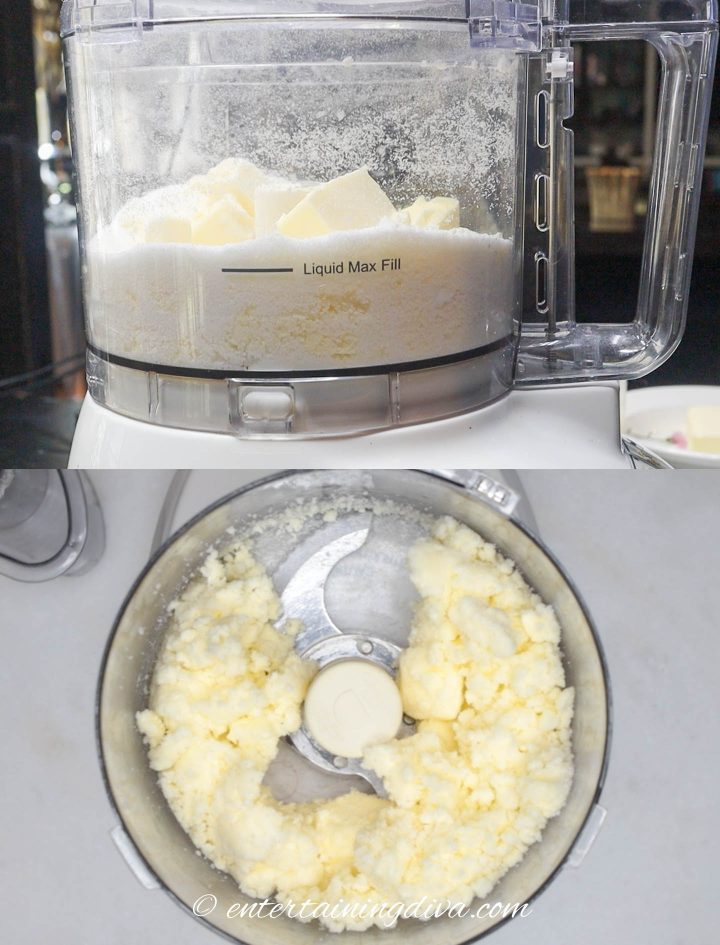
In the food processor, combine 2 sticks (1 cup) of cold straight-from-the-refrigerator butter cut into ½-inch chunks with 1 cup of sugar. Process until combined, about 30 seconds.
Add in the egg mixture and process until combined, about 10 seconds.
Then add the flour mixture and process until all of the flour is mixed in, about 30 seconds. Don’t over-process as it can make the cookies tough or cause them to have air bubbles.
Roll The Dough
Divide the dough in half.
Place one half between two large sheets of parchment paper.
Through the parchment paper, push the dough flat with your hands.
Then use the rolling pin to roll the dough out to about 1/8″ thick.
Move the rolled-out dough onto a cookie sheet or tray, keeping the parchment paper on both sides.
Repeat the process with the other ball of dough then place it on top of the first sheet on the tray.
Refrigerate the dough for 1½ hours, or freeze for 30 minutes.
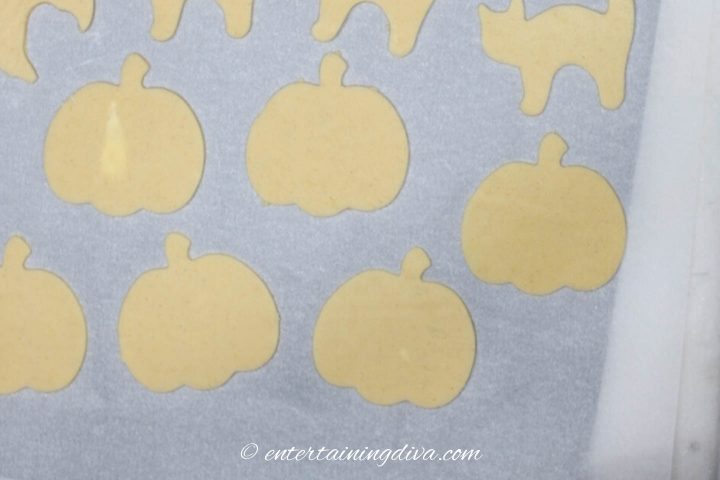
Cut Out The Pumpkins
Take the first sheet of cookie dough out of the refrigerator. (Leave the second one in for now.)
Peel off the top layer of parchment paper. (Leave the bottom sheet where it is).
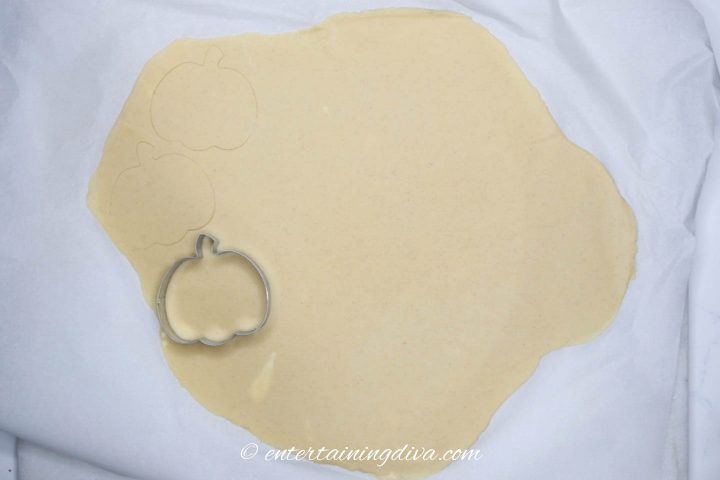
Use the pumpkin cookie cutter to cut the shapes in the dough.
Put the cut-out cookie dough back in the refrigerator.
Repeat with the second sheet of cookie dough.
Refrigerate both layers for another 30 minutes or until the dough is stiff. This will make the cookies much easier to move to the cookie sheet without wrecking their shape.
Bake The Cookies
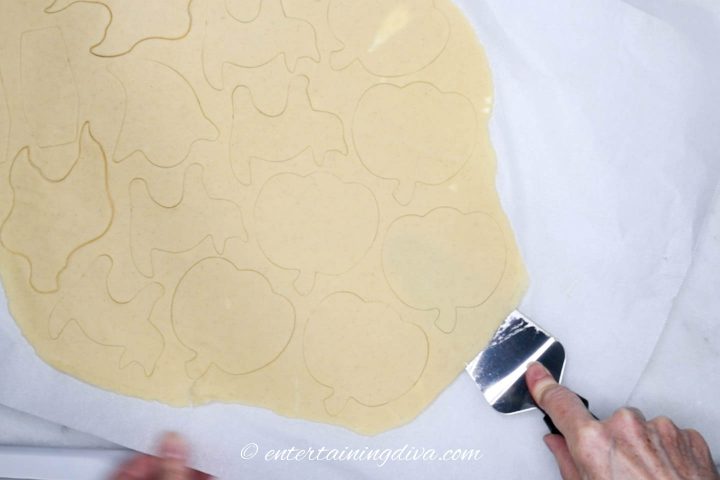
Run a thin spatula under the cookie dough to separate it from the bottom layer of parchment paper.
Put down a piece of parchment paper on a cookie sheet.
Then lay out the cookies on the parchment paper about ½ inch apart.
Bake at 300℉ for 14 to 18 minutes, until the bottom of the cookies are slightly brown.
Let cool for 5 minutes on the cookie sheet.
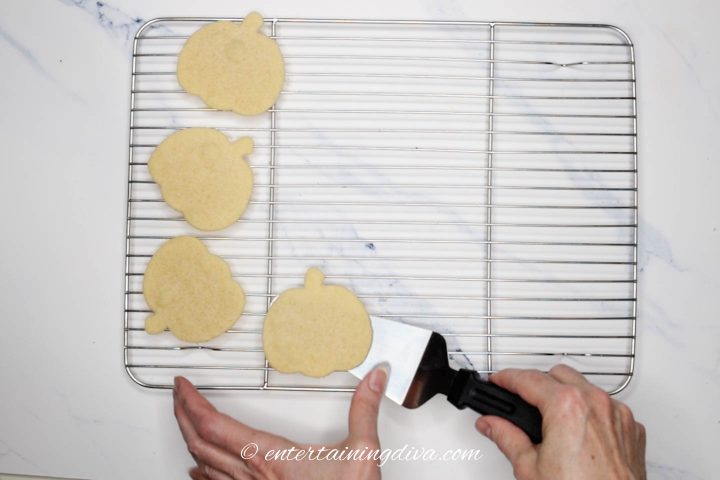
Move the cookies to a wire rack to let them cool completely.
Repeat the baking process with the other sheet of cookies
Ball up the extra dough and roll it out to make another batch of cookies.
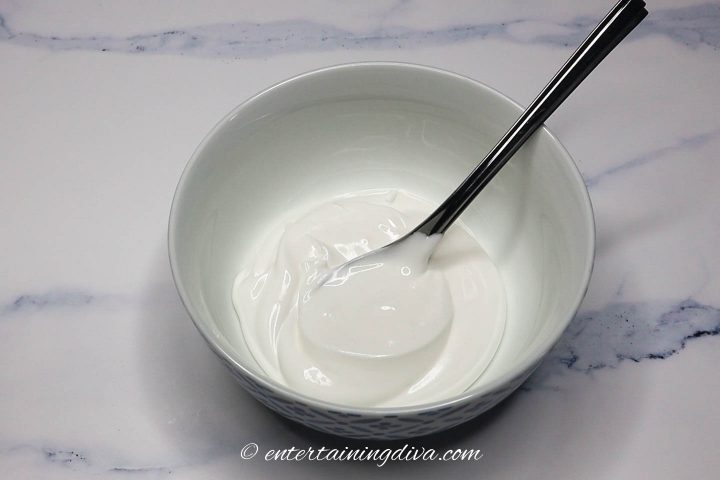
Make white royal icing
You can find all of our tips and tricks for making royal icing HERE.
Mix 4 cups icing sugar, 3 Tablespoons meringue powder and ½ cup of WARM water in a stand mixer on low speed
Once they are combined, increase to medium speed.
Mix for 5 to 8 minutes until the icing forms soft peaks. (When you remove the whisk, the icing should create a hill with a tip that leans over.)
Test the icing consistency
Now we’re going to test the icing consistency.
To do this run a knife through the middle of the icing and count how many seconds it takes to close the gap.
I like to use “15 second” icing for this. But depending on your preference, anything between 10 second and 20 second icing would work.
If it takes longer than that, mix in a few drops of water.
If it closes too fast, beat it a little longer or add in a little more icing sugar.
Make brown royal icing
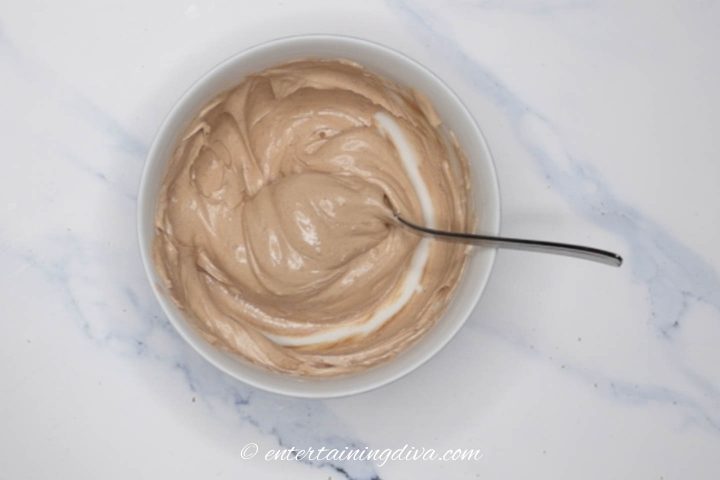
The first icing color we’re going to need is brown for the stems of the pumpkins.
Move about ½ cup of the white icing into a small bowl.
Then mix in about 1 to 2 teaspoons of cocoa powder. Dutch cocoa powder works best since it is a darker color.
If you want your icing to be a darker brown (or you don’t want to use cocoa powder), add in a little bit of brown gel food coloring (I don’t usually bother with this step).
Do the consistency test again. You may need to add a little more water because of the cocoa powder.
Cover the top of the icing with a sheet of plastic wrap, pushed down so that it’s touching the icing. This will keep it from drying out.
Make black royal icing
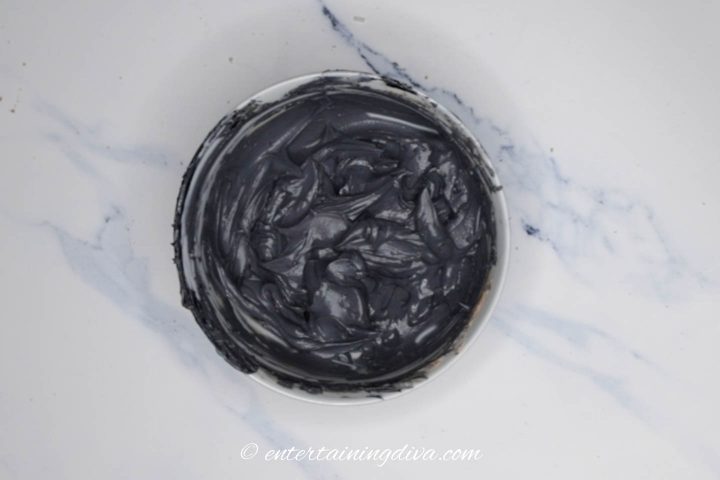
Next, we’re going to make black royal icing for the eyes, nose and mouth of the pumpkin.
Put 1/2 cup of white icing into another small bowl.
Add in the black gel food color a little at a time until you get a dark grey color. The icing will get darker as it dries so don’t worry if it’s not black.
Try to use as little black food coloring as possible since it will make the icing taste bitter.
If the icing is too stiff, add in a few drops of water to thin it to the consistency you want.
For more information about how to make black royal icing, click HERE.
Cover it with plastic wrap pushed down to touch the surface to keep the icing from drying out.
Make orange royal icing

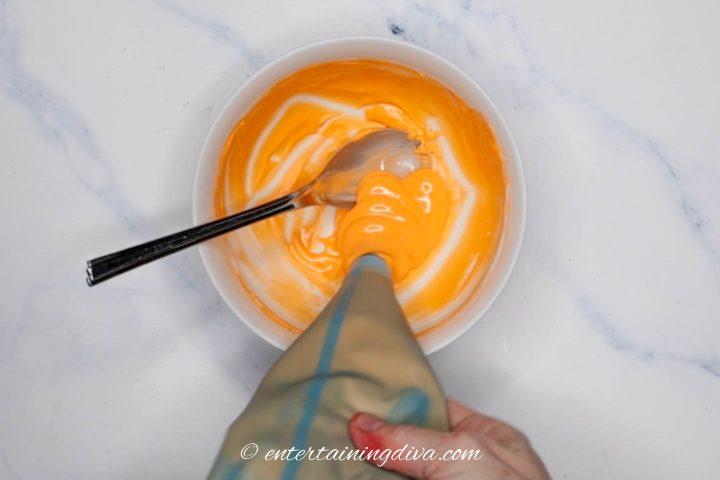
Mix a little orange gel food coloring to the rest of the white icing. Don’t use liquid food coloring since it changes the consistency of the icing.
If the icing is not orange enough, add a little more of the coloring.
Don’t use too much food coloring or it will make the icing taste bitter.
Again cover it with plastic wrap until you are ready to use it.
How to make homemade orange food coloring
If you don’t have orange food coloring, you can make your own from red and yellow food coloring.
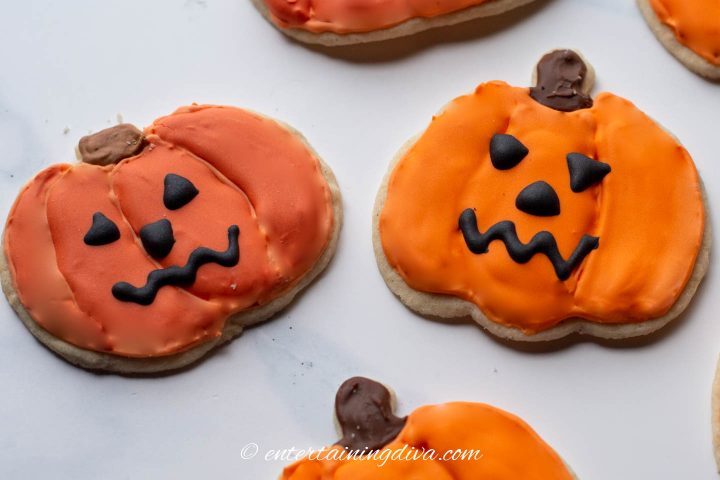
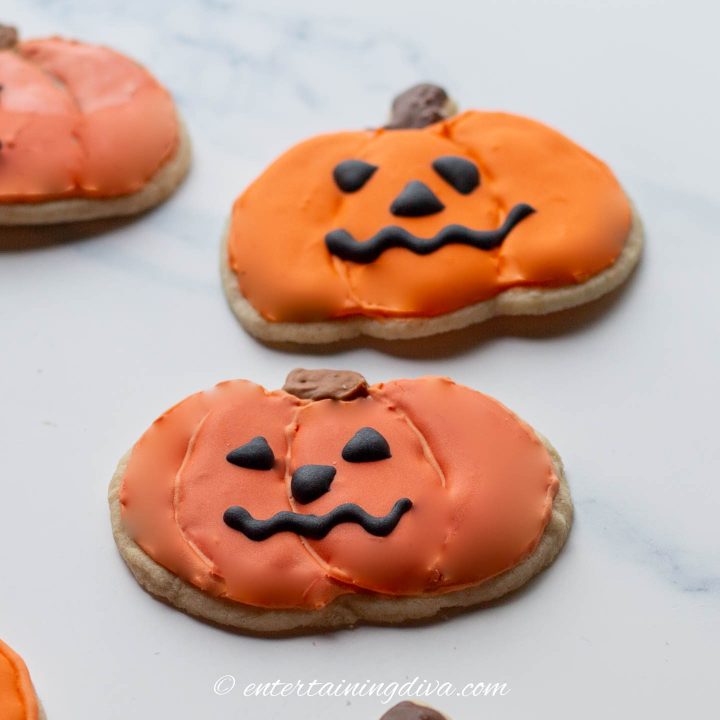
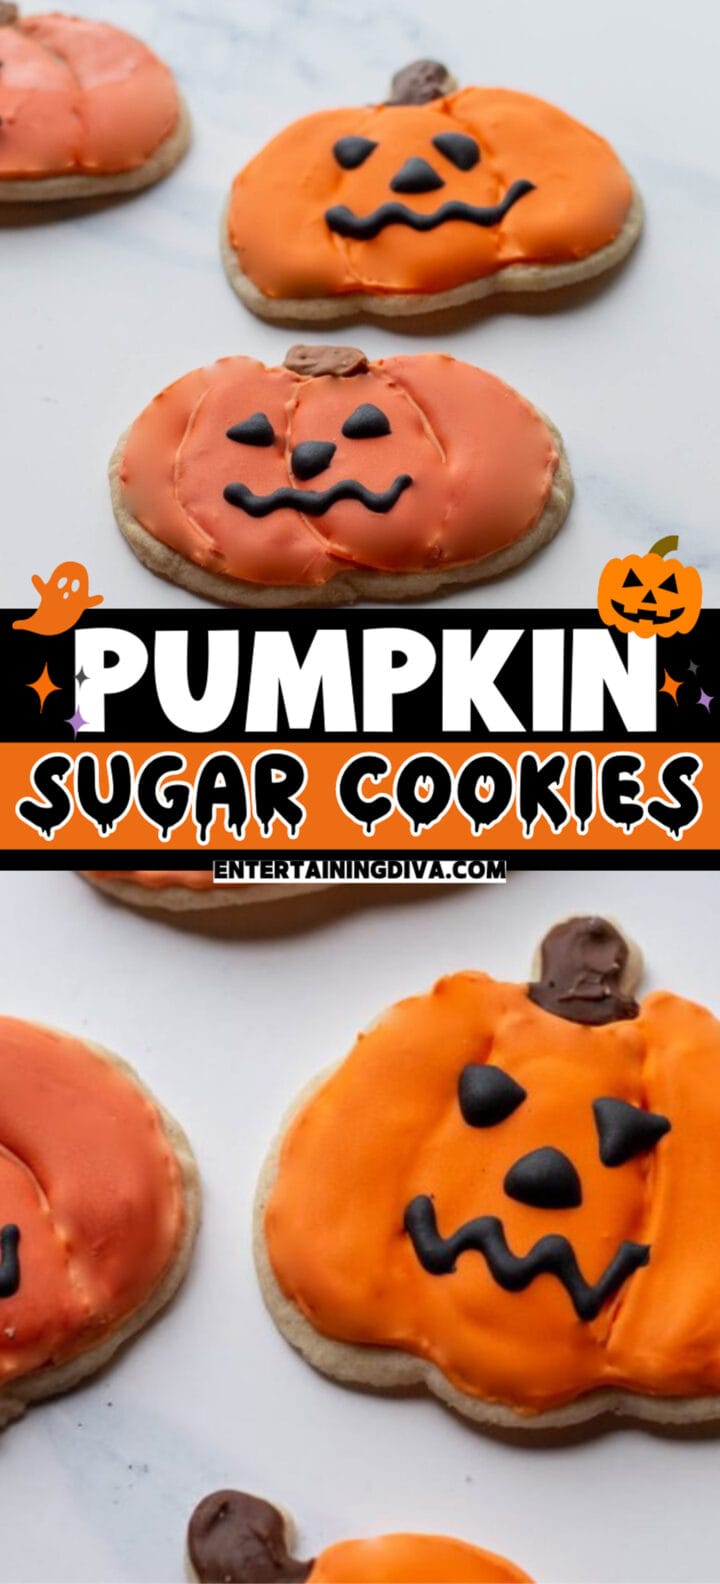
This is one time that I think homemade color is just as good (or even better) as the ready-made kind. The darker pumpkin on the left was decorated with homemade orange food coloring and the one on the right is AmeriColor Orange*.
I used the Betty Crocker gel food coloring that you can find in most grocery stores.
In a small bowl mix as follows:
- Start by using equal parts of red and yellow gel food coloring. 1 teaspoon of each is probably enough.
- Then add in some extra yellow until the color is the orange you want.
- Use a toothpick to spread a little on a piece of paper so you get a better idea of the color.
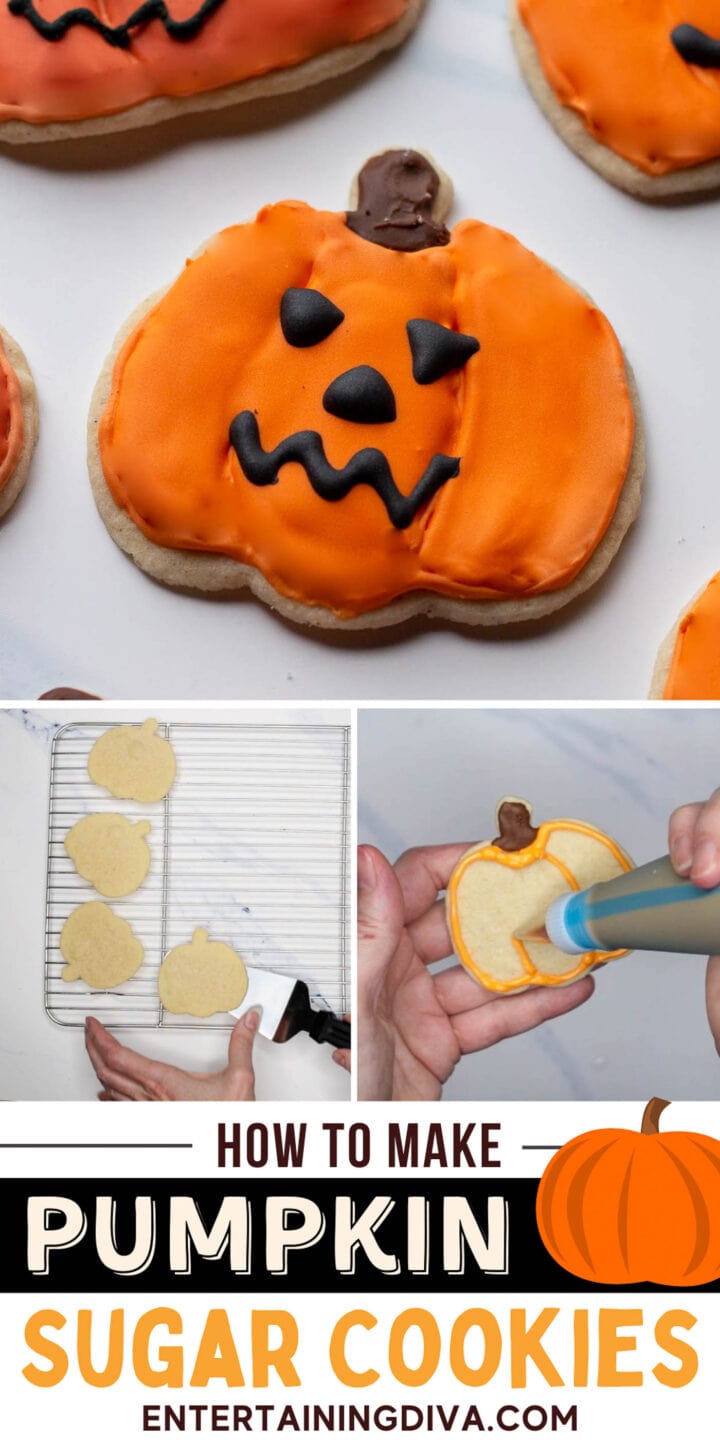
How to decorate pumpkin sugar cookies
Pipe the stem on the pumpkin

Put the brown icing in a piping bag with a #1 tip.
Outline and fill in the stem of the pumpkin. Use a toothpick to spread the icing around if there are any little gaps.
If you have any brown icing left over, put it into a small bowl and cover with plastic wrap that is directly touching the surface. We’ll use it to make the black icing later on.
Outline the cookies
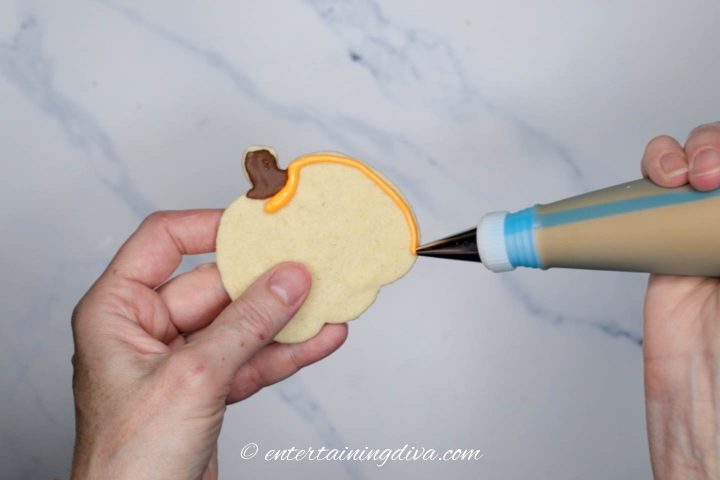
Put the orange icing in a piping bag with a #4 or #5 tip.
Outline the pumpkin cookies.
Then draw two or three lines from the bottom to the top of the pumpkin.
We’re going to let the icing dry for a few hours before we fill in the middle.
This will help to keep the lines indented like they would be on a real pumpkin.
If you have orange icing left in your piping bag, pipe it back into the bowl.
If you’re using a coupler on your piping bag, remove the tip before you do this…the icing will come out faster.
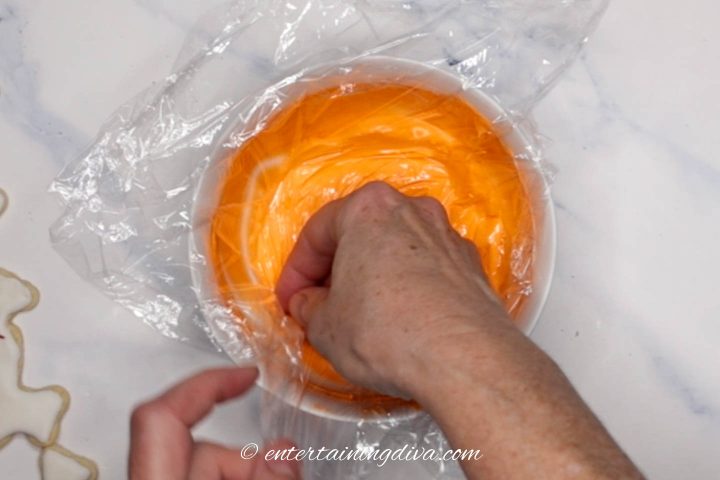
Cover the icing with plastic wrap that directly touches the surface.
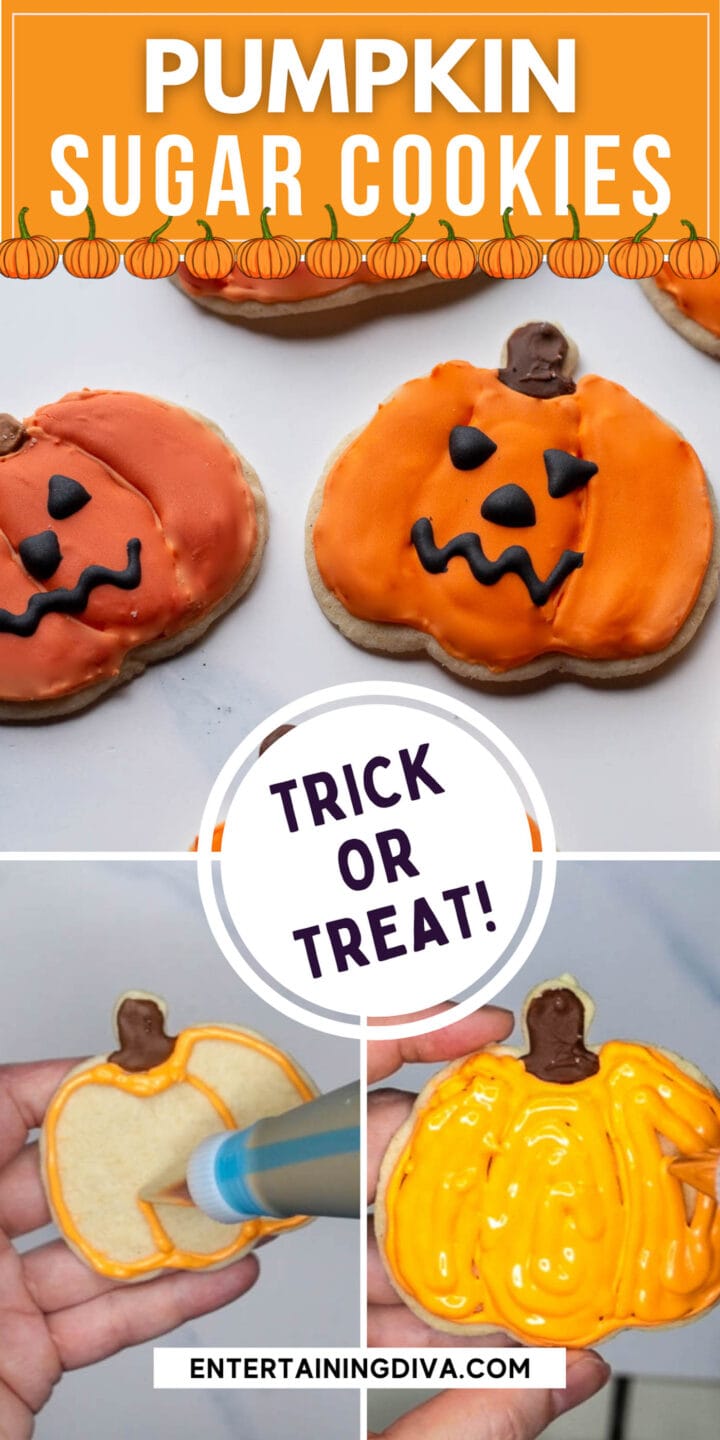
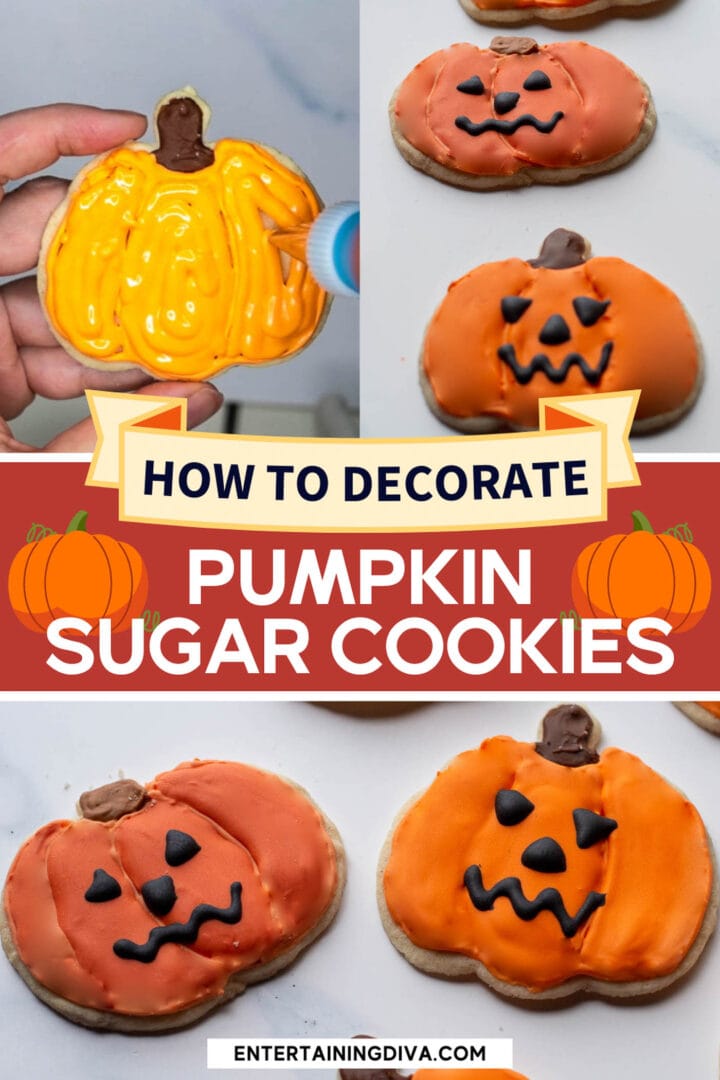
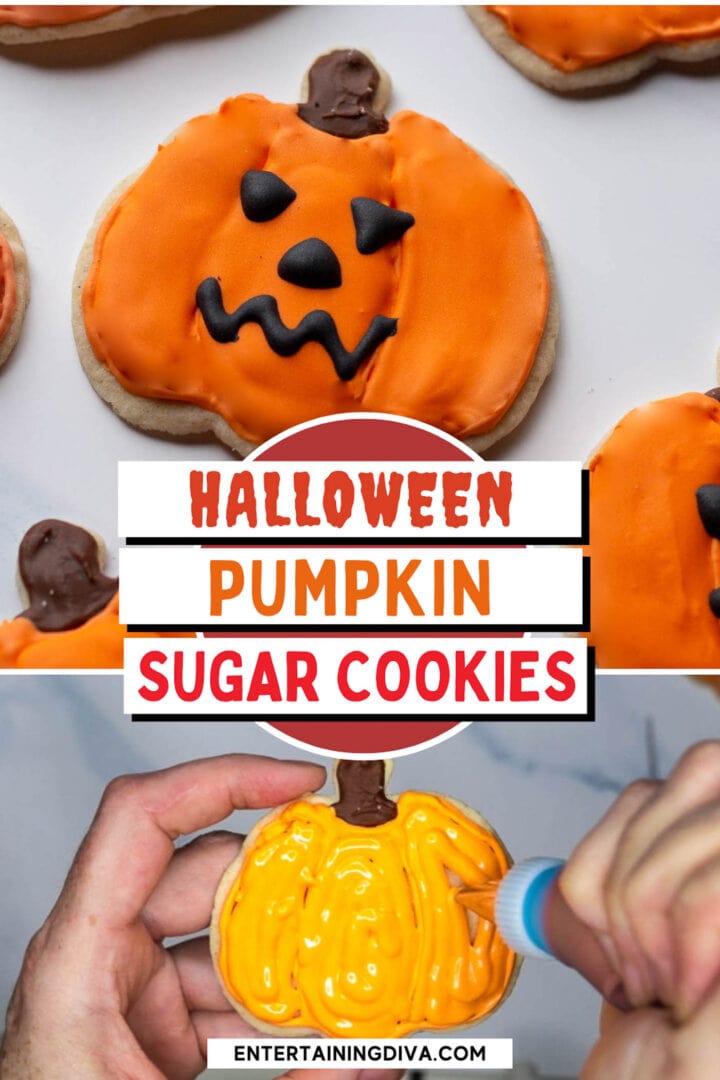
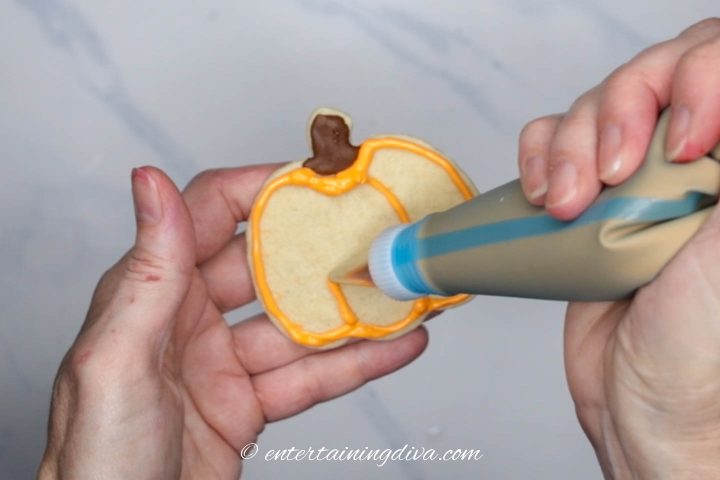
Fill in the pumpkin
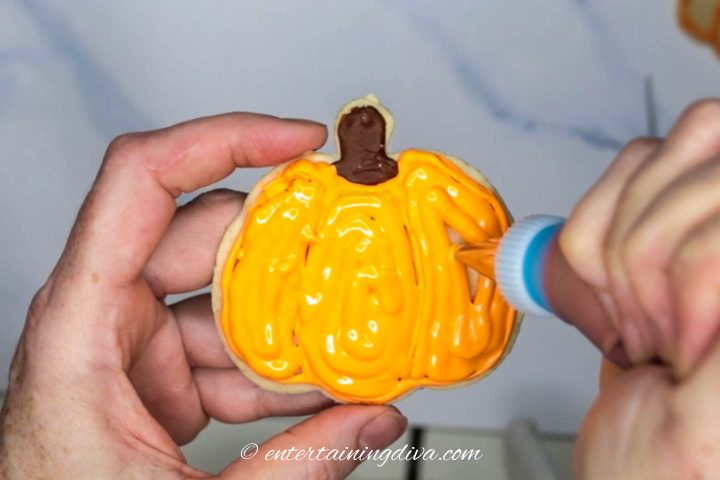
Once the outline is dry, fill a piping bag with orange icing using a #4 or #5 tip.
Flood the middle of each of the pumpkin sections so that the icing touches the edge of the lines but doesn’t go over.
To get the puffy pumpkin look, use a thick layer of icing.
Fill in any gaps by spreading the icing with a toothpick or a knife (a cake tester also works well).
Leave the cookies out in a single layer to let the icing dry.
To prevent the black icing from bleeding, the orange needs to be completely dry before adding the black face.
This will take at least 6 hours because the orange icing is thick. I left mine over night just to be sure.
Pipe on the face

Next we’re going to add the black icing details.
Put a #1 tip on a piping bag and fill it with the black icing.
Add the eyes, nose and mouth to your pumpkins.
Let the icing dry for at least a couple of hours before moving the cookies into air tight containers. Separate each layer of cookies with parchment paper to keep the icing in good shape.
Cookie FAQ’s
You can find the answers to all of your sugar-cookie related questions, like how to store sugar cookies and how long they will last in our sugar cookie recipe.
Other Halloween cookies you might like
- Ghost sugar cookies
- Halloween bat cookies
- Black cat sugar cookies
- The best way to make black royal icing

Halloween Decorated Pumpkin Sugar Cookies
Ingredients
Sugar Cookies
- 1 egg
- 1 teaspoon vanilla extract
- ¼ teaspoon pumpkin pie spice blend extract optional
- ¾ teaspoon salt
- 2½ cups all-purpose flour or measure-for-measure gluten free flour
- ¼ teaspoon baking soda
- ¼ teaspoon baking powder
- 1 cup granulated sugar
- 1 cup (2 sticks) cold unsalted butter
Royal Icing
- 4 cups icing sugar
- 3 Tablespoons meringue powder
- ½ cup warm water
- 2 teaspoons cocoa powder Dutch processed cocoa powder is best
- brown gel food coloring optional
- orange gel food coloring
- black gel food coloring
Equipment
- 2 mixing bowls
- food processor
- Stand Mixer With Whisk Attachment and Mixing Bowl
- cookie sheet
- parchment paper
- rolling pin
- pumpkin cookie cutter
- thin spatula
- plastic wrap
- 3 small bowls
- Piping bag
- piping tip #1
- piping tip #4 or #5
- Coupler (optional)
Instructions
Make The Dough
- In a small bowl, combine an egg, 1 teaspoon vanilla extract, ¼ teaspoon pumpkin pie spice extract and ¾ teaspoon salt. Set aside.
- In another bowl, mix 2½ cups of flour, ¼ teaspoon baking soda and ¼ teaspoon baking powder. Set aside.
- In the food processor, combine 2 sticks (1 cup) of cold straight-from-the-refrigerator butter cut into ½-inch chunks with 1 cup of sugar. Process until combined, about 30 seconds.
- Add in the egg mixture and process until combined, about 10 seconds.
- Add in the flour mixture and process until all of the flour is combined, about 30 seconds. Don't over-process as it can make the cookies tough or cause them to have air bubbles.
Roll The Dough
- Divide the dough in half.
- Place one half between two large sheets of parchment paper.
- Through the parchment paper, push the dough flat with your hands. Use the rolling pin to roll the dough out to about 1/8" thick.
- Move the rolled-out dough onto a cookie sheet or tray, keeping the parchment paper on both sides.
- Repeat the process with the other ball of dough then place it on top of the first sheet on the tray.
- Refrigerate the dough for 1½ hours, or freeze for 30 minutes.
Cut Out The Pumpkins
- Take the first sheet of cookie dough out of the refrigerator.
- Peel off the top layer of parchment paper.
- Use the pumpkin cookie cutter to cut the shapes in the dough.
- Put the cut-out cookie dough back in the refrigerator.
- Repeat with the second sheet of cookie dough.
- Refrigerate both layers for another 30 minutes or until the dough is stiff.
Bake The Cookies
- Preheat the oven to 300°F.
- Run a thin spatula under the cookie dough to separate it from the bottom layer of parchment paper.
- Put a piece of parchment paper on a cookie sheet.
- Lay out the cookies on the parchment-covered cookie sheet about ½ inch apart.
- Bake for 14 to 18 minutes, until the bottom of the cookies are slightly brown but the tops are still white.
- Let the cookies cool for 5 minutes on the cookie sheet.
- Move the cookies to a wire rack to let them cool completely.
- Repeat the baking process with the other sheet of cookie cut outs.
- Roll out the left over dough to create another batch of cookies.
Make White Royal Icing
- Mix 4 cups icing sugar, 3 Tablespoons meringue powder and ½ cup of WARM water in a stand mixer with a whisk attachment on low speed.
- Once the ingredients are combined, increase the mixer speed to medium.
- Mix for 5 to 8 minutes until the icing forms soft peaks.
Adjust The Icing Consistency
- To do this run a knife through the middle of the icing and count how many seconds it takes to close the gap.
- I like to use “15 second” icing for this. But depending on your preference, anything between 10 second and 20 second icing would work.
- If it takes longer than that, mix in a few drops of water.
- If it closes too fast, beat it a little longer or add in a little more icing sugar.
Make Brown Royal Icing
- Move about ½ cup of the white icing into a small bowl.
- Mix in 1 to 2 teaspoons of cocoa powder
- If you want your icing to be a darker brown (or you don't want to use cocoa powder), add in a little bit of brown gel food coloring.
- Cover it with plastic wrap pushed down onto the surface to keep it from drying out
Make Black Royal Icing
- Add 1/2 cup of white icing to another small bowl.
- Add in black gel food color a little at a time until you get a dark grey color.
- Cover with plastic wrap.
Make Orange Royal Icing
- Mix orange gel food coloring into the rest of the white icing a little at a time until you get the color you want.
- Cover with plastic wrap pushed down onto the surface to keep it from drying out.
Pipe The Stem On The Pumpkin
- Put the brown icing in a piping bag with a #1 tip.
- Outline and fill in the stem of the pumpkin. Use a toothpick to spread the icing around if there are any little gaps.
Outline and Fill The Pumpkin
- Put the orange icing in a piping bag with a #4 or #5 tip.
- Outline the pumpkin cookies.
- Then draw two or three lines from the bottom to the top of the pumpkin.
- Let the icing dry for a couple of hours.
- Once the outline is dry, fill a piping bag with orange icing using a #4 or #5 tip.
- Flood the middle of each of the pumpkin sections so that the icing touches the edge of the lines but doesn't go over. Use a thick layer of icing to get the puffy pumpkin look.
- Fill in any gaps by spreading the icing with a toothpick or a knife.
- Leave the cookies out in a single layer to let the icing dry for at least 6 hours.
Add The Black Details
- Put a #1 tip on a piping bag and fill it with the black icing.
- Add the eyes, nose and mouth to your pumpkins.
- Let the icing dry for at least a couple of hours before moving the cookies into air tight containers. Separate each layer of cookies with parchment paper to keep the icing in good shape.
Notes
- To store icing, cover it with plastic wrap that is directly touching the surface. It can keep like this for a few days. If it has separated when you go to use it, just mix it again to re-combine.
- If the icing is a little too stiff after, mix in water a few drops at a time. If it is too thin, stir in a little more icing sugar. Do this in very small batches since it doesn’t take much to change the icing consistency.
- Use as little food coloring as possible to keep the icing from tasting bitter
- The color of the icing will get darker as it dries so keep that in mind when you are mixing colors
How to make homemade orange food coloring
If you don’t have pre-made orange food coloring, you can make your own:- In a small bowl mix equal parts of red and yellow gel food coloring.
- Add in a little more yellow until the orange is the color you want.
- Test the color by spreading a little on a piece of paper with a toothpick
Nutrition values are estimates only, using online calculators. Please verify using your own data.
Have comments or questions about our Halloween decorated pumpkin sugar cookies recipe? Tell us in the section below.
Pin It So You Don't Forget It!
This post was originally published on October 13, 2020 but was updated with new content on March 19, 2024.