
Black Cat Sugar Cookies


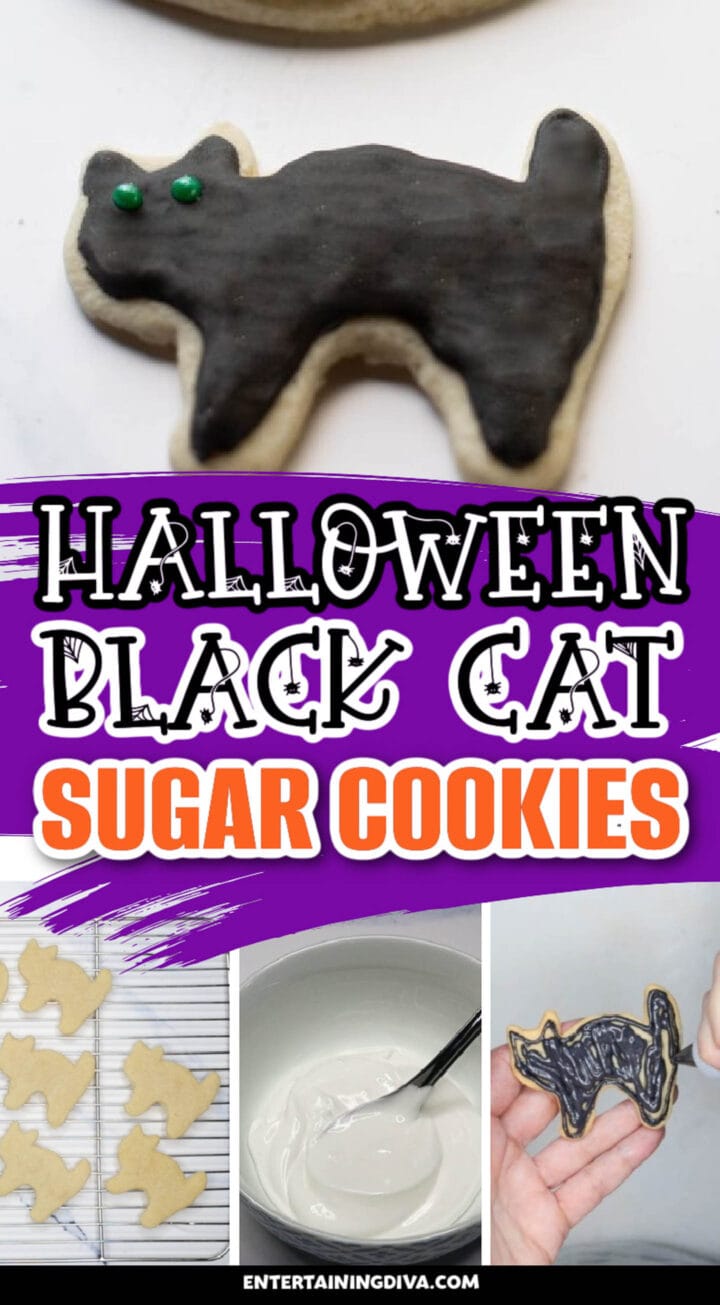


Once I learned how to make black royal icing so that it turns out and sugar cookies that hold their shape, this black cat sugar cookies recipe was a snap. With two different decorating options, you can go for the super-easy version or the slightly more-time consuming variation depending on how much time you want to put in.
Since I’m new to the world of cookie decorating, I wanted to start with some really easy decorations.
Ones that didn’t require writing.
Or drawing designs.
Or making all kinds of different colors of icing.
So making black cats seemed like the perfect way to go!
Little did I know that making black icing is one of the trickiest cookie-decorating things to get right.
It’s a good thing that the rest of these black cat sugar cookies are really easy! Especially when you use my no-fail sugar cookie recipe that always holds its shape.
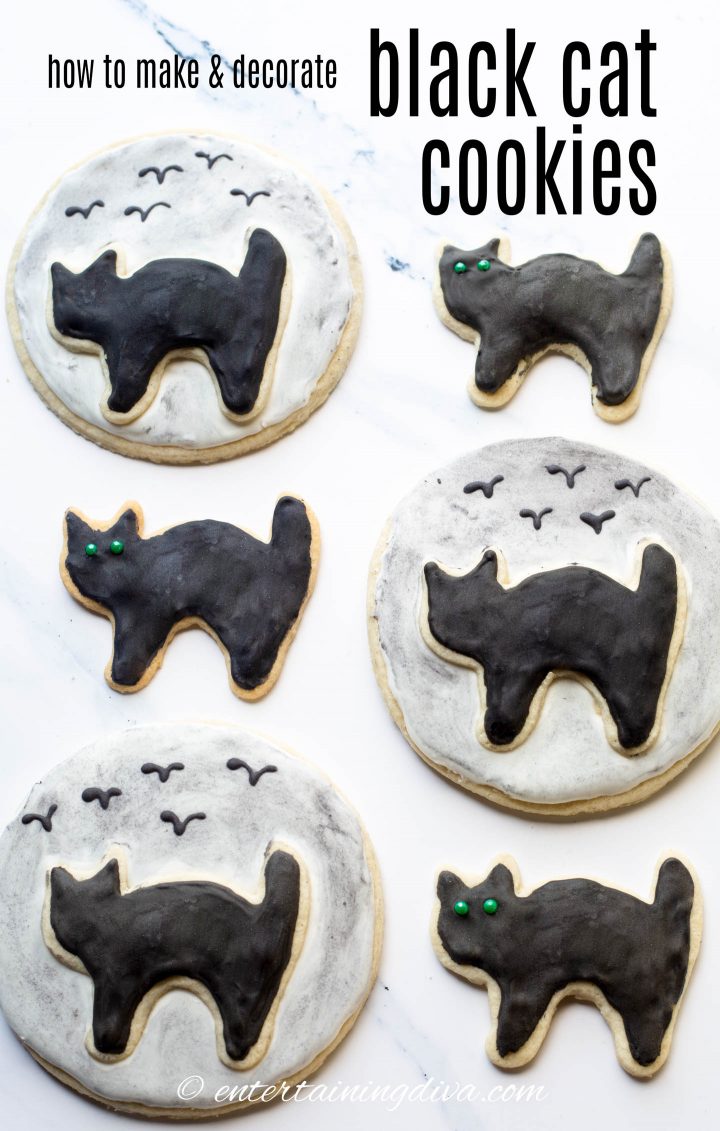
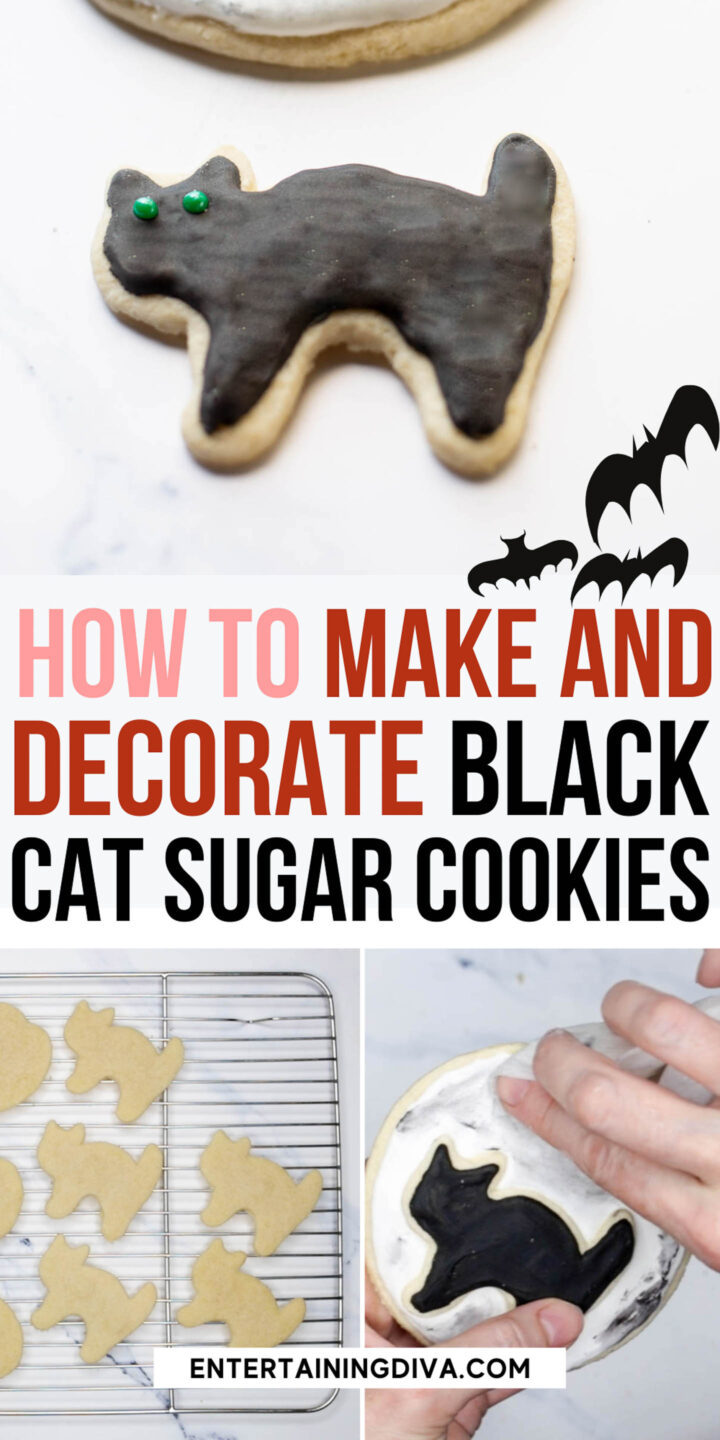
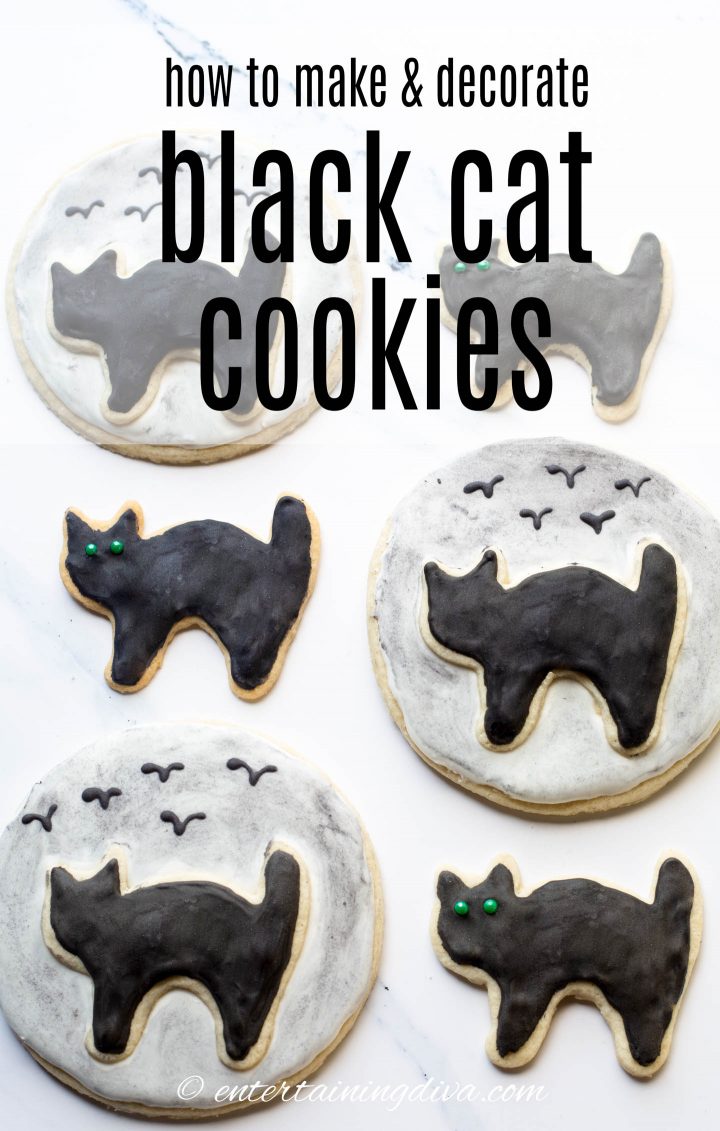
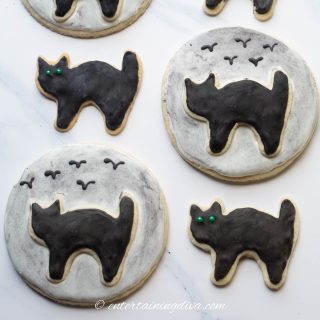
Of course, once I figured out how to make the black icing. I thought the black cats were a little plain-looking (even with their green eyes).
So I came up with a second variation.
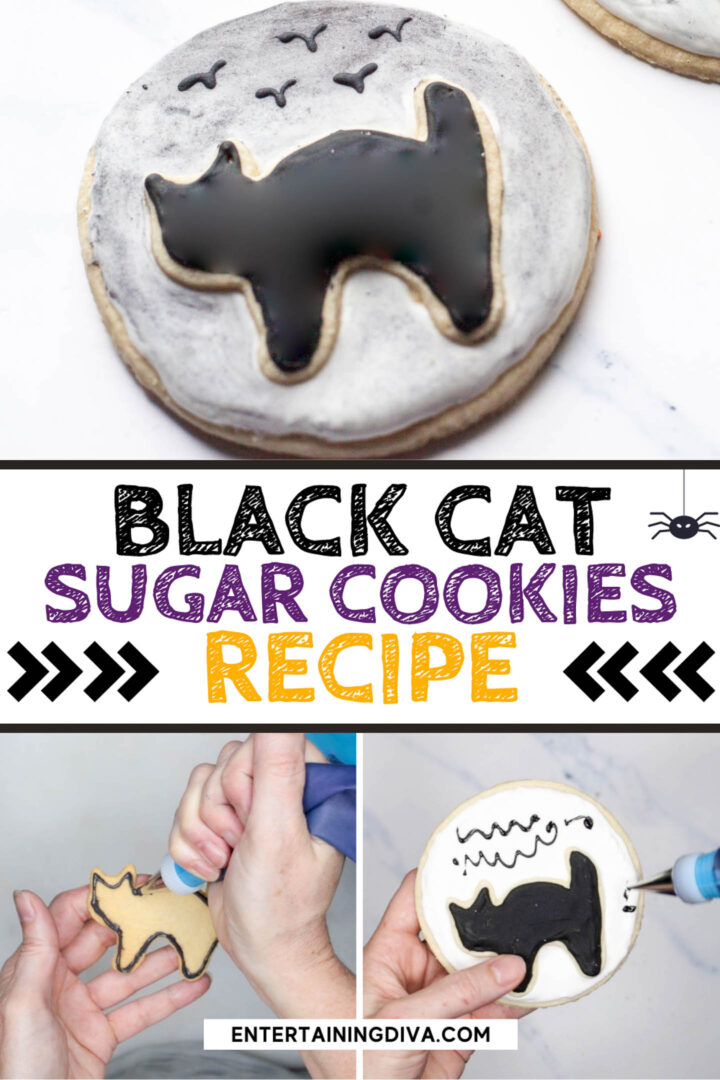
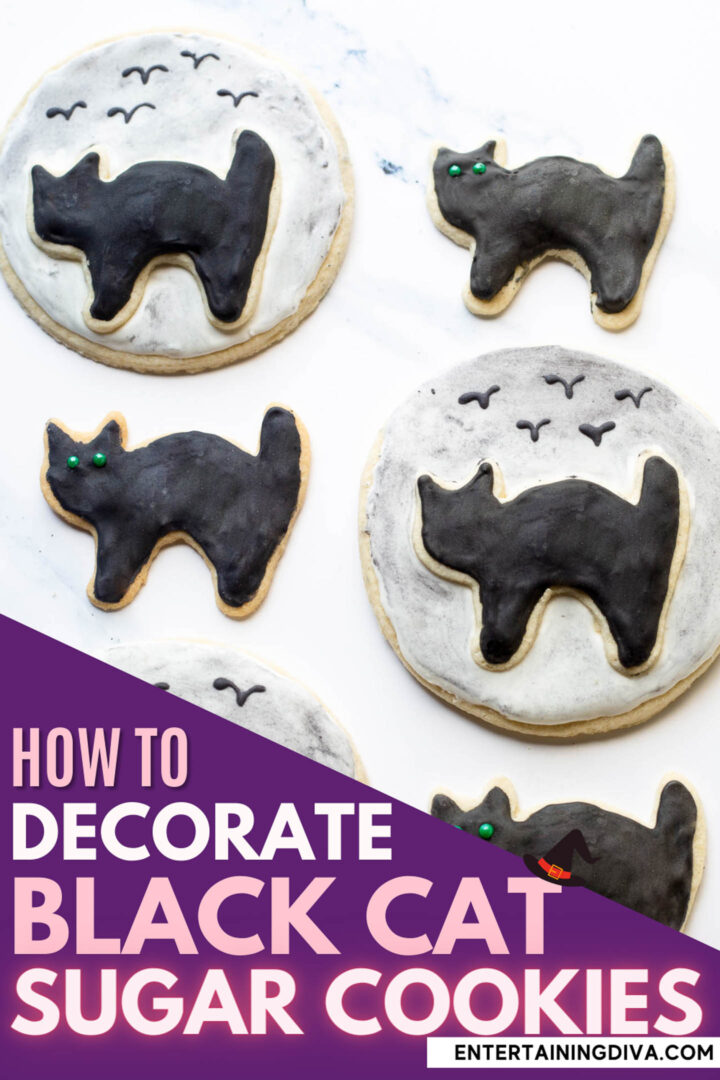
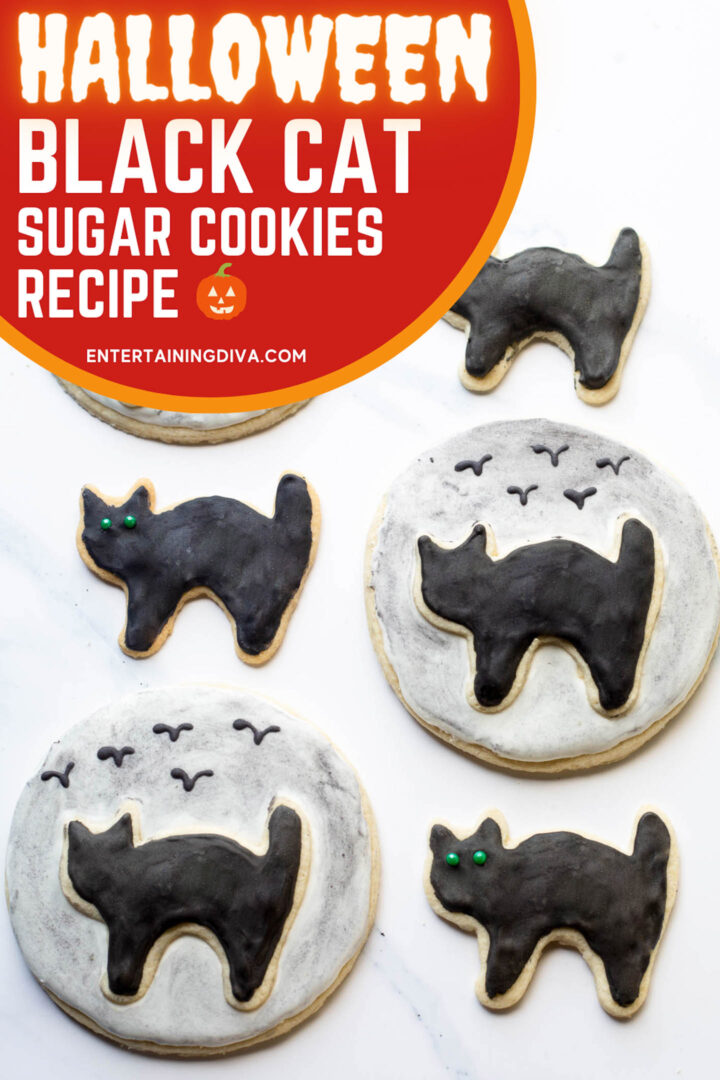
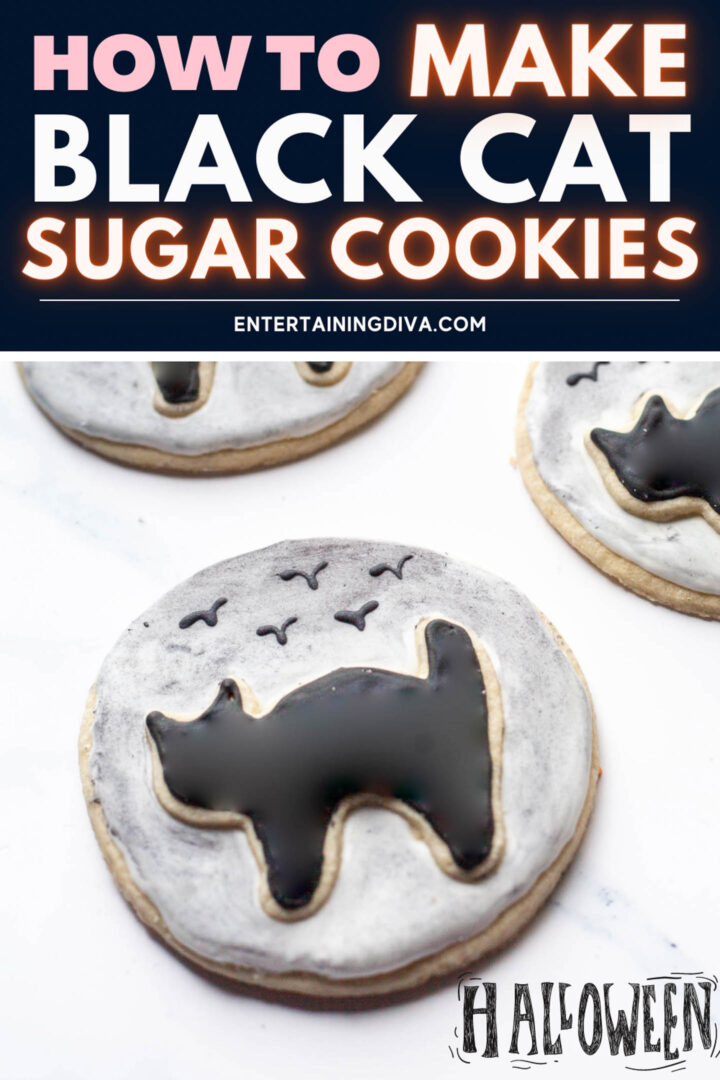
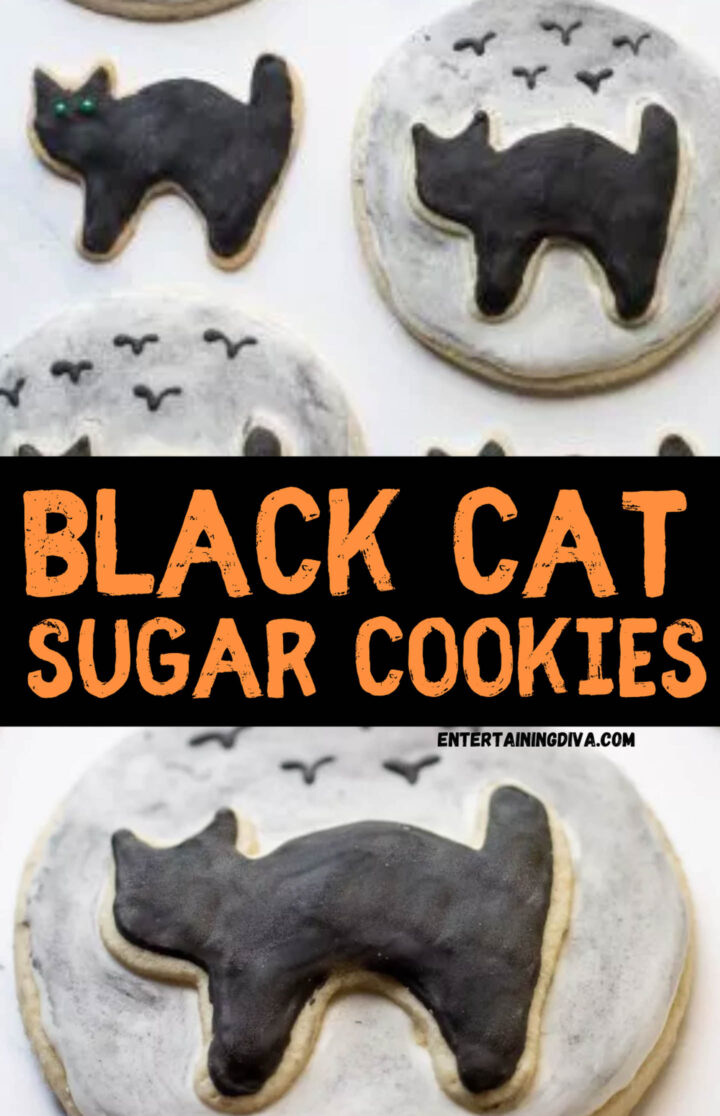
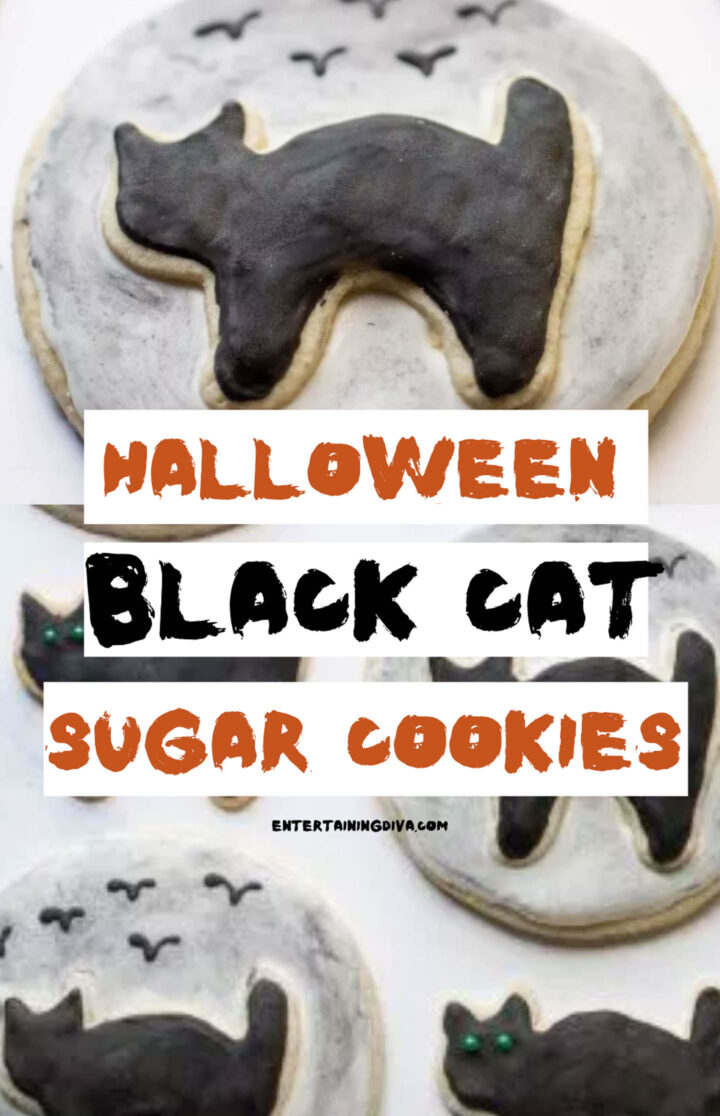
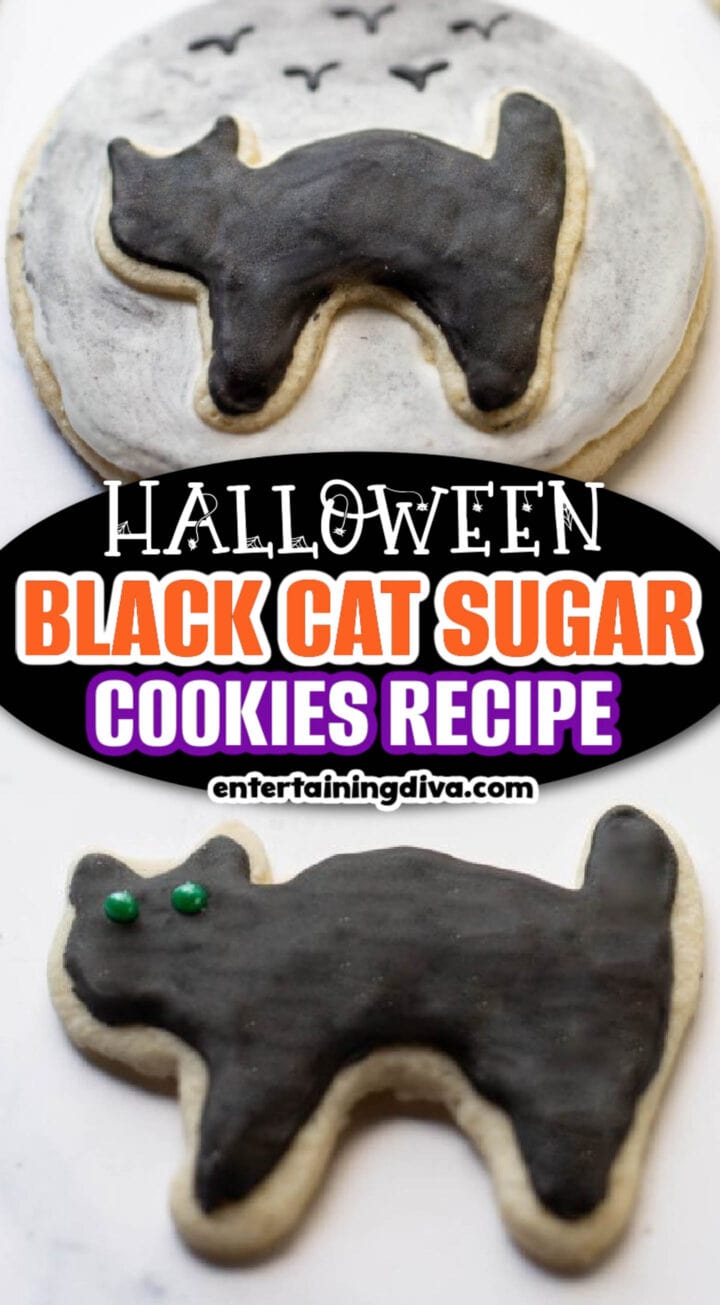
A black cat silhouette in front of the moon.
Which is actually really easy to do, too. But looks a little more interesting.
Since you need to bake the black cats before you can create the silhouette cats, you can make your design decision as you go.
Or you may end up doing both like I did.
Keep reading to get all the details on making black cat sugar cookies.
Black Cat Sugar Cookies Ingredients
This post may contain affiliate links. We make a small commission if you buy the products from these links (at no extra cost to you). As an Amazon Associate, I earn from qualifying purchases. But we only recommend products we would use ourselves. For more information, click here to see our disclosures
Here is your shopping list:
- 1 egg
- flavoring: vanilla extract, almond extract – the almond extract is optional but I think it makes the cookies taste better.
- baking supplies – salt, baking powder, baking soda, meringue powder
- flour – you can use regular all-purpose flour or measure-for-measure gluten-free flour (this gluten-free brand* works the best)
- sugar – granulated sugar, 1 pound icing sugar
- dairy – cold unsalted butter
- cocoa powder – Dutch processed cocoa powder is best because it is a darker brown.
- black gel food coloring – This brand* creates the darkest black with the least amount of food coloring.
Supplies
- 2 mixing bowls
- food processor
- stand mixer with a whisk attachment and mixing bowl
- cookie sheet – rimless cookie sheets work best
- parchment paper
- rolling pin
- black cat cookie cutter*
- 4.5 inch round cookie cutter (optional) – You only need this if you are making the cat in front of the moon cookies. I actually used the lid from a large container for this, but you can purchase a round cookie cutter (like these ones*) if you prefer
- thin spatula
- plastic wrap
- 1 glass or metal bowl – this will hold the black icing which will stain plastic.
- piping bag – I like these reusable ones*.
- piping tip #4 or #5 – I like the #4 piping tip* the best
- piping bag coupler* (optional) – this keeps the icing from leaking out of the piping bag and makes it easy to changes tips if you need to
- green sugar pearls* (optional) – for the eyes
- tweezers
- paper towel
How To Make Black Cat Sugar Cookies
Make The Cookie Dough
You can find all of our tips and tricks for making sugar cookies HERE.
In a small bowl, combine an egg, 1 teaspoon vanilla extract, ¼ teaspoon almond extract and ¾ teaspoon salt. Set aside.
In another bowl, mix 2½ cups of flour, ¼ teaspoon baking soda and ¼ teaspoon baking powder. Set aside.
Cut 2 sticks (1 cup) of cold straight-from-the-refrigerator butter into ½-inch chunks.
Mix it in the food with 1 cup of sugar until combined, about 30 seconds.
Add in the egg mixture and process just until blended, about 10 seconds.
Then add the flour mixture and process until all of the flour is mixed in, about 30 seconds. Don’t over-process as it can make the cookies tough or cause them to have air bubbles.
Roll The Dough
Divide the dough in half and roll into 2 balls. While not strictly necessary, it’s much easier to roll in smaller batches like this.
Place one ball between two large sheets of parchment paper.
Through the parchment paper, push the dough flat with your hands.
Then roll the dough out to about 1/8″ thick using a rolling pin. You can leave it thicker than this if you want thicker cookies, but you will get a lot fewer of them .
Move the rolled-out dough onto a cookie sheet or tray, keeping the parchment paper on both sides.
Repeat the process to roll out the other ball of dough.
Then stack it on top of the first sheet on the tray.
Chill the dough in the refrigerator for 1½ hours, or in the freezer for 30 minutes.
Cut Out The Cats
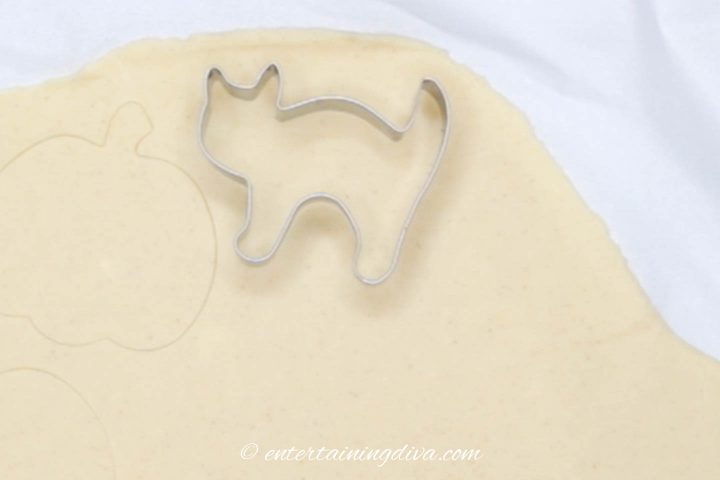
Take the first sheet of cookie dough out of the refrigerator. (Leave the second one in for now.)
Peel off the top layer of parchment paper. (Leave the bottom sheet where it is).
Use the cat cookie cutter to cut the shapes in the dough.
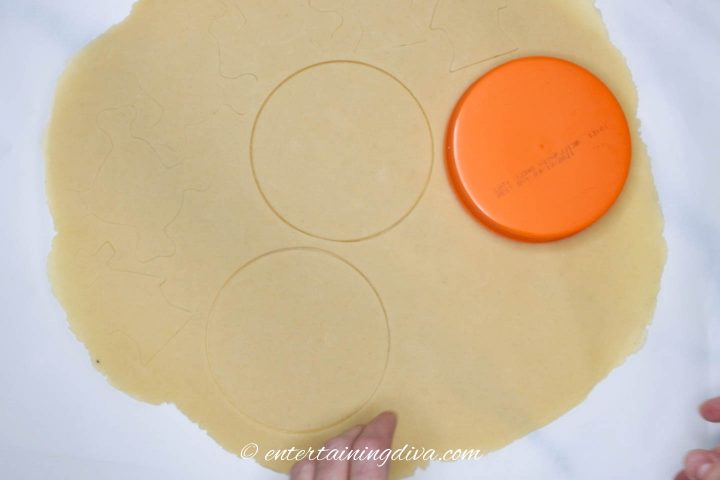
If you’re making the silhouette cat cookies, do the same with the round cookie cutter (or container lid) .
Put the cut-out cookie dough back in the refrigerator.
Repeat with the second sheet of cookie dough.
Refrigerate both layers until the dough is stiff, about 30 minutes.
This will make it much easier to remove the parchment paper and move the cookies to the cookie sheet without ruining their shape.
Bake The Cookies
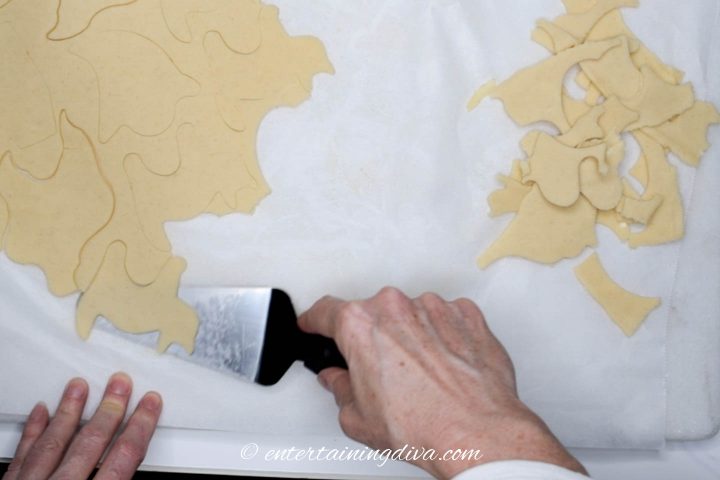
Run a thin spatula under the cookie dough to separate it from the bottom layer of parchment paper.
Cover the cookie sheet with a piece of parchment paper.
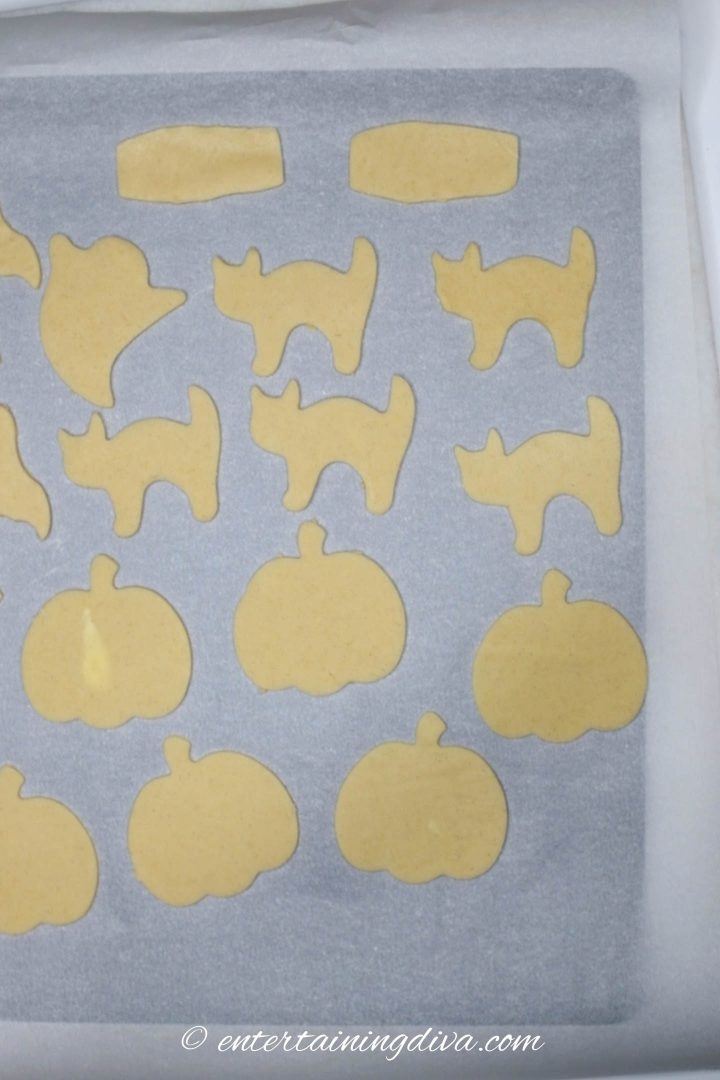
Then lay out the cookies about ½ inch apart.
Bake at 300℉ for 14 to 18 minutes, until the bottom of the cookies are slightly brown but the tops are still white.
Let cool for 5 minutes on the cookie sheet.
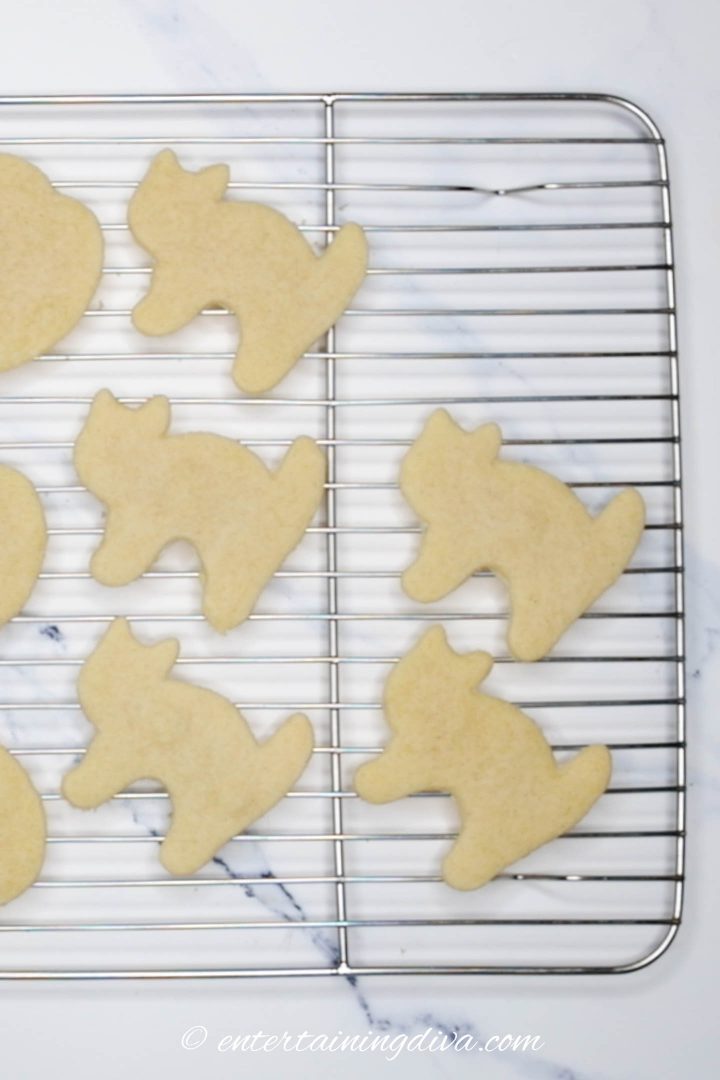
Move the cookies to a wire rack to let them cool completely.
Repeat the process with the second sheet of cookies.
Any left over dough can be balled up and rolled out to make another batch of cookies.
How To Make Royal Icing
You can find all of our tips and tricks for making royal icing HERE.
Mix 4 cups icing sugar, 3 Tablespoons meringue powder and ½ cup of WARM water in a stand mixer with a whisk attachment on low speed.
Once the ingredients are blended together, increase to medium speed.
Mix for 5 to 8 minutes until the icing forms soft peaks.
You can also use a hand mixer to do this if you are willing to hold it for a long time 🙂
Make Black Royal Icing
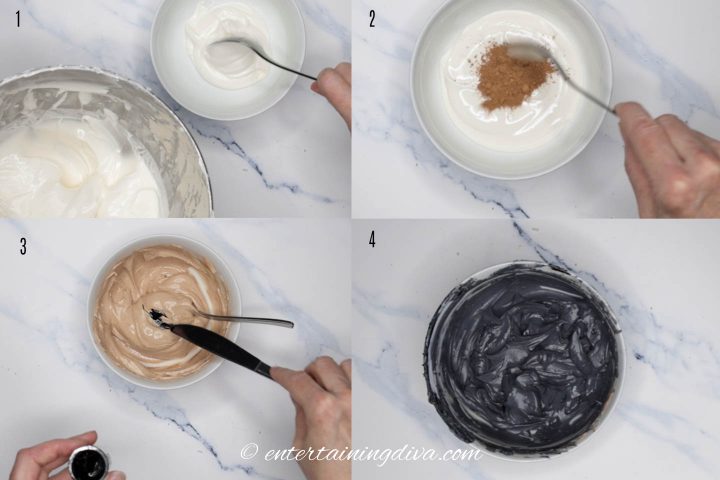
To make it easier to get black icing, we’re going to mix in some cocoa powder.
The cocoa will give the icing a chocolate flavor, which isn’t a bad thing in my books.
But if you don’t like it that way, you can skip this step. Just know you’ll need to use more black food coloring and your icing is likely to taste a little bitter.
If you are only making black cats, you can make all of your icing black. In this case, add 8 teaspoons of cocoa powder.
To make the black cats in front of the moon, you’ll need to keep about half your icing white and make the rest of it black. So move the part you are coloring into a separate bowl and add 8 teaspoons of cocoa powder.
Once it is completely combined, mix in a little black gel food coloring.
If it doesn’t look dark enough, add in a little more.
You want to use as little food coloring as possible to minimize the bitter taste it adds.
The icing will get darker as it dries, so stop adding color when it gets to a dark grey color.
Test The Icing Consistency
Now you’ll need to test the icing consistency. If you’re using both black and white icing, you should do this for both of them.
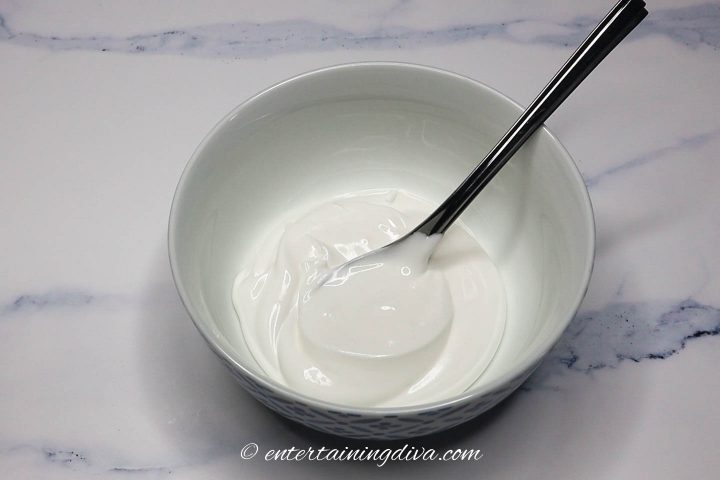
To do this run a knife through the middle of the icing and count how many seconds it takes to close the gap.
I like to use “15 second” icing for this. But depending on your preference, anything between 10 second and 20 second icing would work.
If it takes longer than that, mix in a few drops of water.
If it closes too fast, add in a little more icing sugar.
How To Decorate Black Cat Cookies
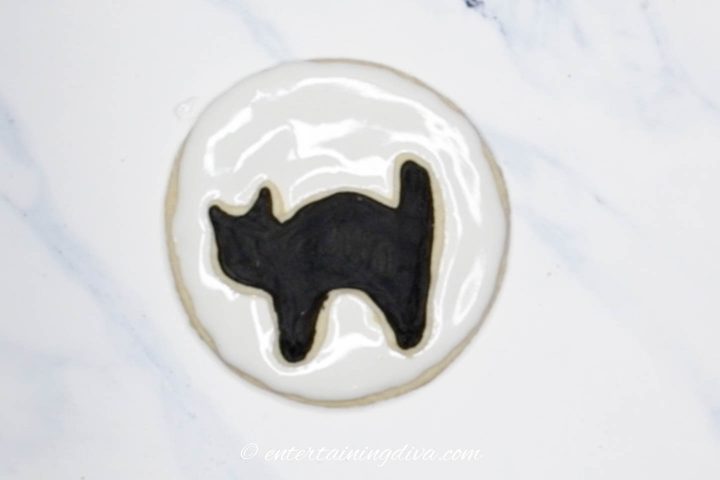
Regardless of whether you are just making cats, or you want to do the cookies with the cat silhouette in front of the moon, you’ll need to start by icing black cats.
If you are making the cats in front of the moon cookies, save about 1/4 cup of the black icing in a separate bowl. We’ll need it later to decorate the moon. To keep it from drying out, cover it with plastic wrap that is directly touching the surface of the icing.
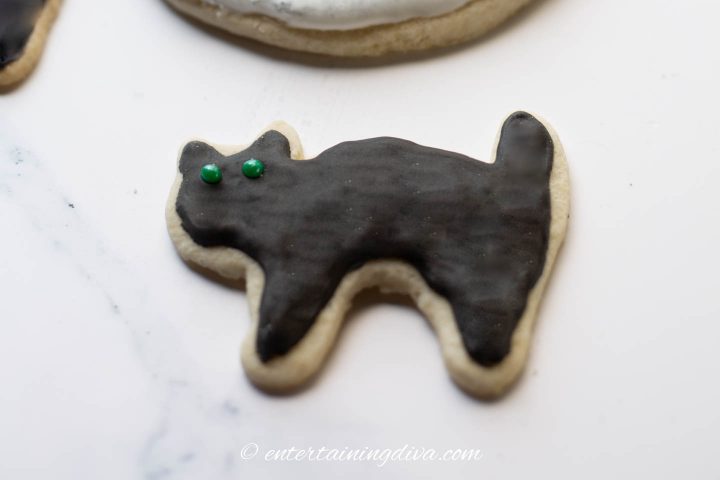
Put the black icing in a piping bag with a #4 or #5 tip.
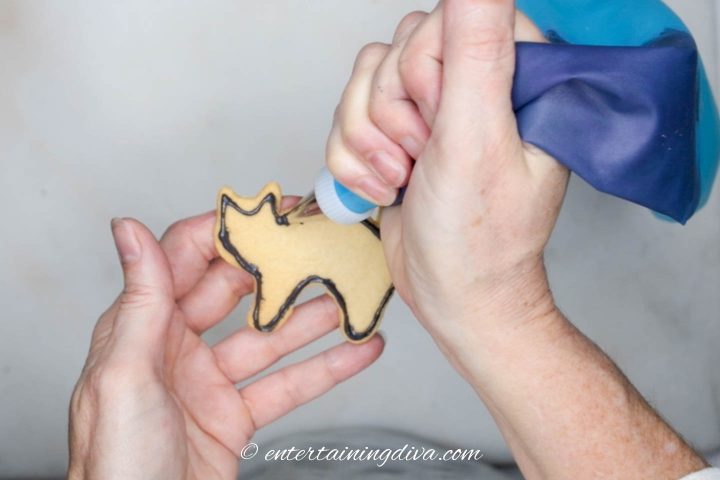
Pipe around the edge of the cat to create an outline.
This will prevent the icing in the middle from running off the sides.

Then flood (fill in) the middle.
Use a toothpick or a knife to fix any gaps. You can also add a little more icing if there are any indents in your icing.

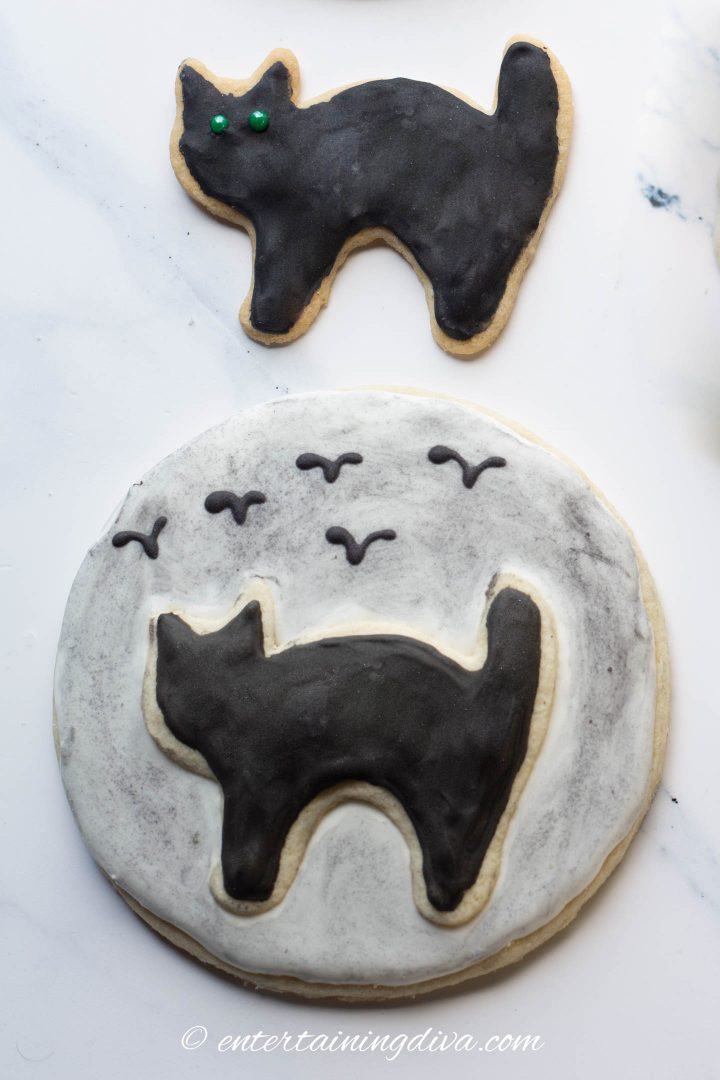
You can add eyes to your cats by using tweezers to place green sugar pearls on the cats face where the eyes should be.
If you are only making black cat sugar cookies, then you’re done!
If you want to make the cat silhouette in front of the moon, you have a few more steps to go.
How To Decorate Cat Silhouette Cookies
Now that the cats are decorated, it’s time to make the moon.
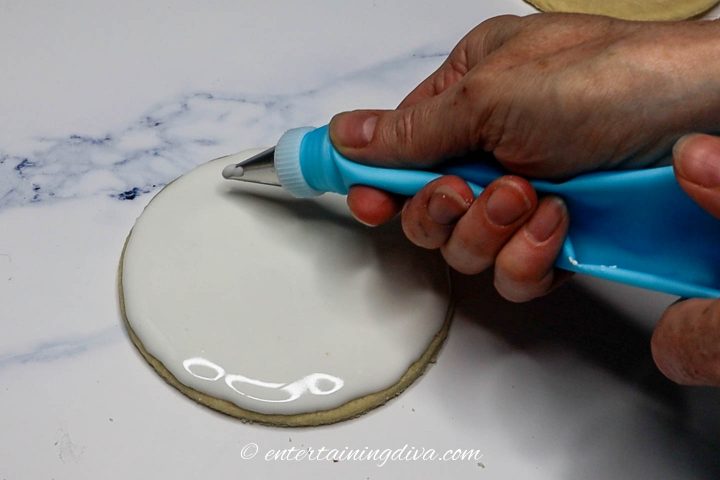
Put some white icing in a piping bag with a #4 or #5 tip.
Outline the round shapes with the white icing.
Then flood the middle.
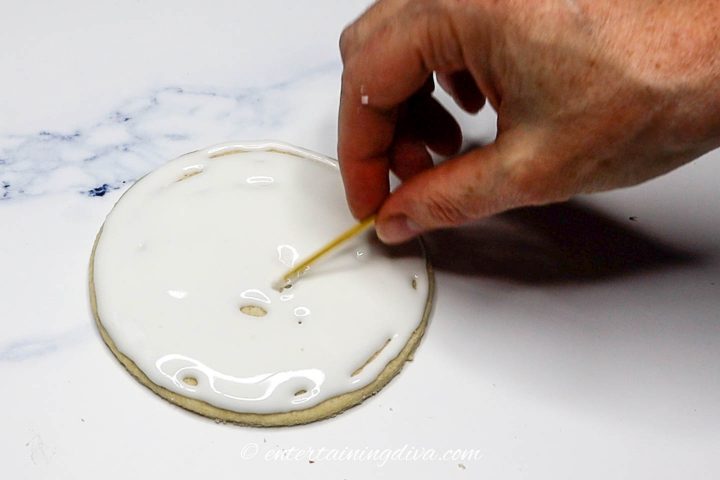
Use a toothpick or knife to fix any gaps.
Add more icing if there are any indents (which is more likely to happen with a cookie this size).
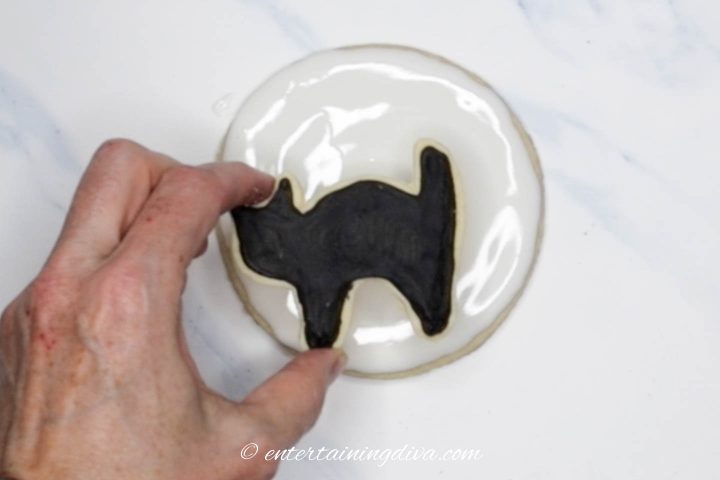
Then position one of the black cats in the bottom center of the round cookie.
Push down so that the black cat is stuck into the white icing.
Now we’ll need to wait a few hours until the icing is completely dry.
I usually let the cookies sit out overnight just to be sure.
Sugar cookies don’t go stale that quickly, so it’s fine to leave them out without covering them.
If you like the look of the cookies, you could stop right here.
But of course, I had to add a little extra…
When they are dry, put the extra black icing that you saved above into a piping bag with a #4 or #5 tip.
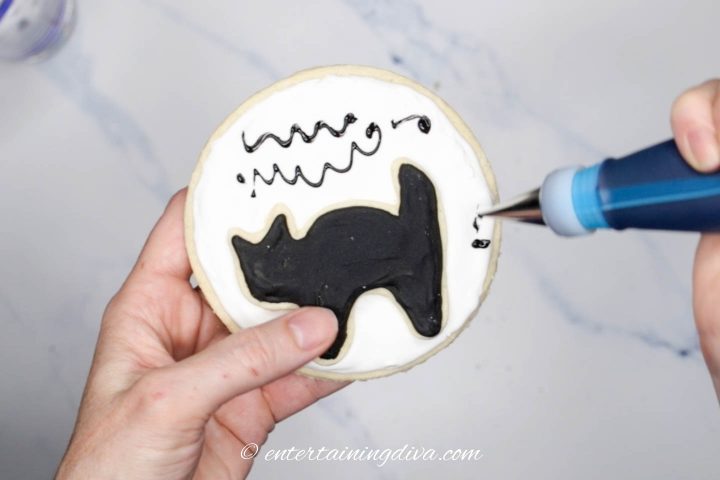
Pipe a few squiggles onto the white icing.
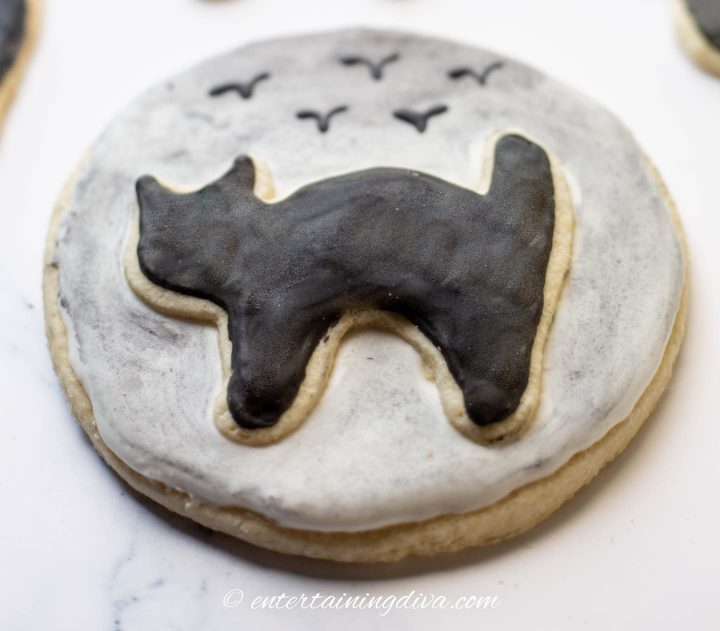
We’re going to take advantage of the fact that black icing stains everything that it touches.
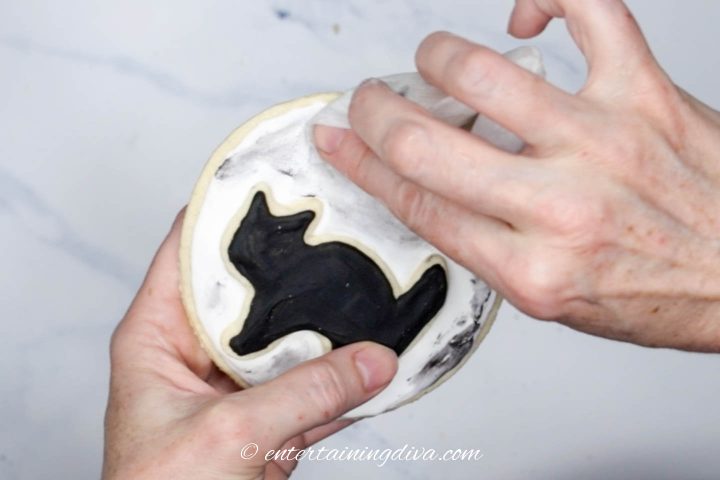
Use a damp (not wet) piece of paper towel to wipe off the black icing. It will leave grey marks on the white icing.
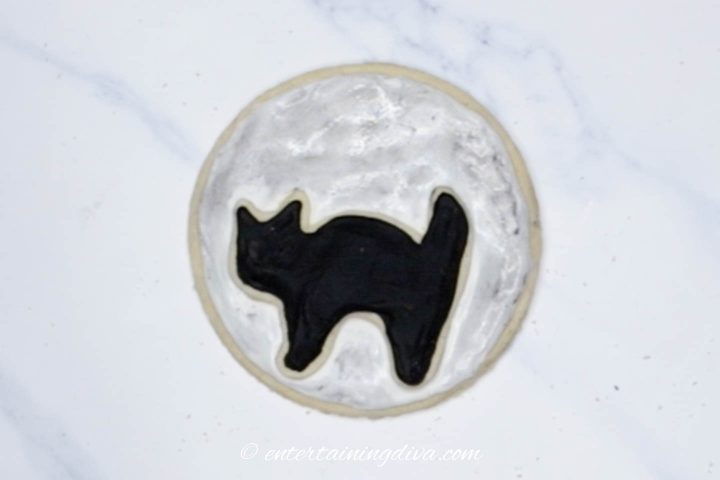
Spread it around the rest of the white icing to get a moon at night look.
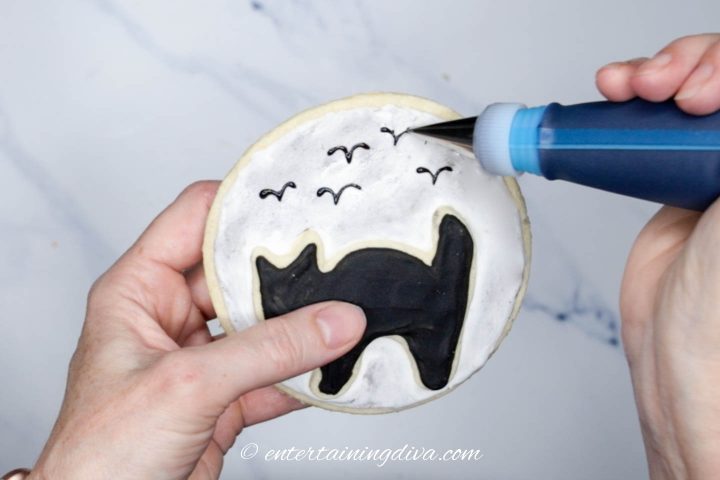
Then pipe on a few bird outlines if you want to.
And that’s it! Your cat silhouette cookies are done!
Cookie FAQ’s
You can find the answers to all of your sugar-cookie related questions, like how to store sugar cookies and how long they will last in our sugar cookie recipe HERE.
Other Halloween Cookies You Might Like
Black Cat Sugar Cookies
Ingredients
Sugar Cookies
- 1 egg
- 1 teaspoon vanilla extract
- ¼ teaspoon almond extract optional
- ¾ teaspoon salt
- 2½ cups all-purpose flour or measure-for-measure gluten-free flour
- 1 cup granulated sugar
- 1 cup (2 sticks) cold unsalted butter
Royal Icing
- 4 cups icing sugar about 1 pound
- 3 Tablespoons meringue powder
- ½ cup WARM water
- 4 to 8 teaspoons cocoa powder
- black gel food coloring
- green sugar pearls (optional)
Equipment
- 2 mixing bowls
- food processor
- Stand mixer with a whisk attachment and mixing bowl
- cookie sheet
- parchment paper
- rolling pin
- black cat cookie cutter
- 4.5 inch round cookie cutter (optional) – only for silhouette cat cookie
- thin spatula
- plastic wrap
- 1 glass or metal bowl
- Piping bag
- piping tip #4 or #5
- piping bag coupler* (optional)
- tweezers (optional)
- paper towel (optional) – only for silhouette cat cookie
Instructions
Sugar Cookies
- In a small bowl, combine an egg, 1 teaspoon vanilla extract, ¼ teaspoon almond extract and ¾ teaspoon salt. Set aside.
- In another bowl, mix 2½ cups of flour, ¼ teaspoon baking soda and ¼ teaspoon baking powder. Set aside.
- Cut 2 sticks (1 cup) of cold straight-from-the-refrigerator butter into ½-inch chunks.
- Mix the butter in the food processor with 1 cup of sugar until combined, about 30 seconds.
- Add in the egg mixture and process just until blended, about 10 seconds.
- Add the flour mixture and process until all of the flour is mixed in, about 30 seconds.
- Divide the dough in half and roll into 2 balls.
- Place one ball between two large sheets of parchment paper.
- Through the parchment paper, push the dough flat with your hands.
- Roll the dough out to about 1/8" thick using a rolling pin. ⅛
- Move the rolled-out dough onto a cookie sheet or tray, keeping the parchment paper on both sides.
- Repeat the process to roll out the other ball of dough. Then stack it on top of the first sheet on the tray.
- Chill the dough in the refrigerator for 1½ hours, or in the freezer for 30 minutes.
- Pre-heat the oven to 300°F.
- Take the first sheet of cookie dough out of the refrigerator and peel off the top layer of parchment paper (leaving the bottom one in place).
- Use the cat cookie cutter to cut the shapes in the dough.
- Put the cut-out cookie dough back in the refrigerator.
- Repeat with the second sheet of cookie dough.
- Refrigerate both layers until the dough is stiff, about 30 minutes.
- Run a thin spatula under the cookie dough to separate it from the bottom layer of parchment paper.
- Cover the cookie sheet with a piece of parchment paper.
- Lay out the cookies about ½ inch apart.
- Bake for 14 to 18 minutes, until the bottom of the cookies are slightly brown but the tops are still white.
- Let cool for 5 minutes on the cookie sheet before moving them to a wire rack to cool completely.
- Take the second sheet of cookies from the refrigerator and bake them the same way.
- Roll out the remaining dough to make another batch of cookies.
Royal Icing
- Mix 4 cups icing sugar, 3 Tablespoons meringue powder and ½ cup of WARM water in a stand mixer with a whisk attachment on low speed.
- Once the ingredients are blended together, increase to medium speed.
- Mix for 5 to 8 minutes until the icing forms soft peaks.
Make Black Icing
- To make a full batch of black cats, add 8 teaspoons of cocoa powder to the royal icing.
- To make black cat in front of the moon cookies, move half of the icing into a separate bowl. Add 4 teaspoons of cocoa powder.
- Once it is completely combined, mix in enough black food coloring to turn the icing a dark grey color.
- Now you’ll need to test the icing consistency. If you’re using both black and white icing, you should do this for both of them.
- Test the icing consistency by running a knife through the middle of the icing and counting how many seconds it takes to close the gap. If it takes longer than 20 seconds, mix in a few drops of water. If it takes less than 10 seconds, add a little icing sugar.
How To Decorate Black Cat Cookies
- For the cat silhouette in front of the moon cookies, save about 1/4 cup of the black icing in a separate bowl. Cover it with plastic wrap that is directly touching the surface of the icing to keep it from drying out.
- Put the rest of the black icing in a piping bag with a #4 or #5 tip.
- Pipe around the edge of the cat to create an outline.
- Then flood (fill in) the middle.
- Use a toothpick or a knife to fix any gaps.
- Add eyes to your cats by using tweezers to place green sugar pearls on the cat's face.
How To Decorate Cat Silhouette Cookies
- Decorate the cat cookies as above, saving about ½ cup of black icing. Store it in a bowl covered with plastic wrap that is pushed down to touch the surface of the icing.
- Put some white icing in a piping bag with a #4 or #5 tip.
- Outline the round shapes with the white icing.
- Flood the middle with white icing.
- Use a toothpick or knife to fix any gaps. Add more icing if there are any indents.
- Position one of the black cats in the bottom center of the round cookie. Push down so that the black cat is stuck into the white icing.
- Wait a few hours until the icing is completely dry.
- When they are dry, put the extra black icing saved above into a piping bag with a #4 or #5 tip.
- Pipe a few squiggles onto the white icing.
- Take a damp (not wet) piece of paper towel and wipe off the black icing.
- Spread it around the rest of the white icing to get a moon at night look.
- Pipe on a few bird outlines if you want to.
Notes
- Dutch processed cocoa powder is best because it is a darker brown.
- Don’t over-process the flour as it can make the cookies tough or cause them to have air bubbles.
- While not strictly necessary to divide the dough in half, it’s much easier to roll in smaller batches.
- You can roll the cookies thicker than 1/8 inch if you prefer, but you will get a lot fewer of them.
- Only use as much black food coloring as necessary since it can make your icing taste bitter.
- The cocoa powder can be omitted from the black icing if desired, but more black food coloring will be necessary to make the icing dark.
- The icing will get darker as it dries.
- For a better idea of how dark the icing will be, let it sit (covered) for a few hours before icing the cookies.
- Sugar cookies don’t go stale that quickly, so it’s fine to leave them out without covering them while the icing is drying.
How To Store Black Cat Sugar Cookies
- Separate layers of cookies with pieces of parchment paper to protect the decorations.
- Sugar cookies can be stored in an airtight container at room temperature for 4 days, refrigerated for about a week, or frozen for up to 3 months.
Nutrition values are estimates only, using online calculators. Please verify using your own data.
Have comments or questions about our black cat sugar cookies recipe? Tell us in the section below.
This post was originally published on October 14, 2020 but was updated with new content on March 19, 2024.