
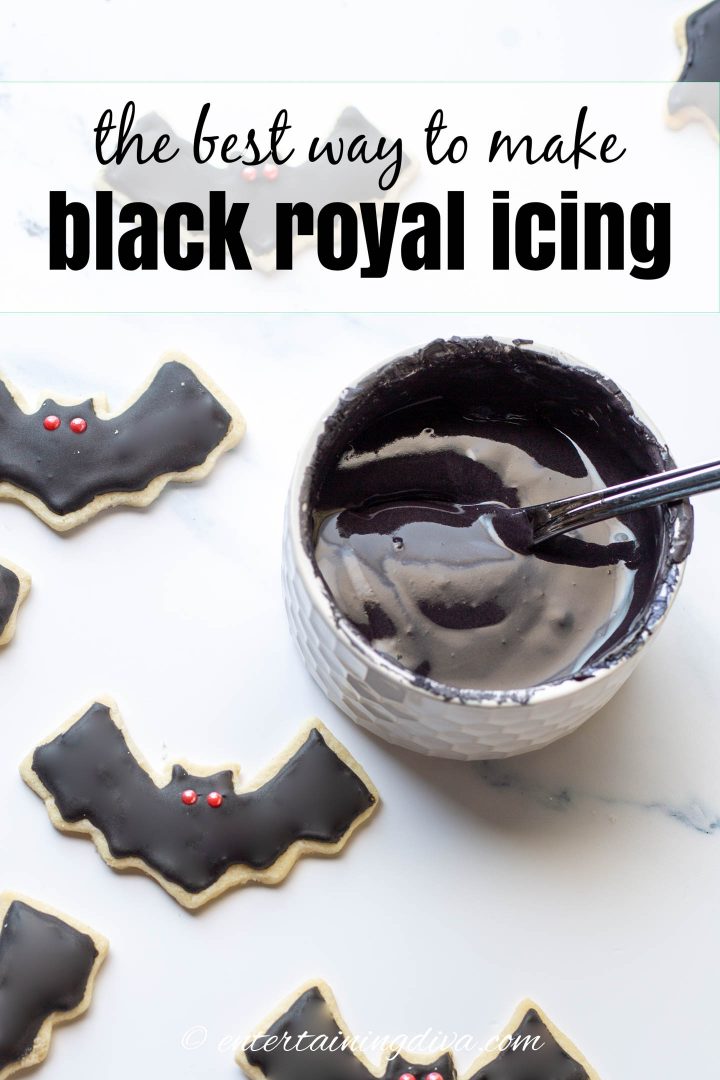
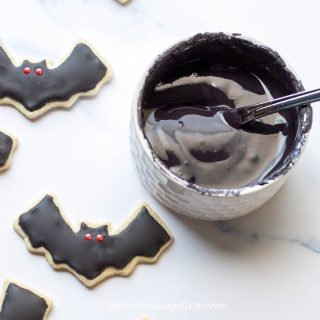
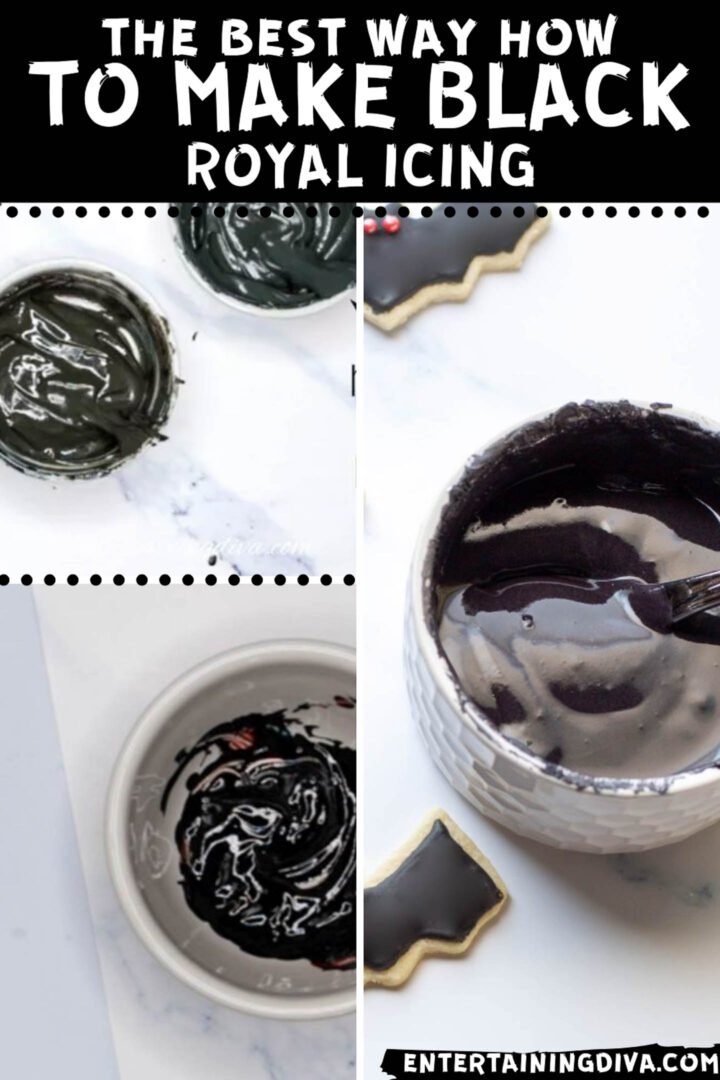
The Best Way To Make Black Royal Icing


After many attempts, I finally found the best recipe to make black royal icing that doesn’t taste terrible and really is black! The right brand of food coloring and a little cocoa powder helps. But I’ll show you how to make it without black food coloring too.
If you’ve ever tried to make black royal icing, you have probably noticed that it takes A LOT of black food coloring to make it the right color.
And even then, the icing usually turns out more of a dark grey than actual black.
Then when you finally get it to the right color, it tastes awful! (Black food coloring has a bitter taste that just isn’t very appealing.)
And sometimes it “bleeds”. Which means the black seeps into the other icing colors you have on your cookie and wrecks them.
Or worse…it never dries.
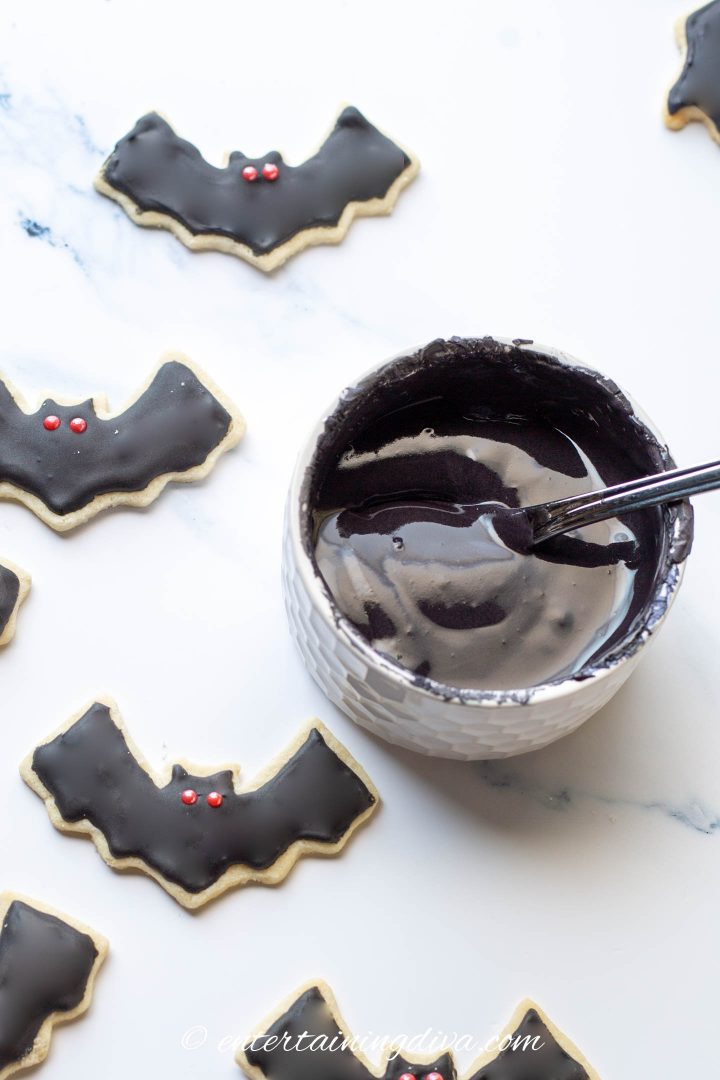
Which is why I set out to find out the best way to make black royal icing. (It’s hard to decorate Halloween cut out cookies without it!)
If you want to skip directly to a specific section, you can use these links:
In this recipe
Black food coloring tests
I have included the testing I did and the results, in case you’re interested in the process. (If not, you can use the links above to skip down to the recipe).
The first test
After scouring the internet, I found 3 common food coloring options for black:
- Wilton Black*
- AmeriColor Super Black*
- Red, green & blue mix #1: Black made from mixing 1/2 teaspoon blue gel food coloring with 1 1/4 teaspoon green gel food coloring and 3/4 teaspoon red gel food coloring (I used the Betty Crocker gel food color that you can find in most grocery stores)
And there were two different ways to mix them:
- into regular white royal icing
- into brown royal icing made with cocoa powder
So that came to a total of 6 different tests.
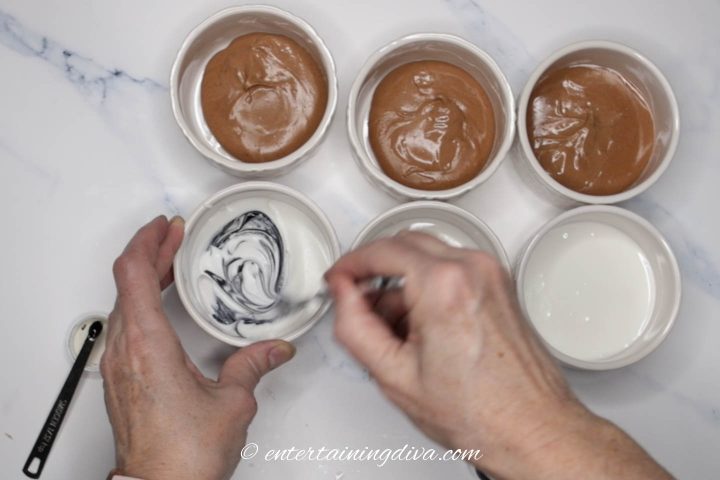
I started by mixing 1/32 teaspoon of each color into about 1 Tablespoon of white royal icing. Then did the same for 1 Tablespoon of brown (cocoa powder) royal icing.
But that clearly wasn’t going to make the color cut. None of them came out black.
So I increased all of them to 1/16 teaspoon of color in 1 Tablespoon of icing.
Then I covered all of the bowls with plastic wrap and let it sit for about 6 hours so I could get a better idea of what the final color result would be.
The results
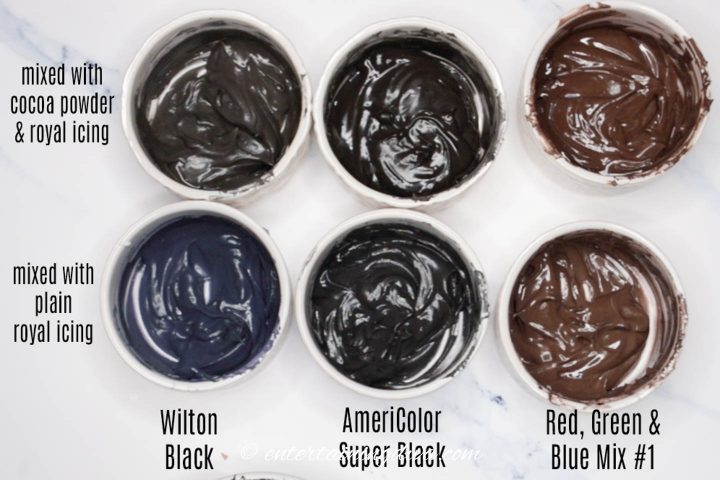
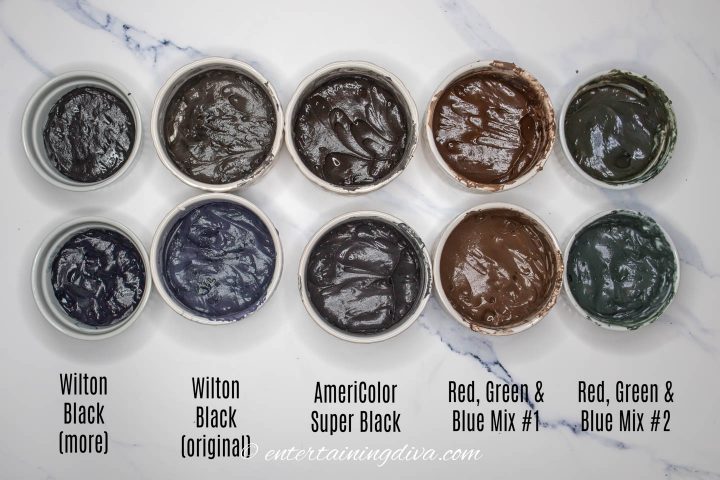
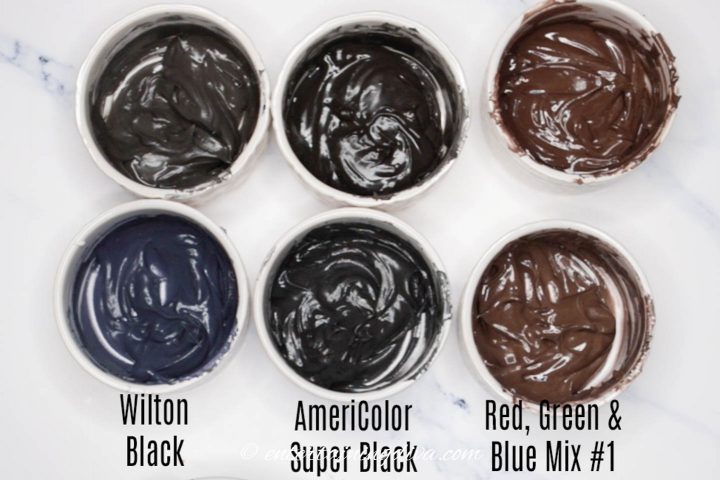
And here’s what they looked like.
As you can see the Wilton black in white icing was more blue-grey than black.
The Wilton black in cocoa powder icing looked much closer to black but still had a brown-grey look to it.
The AmeriColor Super Black* was very close to black in both the white and cocoa powder icing.
You can’t really see much difference in the picture, but in person the cocoa powder version was more of a warm black, while the white icing one was a cooler black.
The icing mixed with blue, green and red wasn’t even remotely close to black.
It was brown. A really pretty dark brown (another color that’s hard to get with royal icing). But not usable as black.
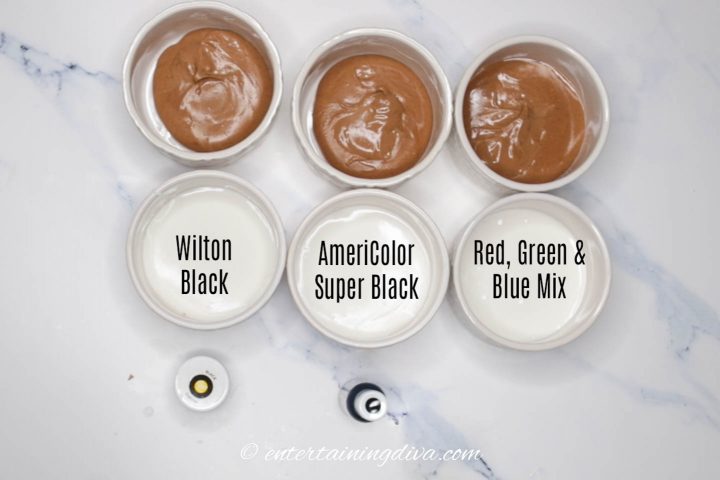
The re-test
Since only the AmeriColor Super Black food coloring passed the original test, I decided to go back to the drawing board and see what it would take to get a usable black color from the other two.
For this test, I was still using 1 Tablespoon of white royal icing and and 1 Tablespoon of cocoa powder royal icing with the following changes:
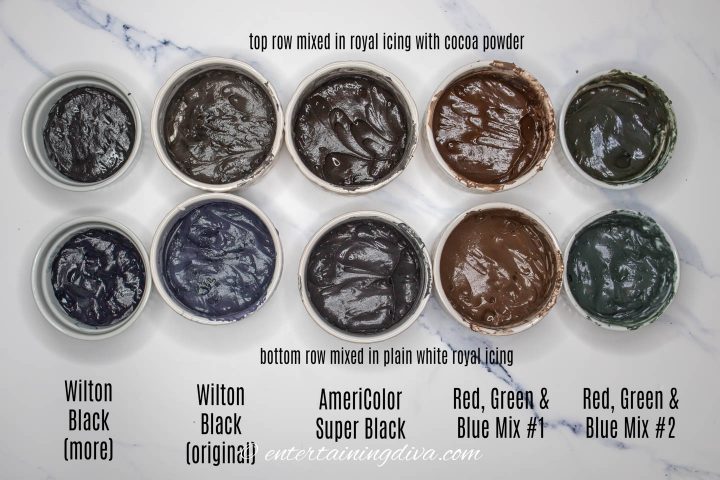
- Wilton Black (more): I increased the amount of Wilton black food coloring to 1/8 teaspoon
- Red, green & blue mix #2: I used equal parts green, blue and red Betty Crocker gel food coloring for the mixed black (in my case, I did 1/2 teaspoon of each). I had to add 1/4 teaspoon of the final product to the icing to get the results in the picture.
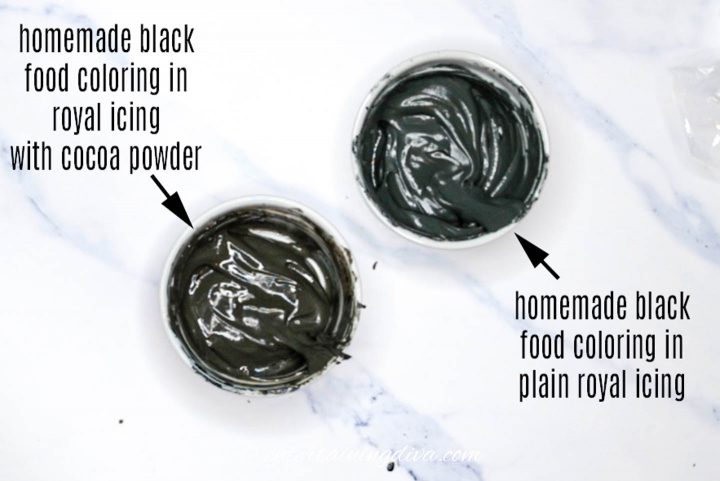
As you can see, both were much more successful in the color department. They look pretty black.
I probably could have added a little more red to the blue/green/red mix #2 with white icing since it has a bit of a green tint. But it would still look like black for most cookie decorating scenarios.
However, in both cases I had to use enough food coloring that it affected the taste of the icing:
- 1/8 teaspoon Wilton black food coloring per Tablespoon of icing
- 1/4 teaspoon Betty Crocker red/green/blue mix per Tablespoon of icing
It’s not ideal, but it works if this happens to be the food coloring that you have on hand.
Tips for making the best black royal icing
After all that, here are my tips for making the best black royal icing:
- Use as little black food coloring as possible to prevent many of the problems – the bitter taste, color bleeding, and not drying properly. So that’s the goal.
- Add cocoa powder to the icing before you mix in black gel food coloring to get a rich black color and use less color. It does give the icing a chocolate flavor. Not a bad thing in my books but some people might not like it (or may be allergic to it).
- There is a difference in the type of food coloring you use. AmeriColor Super Black* had the best black color and required the least amount of coloring to get that color.
- It is possible to get a pretty good black royal icing without using black food coloring by mixing equal parts red, green and blue.
- Regardless of which way you make the icing, the color will get darker as it dries. Letting it sit overnight after you have mixed it will give you a better idea of what it will look like.
Ingredients
- 4 cups icing sugar
- 3 Tablespoons meringue powder
- 1/2 cup water
- 1/3 cup cocoa powder (optional) – Dutch cocoa powder works best since it has a darker color than regular cocoa powder. But any kind of cocoa powder is better than none.
- AmeriColor black gel food coloring – you will probably need between 2 and 4 teaspoons to color the whole batch of icing black (1/2 to 1 teaspoon per cup of icing).
Supplies
- stand mixer with a whisk attachment and a mixing bowl
- spatula
- mixing spoon
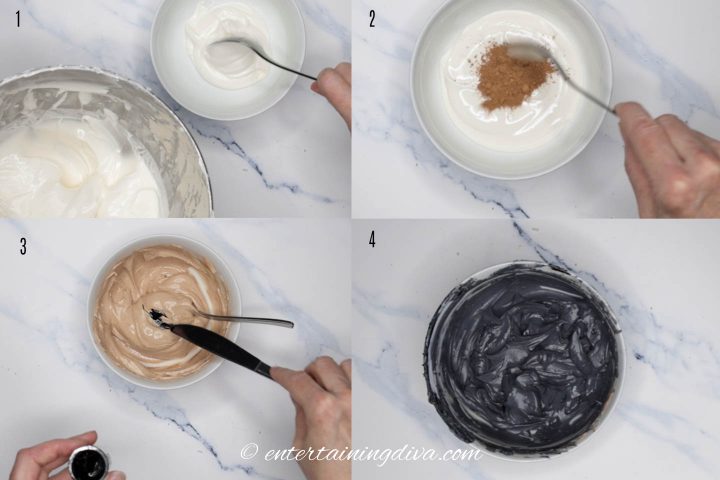
How to make black royal icing with cocoa powder
The best option (in my opinion) is to add cocoa powder to your icing.
Which turns the icing brown. And brown is closer to black than white so you need less food coloring.
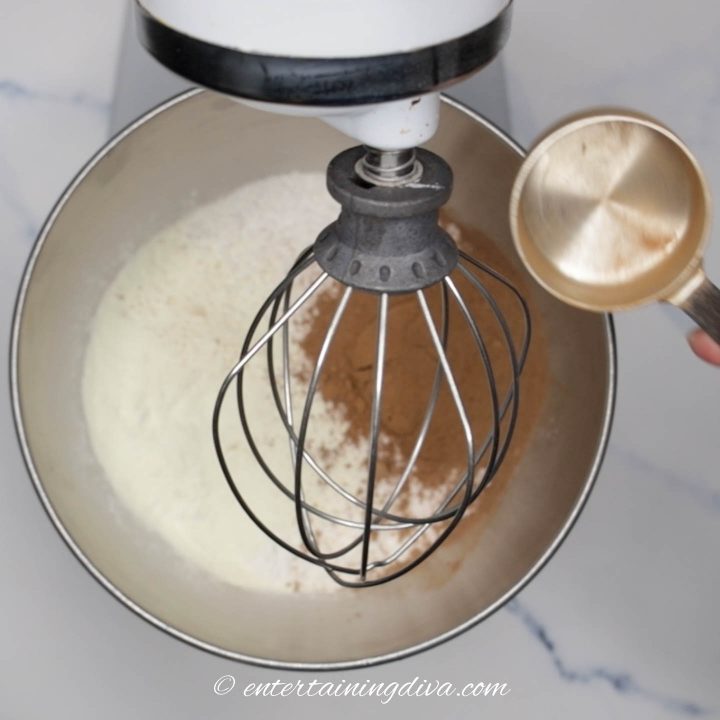
Put the icing sugar, cocoa powder and meringue powder in the mixer and whisk for a few seconds on low speed to get rid of any lumps.
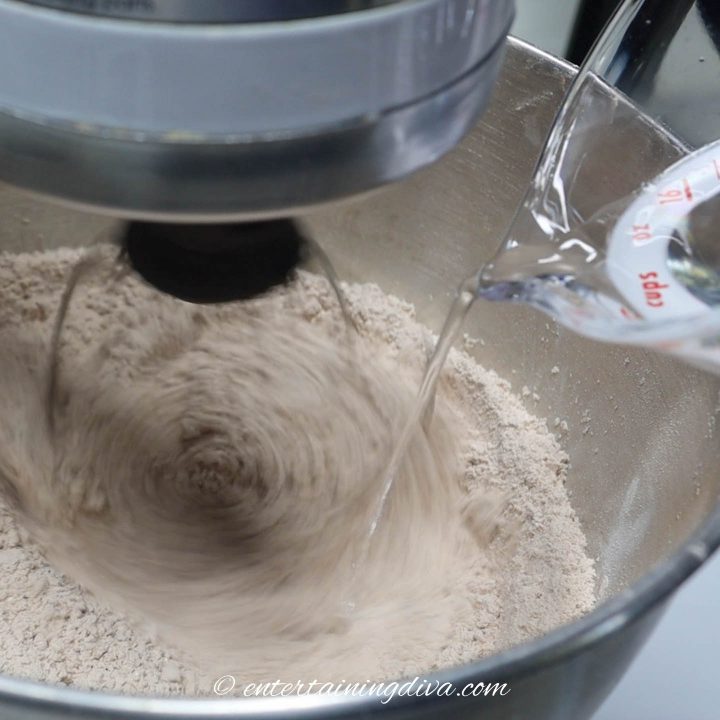
Add the water and mix on low speed until combined.
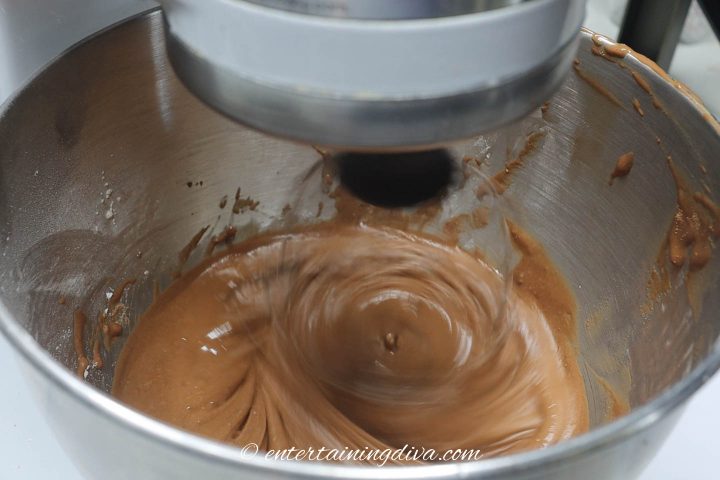
Increase the mixer speed to medium-low and mix for 3 to 5 minutes until the icing forms soft peaks.
Test The Icing Consistency
Test the icing to make sure it is the right consistency.
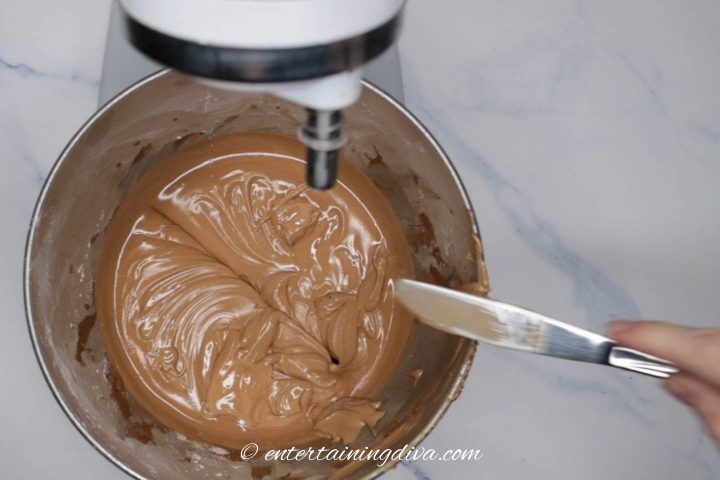
To do this, run a knife through the icing.
If it takes less than 10 seconds for the gap to close, your icing is too thin. Beat it some more to get it thicker.
If it takes longer than 20 seconds for the gap to close, your icing is too thick. Add a few drops of water and mix briefly.
Repeat the testing process until the icing is the right consistency.
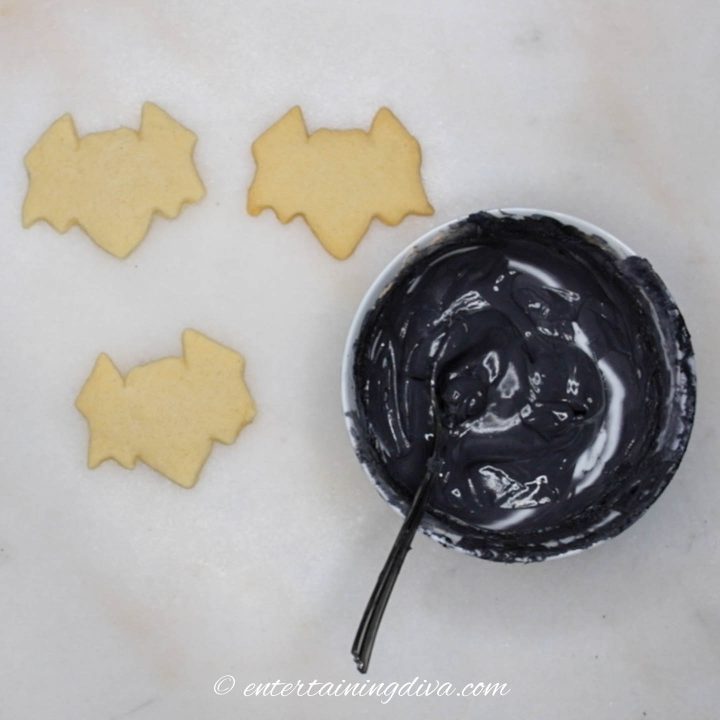
Add The Black Food Coloring
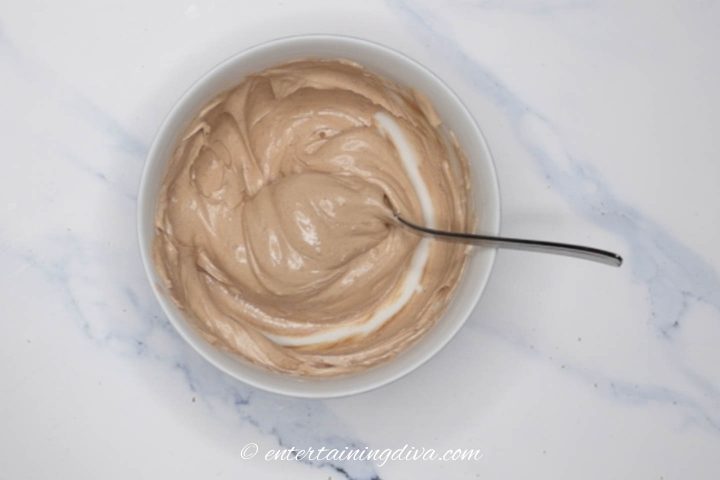
If you are going to use the whole batch for black icing, you can add the black food coloring directly to your bowl.
Otherwise, spoon the icing that you want to be black into a smaller bowl. Since it is very difficult to create two batches of icing with the exact same color, make sure you use enough to do all of your cookie decorating.
Then add in a small amount of black gel icing and mix it by hand.
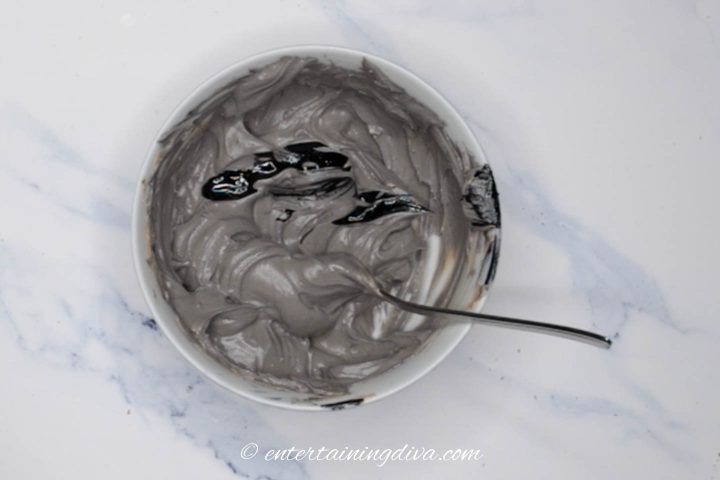
If it still looks like a light grey, try adding a little more black gel.
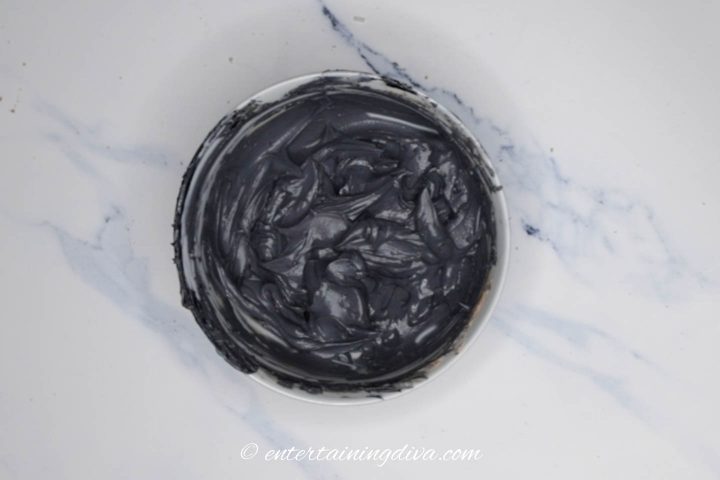
But not too much! Remember it will darken as it dries.
If you have time, let it rest for a few hours (or overnight) so you can see what the color will look like.
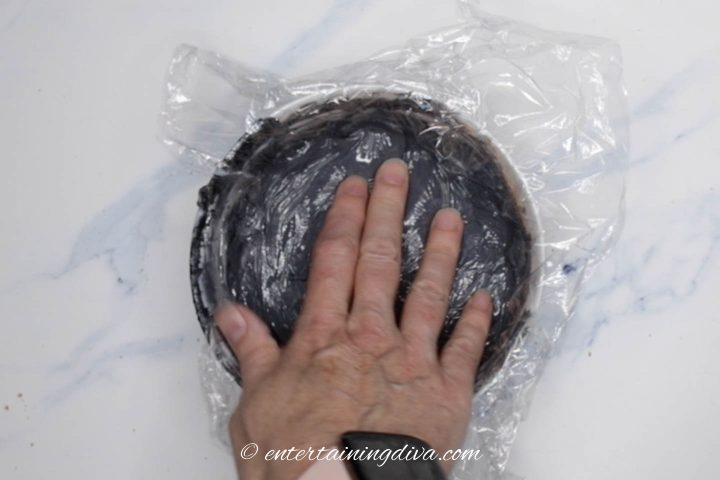
To keep it from drying out, cover the icing with plastic wrap that is touching the top of it.
Depending on the size of your cookies and how much icing you’re using on each one, this recipe should cover about 24 2-inch cookies.
How to make a small batch
If you don’t need a whole batch of black icing, you can add the cocoa powder to white royal icing after it is mixed.
Mix the icing following the directions from above, without the cocoa powder. (Or use your own royal icing recipe).
Then put some of the white icing into a separate bowl.
Add 2 to 4 teaspoons of cocoa powder per cup of white icing and mix thoroughly.
Add in the black gel food color a little at a time until you get a darker grey color.
If the icing is too stiff, add in a few drops of water to thin it to the consistency you want.
As with the big batch of icing, let it sit over night if you want to get a better idea of how dark it will be. Cover it with plastic wrap touching the surface of the icing to keep it from drying out.
How to make black royal icing without cocoa powder
If you don’t want to use cocoa powder as the base for your black icing, you can eliminate it from the recipe above.
Follow the directions from above but increase the mixing time to 5 to 8 minutes.
You’ll also need to add more black gel food coloring to get black icing.
I found that AmeriColor black gel food coloring creates the darkest color with the least amount of food color.
Wilton black gel food coloring will work, if that’s what you have on hand. But to get the icing dark enough, you will have to add a lot of it (about 2 teaspoons per cup of icing in my test), and you will end up with icing that tastes bitter.
Add the food color in a little bit at a time, mixing well after each addition.
Keep going until your icing is a dark grey color.
At a certain point, you’ll notice that adding more food coloring doesn’t change the color of the icing very much.
Stop adding more at this point. It won’t make your icing any darker but it is adding more bitter flavor.
Let the icing rest
If you have the time, let the icing sit over night so the black color has a chance to set. That way you’ll be able to see how dark it is (and can add some more color if necessary).
To make sure it doesn’t dry out, cover the icing with plastic wrap that is pushed all the way down onto the top of it.
It can be stored at room temperature this way for a few days.
If it looks like it has separated when you go to use it, this is normal. Just stir it a little to re-combine the layers.
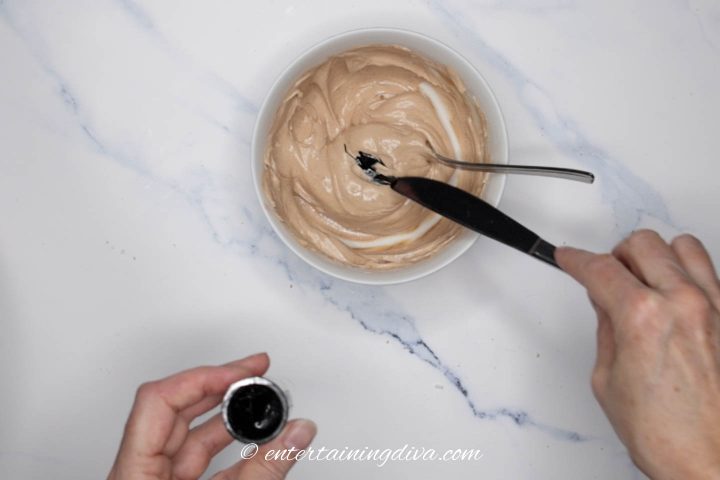
How to make your own black food coloring
If you don’t have any black food coloring, you can mix some other colors together to make your own version.
It is hard to come up with a true black this way, but it will work in a pinch. And can be used with cocoa powder or without.
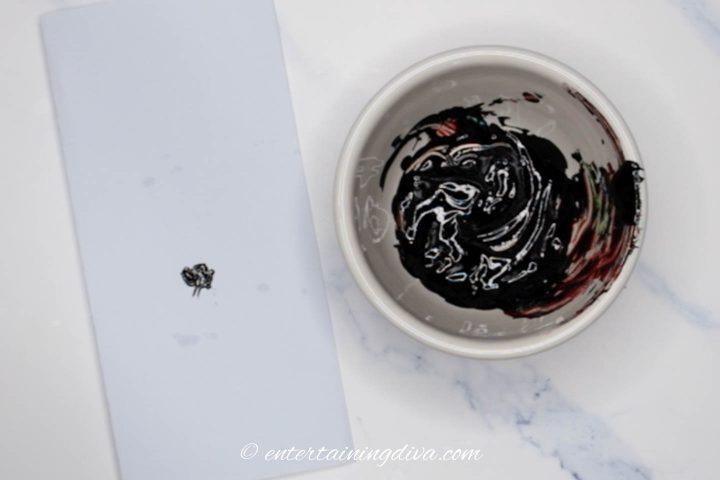
In a small bowl, combine equal parts blue gel food coloring, green gel food coloring and red gel food coloring. I used 1/2 teaspoon of each.
To test the color, use a toothpick to spread a little bit of it on a piece of paper.
Adjust by adding a little more blue, red or green if necessary.
Then follow the same instructions (from above) to add your homemade black food coloring to the icing.
Storage
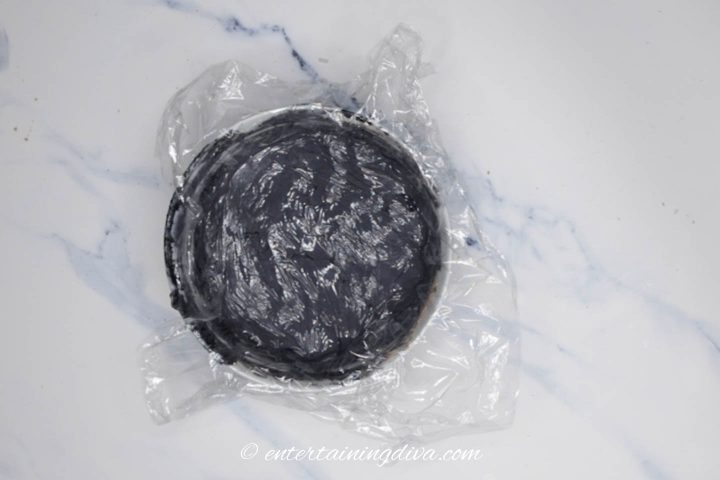
- To store the icing, put it in a bowl and cover it with plastic wrap. Then push down on the plastic so it is directly touching the icing and there are no air bubbles. It can be stored at room temperature this way for a few days, or in the refrigerator for up to a week.
- To freeze, put it into a Ziploc bag and push out all of the air before closing. It can be stored in the freezer for up to 3 months.
- Bring it back to room temperature before using.
- If the icing has separated when you go to use it, this is normal. Just stir it a little to re-combine the layers.
How to keep black royal icing from bleeding
Besides not using too much food coloring, here are a few other tips to keep your black icing from bleeding:
- Keep the icing on the stiff side. The more water you use, the more likely it is to bleed.
- Don’t expose the icing to too much humidity when it’s drying. (It’s that water factor again).
- Which means you shouldn’t put the cookies in the refrigerator or freezer to speed up the drying process. Humidity again…
- Make sure that the icing on the cookie is completely dry before adding any other color beside or on top of it. I like to wait 24 hours between layers.
Well, that’s it for my black royal icing experiment. Hopefully, you have learned all you need to do know to mix your own successfully!
Other Recipes You Might Like
- Halloween bat sugar cookies
- The best sugar cookie recipe
- How to make royal icing
- How to make red royal icing
Black Royal Icing Recipe
Ingredients
- 4 cups icing sugar
- 3 Tablespoons meringue powder
- ½ cup water
- ⅓ cup cocoa powder optional
- AmeriColor black gel food coloring – you will need between 2 and 4 teaspoons to color the whole batch of icing black 1/2 to 1 teaspoon per cup of icing.
Equipment
- stand mixer with a whisk attachment and a mixing bowl
- Spatula
- mixing spoon
Instructions
- Put the icing sugar, cocoa powder and meringue powder in the mixer and whisk for a few seconds on low speed to get rid of any lumps.
- Add the water and mix on low speed until combined.
- Increase the mixer speed to medium and mix for 3 to 5 minutes until the icing forms soft peaks.
- Run a knife through the icing to test the consistency
- If it takes less than 10 seconds for the gap to close, your icing is too thin. Beat it some more to get it thicker.
- If it takes longer than 20 seconds for the gap to close, your icing is too thick. Add a few drops of water and mix briefly.
- Repeat the testing process until the icing is the right consistency.
- If you are going to use the whole batch for black icing, add the black food coloring directly to your bowl. Otherwise, separate out the icing that you want to be black.
- Add in a small amount of black gel icing and mix it by hand.
- If it still looks like a light grey, add a little more black gel and mix again. Repeat until it has reached a dark color.
How To Make A Small Batch Of Black Royal Icing With Cocoa Powder
- Put some plain white royal icing into a bowl.
- Add 2 to 4 teaspoons of cocoa powder per cup of white icing and mix thoroughly.
- Add in the black gel food color a little at a time until you get a darker grey color.
- If the icing is too stiff, add in a few drops of water to thin it to the consistency you want.
How To Make Black Royal Icing Without Cocoa Powder
- Make the recipe as above, omitting the cocoa powder and increasing the mixing time to 5 to 8 minutes. You'll also need to use more black food coloring.
- Add the food color in a little bit at a time, mixing well after each addition.
- Keep going until your icing is a dark grey color.
- At a certain point, you'll notice that adding more food coloring doesn't change the color of the icing very much. Stop adding more at this point. It won't make your icing any darker but it is adding more bitter flavor.
How To Make Your Own Black Food Coloring
- Combine equal parts of blue, red and green gel food coloring in a bowl. 1 teaspoon of each is a good amount for a small batch.
- Use a toothpick to spread some of the food coloring on a piece of paper to test the color. Adjust as necessary.
- Follow the directions from the recipe above to add it to your icing.
Notes
- Dutch cocoa powder works best since it has a darker color than regular cocoa powder. But any kind of cocoa powder is better than none.
- Since it is very difficult to create two batches of icing with the exact same color, make sure you use enough to do all of your cookie decorating.
- To get a better idea of how dark your icing will be, let it sit over night. Cover it with plastic wrap touching the surface of the icing to keep it from drying out.
- To store the icing, put it in a bowl and cover it with plastic wrap. Then push down on the plastic so it is directly touching the icing and there are no air bubbles. It can be stored at room temperature this way for a few days, or in the refrigerator for up to a week.
- To freeze, put it into a Ziploc bag and push out all of the air before closing. It can be stored in the freezer for up to 3 months.
- Bring it back to room temperature before using.
- If it looks like it has separated when you go to use it, this is normal. Just stir it a little to re-combine the layers.
Nutrition values are estimates only, using online calculators. Please verify using your own data.
Have comments or questions on our black royal icing recipe? Tell us in the section below.
Pin It So You Don't Forget It!
This post was originally published on October 7, 2020 but was updated with new content on March 19, 2024.
Hello
Thank you for all your tips and options for black icing. How long can black icing made with cocoa last once on a sugar cookie?
Thank you
Hi Chantal…Royal icing (with cocoa powder doesn’t really have an end date. All the sugar in it keeps it from going bad. I usually try to eat or freeze the frosted cookies within a couple of weeks (but I have had them around for up to a month on occasion). You can keep them in the freezer for 3 to 6 months if you need them longer than that.