
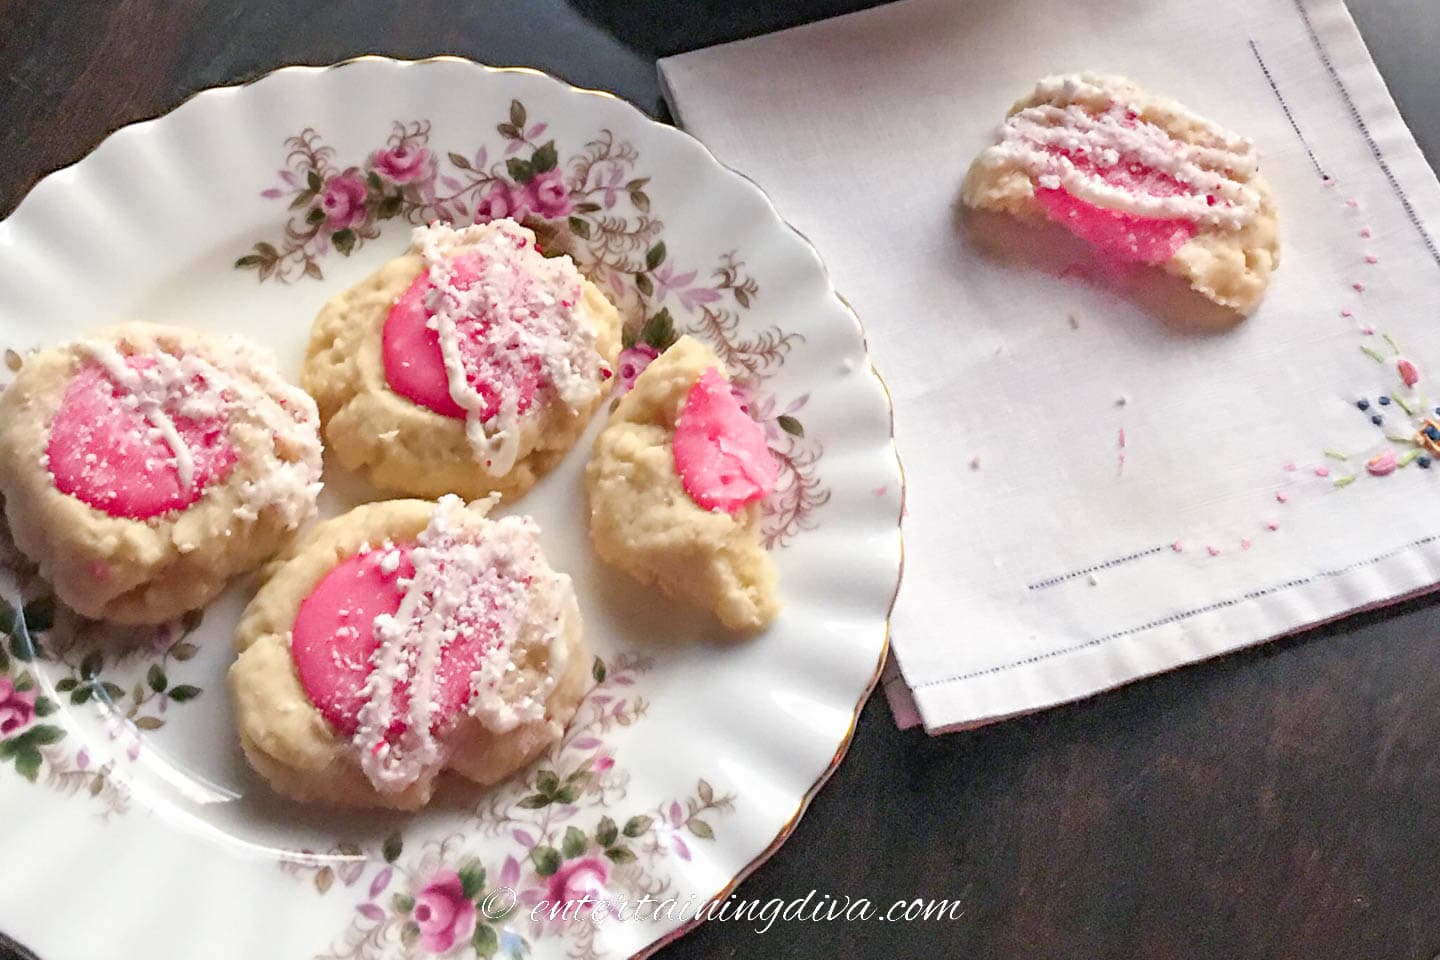
White Chocolate Peppermint Thumbprint Cookies


These white chocolate peppermint thumbprint cookies are a basic shortbread recipe with an indent in the middle to hold the creamy pink peppermint filling. They also look very appealing on a Christmas cookie tray because of the way they are decorated.

When I saw the attractive pictures of these candy cane thumbprint cookies in Nov. 2022 “Canadian House and Home” holiday issue I just had to add the recipe to my Christmas baking list.
I am glad I did, for they not only look good, they taste delicious!
They are made in three stages: the base cookie, the ganache filling, and the decoration.
This means that although they are fairly easy to make, it takes time to let them cool between stages, and to fill and decorate each cookie individually.
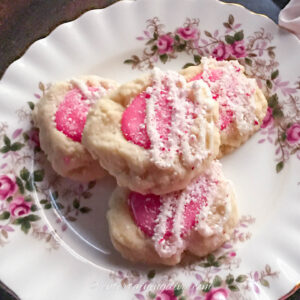
I think they are worth the effort because they add such a festive look to assorted Christmas cookies on a plate.
As well, the white chocolate and peppermint flavor combination is perfect for the holidays.
Ingredients
This post may contain affiliate links. We make a small commission if you buy the products from these links (at no extra cost to you). As an Amazon Associate, I earn from qualifying purchases. But we only recommend products we would use ourselves. For more information, click here to see our disclosures
This recipe makes about 3 dozen cookies.
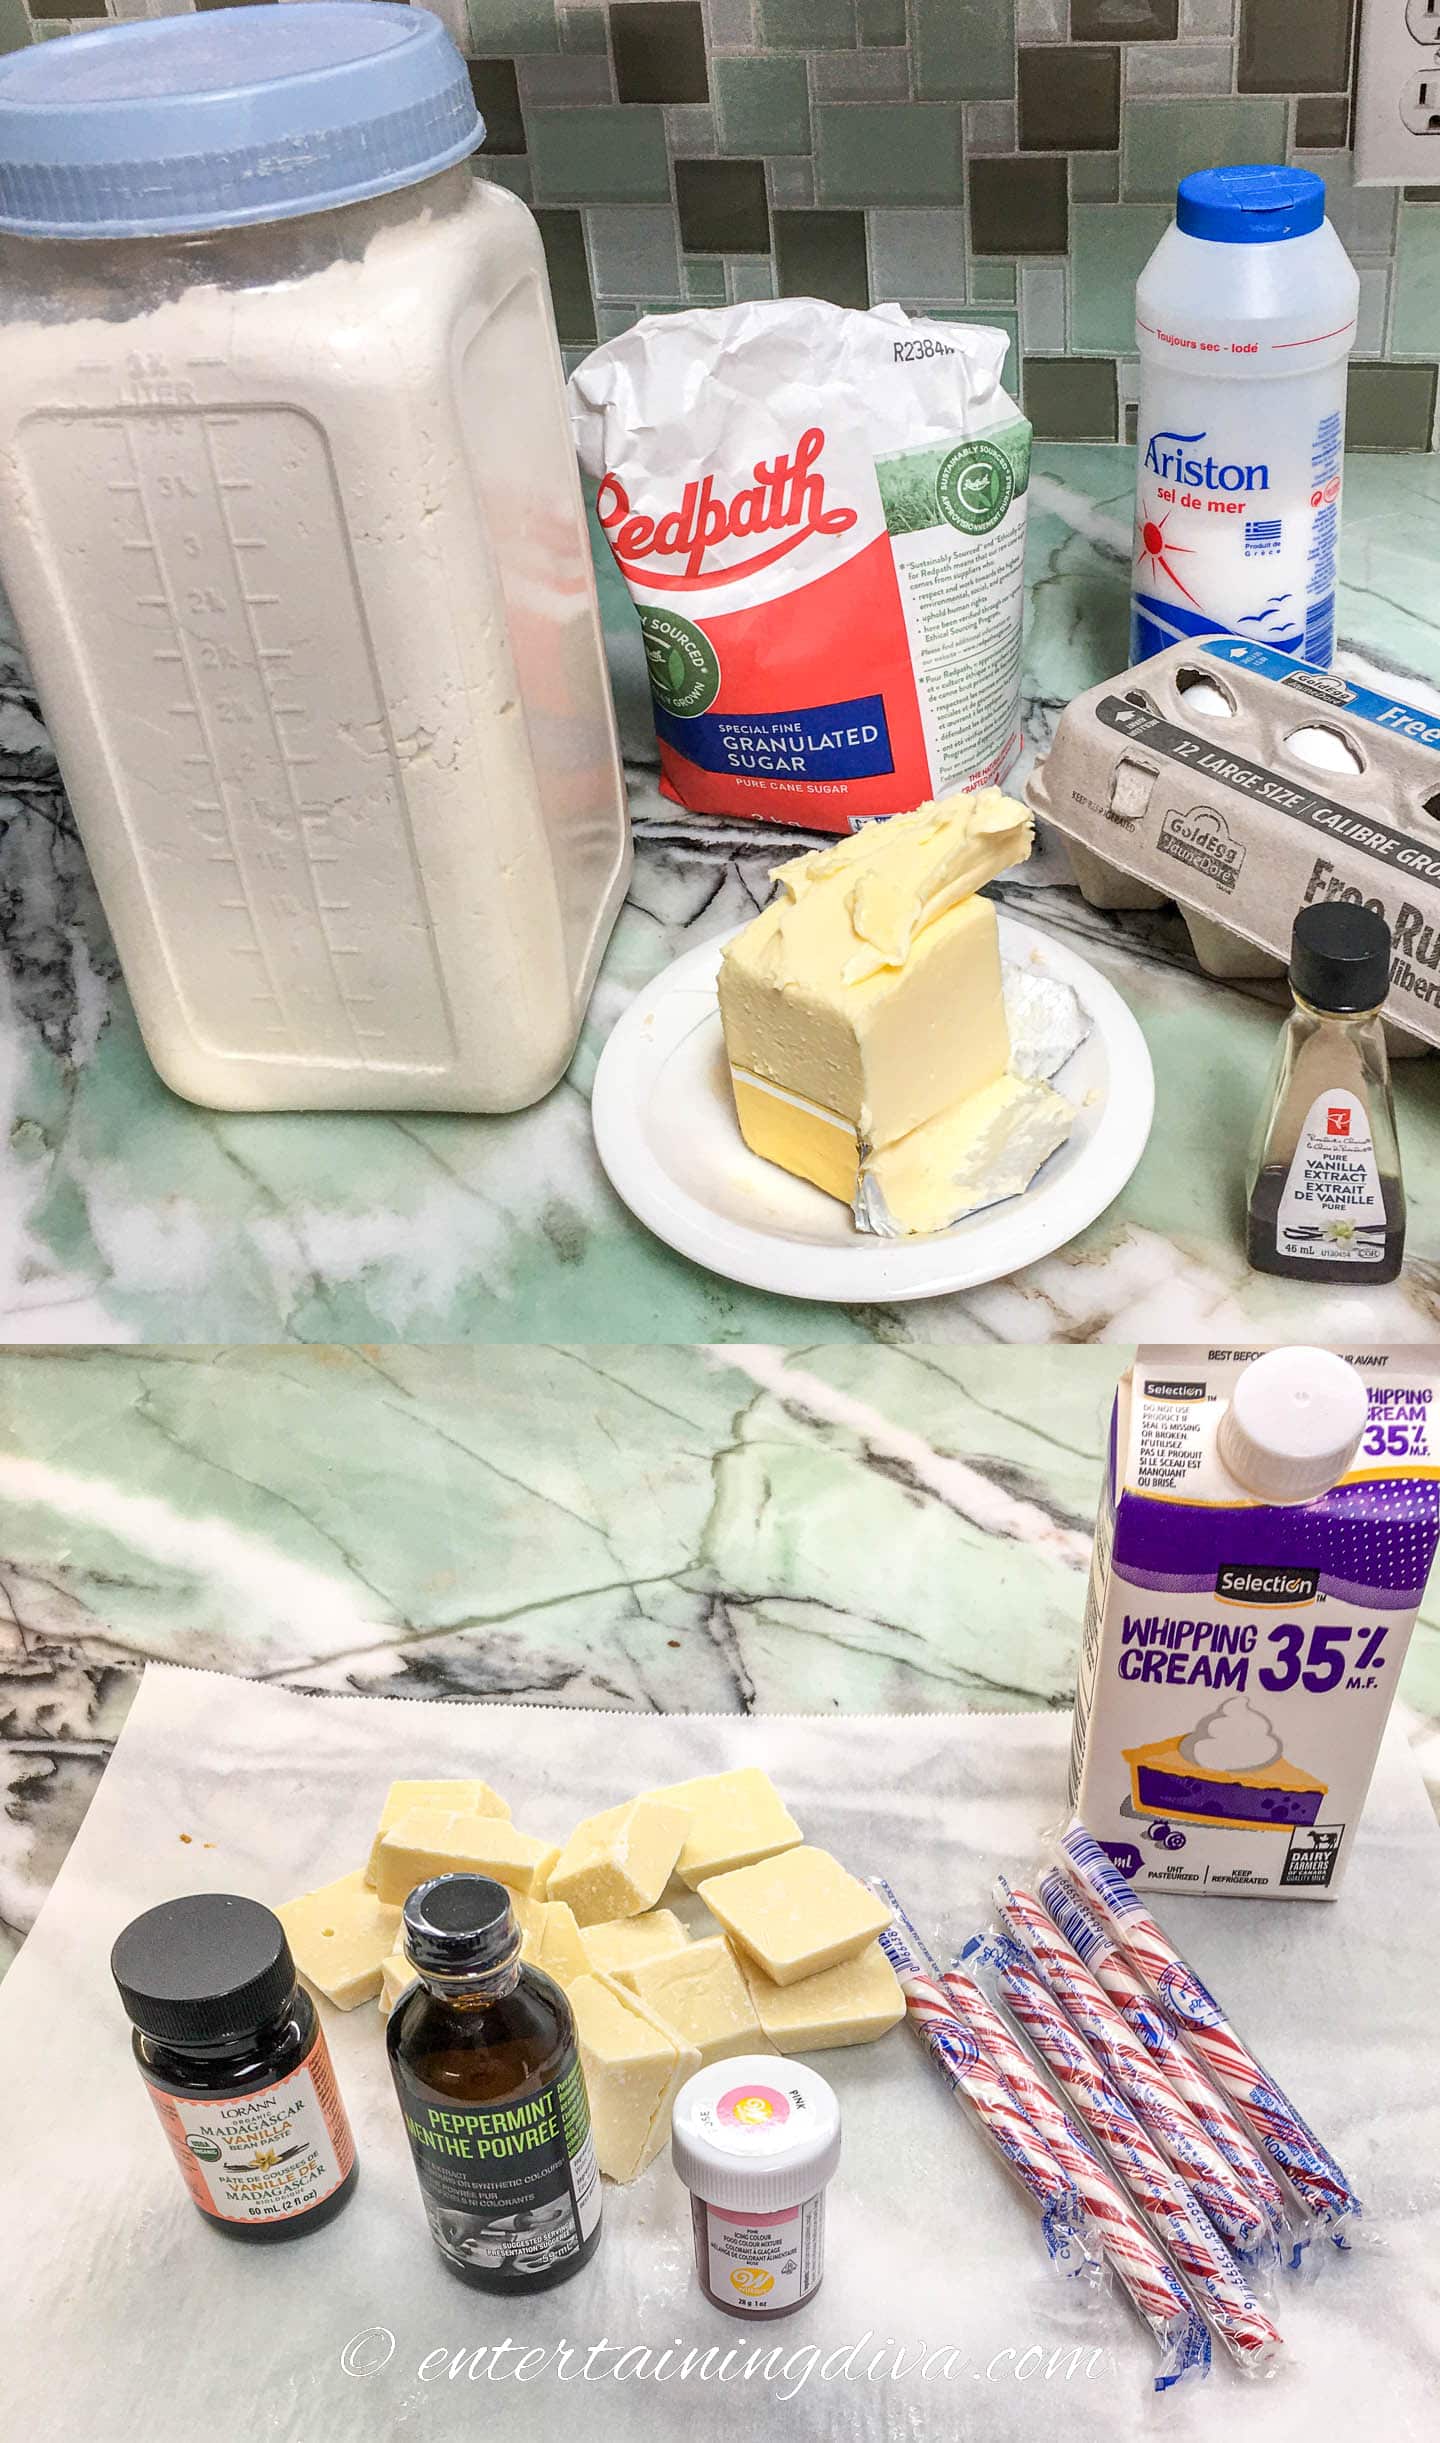
Here is your shopping list:
- Dairy – 1 cup (2 sticks) unsalted butter, 1/3 cup regular whipping cream
- Eggs – 2 large
- Sugar – ½ cup granulated sugar
- Baking supplies – 2 cups all-purpose flour, 14 ounces white chocolate squares. For the best flavor, get the best white chocolate you can find.
- Flavoring – 1 teaspoon vanilla extract, ¼ teaspoon peppermint extract, ½ teaspoon vanilla bean paste. I use pure extract because it has better flavor than artificial.
- Seasoning – ¼ teaspoon salt
- Color – 1 to 2 drops of pink gel food coloring
- Candy canes – 5 peppermint flavored candy canes
Substitutions
- Salted butter will work instead of unsalted.
- You can use good quality white chocolate chips instead of the squares.
- A couple of drops of red liquid food coloring will work instead of the pink gel kind. Don’t use red gel food coloring unless you want the filling to look more red than pink.
Special equipment
To get the filling and garnish to look good, it helps to use a piping bag with 2 different piping bags.
- 2 piping bags
- 1/2″ wide slitted( ) piping tip
- small round piping tip
How to make white chocolate peppermint thumbprint cookies
Prep work
Preheat the oven to 350℉.
Take the butter and eggs out of the refrigerator a couple of hours ahead of time to give it time to warm to room temperature.
Line 2 cookie sheets with parchment paper. Rimless baking sheets work best since they allow for the best airflow around the cookies as they are baking.
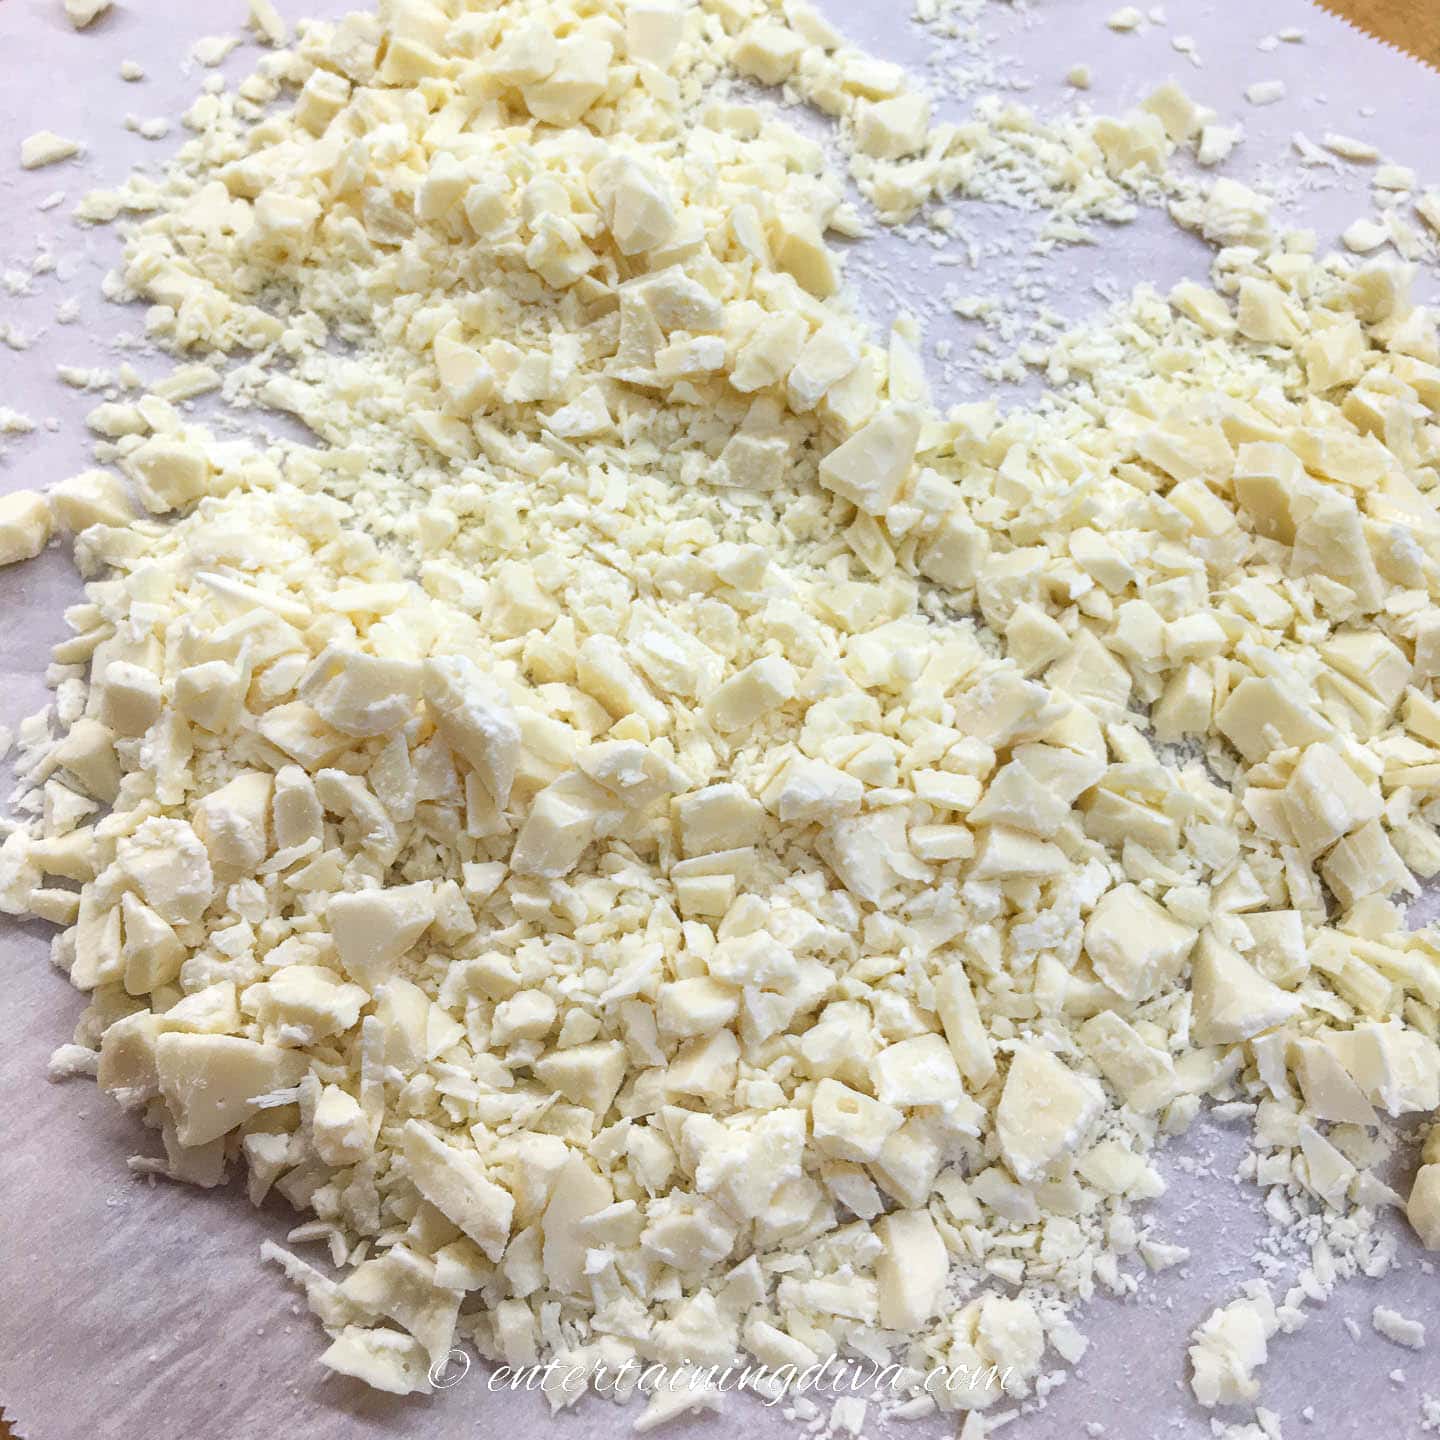
Chop the white chocolate using a food processor or by hand with a sharp knife. (This isn’t necessary if you are using white chocolate chips).
Place the peppermint flavored candy canes in a sealed zip lock plastic bag or on a sheet of waxed paper. Crush them with a rolling pin until finely chopped. Set aside.
Separate the egg yolks from the egg whites and set them aside in a small bowl. We won’t be using the egg whites, so you can save them for another recipe.
The easiest way to do this is using a yolk separator.* But if you don’t have one, you can do it manually:
- Carefully crack the egg keeping the yolk in one half of the shell. Make sure not to break the yolk.
- Hold it over a small bowl.
- Then pass the yolk back and forth between the two halves of the egg shell a few times letting the egg white fall off into the bowl.
Mix the cookie dough
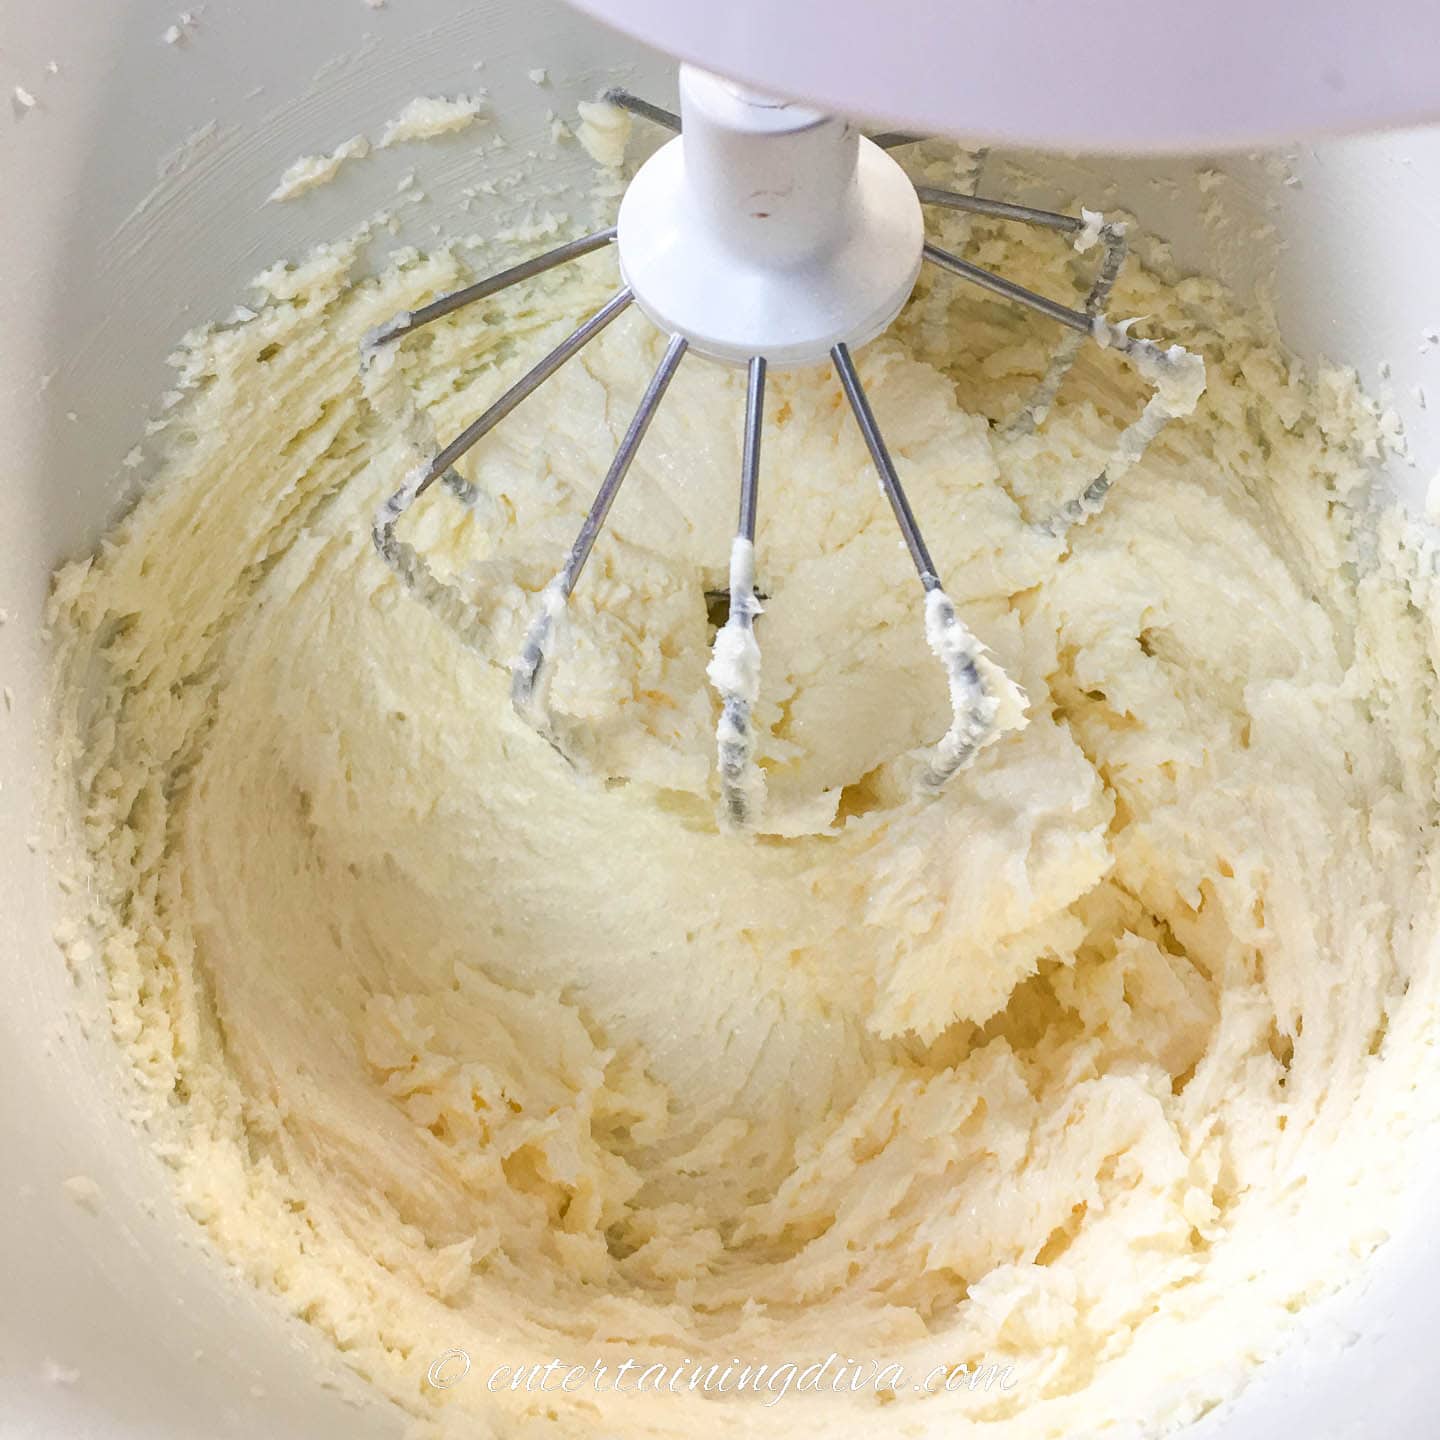
Using a mixer on medium high speed, beat 1 cup of room temperature butter in a large bowl until it is fluffy.
Gradually add ½ cup of granulated sugar, beating continuously.
Continue mixing until the butter/sugar mixture is light in color and very fluffy. This will take at least 3 minutes. Scrape the sides of the bowl with a spatula while the mixture is beating to make sure everything is well mixed.
Now add 2 egg yolks and 1 teaspoon of vanilla.
Continue to beat until well blended. Keep scraping the sides and bottom of the bowl to incorporate all of the ingredients.
Stop the mixer. Then add 2 cups of all-purpose flour and ¼ teaspoon salt.
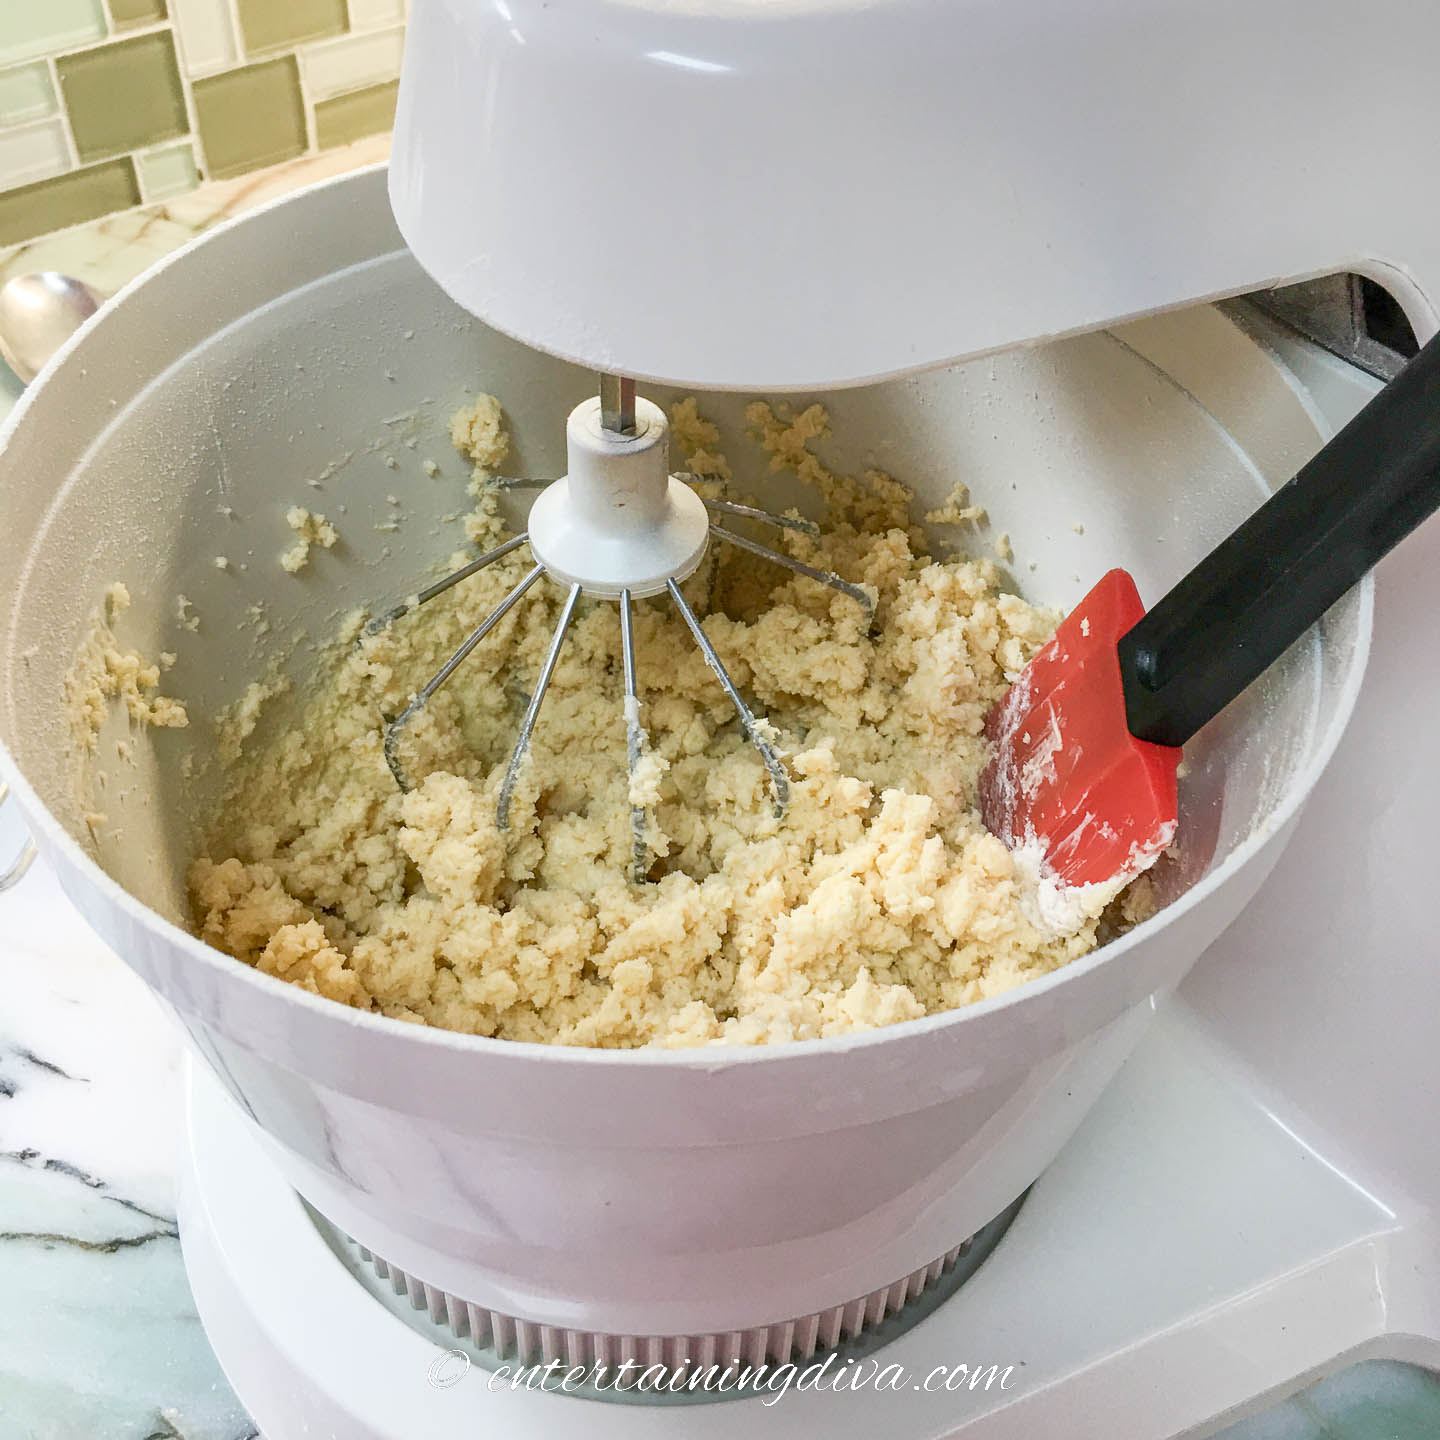
Beat on low just until the dough comes together. Be cautious about over beating, since that can make the cookies tough.
Shape the cookies
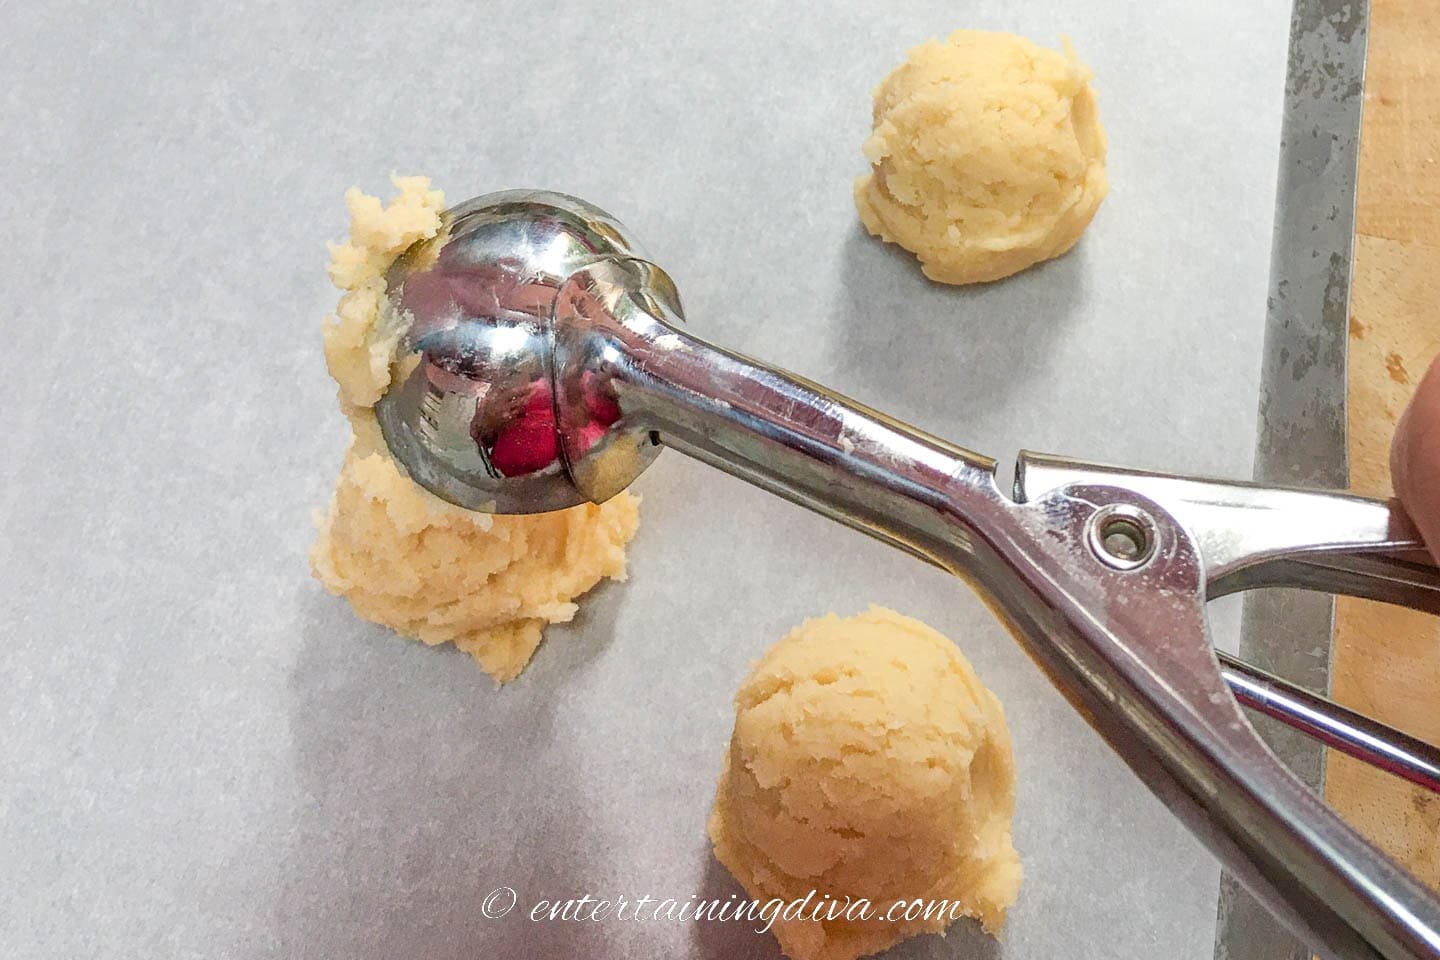
Use a dessert spoon or a #100 cookie scoop to drop round balls of dough, 2″ apart, onto the parchment lined cookie sheet. If you are using the dessert spoon, you will need to roll the dough into balls with your hands.
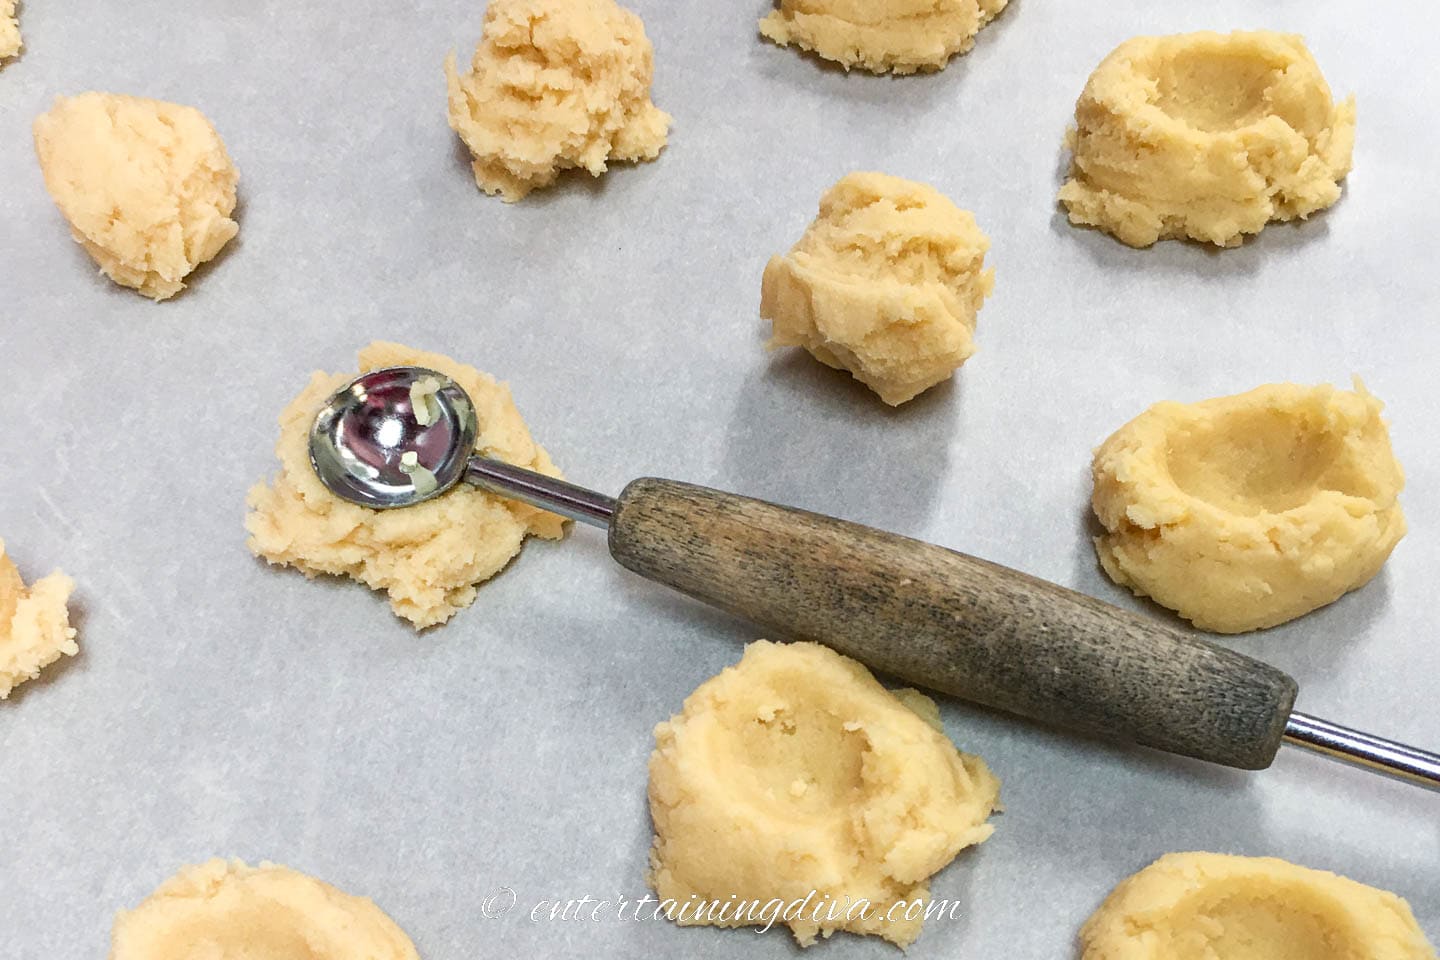
To make the indent for the filling, push your thumb or the back of a melon baller into the center of each cookie.
Place the trays of uncooked cookies into the refrigerator for 30 minutes. This helps to keep their shape and prevents them from spreading to much while they are baking.
Bake
After the cookies cool, we’re ready to bake them.
Unless your oven is big enough to fit both baking trays on one rack, you’ll want to bake them separately. If you have to stack them on two different racks, the cookies will not bake evenly.
Place them into the preheated oven and bake for 6 minutes.
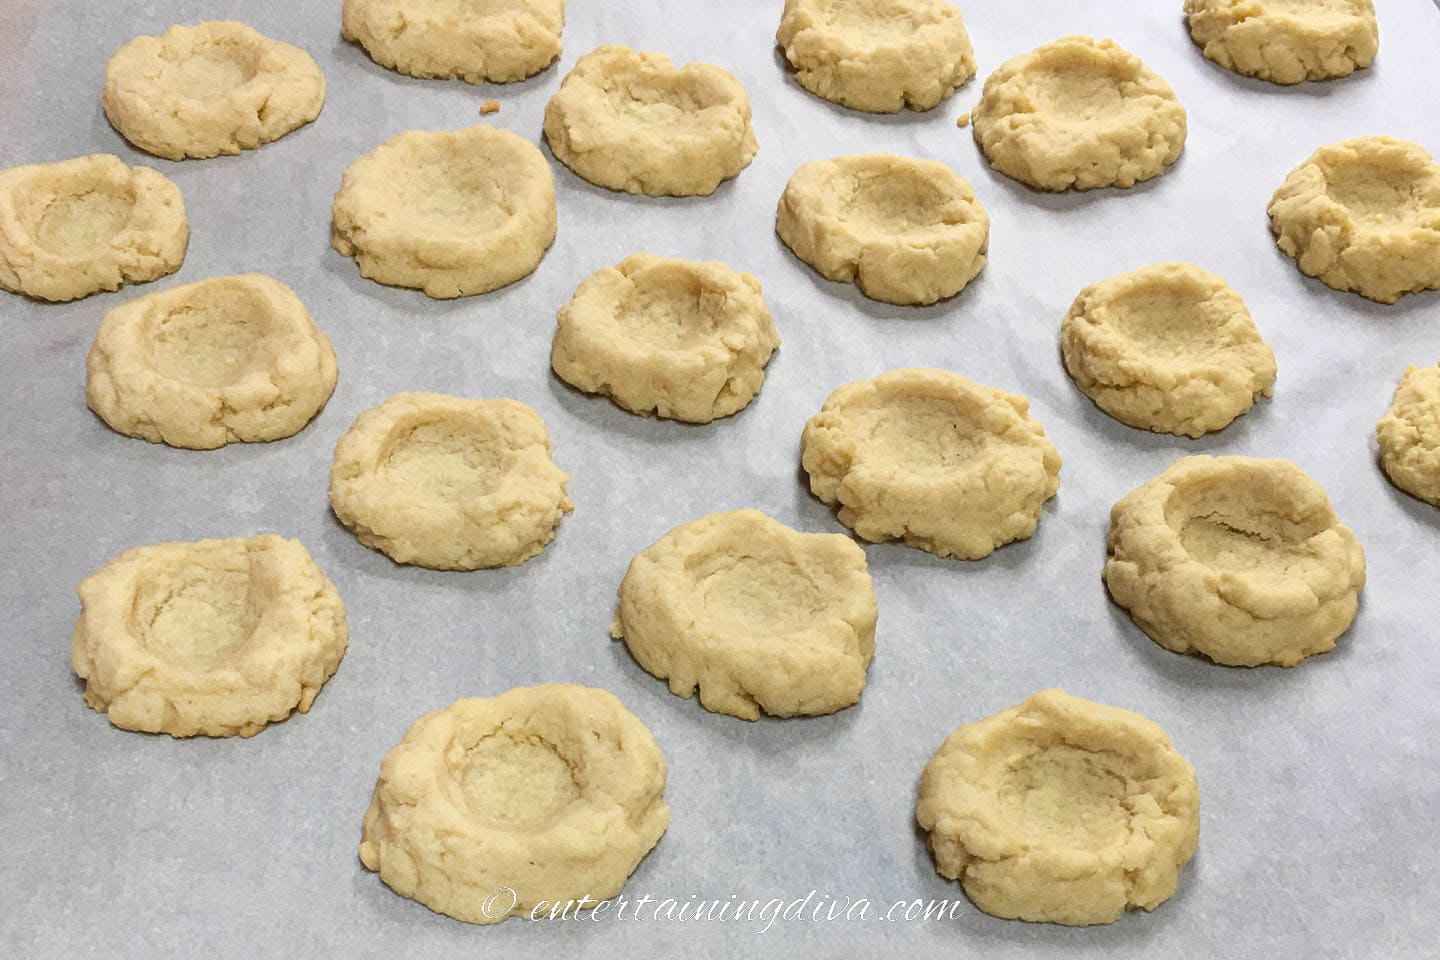
Remove from the oven briefly and use the melon baller to re-indent the hollows. You want to insure that there is a generous space for the ganache.
Return the cookie sheet to the oven and bake for 6 – 7 minutes more, or until the cookies just begin to brown.
Cool on the pan for 5 minutes and then put the cookies on a wire rack to cool completely.
Make the ganache filling
Make sure the cookies have cooled completely before filling with the ganache.
First put 1¾ cups of chopped white chocolate into a heat resistant bowl. Set aside.
Now put 1/3 cup whipping cream into a small sauce pan and heat over medium-high heat until it starts to steam with small bubbles forming on the surface. Watch it closely because you don’t want the cream to boil.
Pour the hot cream over the white chocolate and let sit for30 seconds.
Then add ¼ teaspoon peppermint extract, ½ teaspoon vanilla bean paste and 1 drop of pink gel food coloring.
A very little food coloring goes a long way. (I added more than I needed, so ended up with a neon pink ganache rather than the light pink I would have preferred.)
So start with a very small amount. If the color isn’t dark enough, you can always add more (one drop at a time) after you have stirred it.
Stir until the chocolate is melted and the mixture is smooth and creamy.
Let the hot ganache cool for a few minutes so it isn’t too hot to handle in the piping bag.
Fit a 1/2″ slitted tip onto the piping bag and spoon the ganache into the bag.
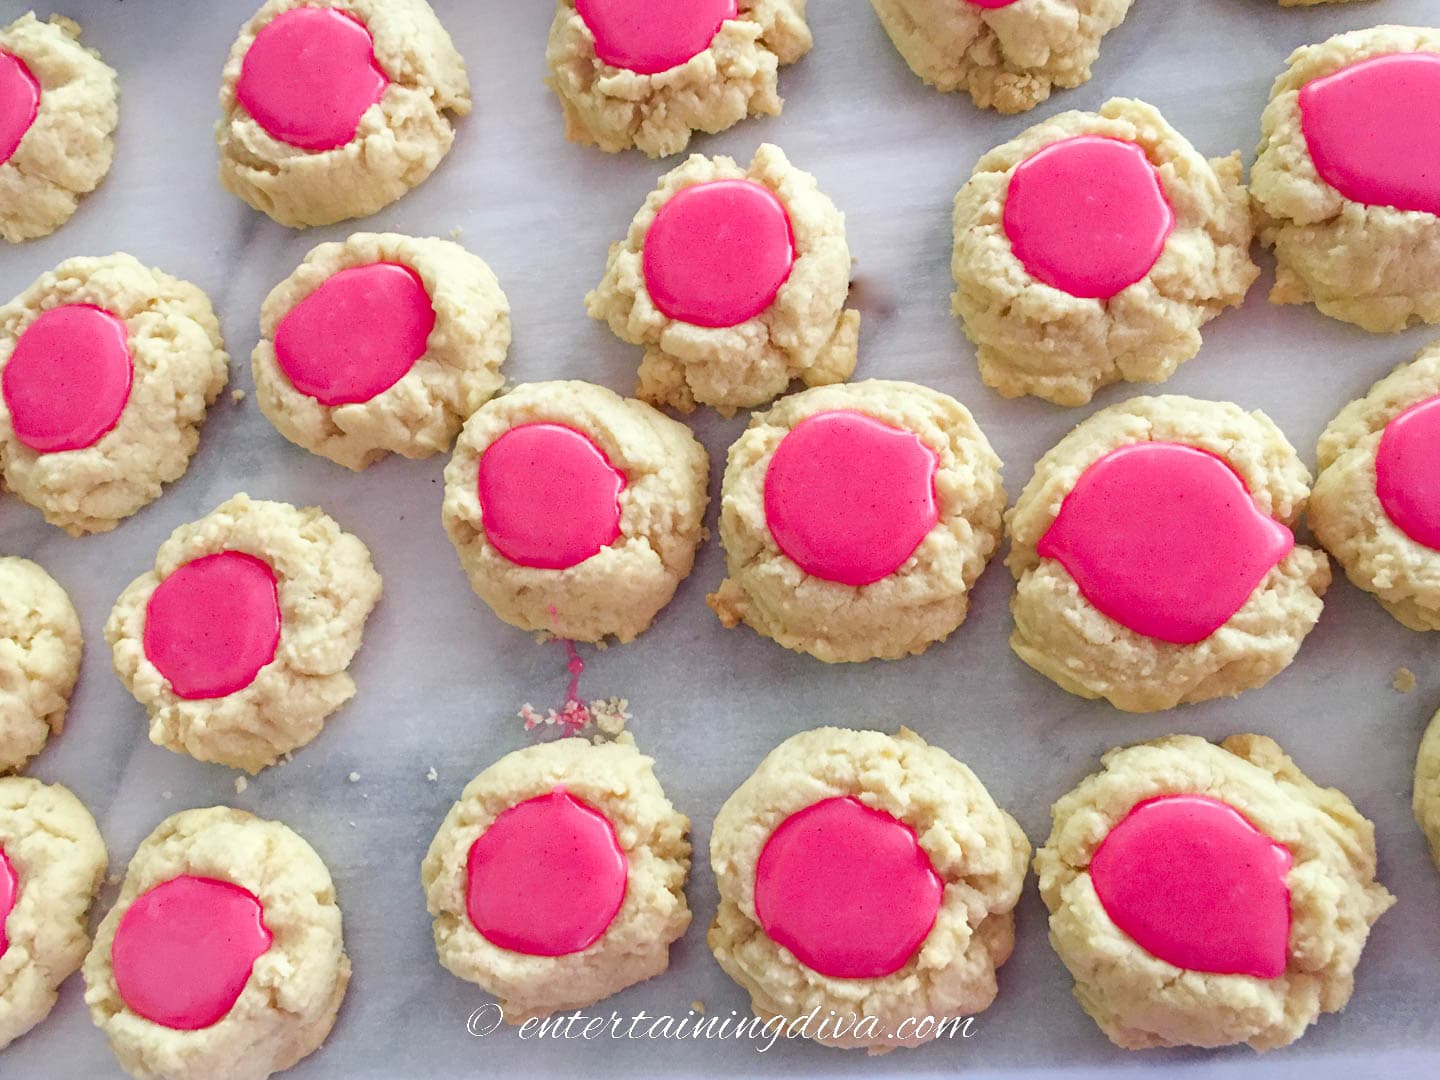
Fill the indent in each cookie by carefully piping it into the hollows.
Allow the ganache to set before decorating, about an hour or two.
Decorate the cookies
Fit a small round-holed tip onto a clean piping bag. Set aside.
Melt ½ cup of white chocolate in a small heat-proof or microwave-able bowl.
You can do this on the stove by placing a heatproof bowl over simmering water in a small saucepan (the bottom of the bowl should not touch the water). Stir the chocolate continuously until it is melted.
Or in the microwave, by cooking on medium-low power for 30 seconds. Then remove the bowl and stir the white chocolate. Repeat the cook-and-stir process until the white chocolate is melted.
Remove from the heat (or microwave) and let cool for a minute or two to make it easier to handle (but not too long as it will start to harden).
Then spoon the melted chocolate into the prepared piping bag.
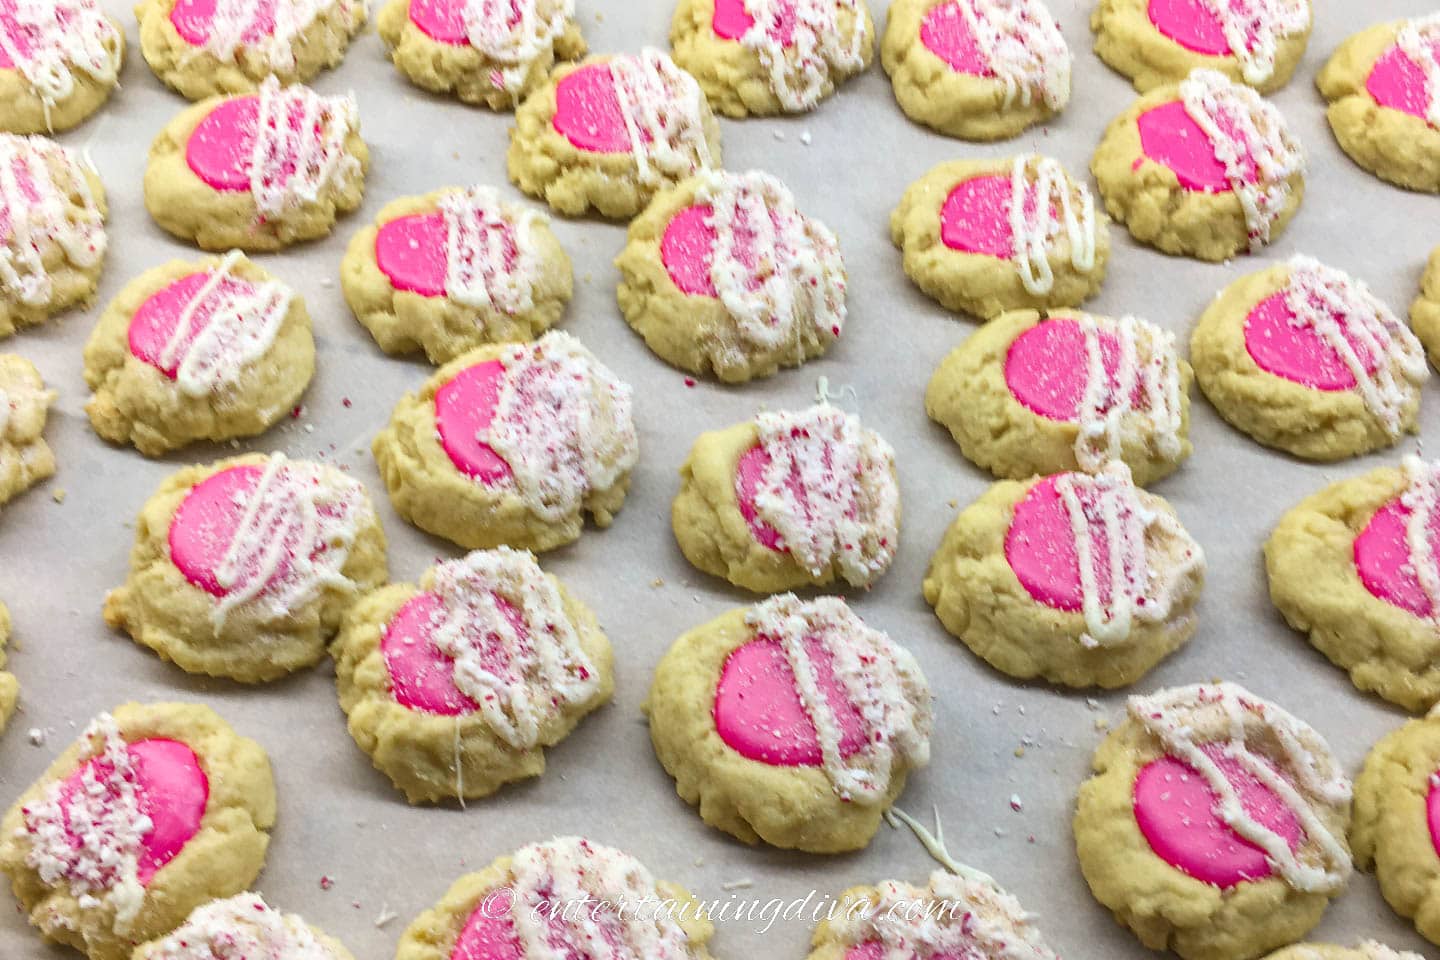
Drizzle half of each cookie with melted white chocolate. Before the chocolate hardens, sprinkle it with crushed candy cane.
Set the cookies on parchment paper and leave until the chocolate is firm.
Storage
These cookies may be stored between layers of waxed or parchment paper in an airtight container.
Refrigerate for a week or freeze for a month.
Other Christmas cookies you might like
- Holiday thimble cookies
- Snowflake sugar cookies
- Shortbread Christmas cookies with sprinkles
- Peppermint fudge balls
- White chocolate cranberry oatmeal cookies
Or browse all of our Christmas cookie recipes.
White Chocolate Peppermint Thumbprint Cookies
Ingredients
Cookie ingredients
- 1 cup butter at room temperature
- ½ cup granulated sugar
- 2 egg yolks at room temperature
- 1 tsp vanilla extract
- 2 cups all-purpose flour
- ¼ tsp salt
Ganache ingredients
- ⅓ cup regular (35%) whipping cream
- 1¾ cups white baking chocolate chopped
- ¼ tsp peppermint extract
- ½ tsp vanilla bean paste
- 1 – 2 drops pink gel food coloring or red liquid food coloring
Decorating ingredients
- ½ cup white chocolate
- ½ cup peppermint candy cane crushed
Equipment
- 1 electric mixer
- 1 large bowl
- measuring cups and spoons
- 2 Cookie sheets
- parchment paper
- 1 wire cooling rack
- 1 medium sauce pan
- 2 heat proof bowls, one medium, 1 small
- 2 piping bags with
- 1/2" slit piping tip
- small round tip
- rolling pin
- Spatula
- dessert spoon or #100 ice cream scoop
- melon baller or small round spoon
Instructions
Make thumb-print cookies
- Preheat oven to 350°F.
- Cream butter using a mixer on medium high speed.
- Add the sugar gradually until the mixture is light in color and fluffy in texture — about 3 minutes.
- Beat in egg yolks and vanilla, scaping sides and bottom of the bowl.
- Add flour and salt. Beat on low speed just until the dough comes together.
- Form 1 Tablespoon-sized balls using a small cookie scoop or a dessert spoonful of dough rolled between your palms.
- Place balls 2 inches apart on parchment-covered cookie sheets,
- Make an indent in each ball using your thumb or the back of a melon baller.
- Refrigerate the trays with the cookies for 30 minutes.
- Bake the cookies for 12 minutes until slightly brown. Remove the cookie sheet from the oven after 6 minutes and re-indent the cookies with the melon baller (or a small spoon). Return immediately to the hot oven and continue cooking for 6 -7 minutes.
- Cool on pan for 5 minutes. Remove cookies to a wire rack to cool completely.
Ganache filling
- Place the chopped white chocolate into a medium sized heat-proof bowl. Set aside.
- Heat whipping cream in a small saucepan over medium high heat until it is steaming and little bubbles form in the middle.
- Pour the hot cream over the white chocolate.
- Let sit for 30 seconds.
- Add flavorings and gel food coloring.
- Stir until you have a well-blended smooth paste.
- Let cool for a few minutes.
- Transfer filling to a piping bag fitted with the slotted tip.
- Pipe the ganache into each indent until it is full.
- Set the filled cookies on parchment paper to allow the ganache to set, about 1 hour.
Decorating
- Melt ½ cup of white chocolate in the top of a small double boiler (stirring constantly) or in the microwave.
- Let the chocolate cool for a minute or two, then transfer to a clean piping bag fitted with a round holed tip.
- Drizzle lines of white chocolate over half of each cookie.
- Sprinkle crushed candy cane onto the wet chocolate.
- Set cookies back onto the parchment paper to allow the chocolate to harden.
Notes
- Use the best quality white chocolate you can find. I used Belgium chocolate from the Bulk Barn.
- Do not over beat the dough so that the cookies are not tough.
- A very little food coloring goes a long way. (I added more than I needed, so ended up with a neon pink ganache rather than the light pink I would have preferred.)
- Store cookies in an airtight container between layers of parchment paper. They will keep in the refrigerator for a week or can be frozen for a month.
Nutrition values are estimates only, using online calculators. Please verify using your own data.
Have comments or questions about our white chocolate peppermint thumbprint cookies? Tell us in the section below.
This post was originally published on December 11, 2022 but was updated with new content on March 19, 2024.