
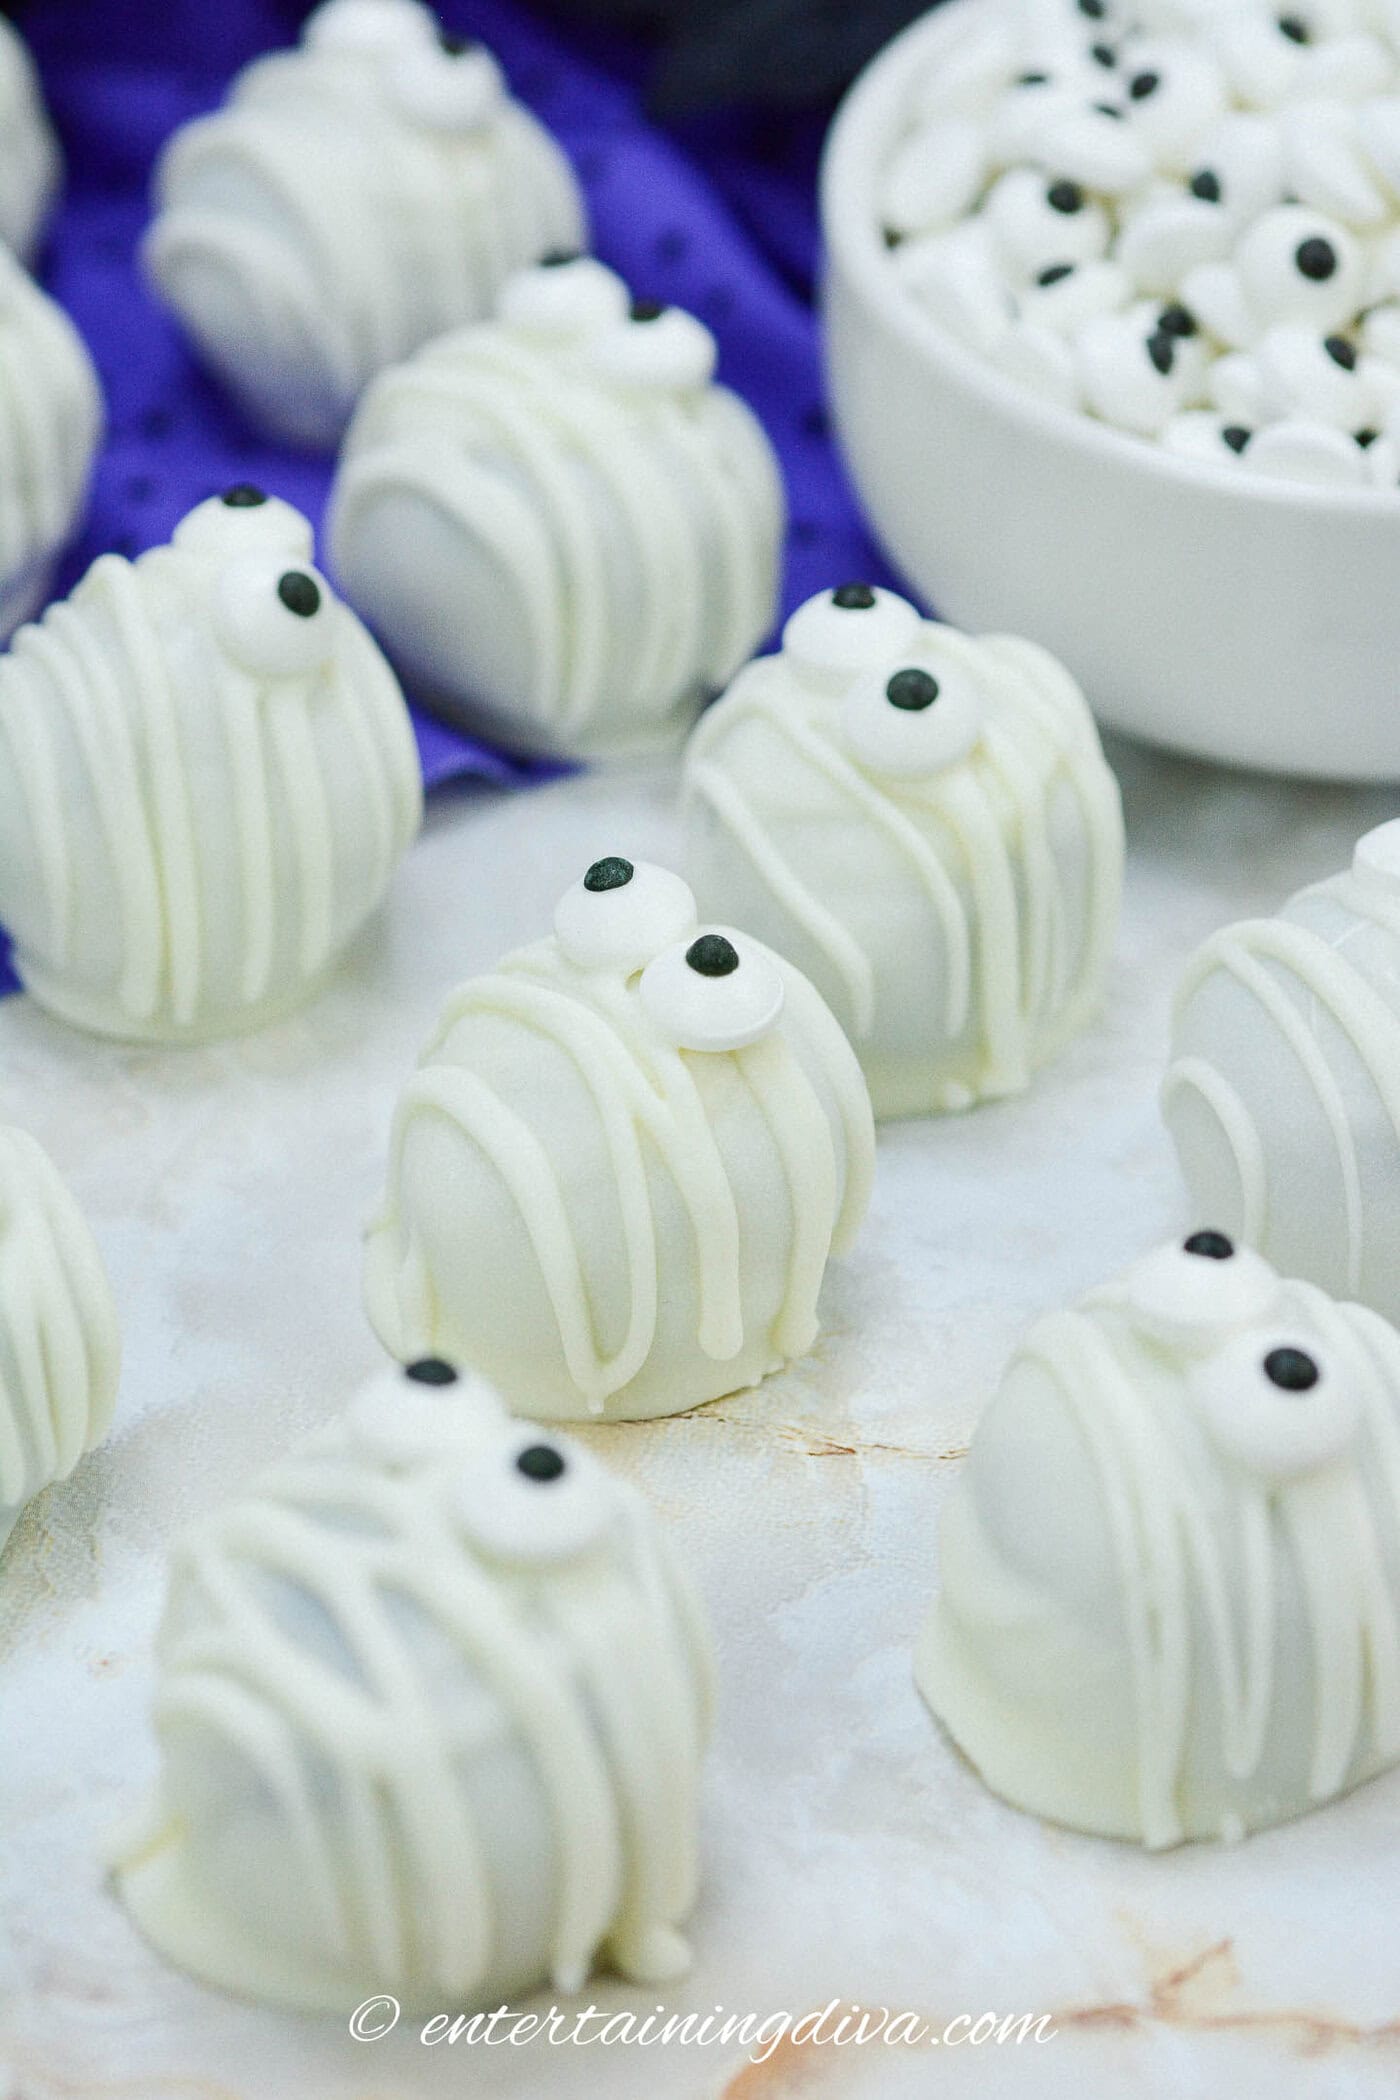

Why I love these Halloween mummy Oreo balls
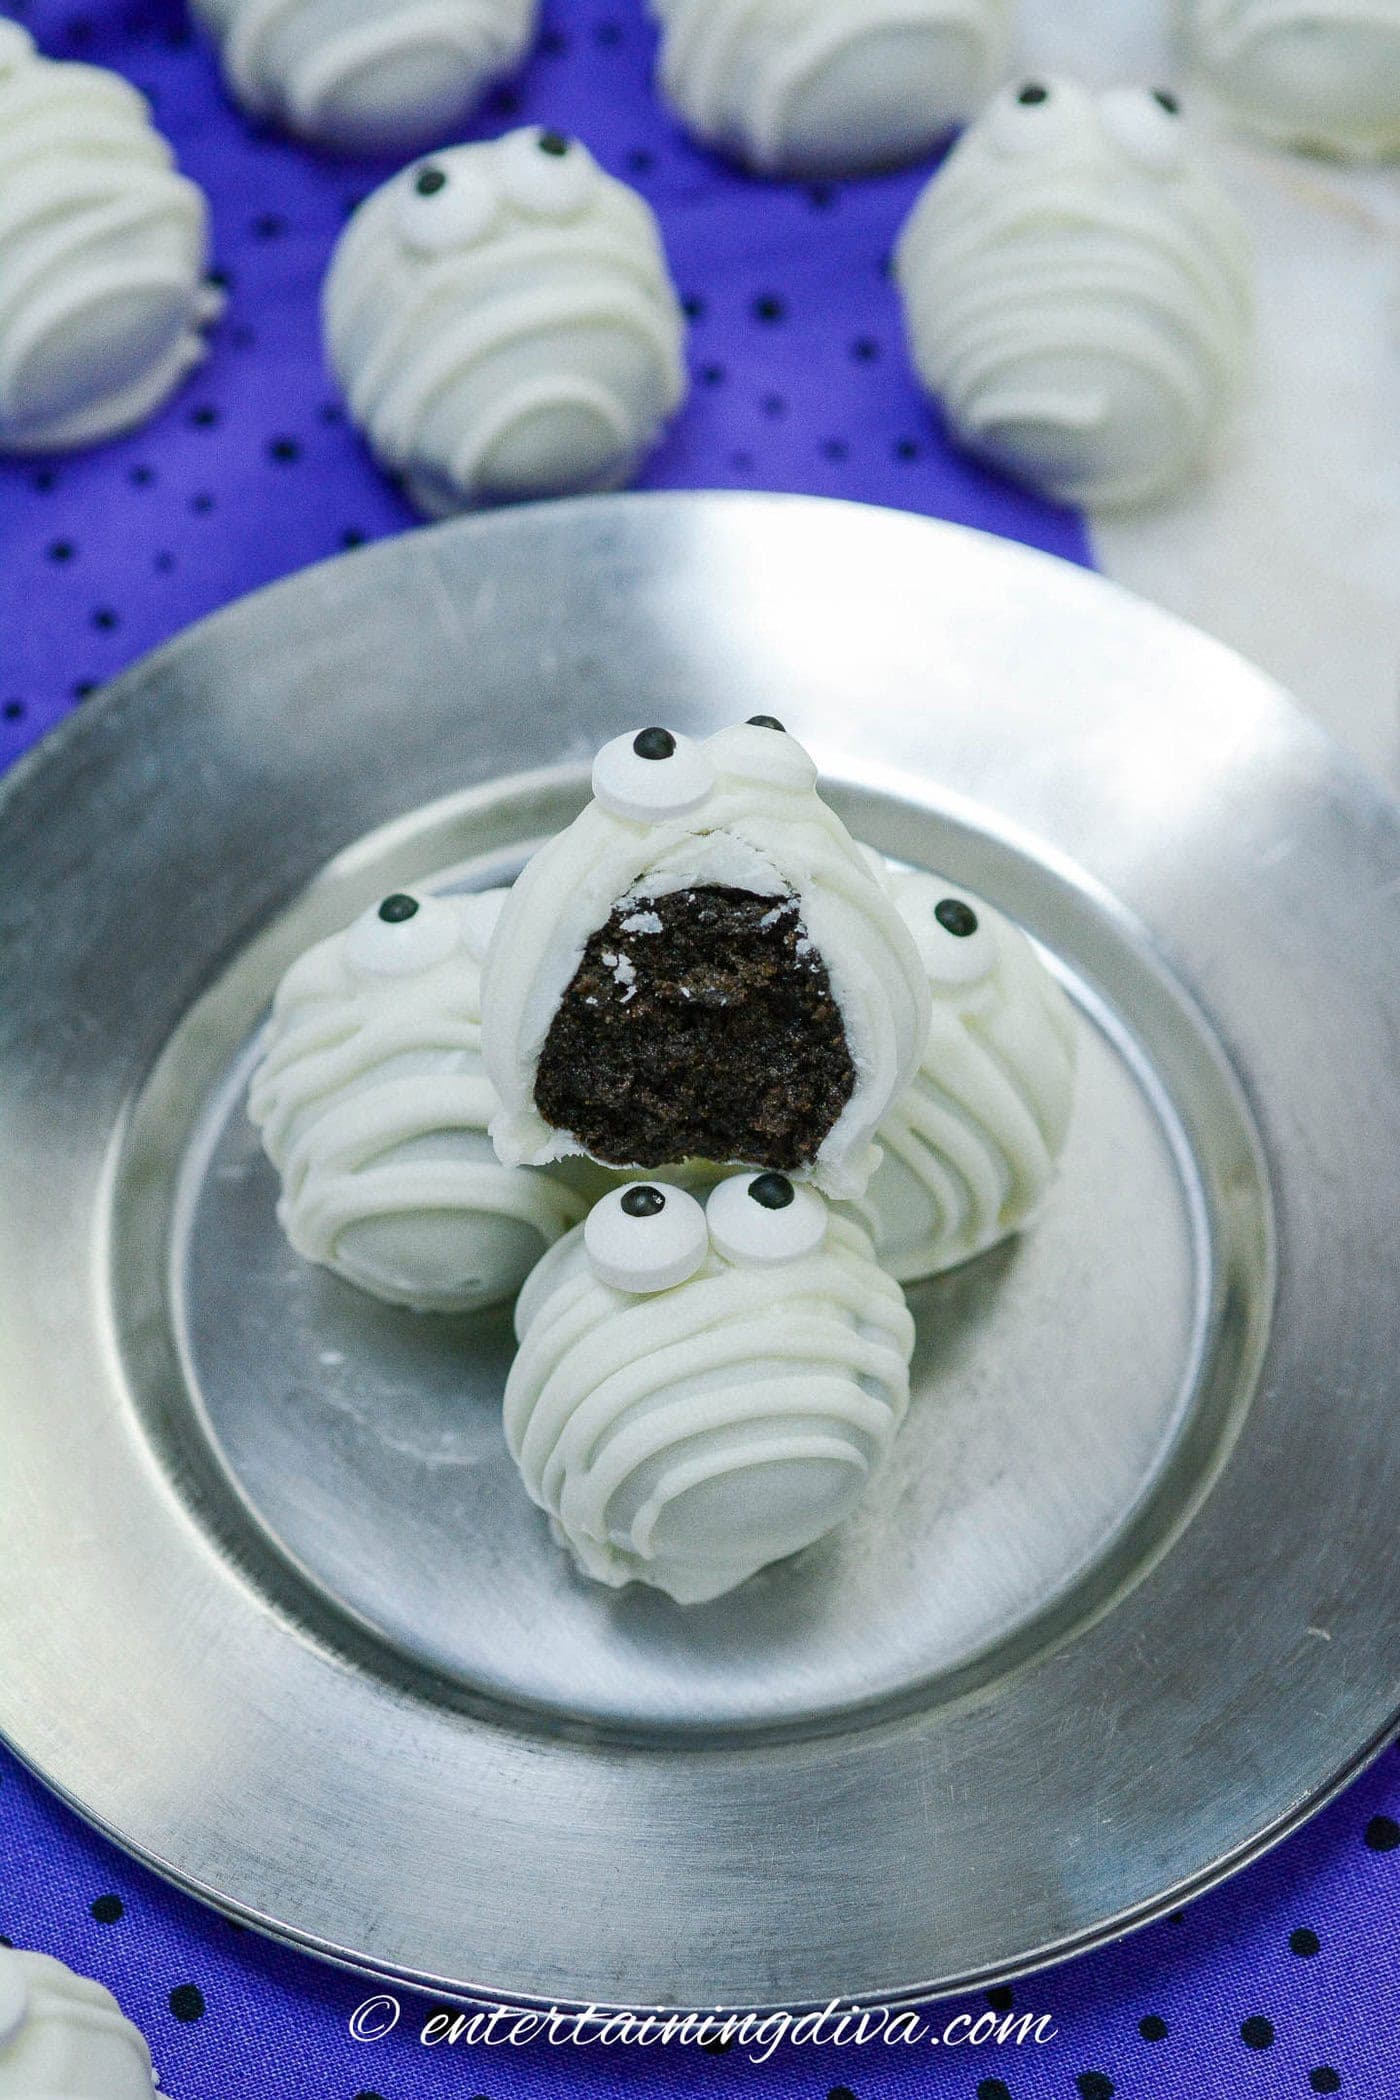
These mummy Oreo balls are one of my favorite Halloween recipes when I want a make-ahead treat that is super easy to put together.
They only use 4 ingredients (including the decorations) and don’t require any baking. So they’re about as simple as it gets!
The combination of crushed Oreos and cream cheese creates a deliciously rich and creamy filling that is perfectly complemented by the white chocolate outer shell.
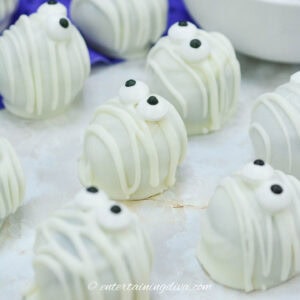
And they look absolutely adorable with their whimsical mummy design and candy eyes.
Plus, they’re a fun activity to make with the kids, and their bite-sized nature makes them easy to serve at parties.
Whether you’re a novice or an experienced baker, these mummy Oreo balls are sure to add a festive and tasty touch to your Halloween celebrations.
More spooky Halloween Oreo treats
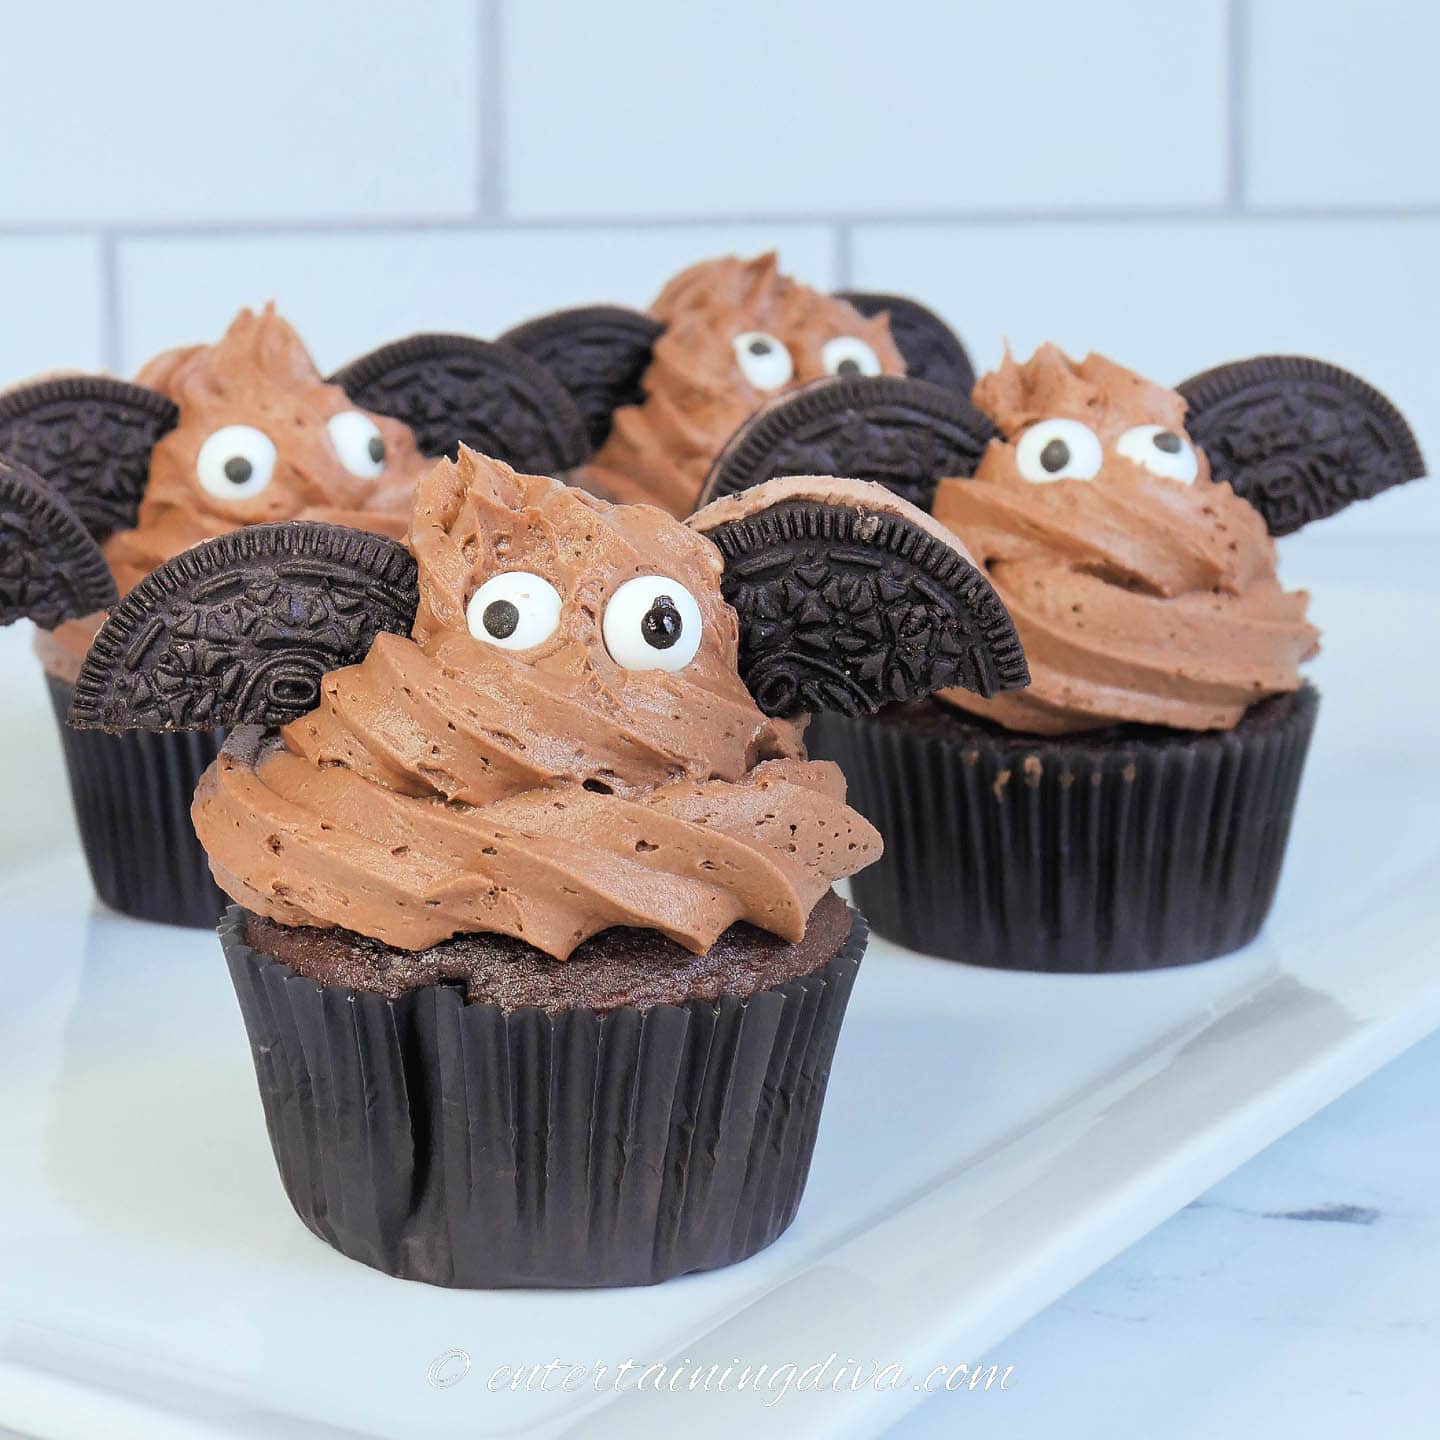
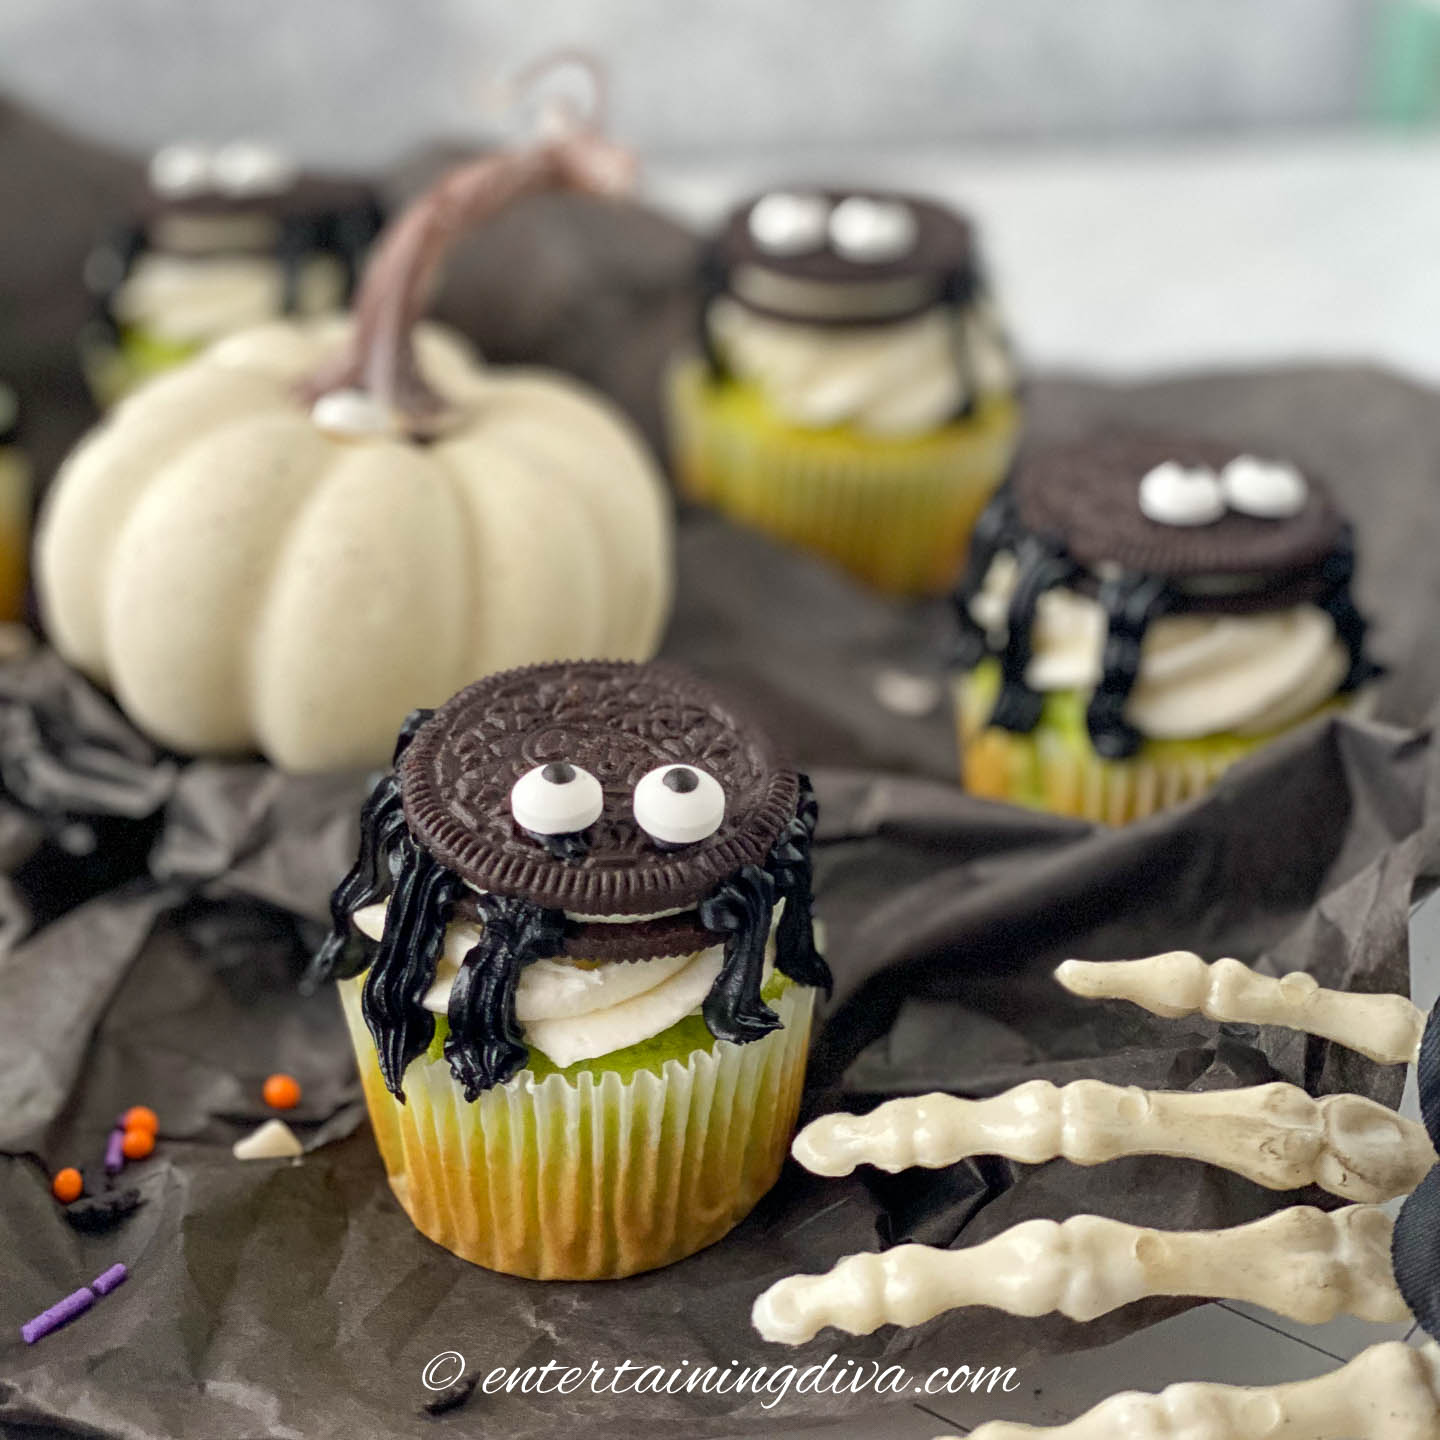
Ingredients
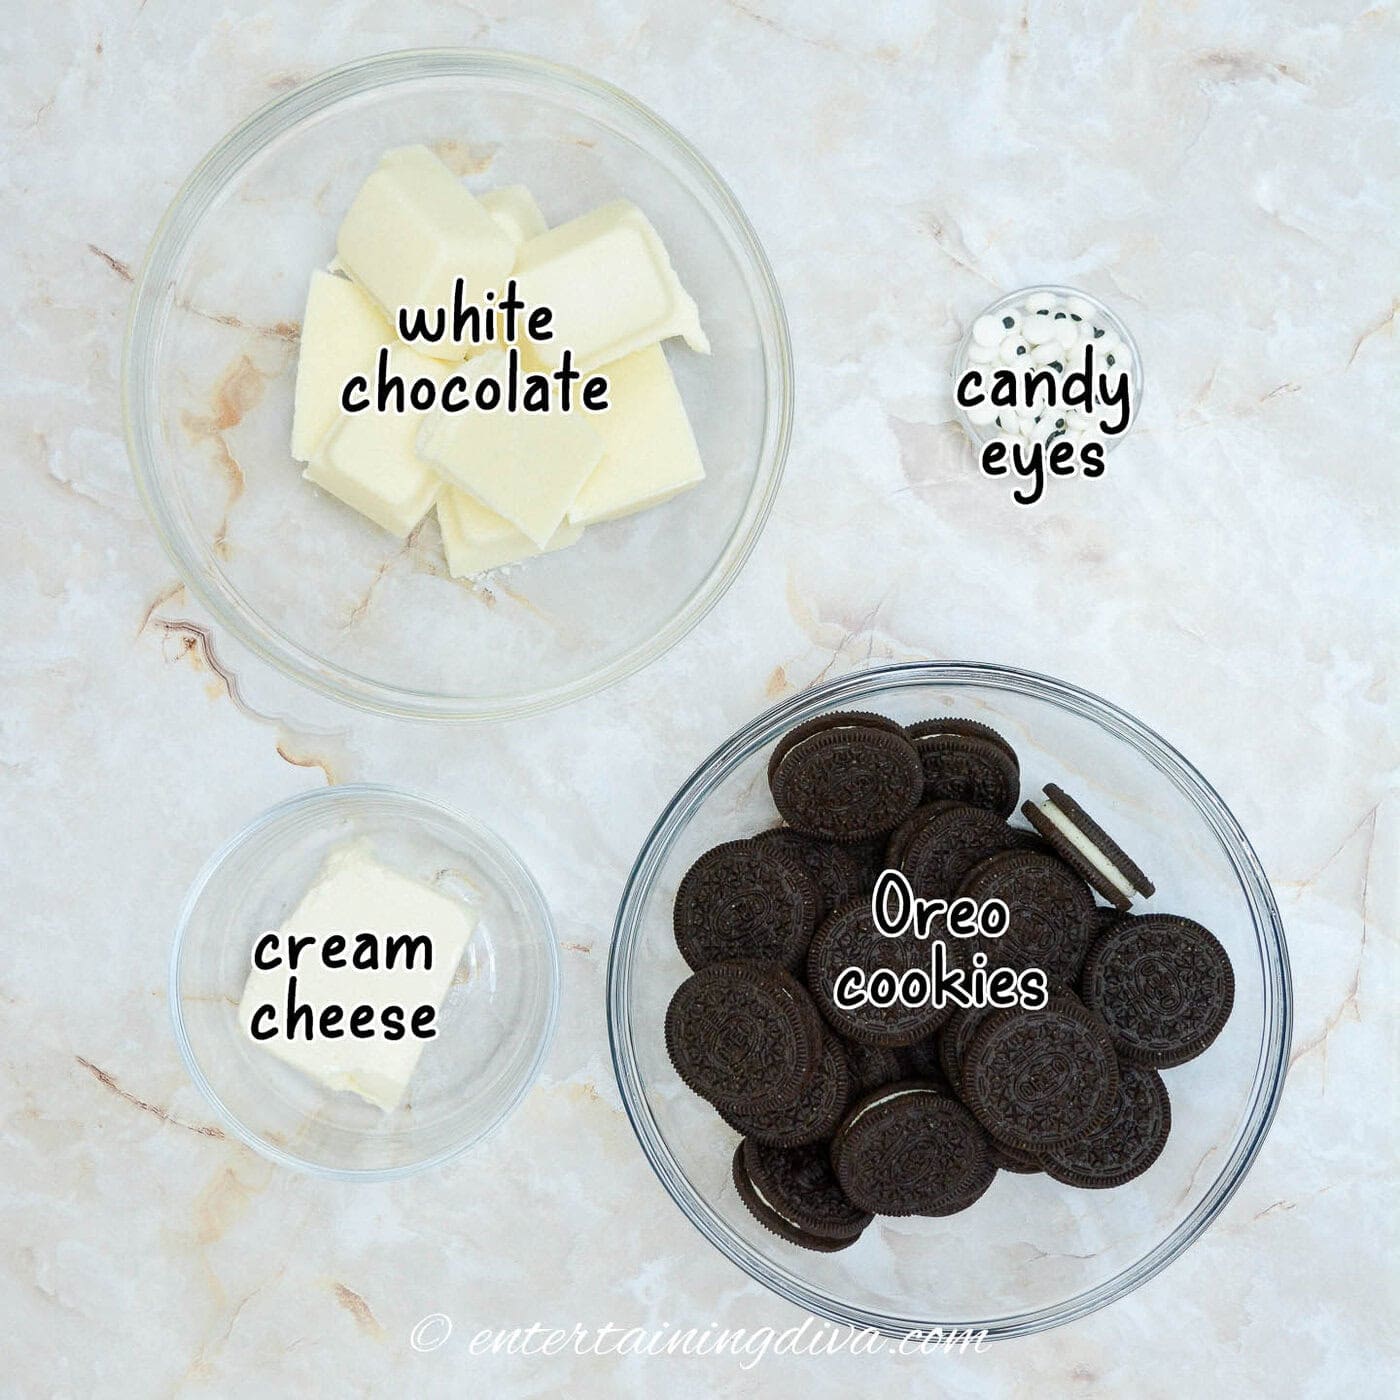
Here is your shopping list (for 24 truffles):
- Cookies – 25 double stuffed Oreos
- Dairy – 4 oz cream cheese
- White chocolate – 16 oz white chocolate or candy coating
- Candy sprinkles – Candy eye balls
Substitutions & Additions
- We like the double stuffed Oreos for more flavor, but regular or gluten-free ones would work too
- Instead of the cream cheese, you can substitute an equal amount of pre-made frosting. It’s used to bind the Oreo crumbs together, so you can use vanilla or chocolate.
To make these Oreo balls gluten-free, use gluten-free Oreo cookies.
How to make Halloween mummy Oreo balls
1 | Prep work
Take the cream cheese out of the refrigerator a couple of hours in advance to soften. Softened cream cheese will mix more smoothly with the Oreo crumbs.
Line a sheet pan, cutting board, or tray with parchment paper. This will serve as the resting place for your Oreo mummy balls after they are coated with white chocolate, so ensure it fits inside your refrigerator.
2 | Make the filling

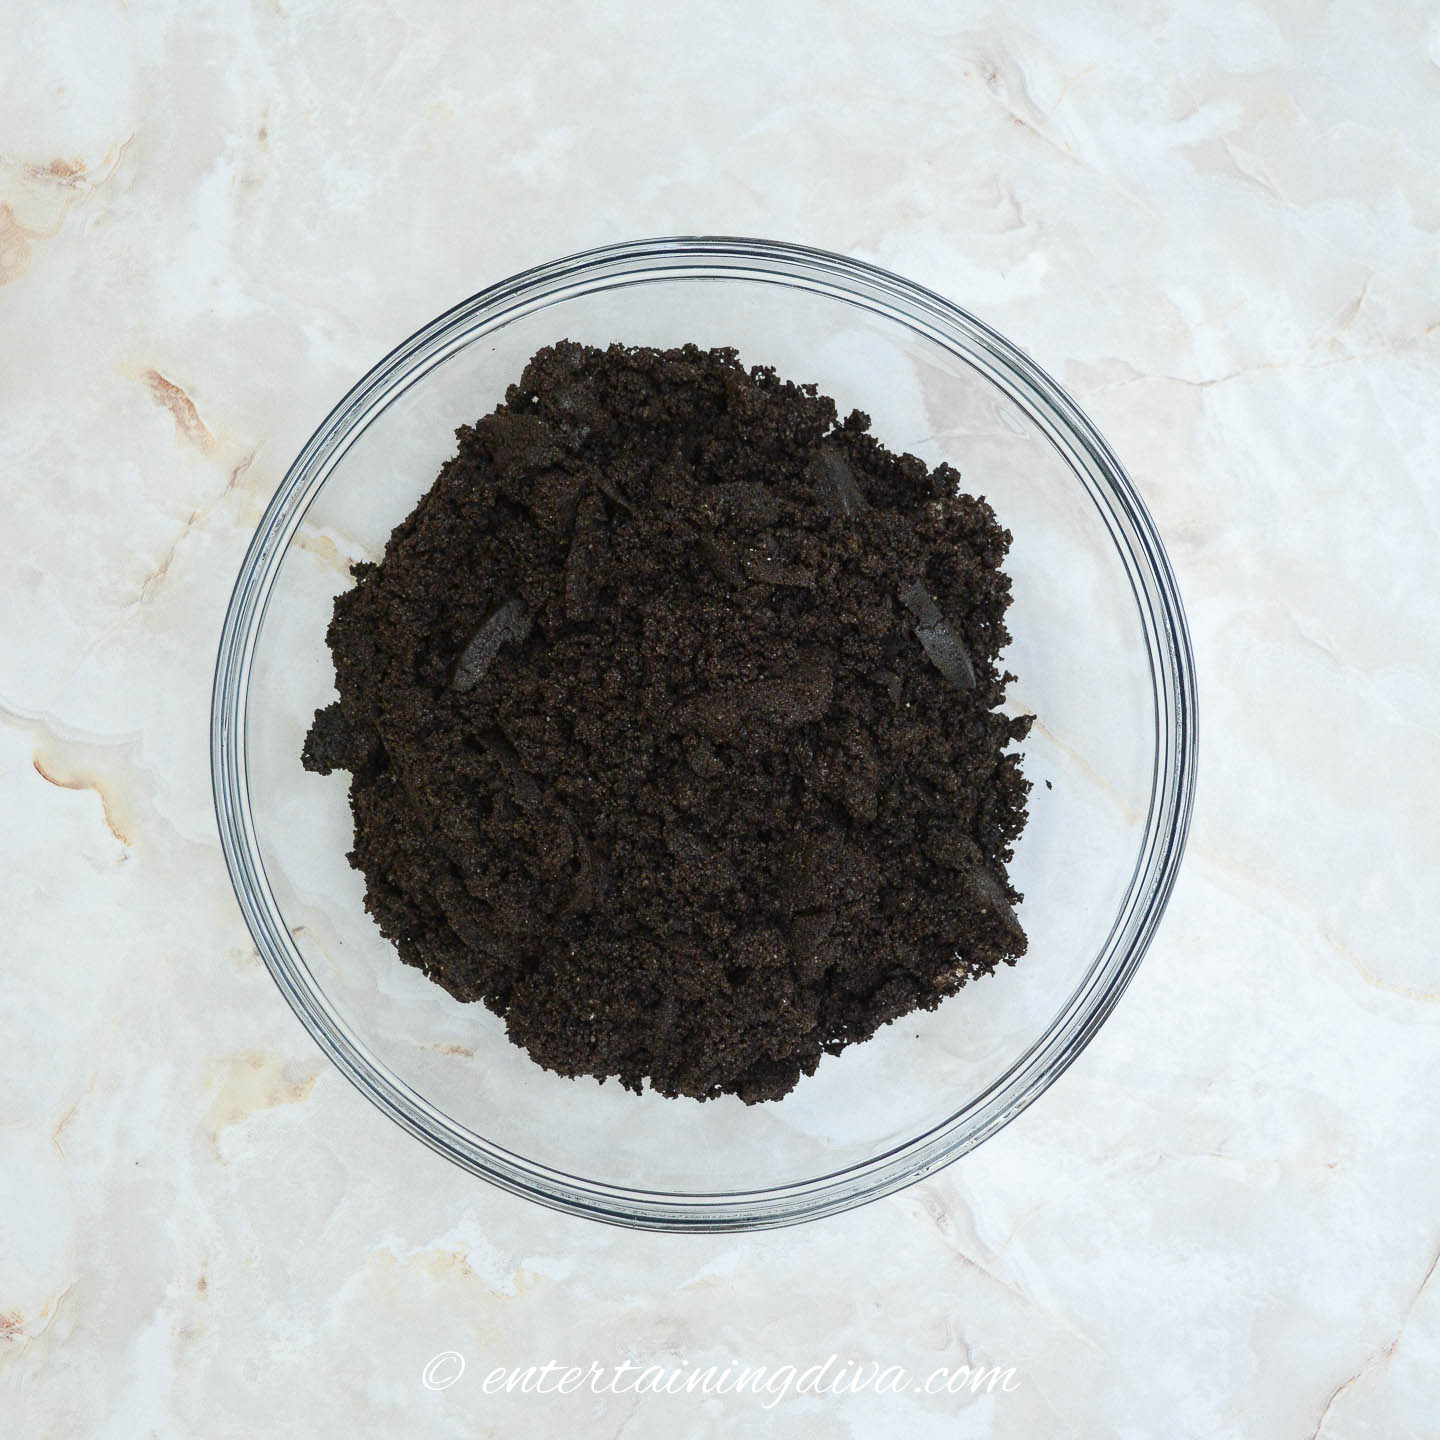
Use a food processor to crush the Oreos until they are finely ground.
If you don’t have a food processor, you can place the Oreos in a large Ziploc bag and crush them with a rolling pin. Make sure to crush them thoroughly so you don’t have large chunks, which can make it difficult to form smooth balls.
Transfer the crumbs to a large bowl.
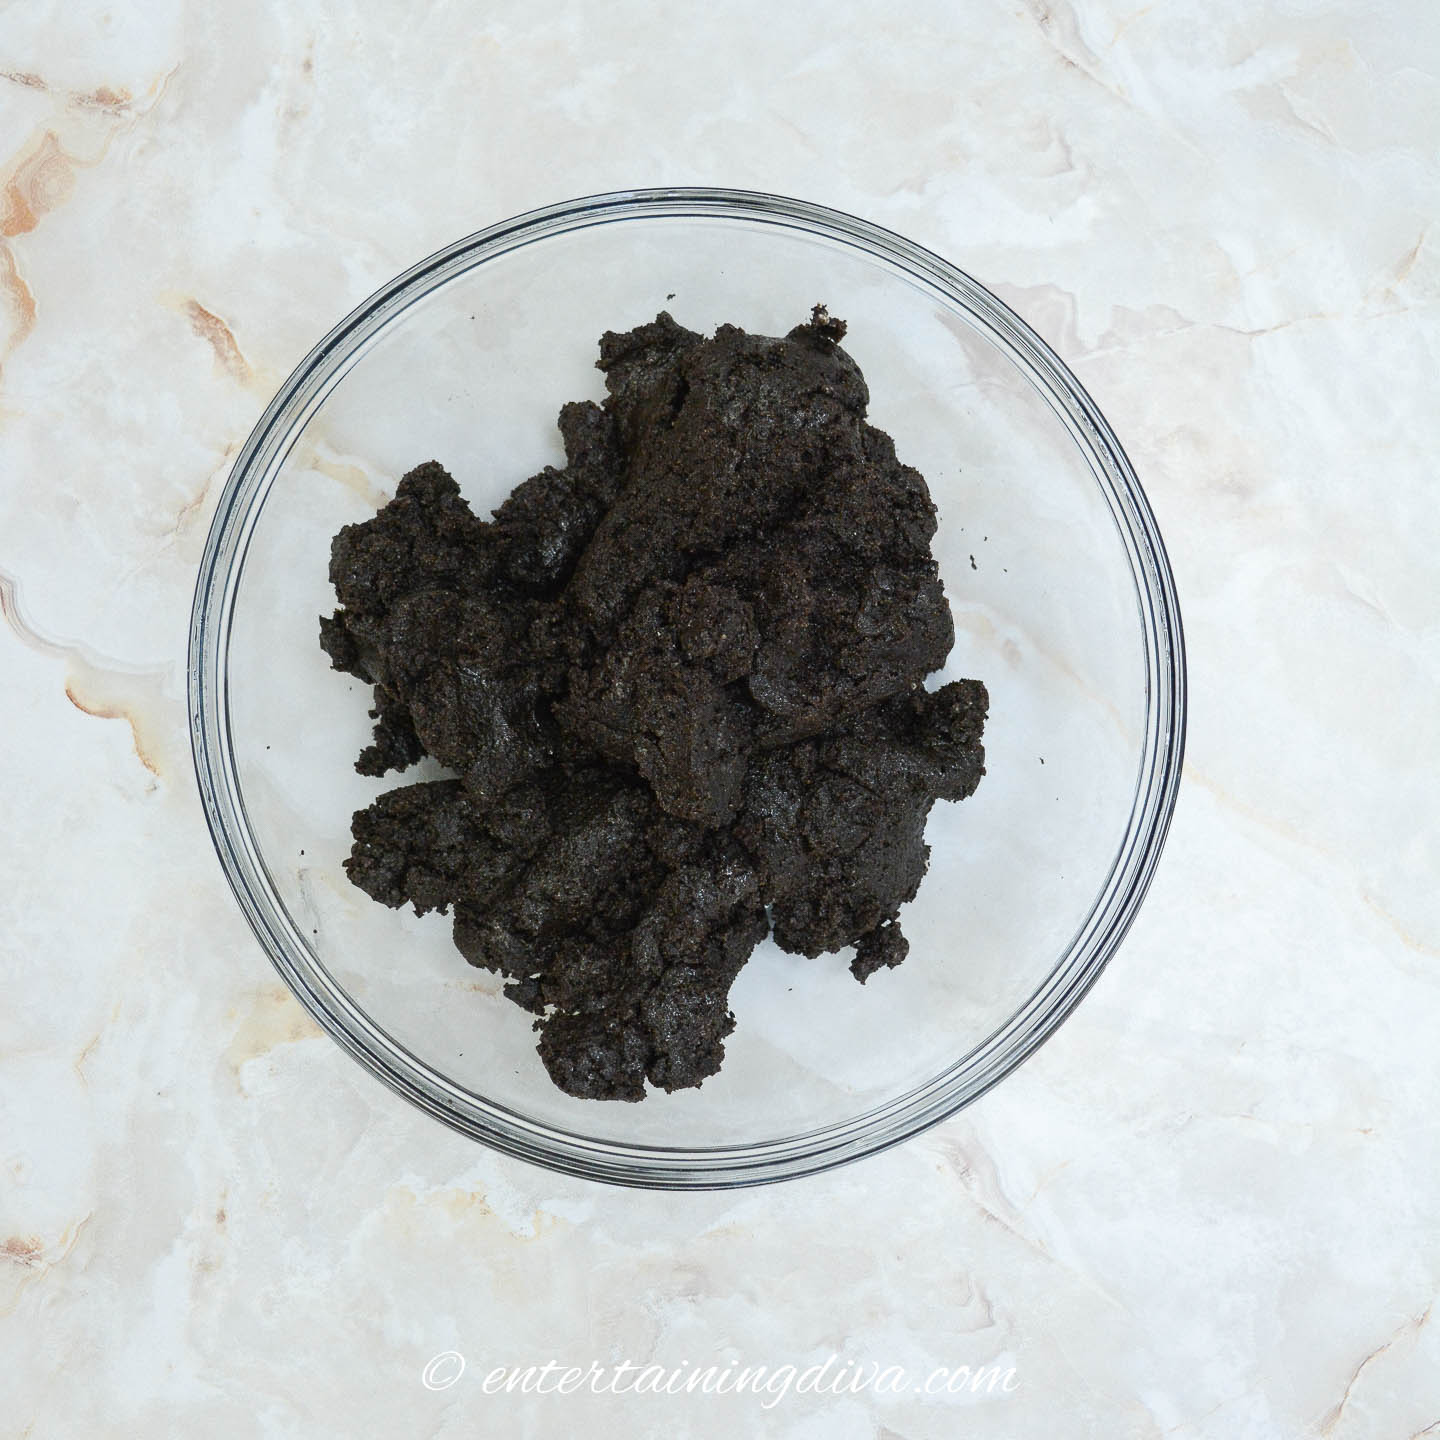
Combine the softened cream cheese with the Oreo crumbs, stirring well until all the crumbs are coated and the mixture forms a dough that is less crumbly.
Ensure the cream cheese is fully integrated for a smooth, cohesive texture.
3 | Form the balls

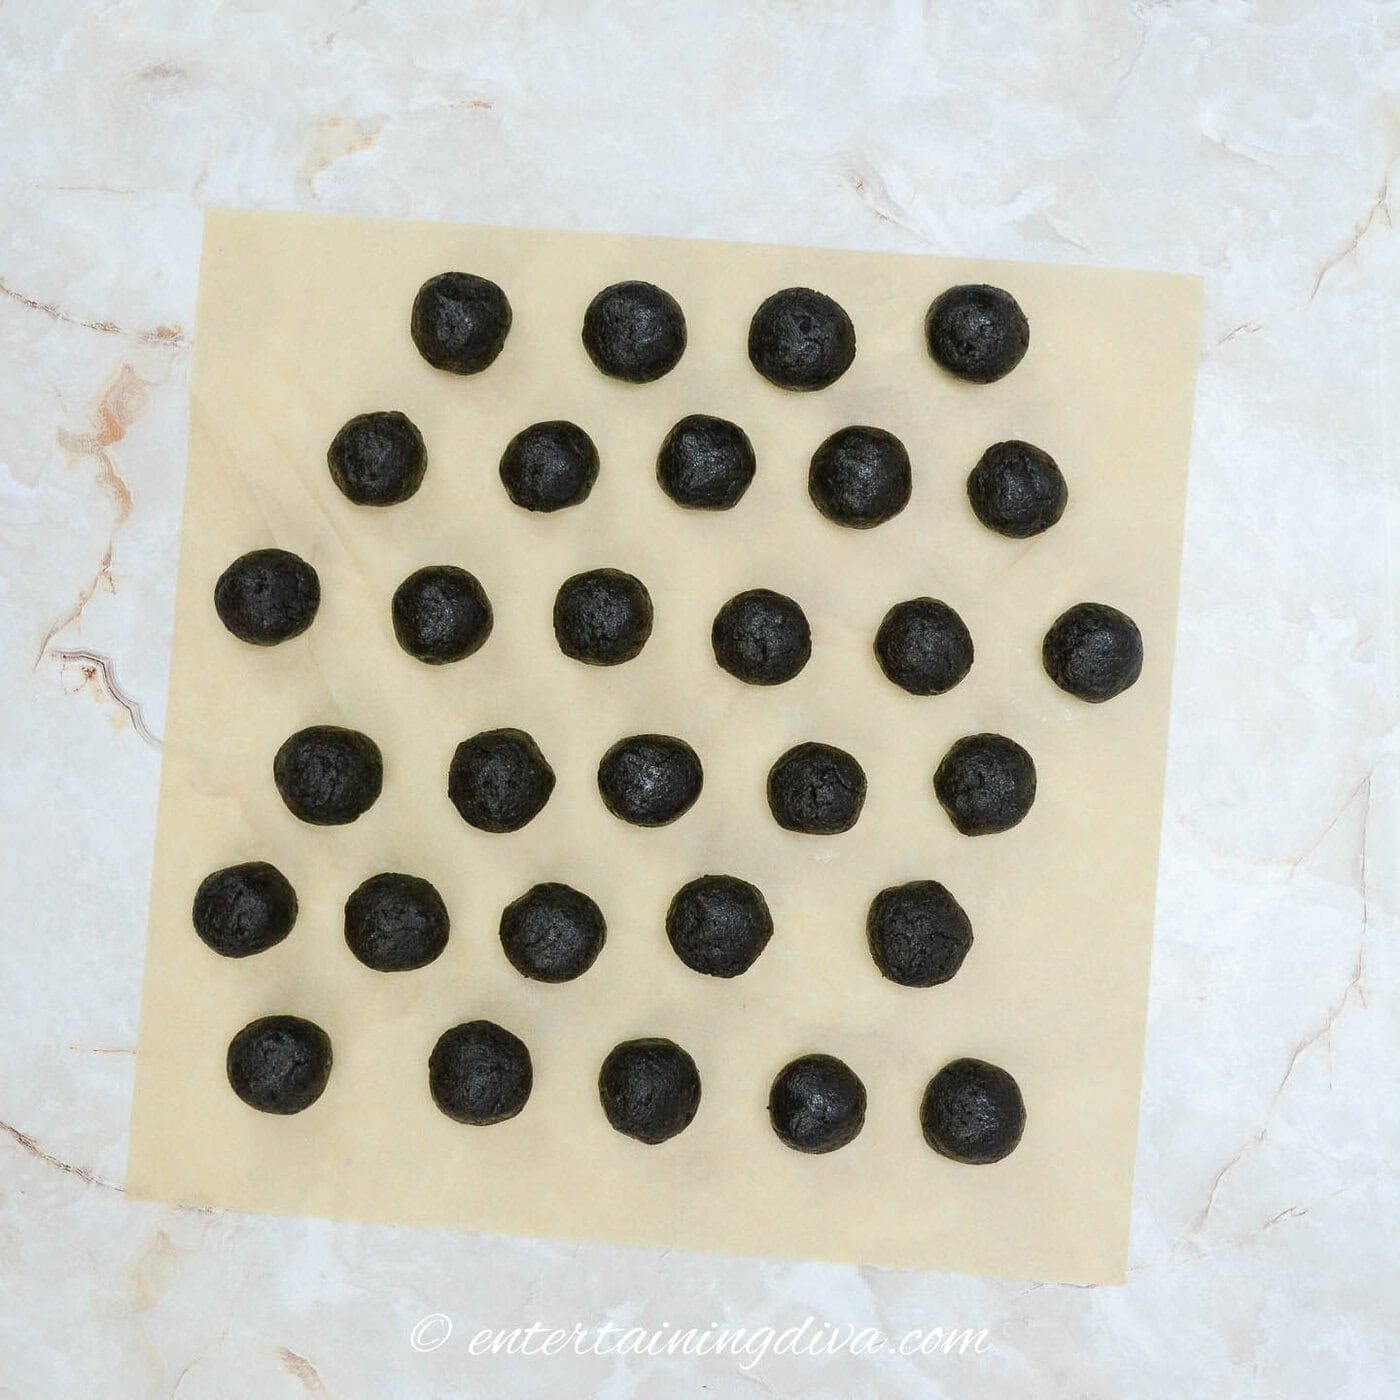
Use a small ice cream scoop or a round Tablespoon to create balls that are about 1 inch in size.
Roll the dough between the palms of your hands to round out the edges as best as possible.
Place each ball on the parchment-lined surface.
Continue until all the dough is shaped into balls. You should be able to get about 24 of them from this recipe.
Chill the dough balls in the refrigerator for at least 30 minutes to solidify them, which will make them easier to coat in chocolate.
4 | Melt the white chocolate
Once the dough balls are chilled, start melting the white chocolate.
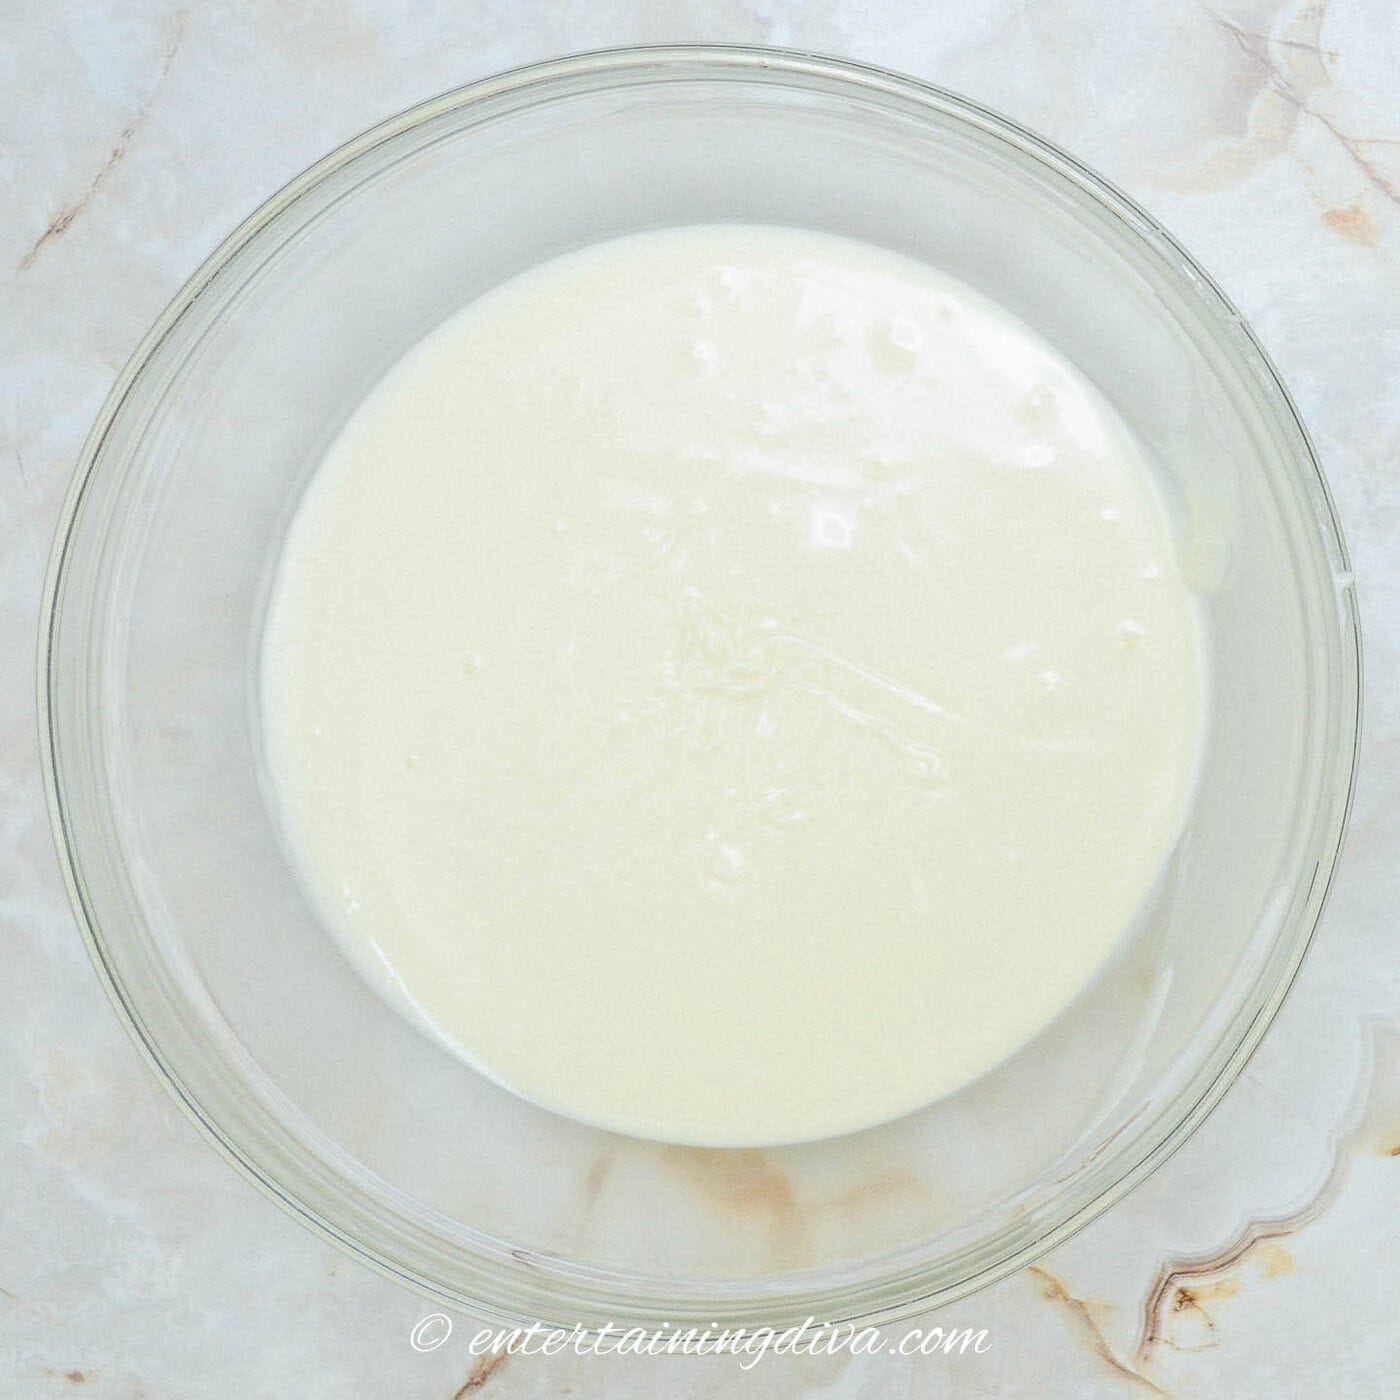
Place the white chocolate (or white candy coating) in a microwavable bowl.
Heat it in 30-second increments, stirring well between each interval.
Only heat until the mixture is smooth. Overheating can scorch the chocolate, making it unusable.
Do not be tempted to speed up the process by microwaving for longer periods of time. The white chocolate will go from solid to liquid form very quickly. And it often looks like it hasn’t melted from the top, but everything underneath is.5 | Coat the balls
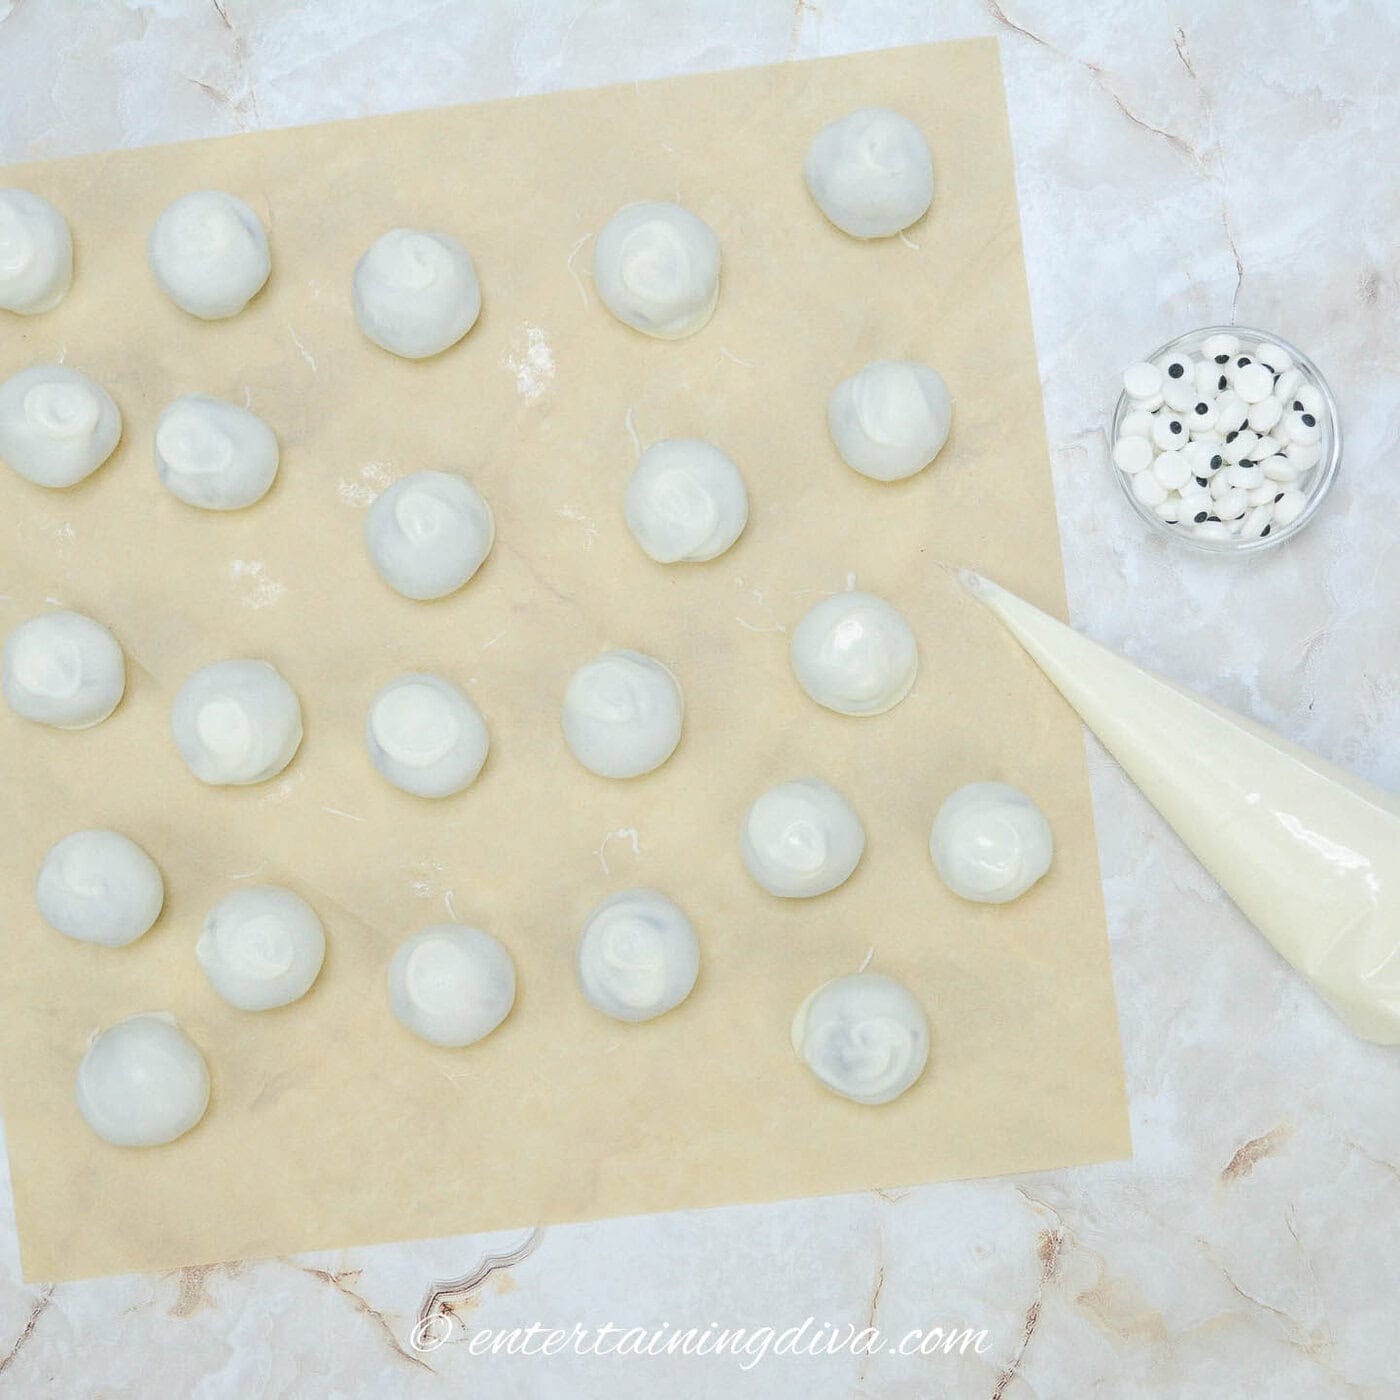
Once the white chocolate has melted, place one dough ball in the bowl.
Use a spoon to roll and cover it in the melted chocolate.
Gently scoop it out and tap the spoon on the side of the bowl to release any excess chocolate, allowing it to drip back into the bowl for about 10 seconds.
Carefully place the coated ball on the parchment paper. Use the tip of the spoon to smooth over any indentations left by the spoon.
Continue this process until all the balls are coated in white chocolate. If the chocolate begins to harden, you can put it back in the microwave for a few seconds to keep it smooth.
6 | Decorate

Transfer the remaining melted white chocolate to a piping bag with a small round tip. If you don’t have a piping bag, you can cut a small hole in one corner of a Ziploc bag.
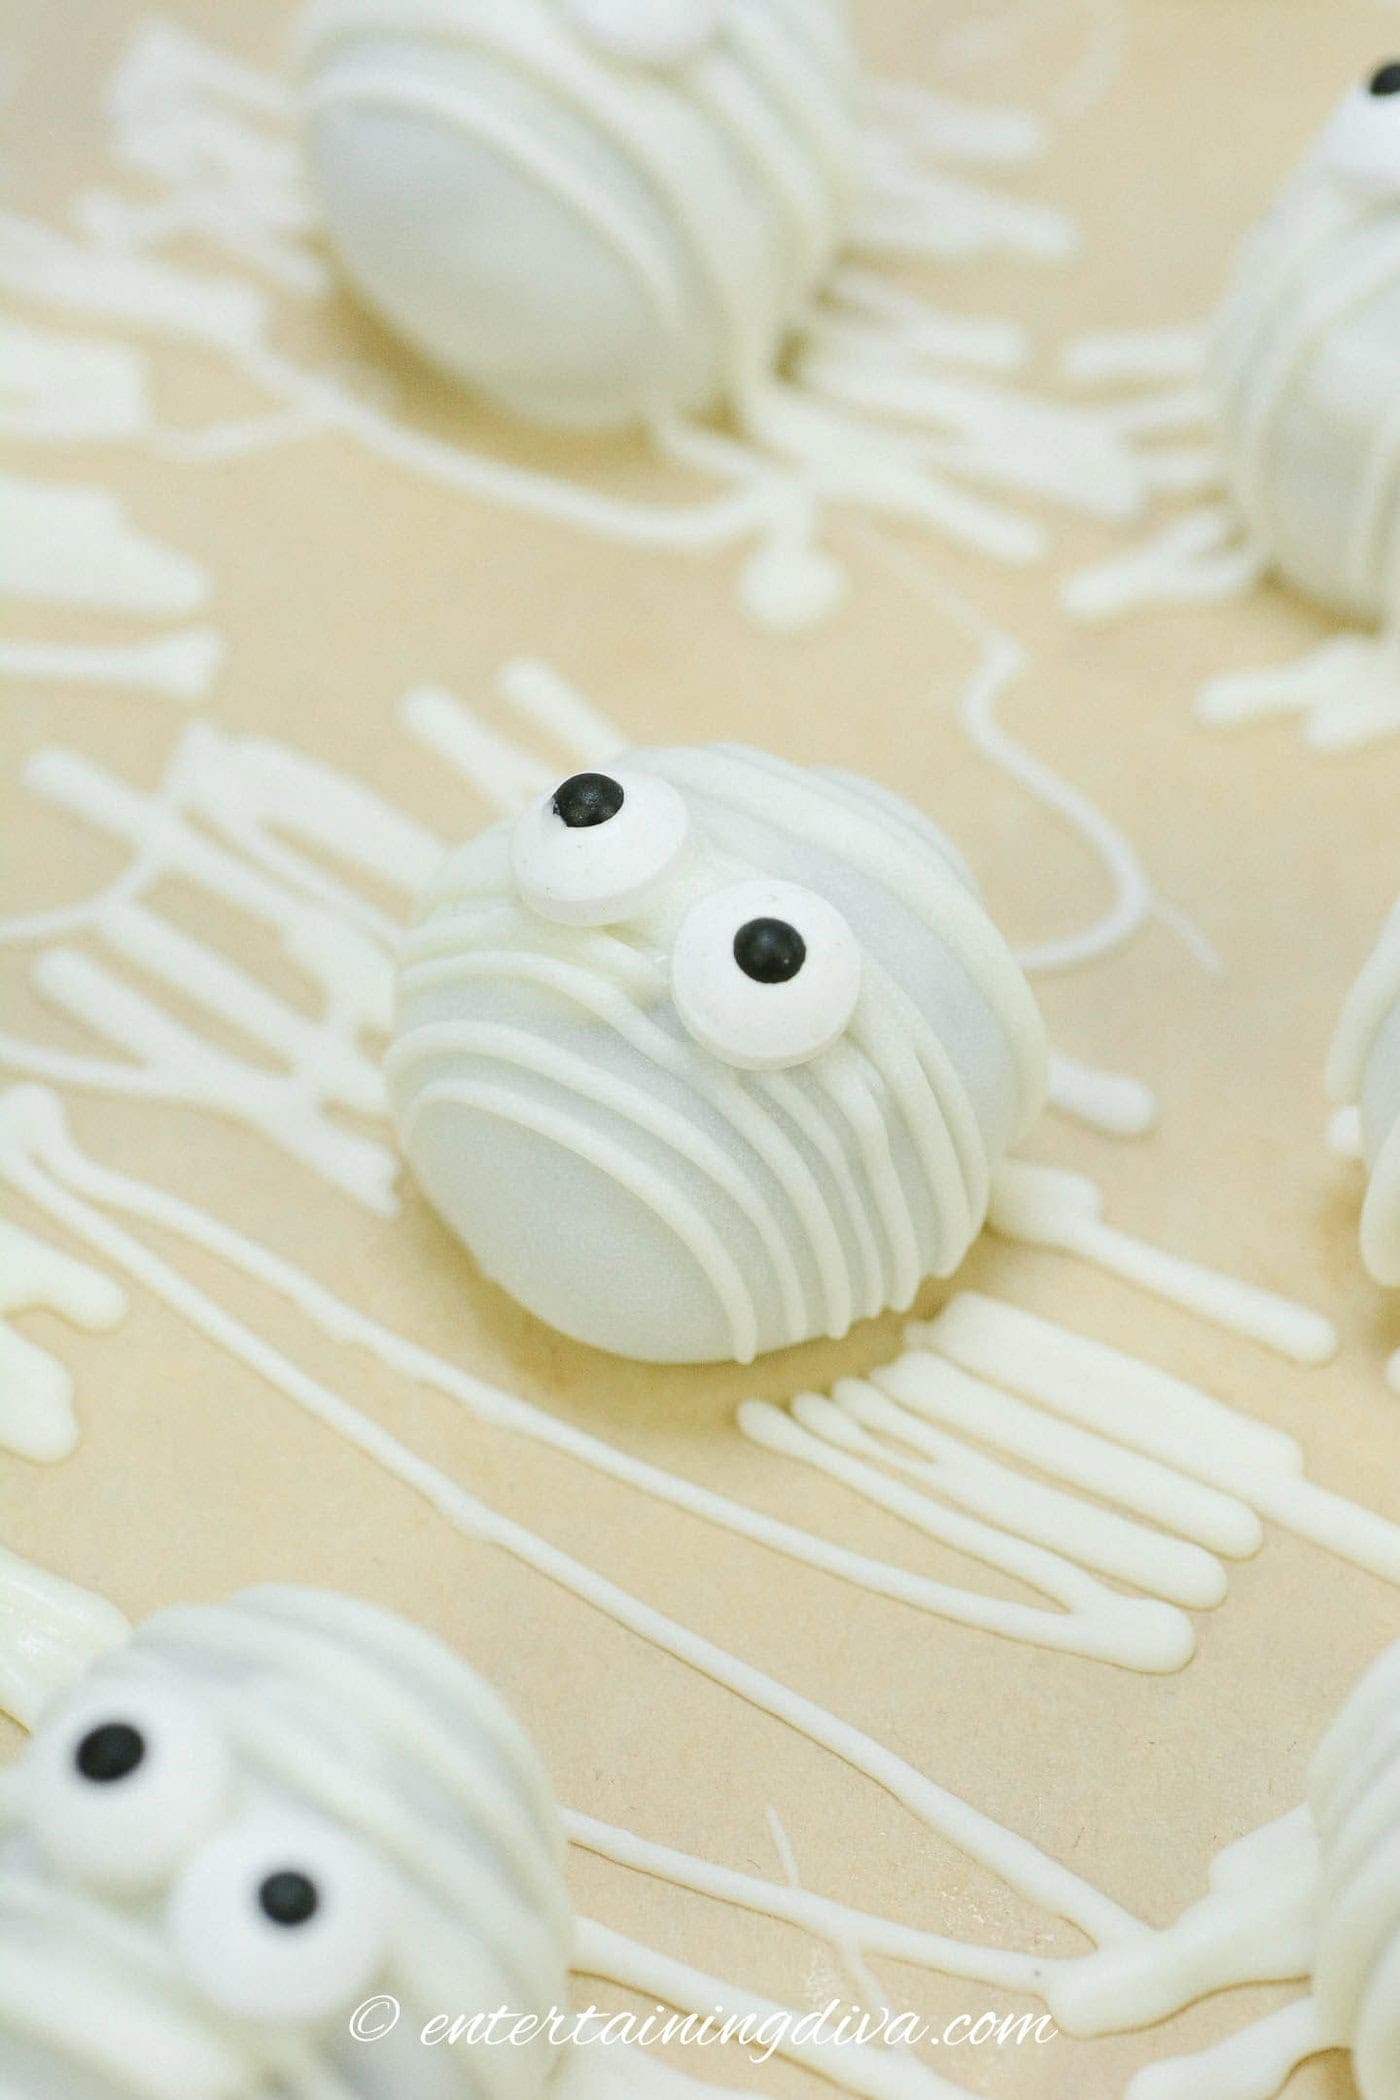
Working quickly, drizzle the white chocolate over 2 to 3 dipped balls at a time to create the mummy wrap effect.
Immediately press candy eyes into place before the chocolate sets.
Allow about 10 to 15 minutes for the white chocolate to fully set before moving the mummy balls. This ensures the decorations stay intact and the coating remains smooth.
Serving suggestions
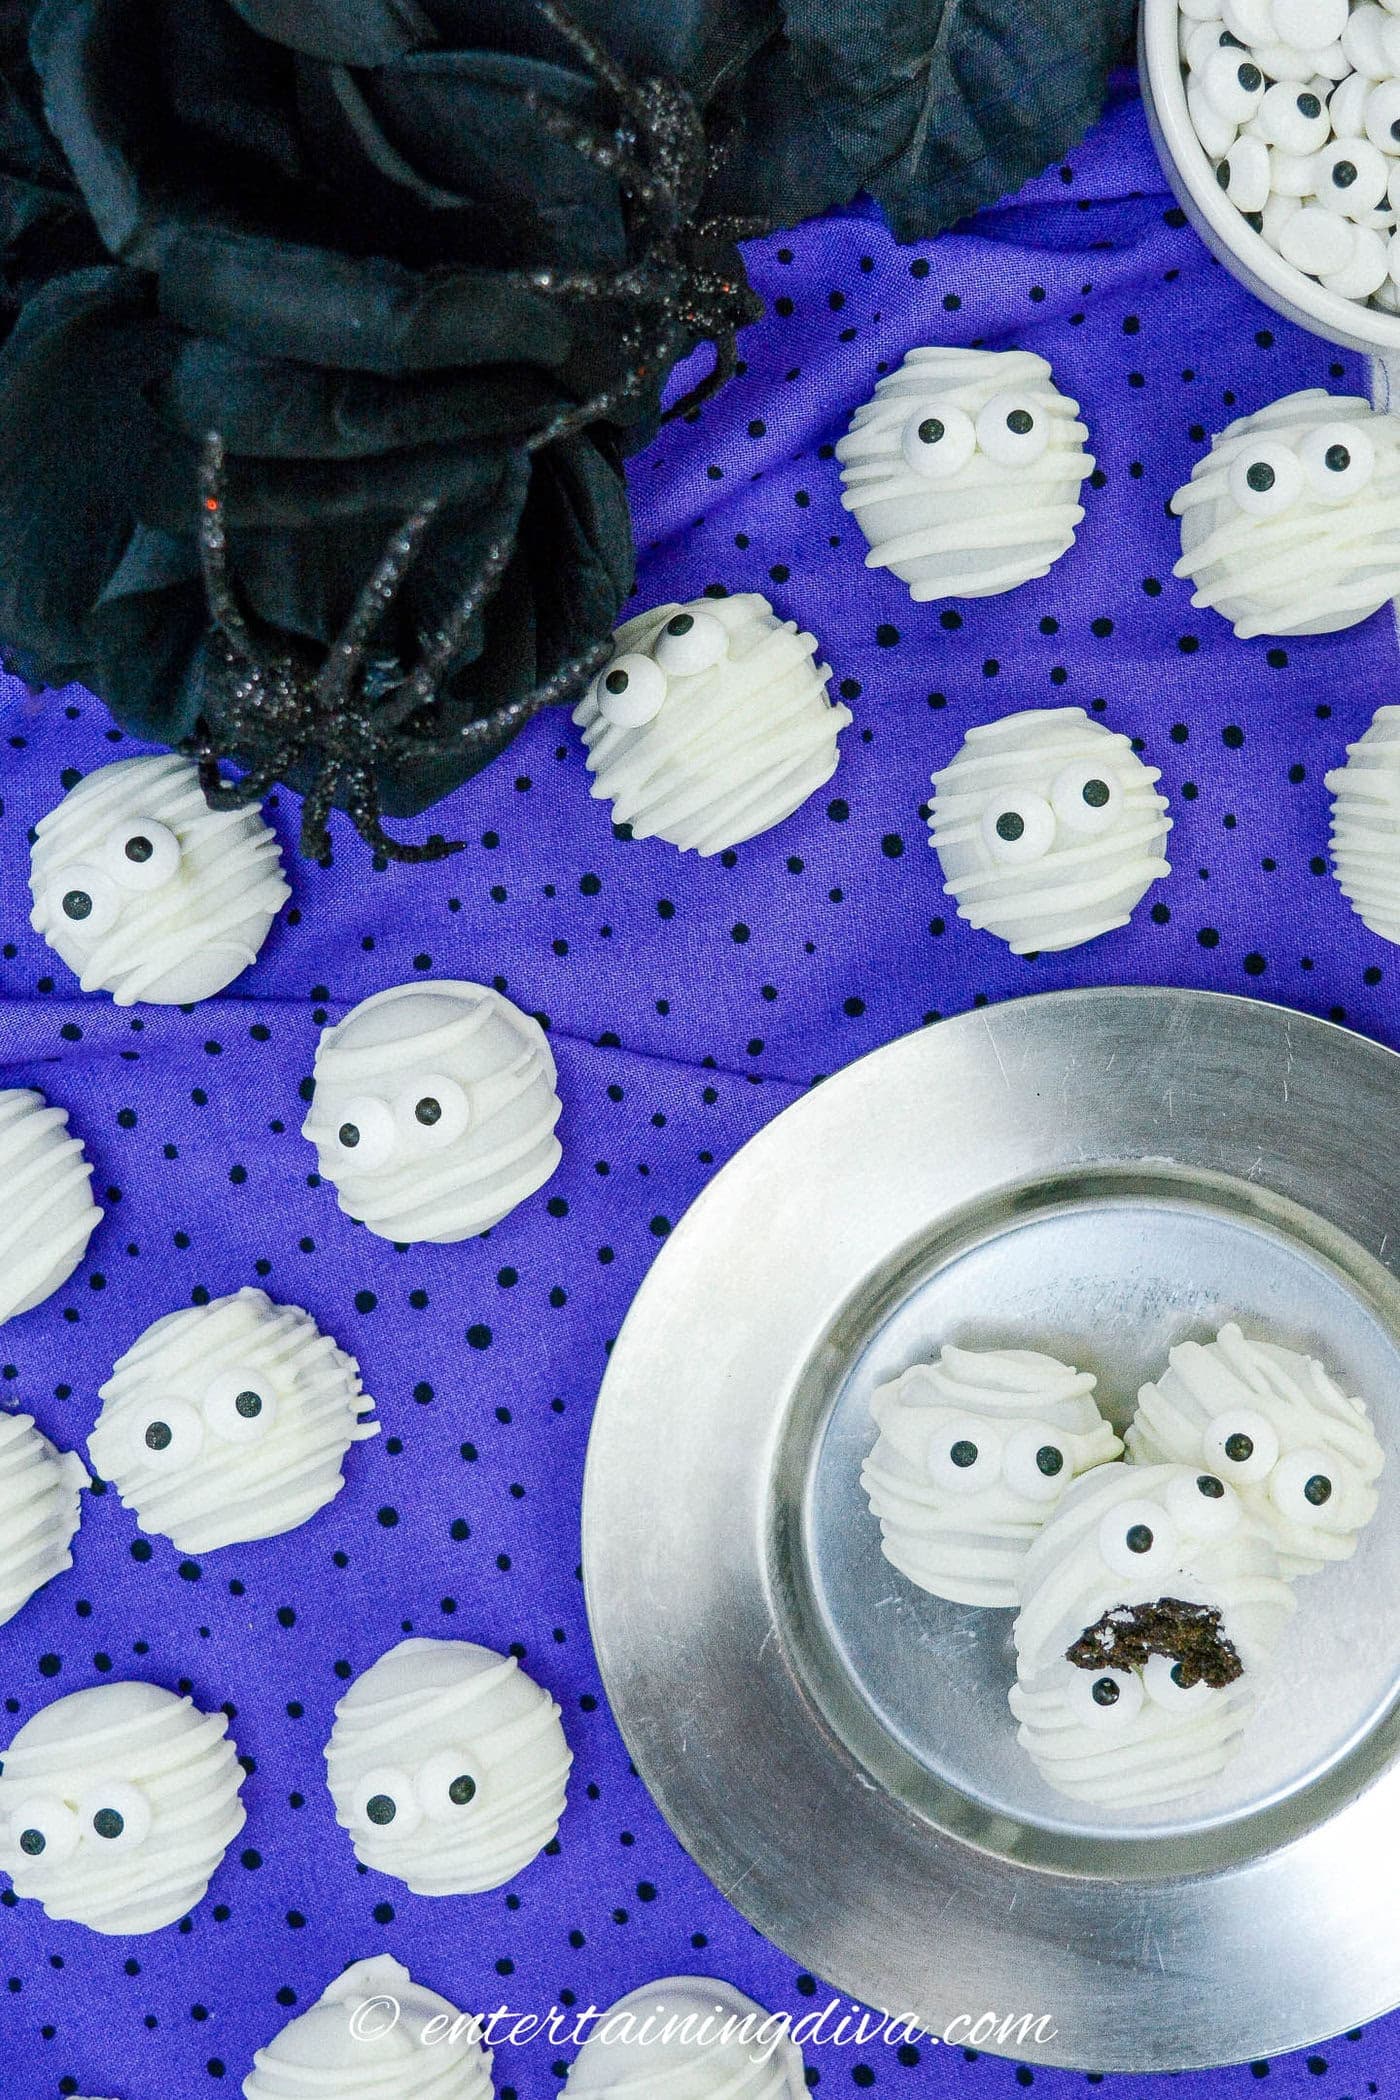
- Themed Platter: Arrange the mummy Oreo balls on a Halloween-themed platter with fake cobwebs and plastic spiders for a spooky display.
- Cupcake Liners: Place each mummy ball in a black or orange mini-cupcake liner to make them easier to handle and serve.
- Coffin Box: Serve the mummy balls in small, decorative coffin-shaped candy boxes for an extra eerie presentation.
- Graveyard Scene: Create a mini graveyard scene on a large tray using crushed Oreos as “dirt” and adding tombstone-shaped cookies or candies. Place the mummy balls throughout the scene.
- Mummy Pop Display: Insert each mummy ball onto a decorative skewer or stick and stand them upright in a foam block covered with black tissue paper for a striking presentation.
Storage
Because Mummy Oreo balls are made with cream cheese, they should be stored in the refrigerator.
They can last up to 3 days in a chilled, airtight container.
If you need to store them for a longer period, place them in a freezer-safe container and freeze for up to two months. When ready to serve, simply thaw them in the refrigerator for a few hours.
Spooky Mummy Oreo Balls
Ingredients
- 25 double stuffed Oreos
- 4 ounces cream cheese softened
- 16 oz white chocolate or candy coating
- 1 package Candy eye balls
Equipment
- parchment paper
- Sheet pan, cutting board or tray that will fit in your refrigerator
- Food processor, or rolling pin, to crush the Oreos
- large bowl
- mixing spoon
- Small ice cream scoop or round tablespoon
- small microwaveable bowl
- small spoon
- Piping bag and tip with a small round hole, or a ziploc bag with a small hole cut in one corner
Instructions
- Use a food processor or rolling pin to crush the Oreos.25 double stuffed Oreos
- In a large bowl, combine the Oreo crumbs with the softened cream cheese. Stir well until all the crumbs are coated and the dough balls up and becomes less crumbly.4 ounces cream cheese
- Using a small ice cream scoop or a round Tablespoon, create 1-inch balls. Roll between the palms of your hand to round out the edges. Set on a parchment-covered cutting board, sheet pan or tray that will fit in the refrigerator.
- Chill for at least 30 minutes to solidify the dough balls.
- Once chilled, melt the white chocolate in a microwaveable bowl. Heat in 30 second increments and stir well between each heat interval.16 oz white chocolate or candy coating
- Working with one ball of dough at a time, place them in the bowl and use a spoon to cover in the melted chocolate. Gently scoop it out of the melted mixture and allow the excess to drip back into the bowl for about 10 seconds. Carefully place the ball back on the parchment.
- Transfer the remaining melted white chocolate to a piping bag with a small round tip, or a Ziploc bag with a small hole cut in the tip of the bag.
- Working quickly, drizzle the white chocolate over 2 to 3 of the dipped balls at a time. Immediately press the eye ball candies into place before the chocolate has a chance to harden.1 package Candy eye balls
- Allow about 10-15 minutes for the white chocolate to set before moving.
Notes
- If the white chocolate starts to harden before you are finished (it likely will), you can put it back in the microwave for a few seconds to melt it again.
Nutrition
Nutrition values are estimates only, using online calculators. Please verify using your own data.
Have comments or questions about our Halloween mummy Oreo balls recipe? Tell us in the section below.