
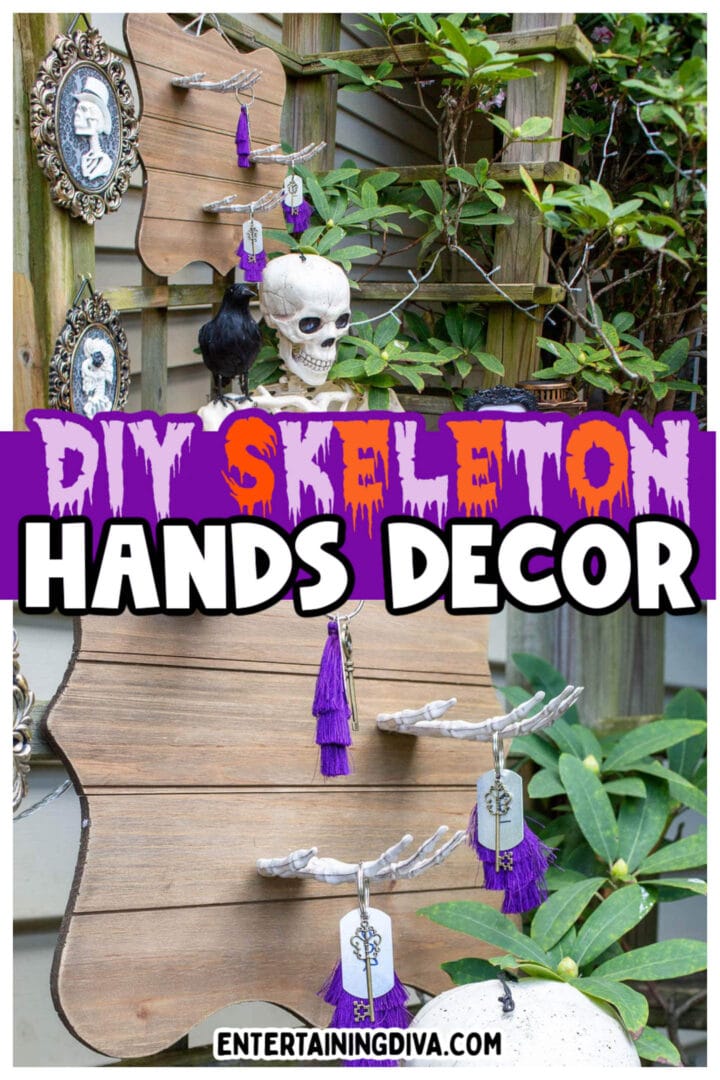
DIY Skeleton Hands Halloween Wall Decor
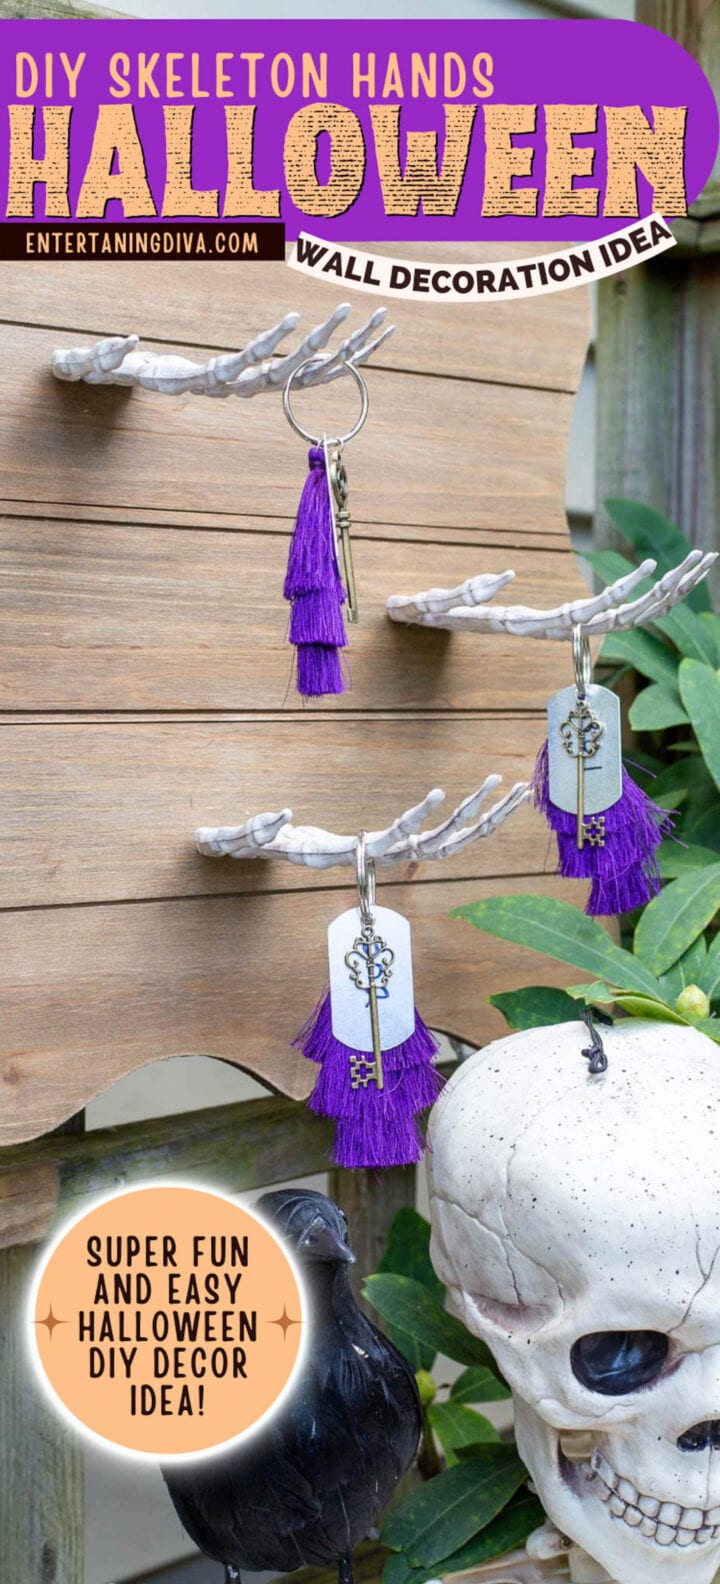
Halloween is a time for ghosts, goblins, and all sorts of spooky decorations. If you’re looking for a unique way to add some fright to your Halloween party this year, this DIY skeleton hands wall decor may be just the thing.
Every year, I like to come up with a theme for my Halloween parties.
And then create some fun and inexpensive decorations to go with the theme.
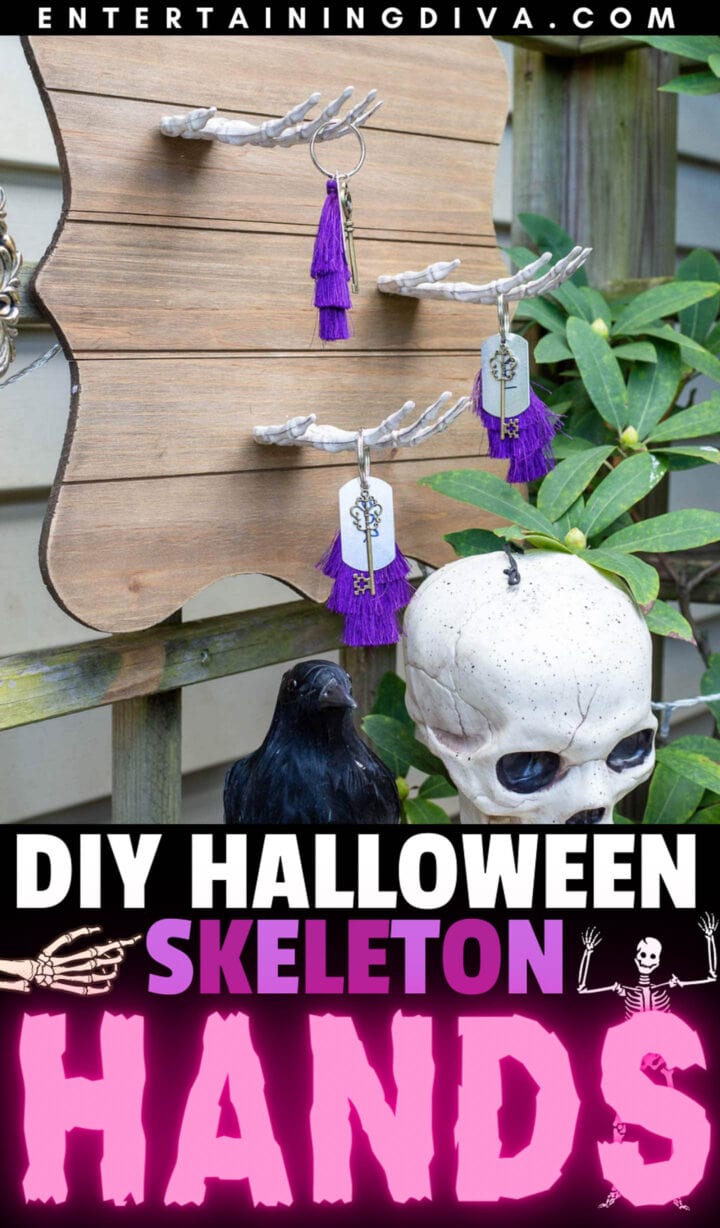
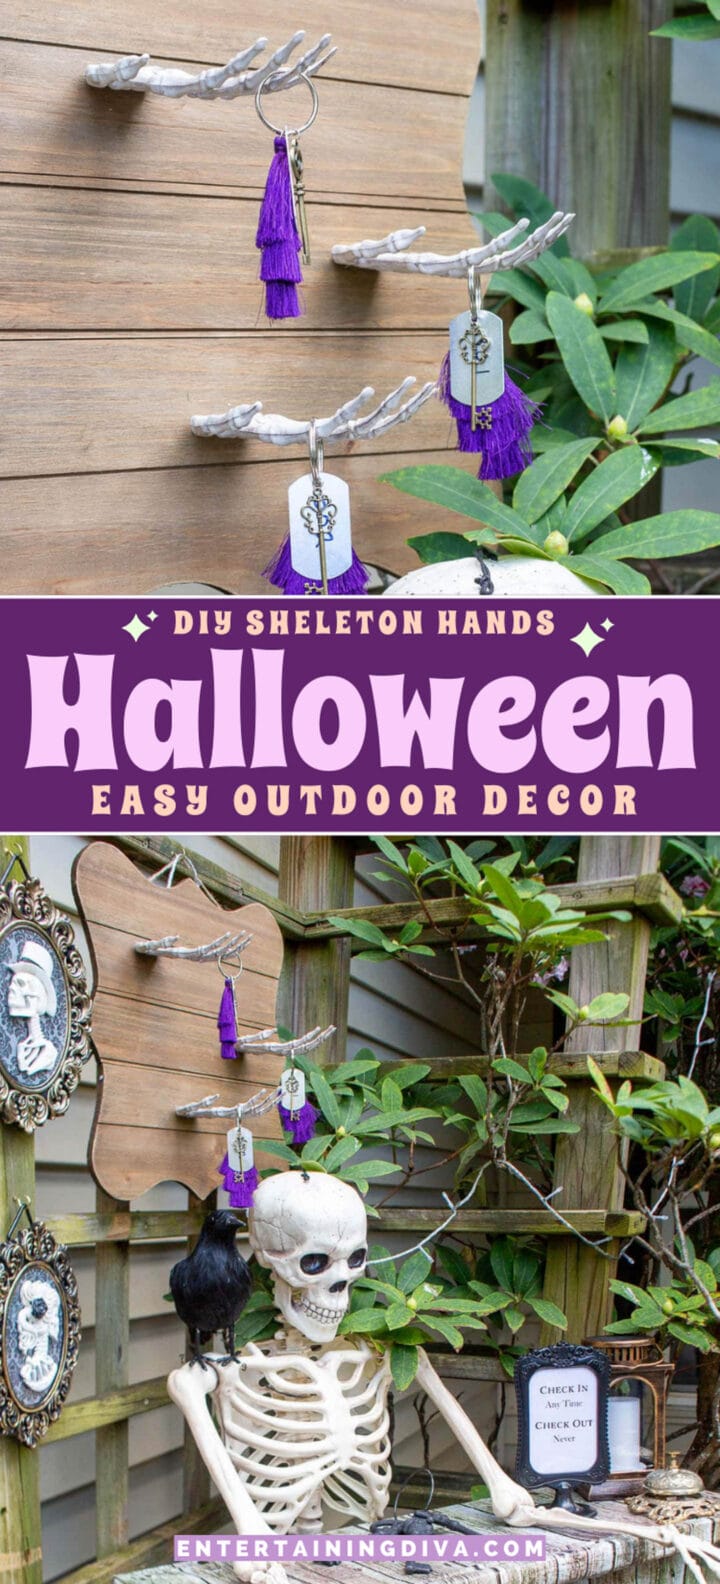
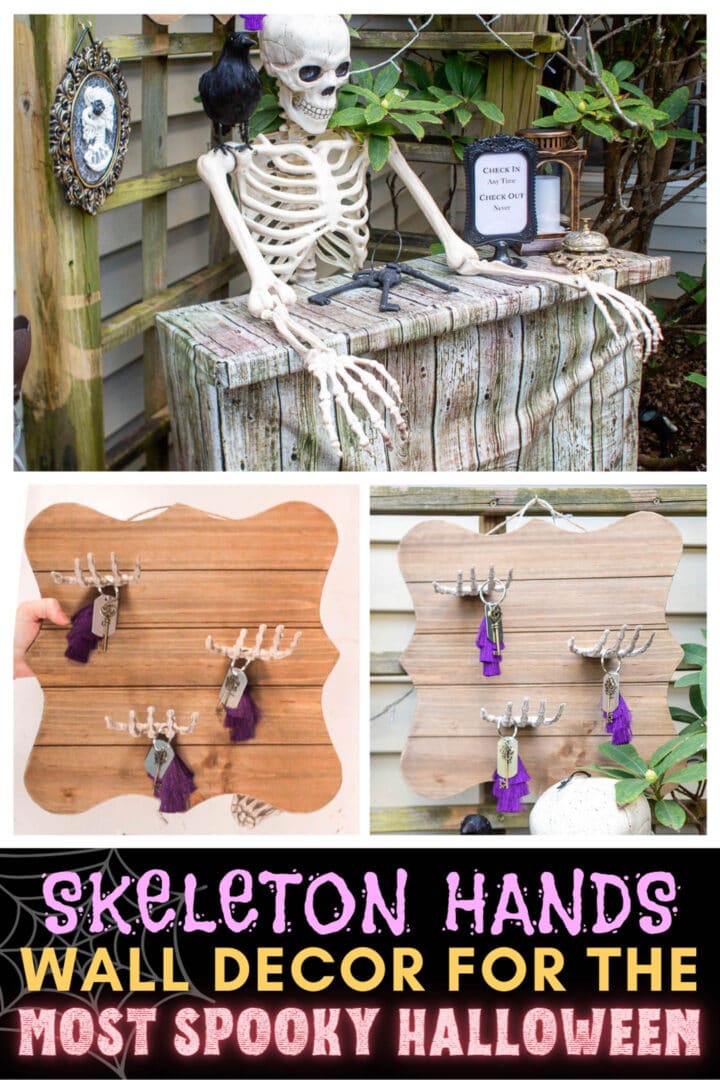
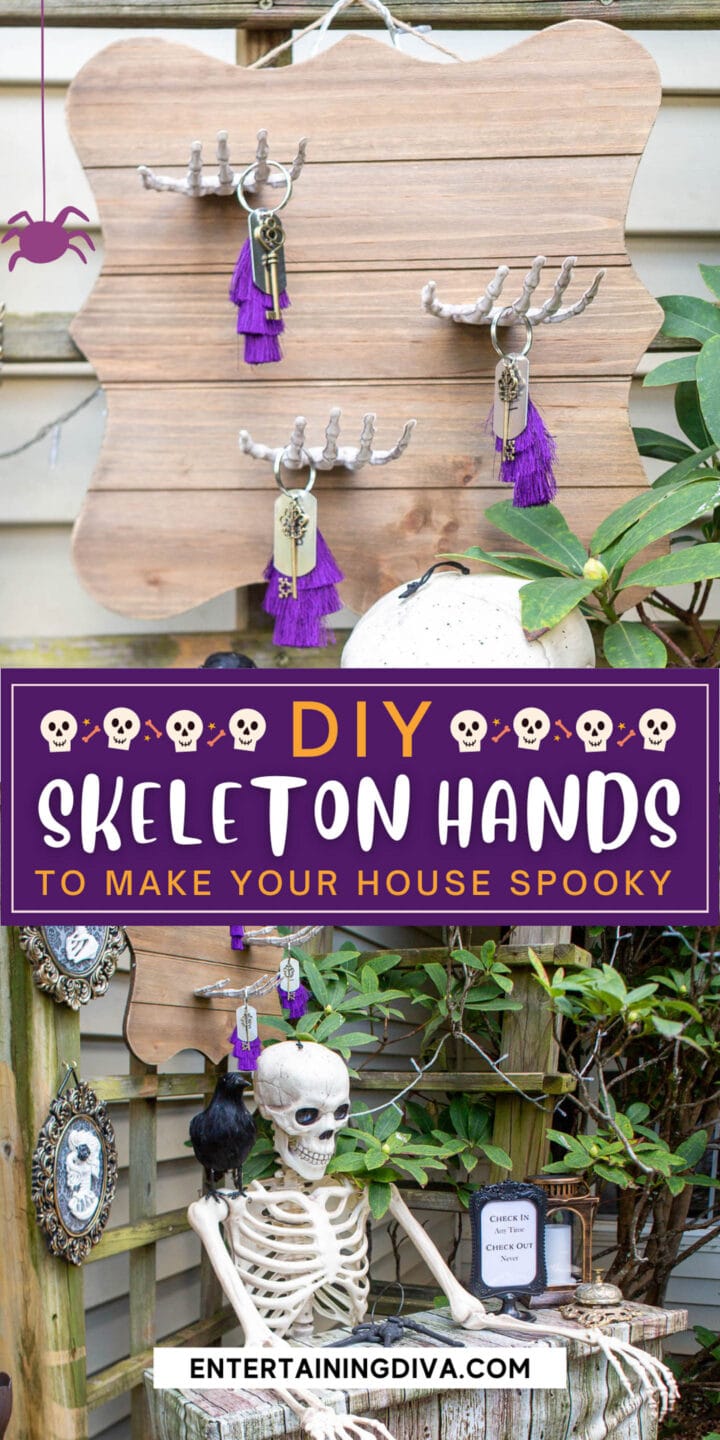
So when I was planning for my Halloween haunted hotel theme, I knew I wanted to create a check-in desk.
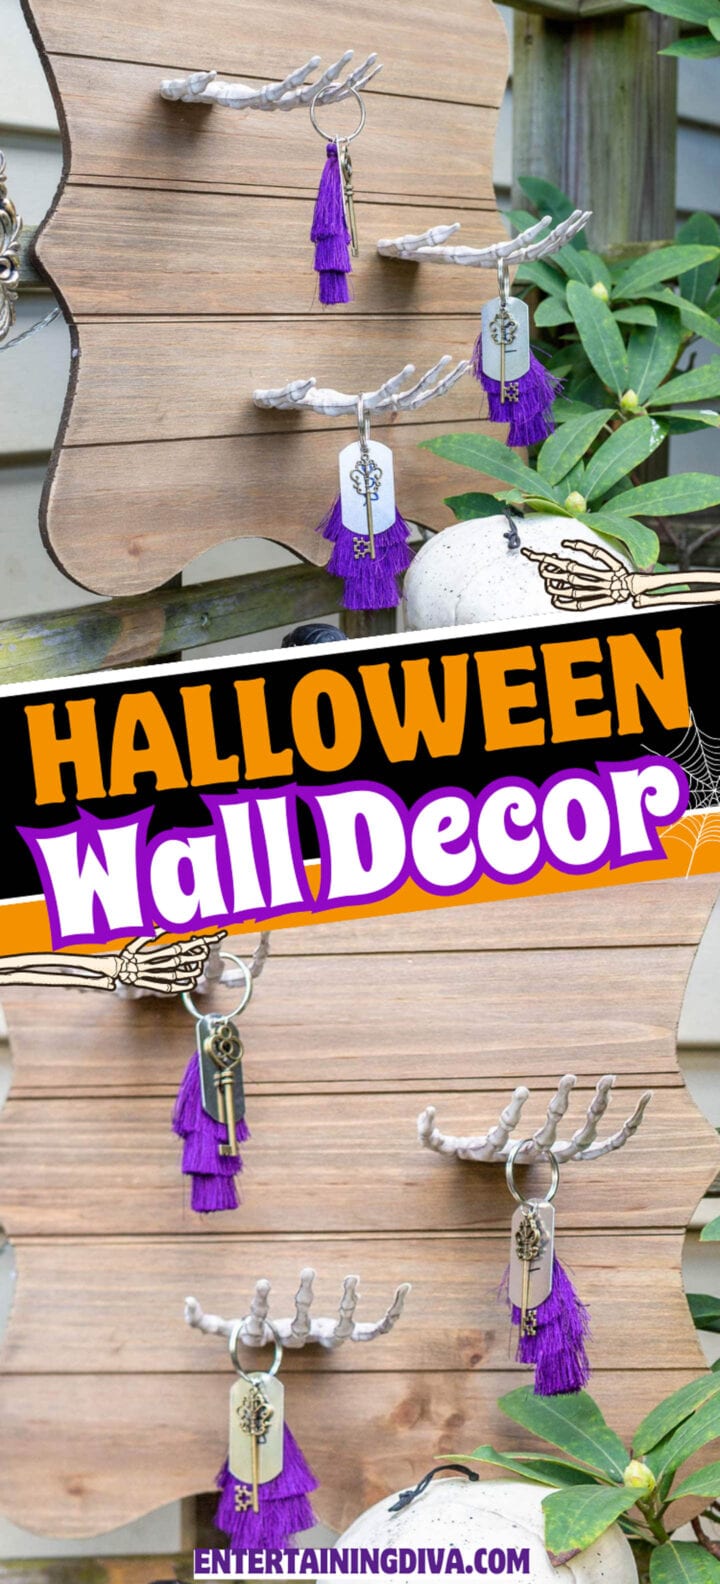
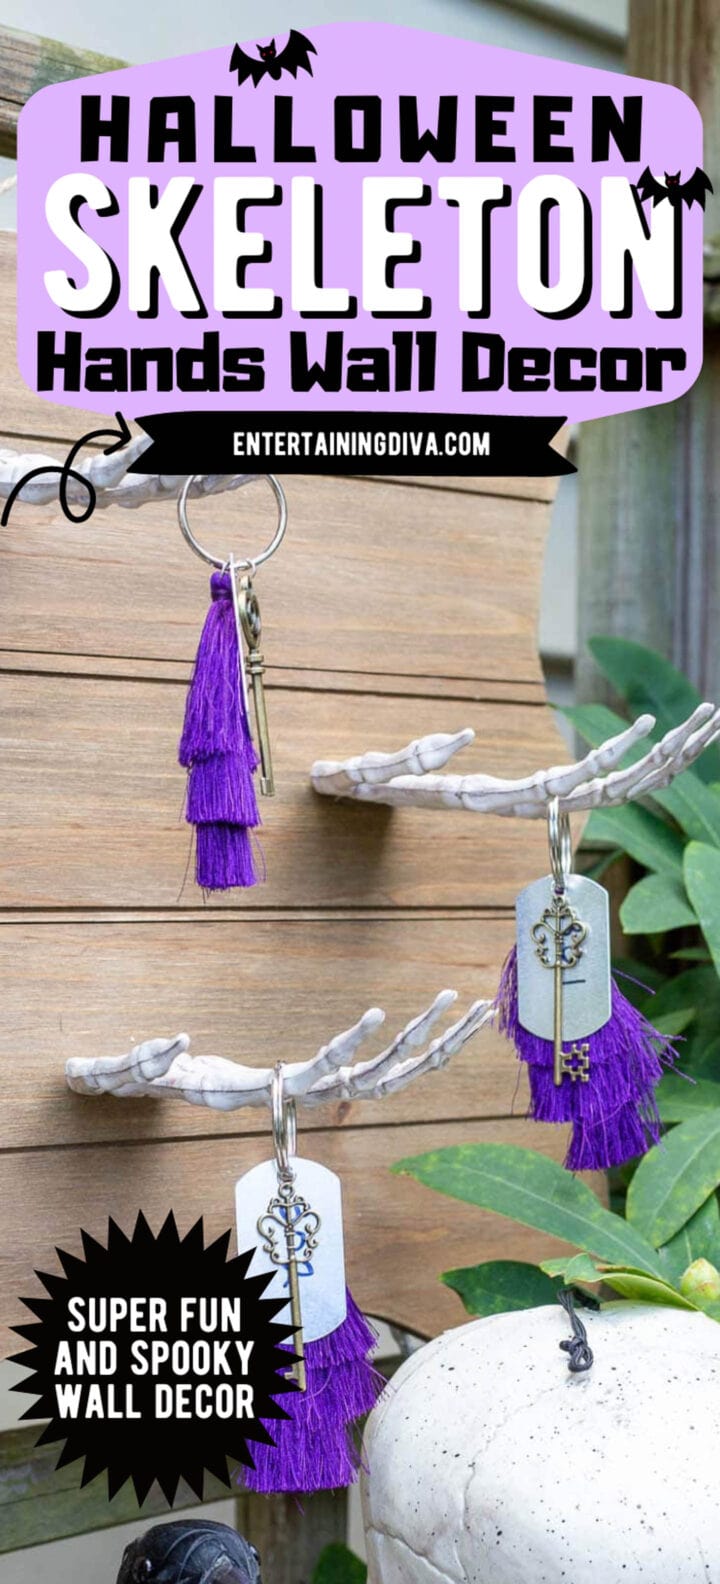
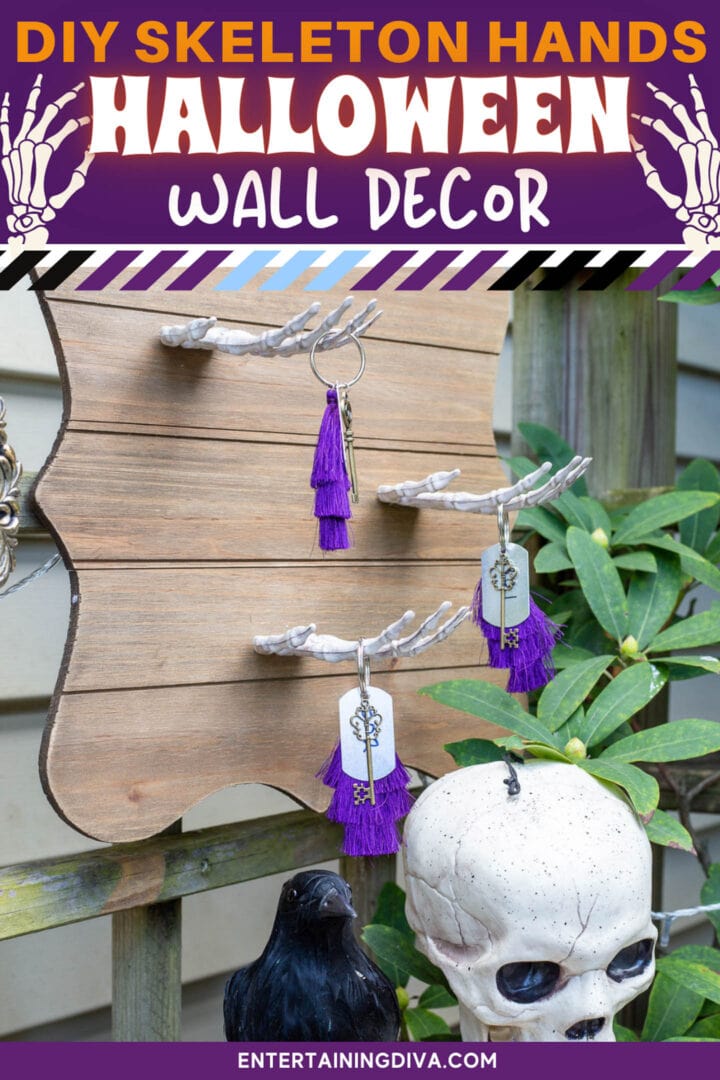
Complete with old-fashioned room keys hung from skeleton hands.
And that’s where the idea for this DIY skeleton hands Halloween wall hanging came from.
Although I originally used it for holding keys, it can work for hanging all kinds of spooky Halloween decorations, like lanterns, moss, or balloons. (Just make sure the hands can handle the weight of your props).
Supplies
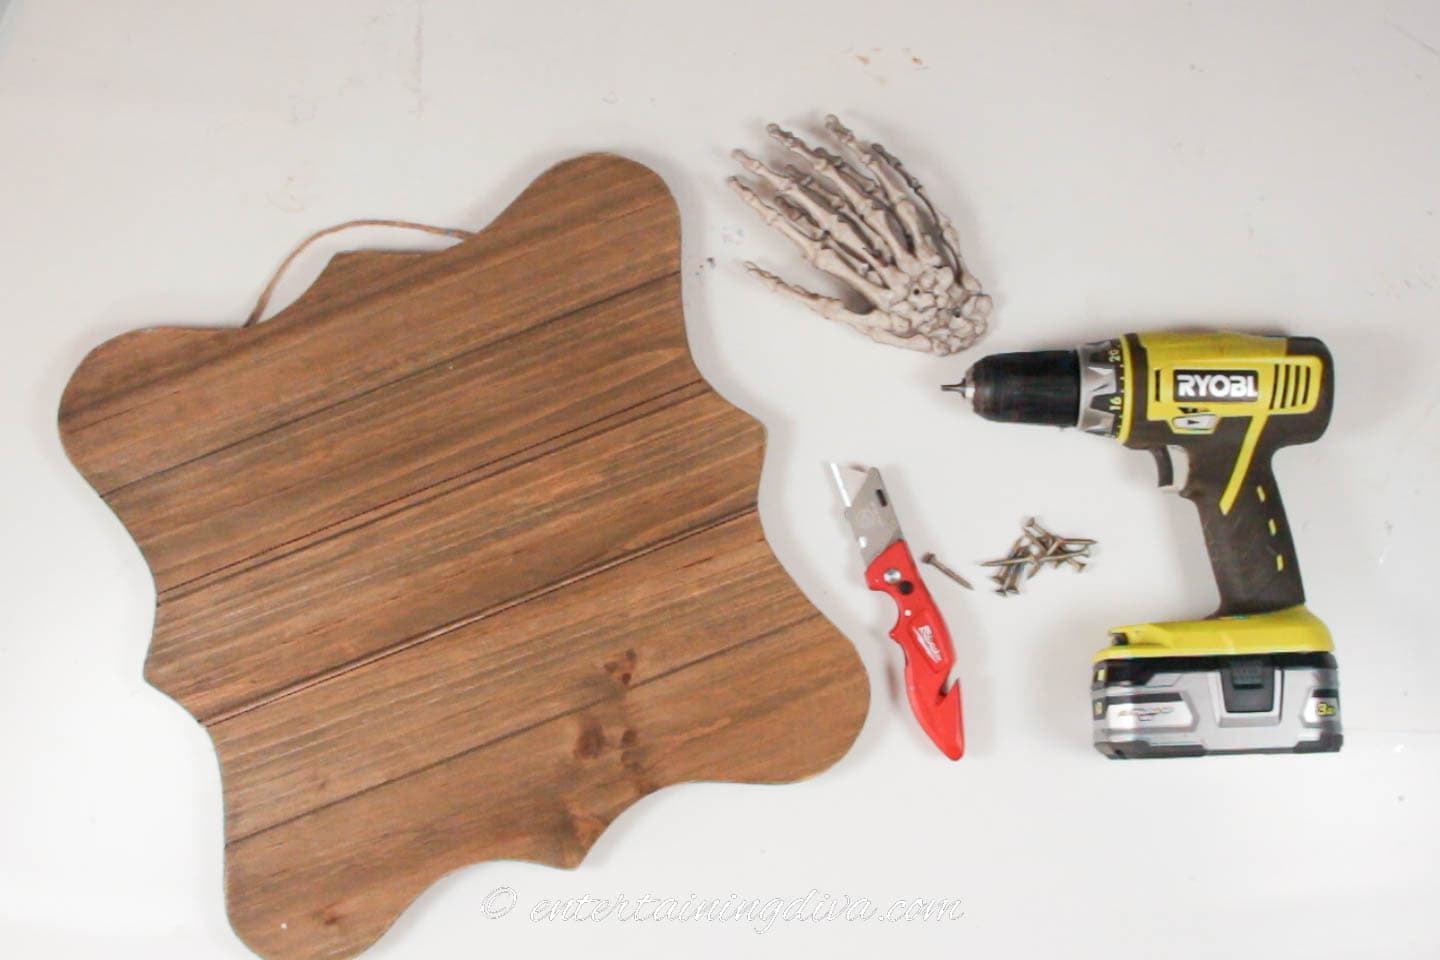
Materials
- wooden craft sign – mine is about 12″ x 12″ and I got it from Michael’s. You can also find similar ones* on Amazon.
- 2 or 3 skeleton hands*
- 1/8″ drill bit – This is used to make a pilot hole for the screws. So it doesn’t have to be exactly this size, as long as it is smaller than the width of the screw.
- 1″ screws – they don’t have to be this exact length. Just long enough to go through the sign and into the skeleton hands to hold them in place.
- wood glue (optional)
Tools
- utility knife
- cordless drill
How to make skeleton hands Halloween wall decor
1 | Cut off the end of the hand
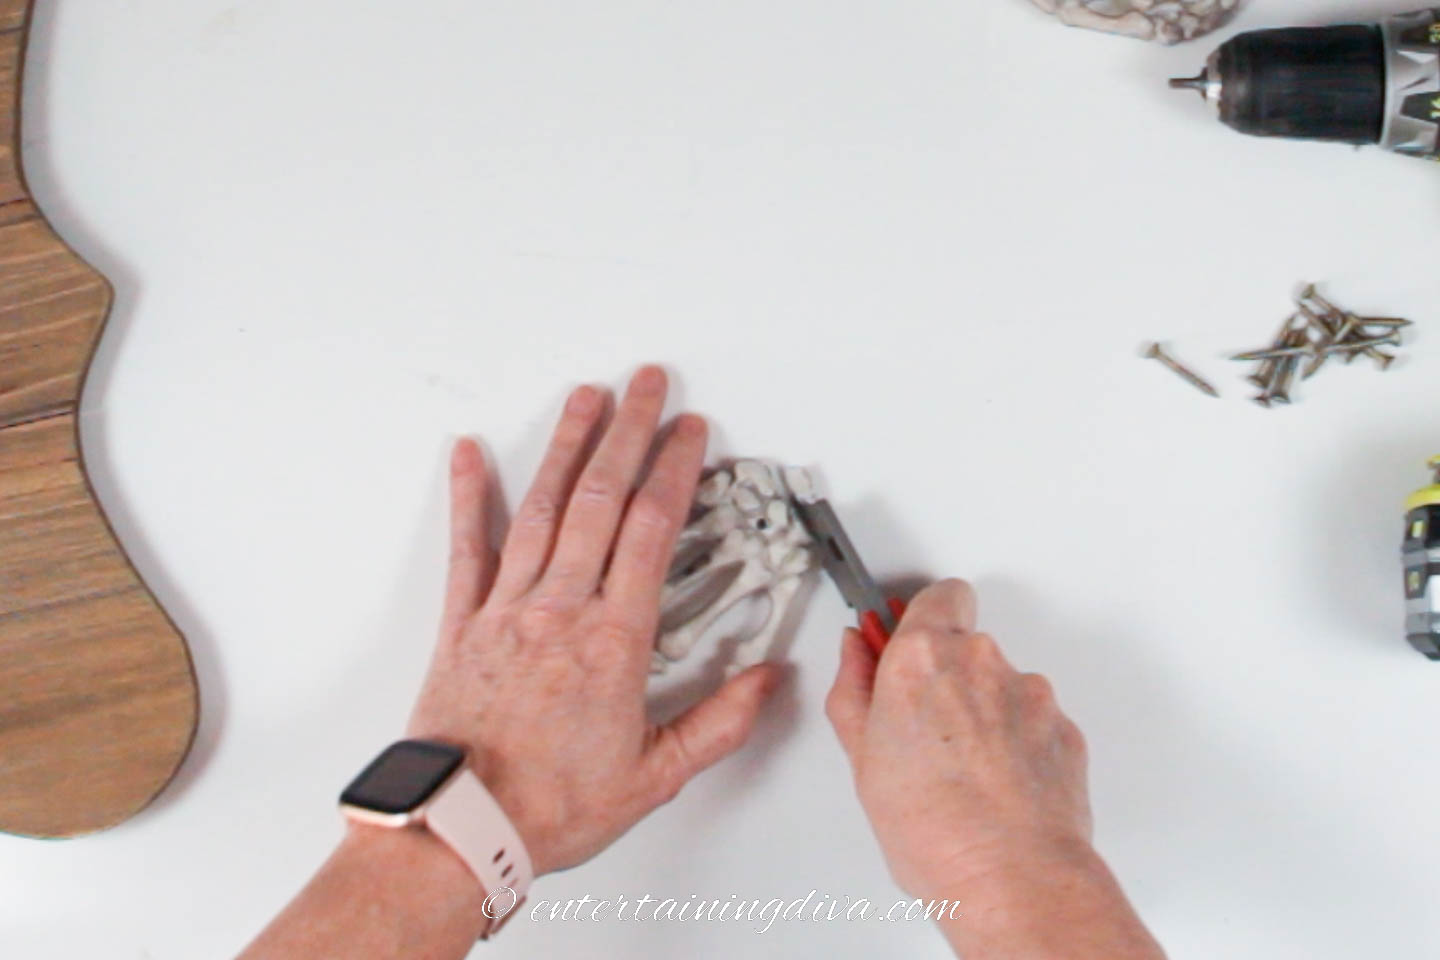
To make the skeleton hands more stable on the board, you’ll need to cut off the base of it.
This will make a flat edge that will lie flat against the board.
To do this, I used a utility knife and cut off about half an inch. You could also use a miter saw or jig saw if you prefer to use power tools.
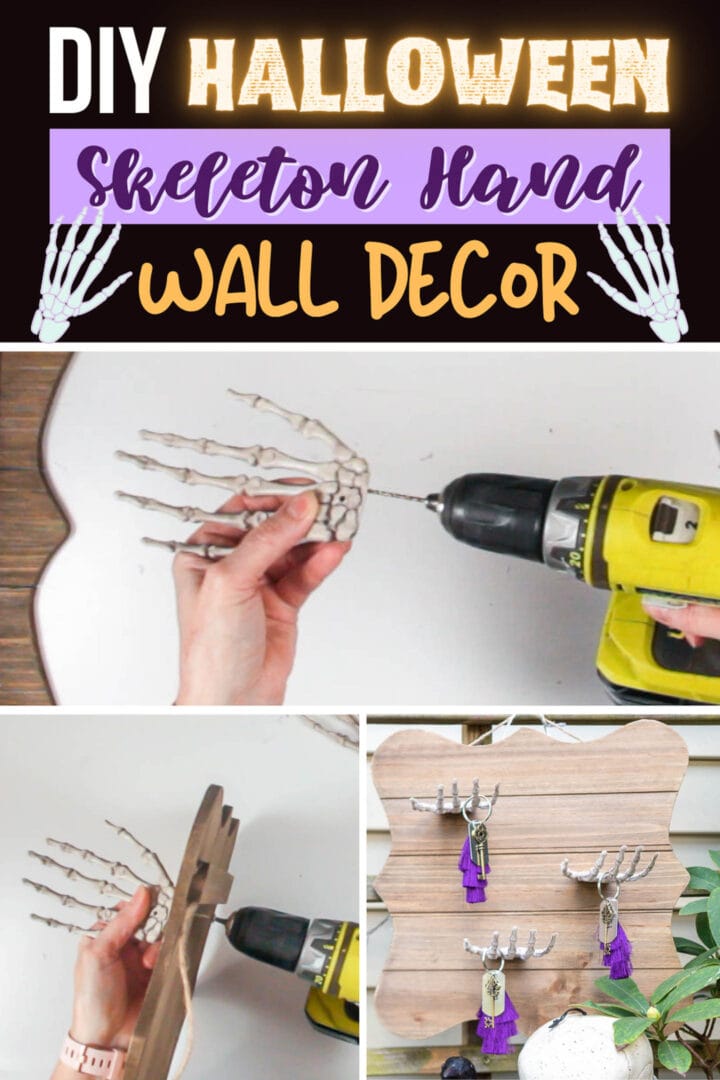
2 | Drill hole in the hand
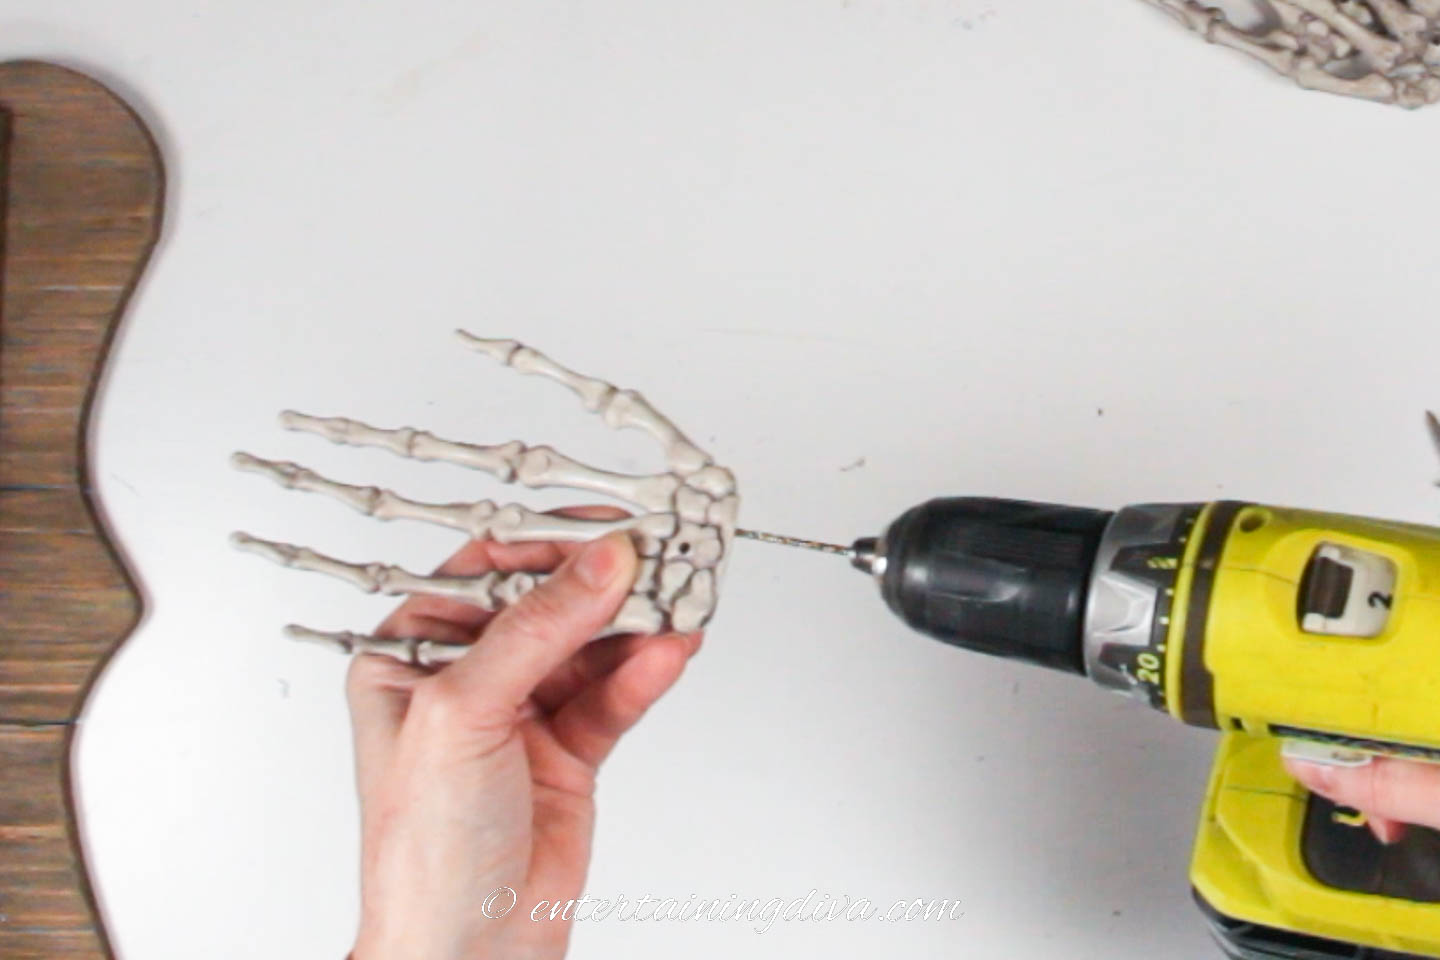
To make the screw go into the hand easier, you’ll want to drill a pilot hole.
Drill in about half an inch.
It’s much easier to drill the first pilot hole in the hand separate from the board since you don’t have to try holding them both up in the right position at the same time while trying to drill.
I only did one at this stage because it’s hard to line up more than that with holes in the board.
3 | Decide where to position it
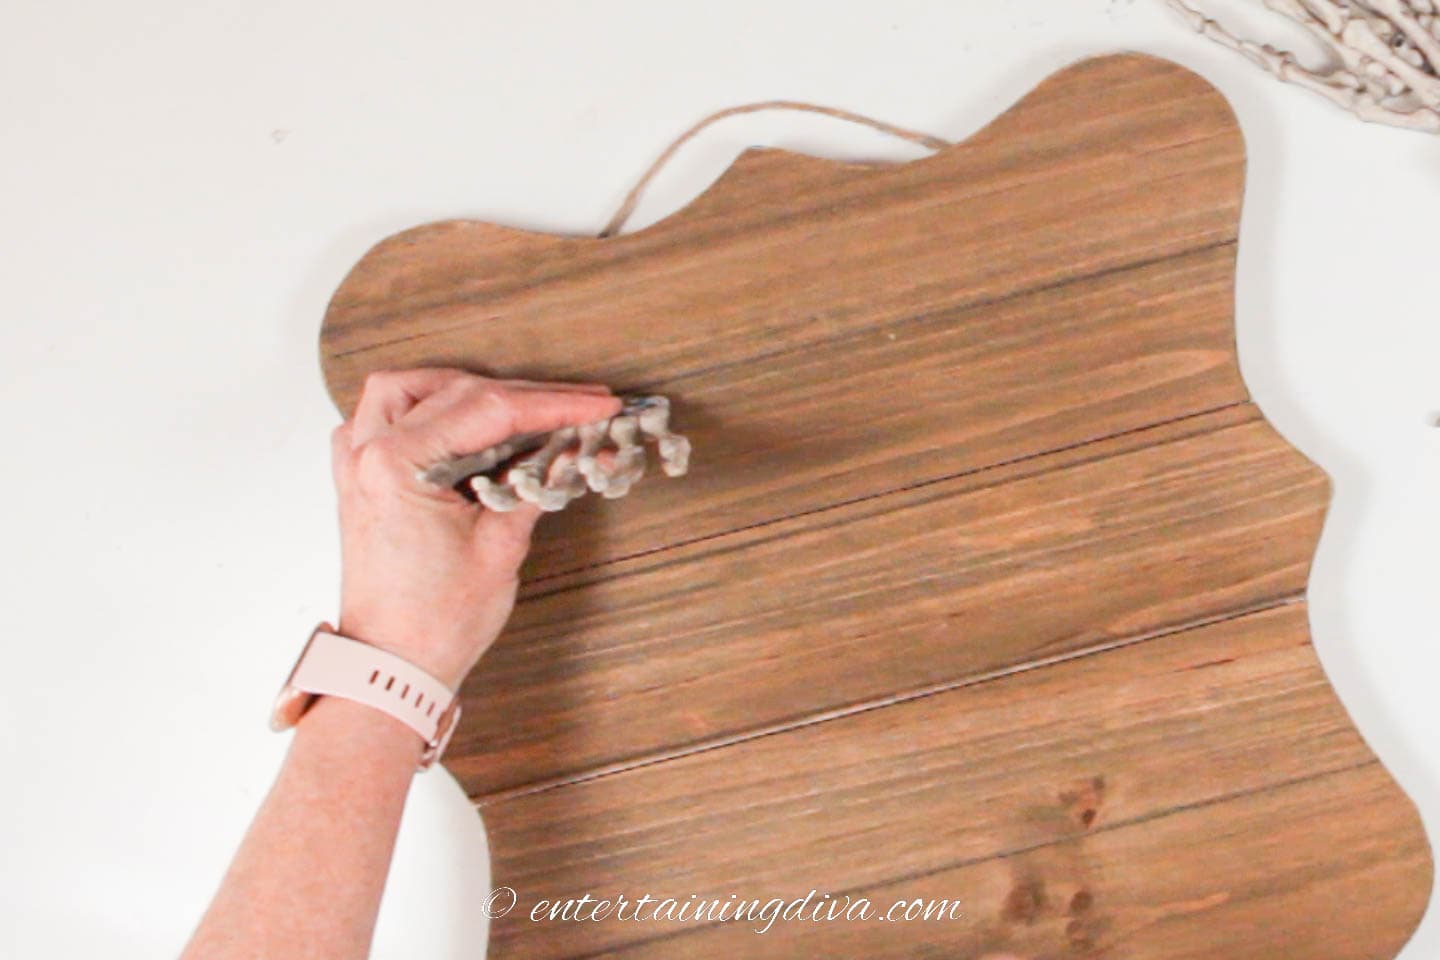
Next, you’ll need to decide where you want to put in on the board.
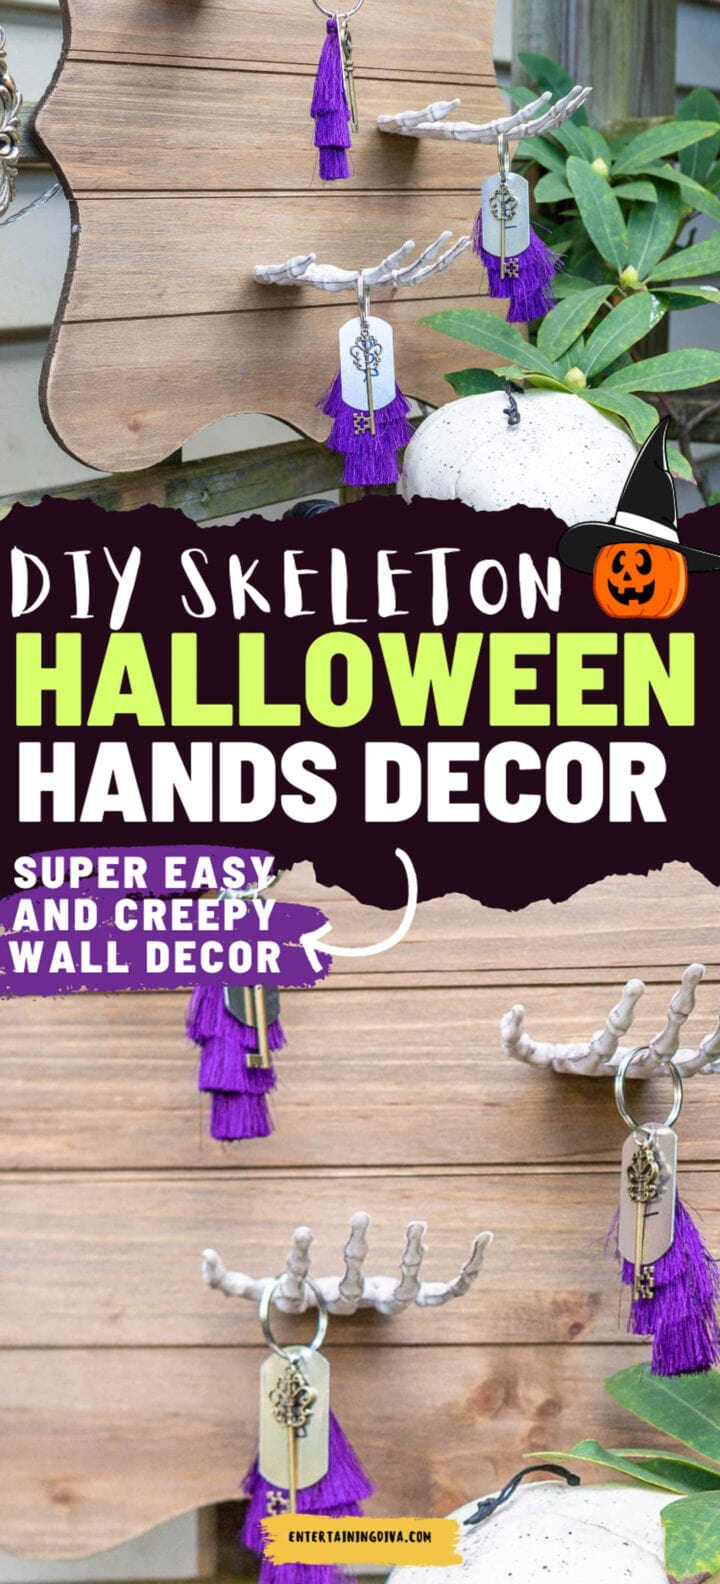
Staggering the hands on the board will allow you to hang stuff from them without hitting the hand underneath.
That’s also why I only put 2 or 3 hands on a board.
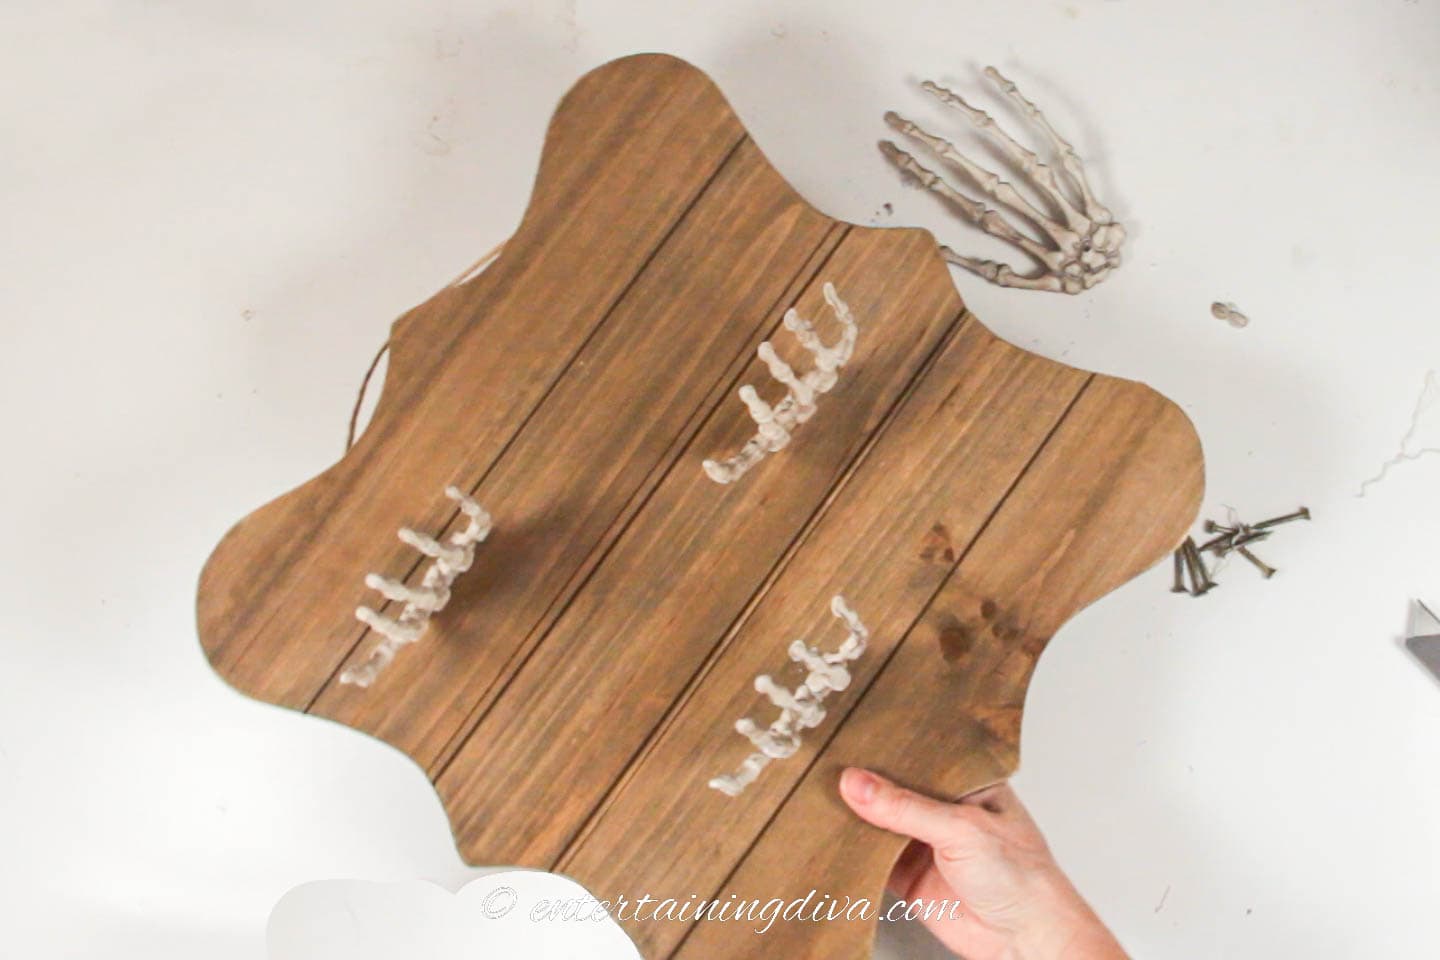
4 | Screw the hand to the board
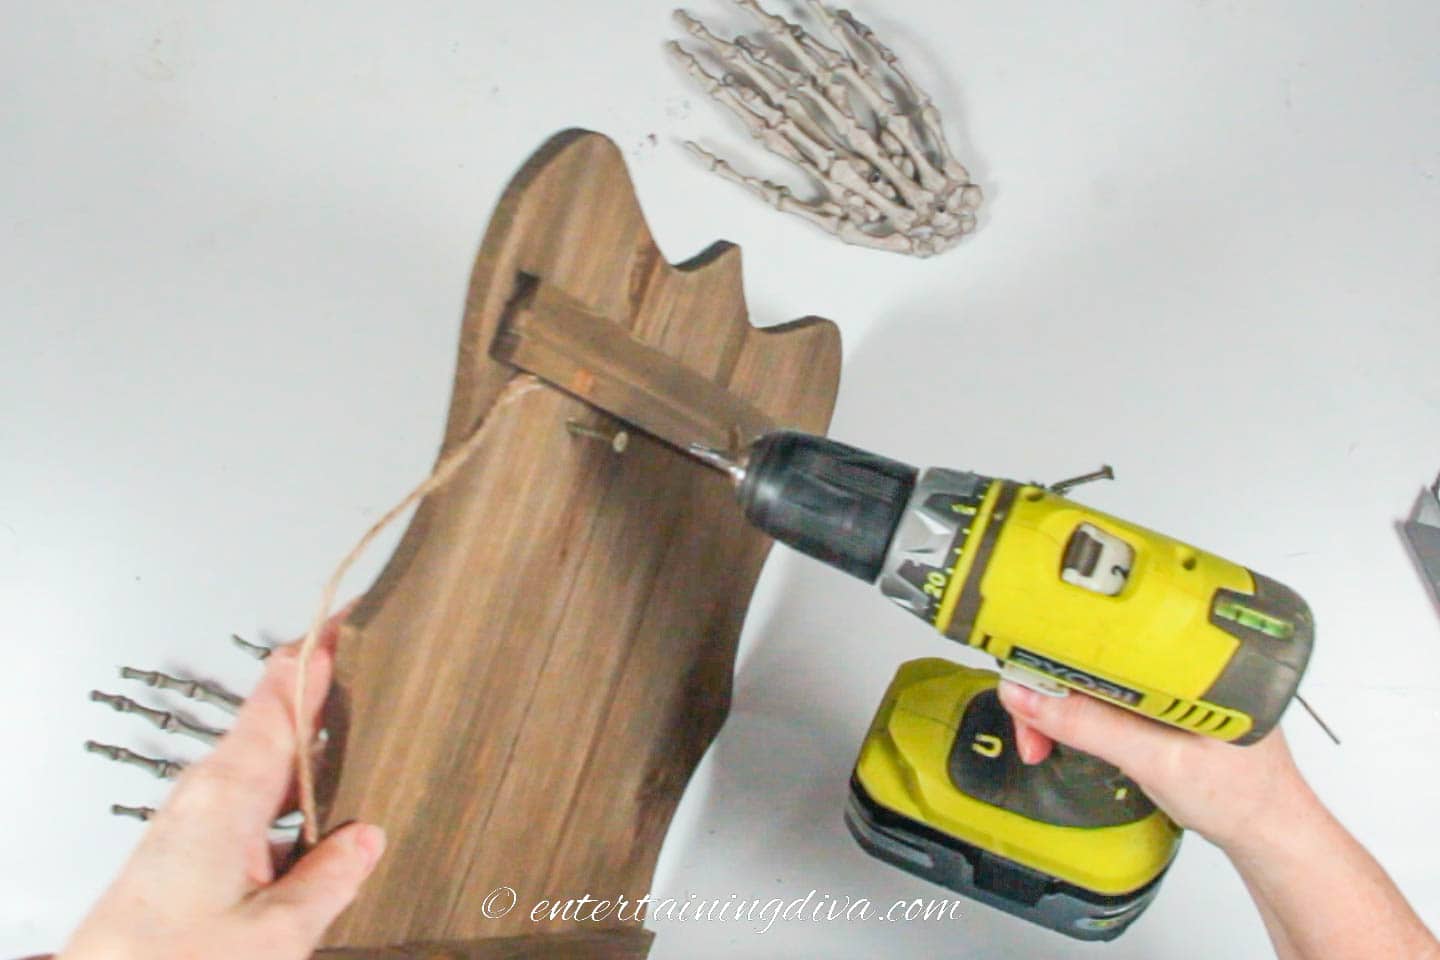
Then drill a pilot hole through the back of the board in that spot.
Screw in the screw from the back until the tip of it breaks the surface on the front side.
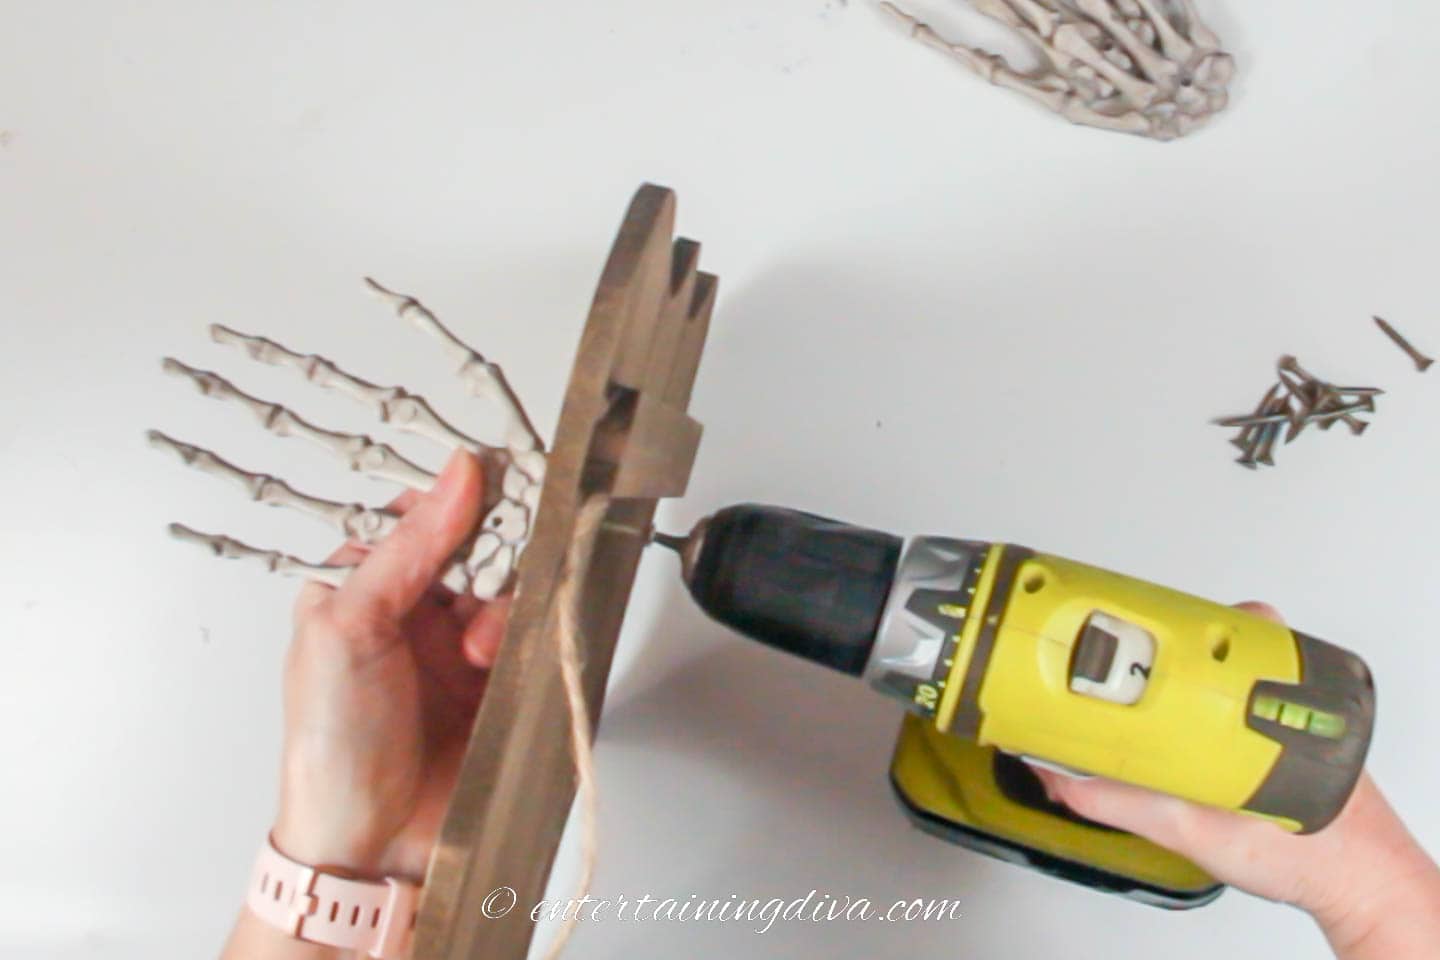
Then position the hand so that the pilot hole you drilled earlier lines up with the tip of the screw.
Finish tightening the screw.
I found that I only needed one to hold the hands steady.
But if you think you will need two screws, drill another pilot hole through the board into the skeleton hand and insert the screw. It will be easy to do this now because the hand is already being held in position.
5 | Repeat for the other hands
Use the same process to add the other skeleton hands.
Then you’re ready to hang and decorate it.
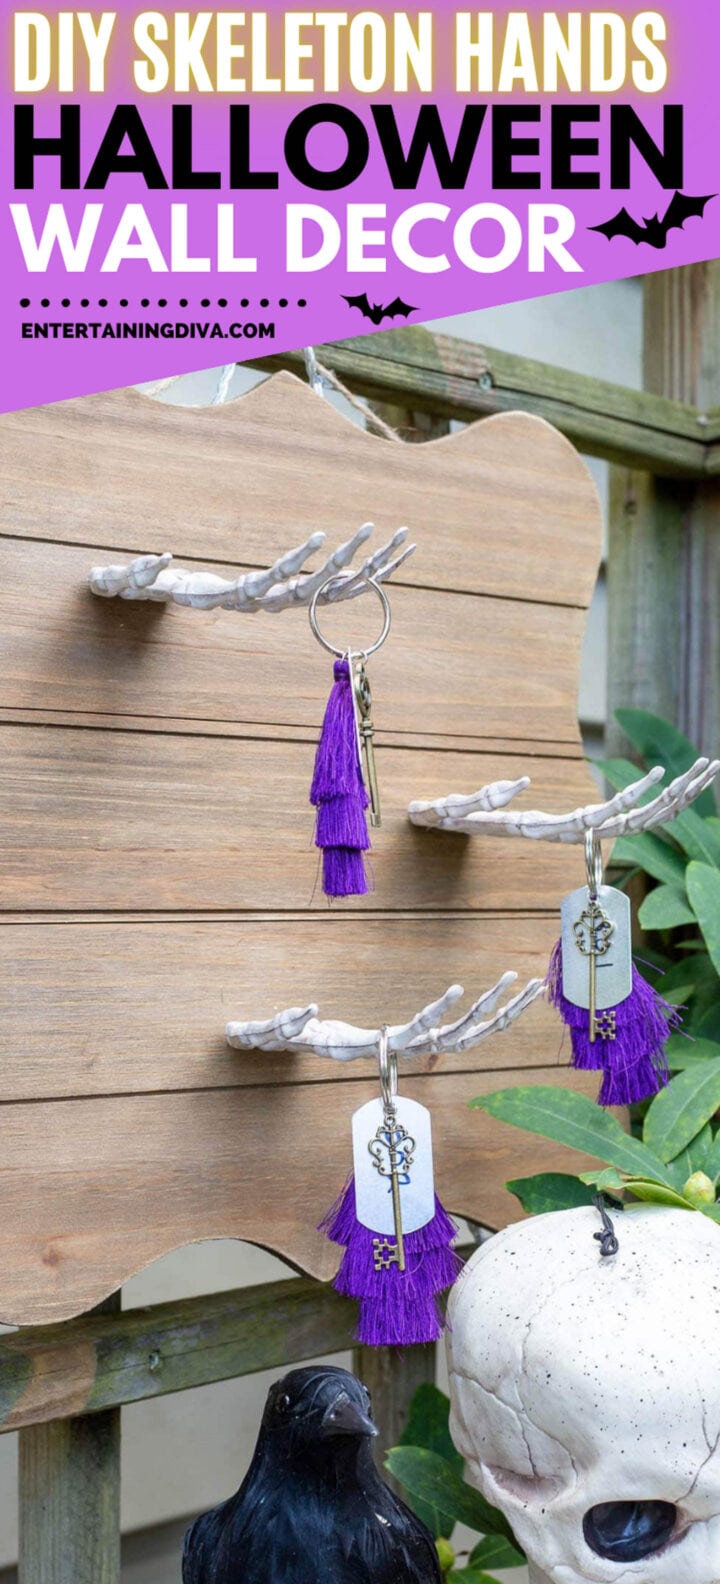
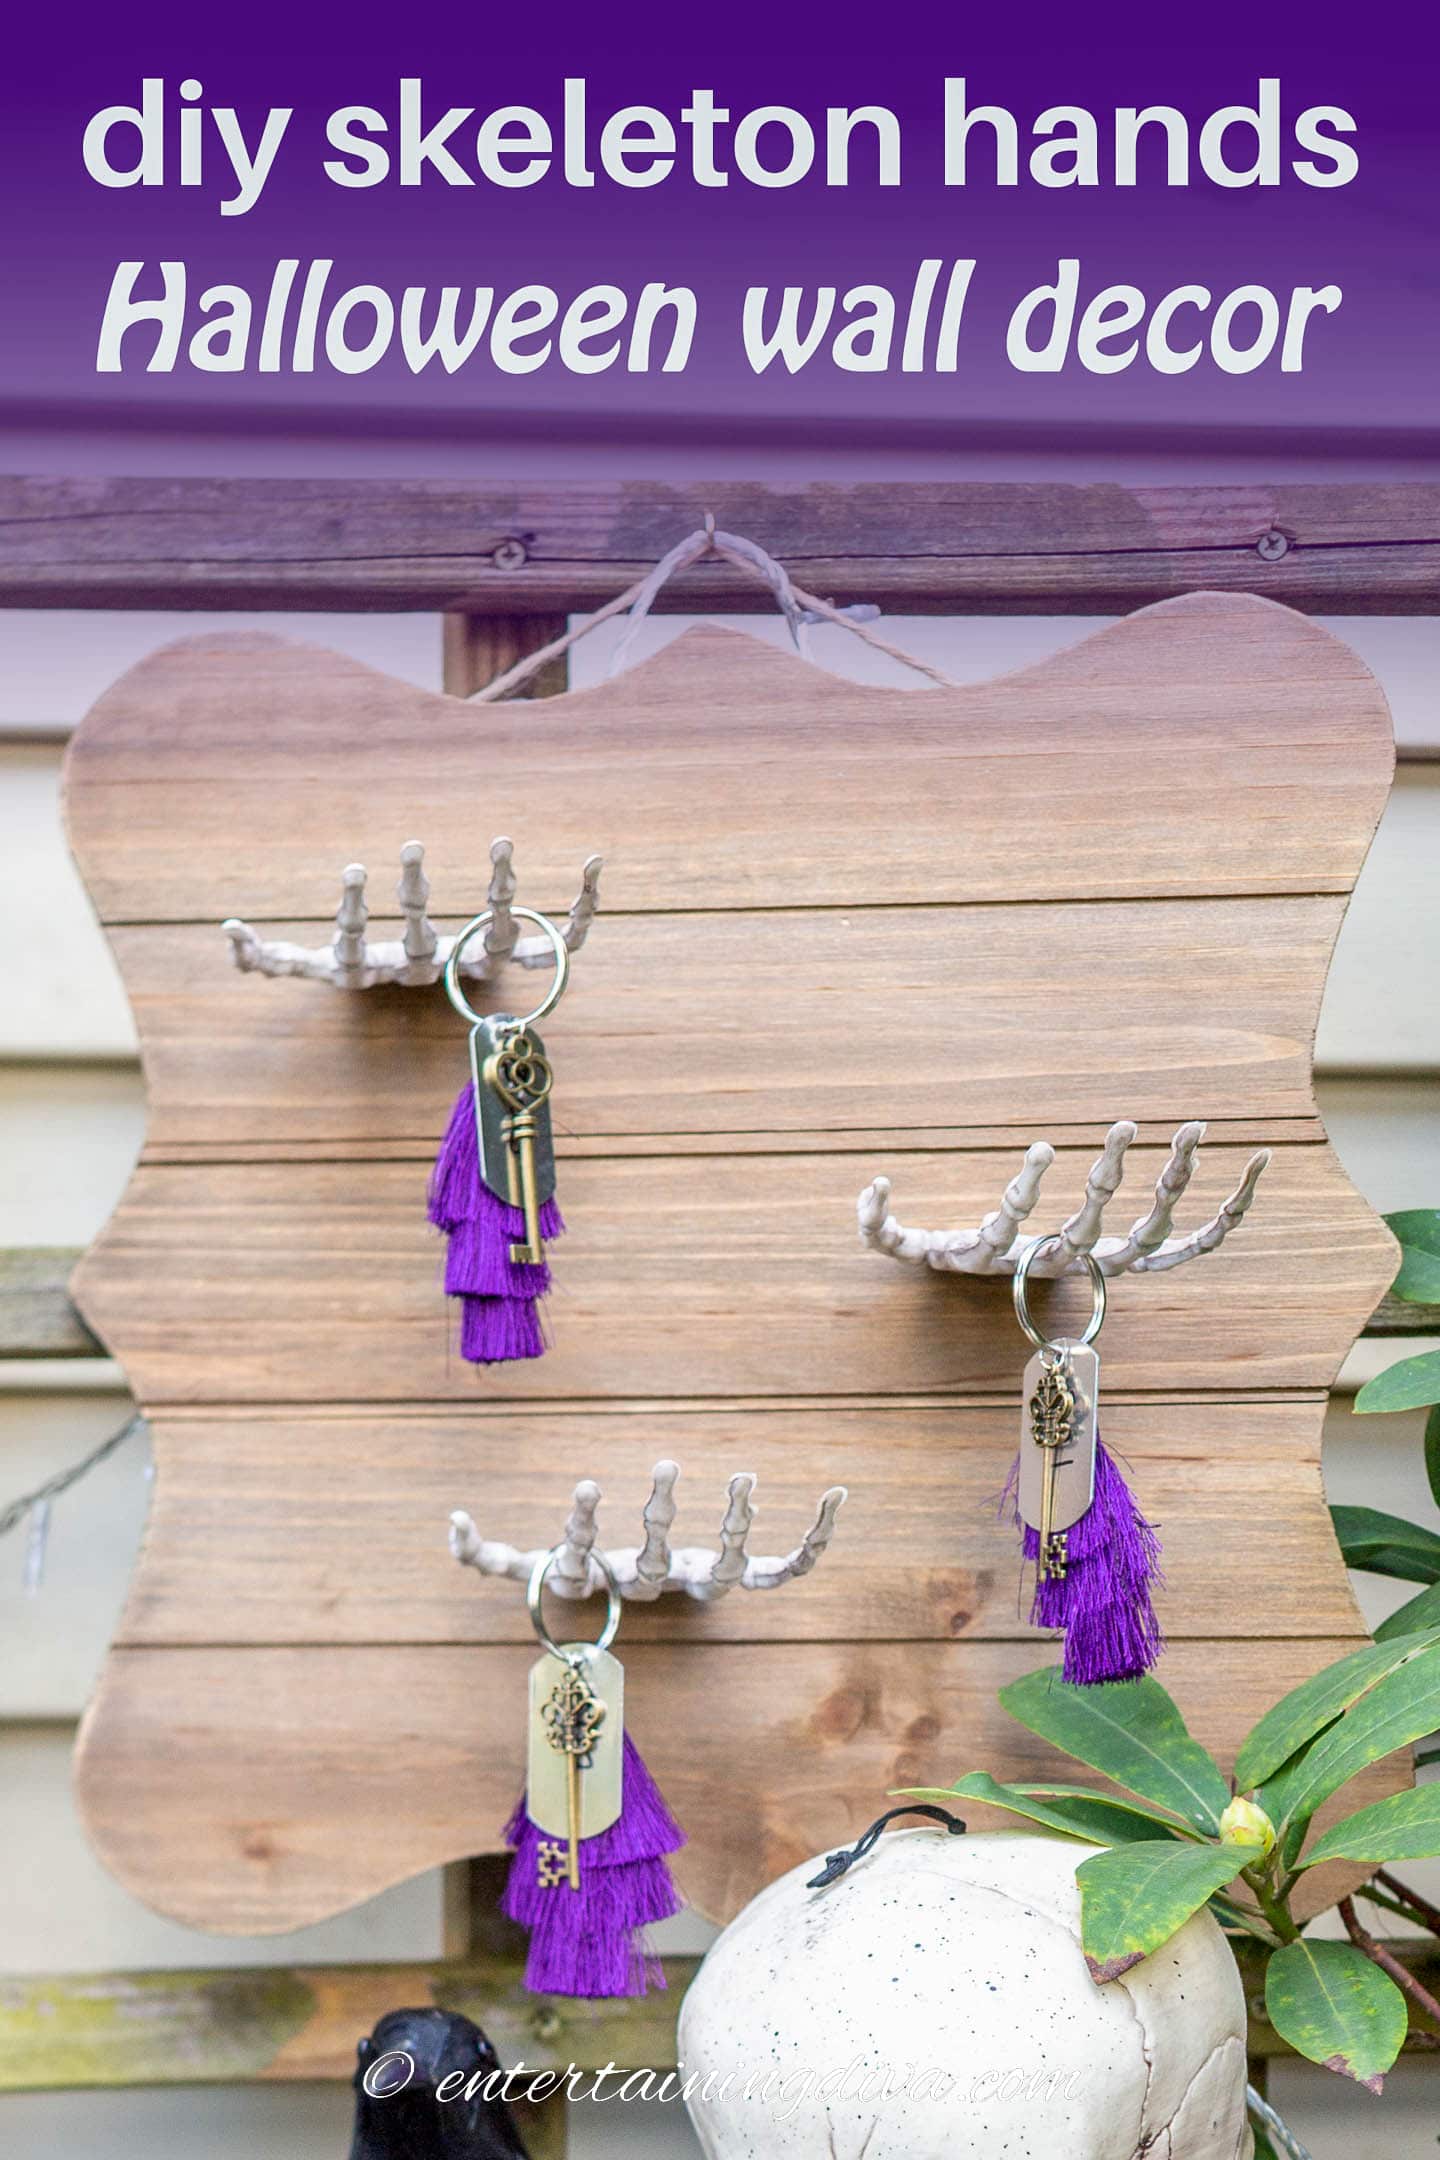
The finished wall art
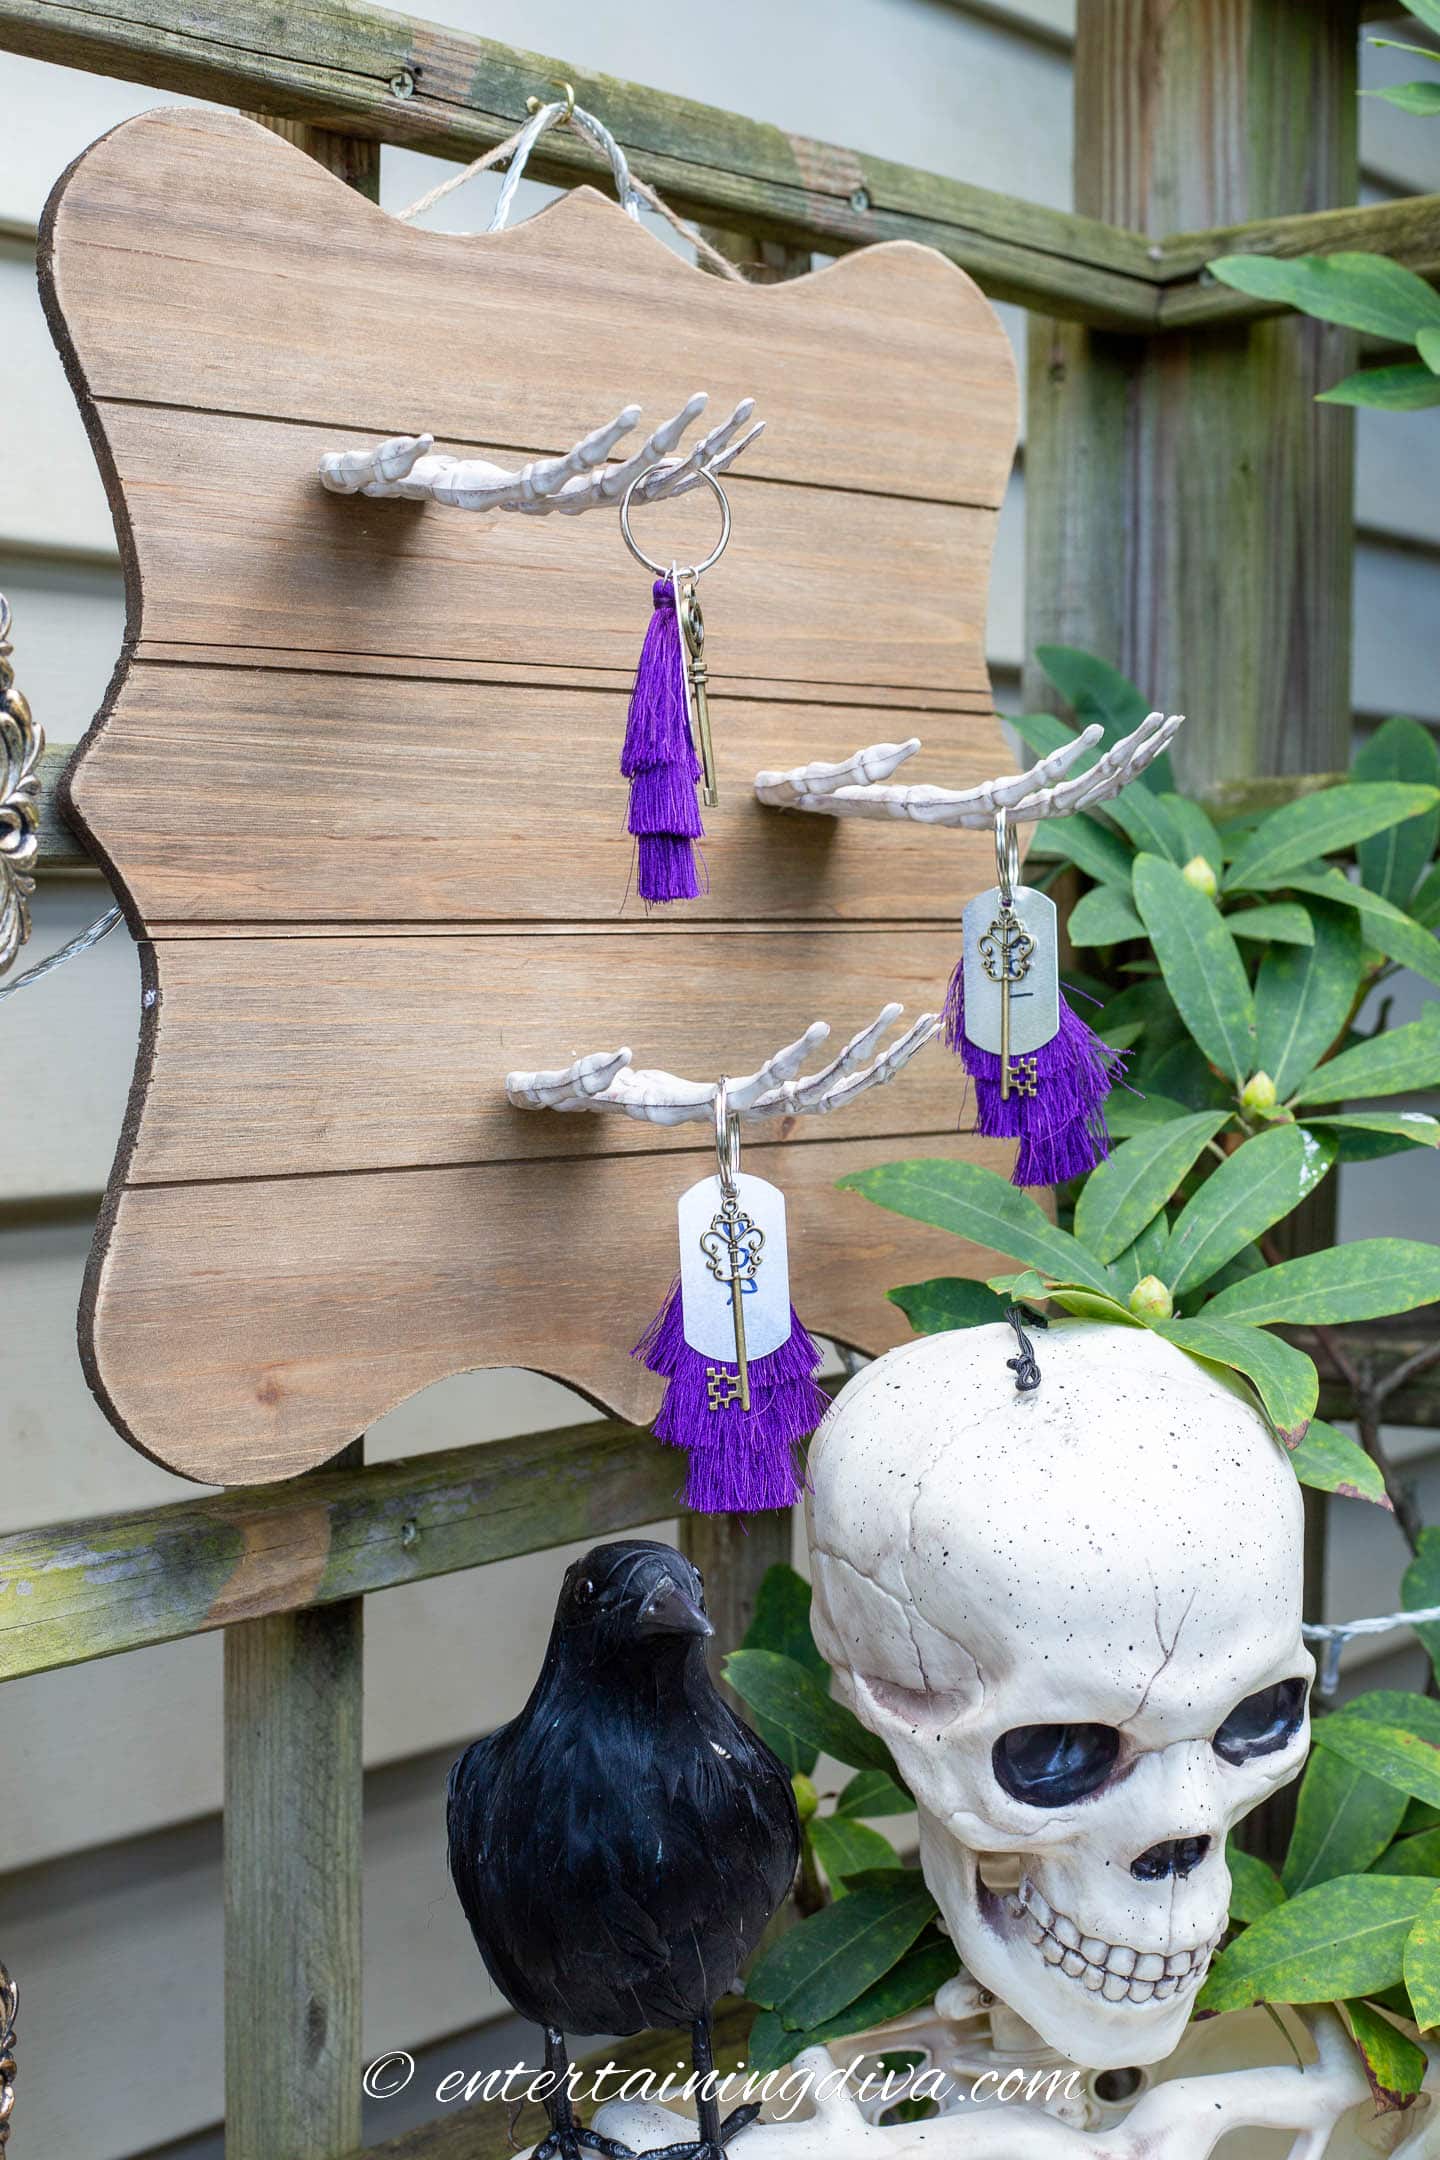
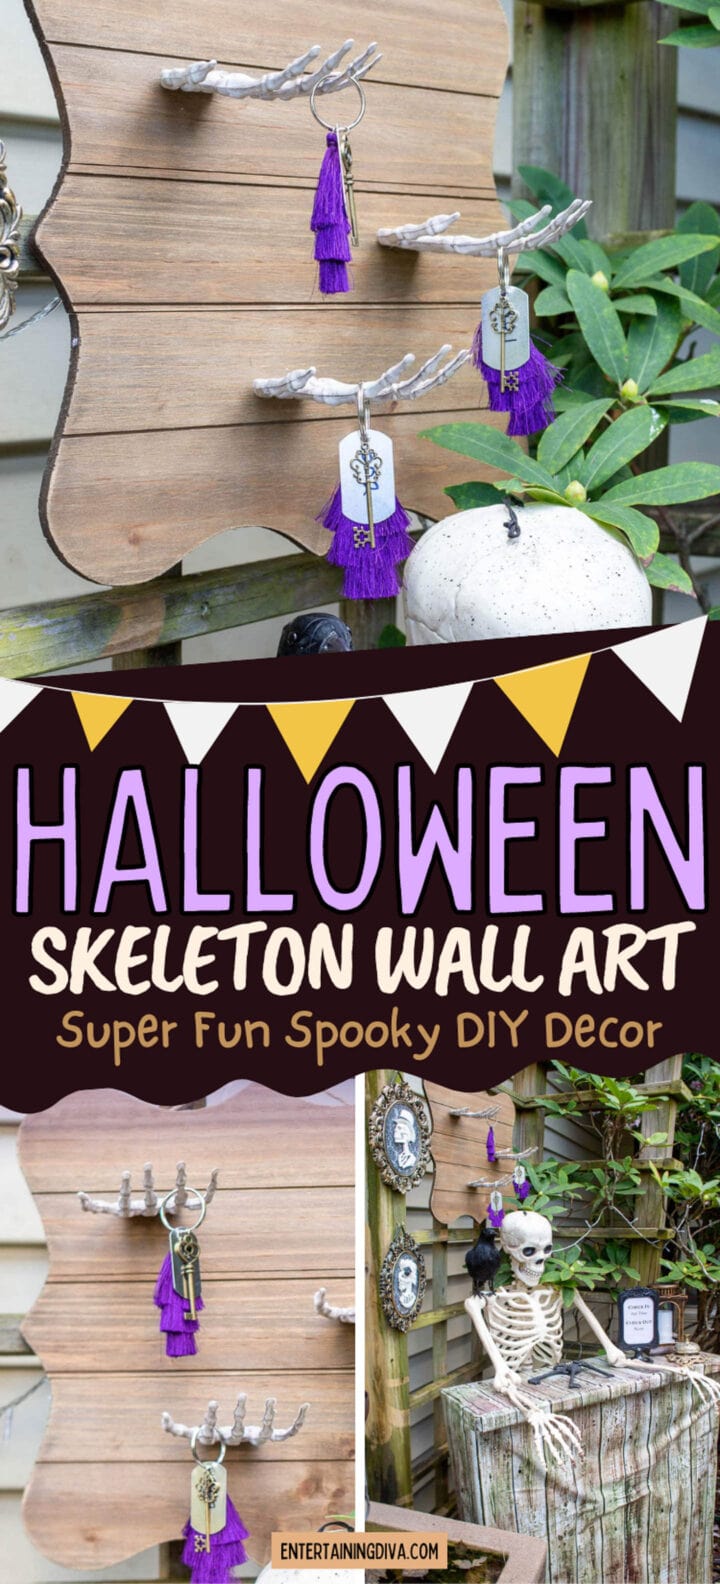
I first used this board to hold the room keys for my haunted hotel Halloween decor.
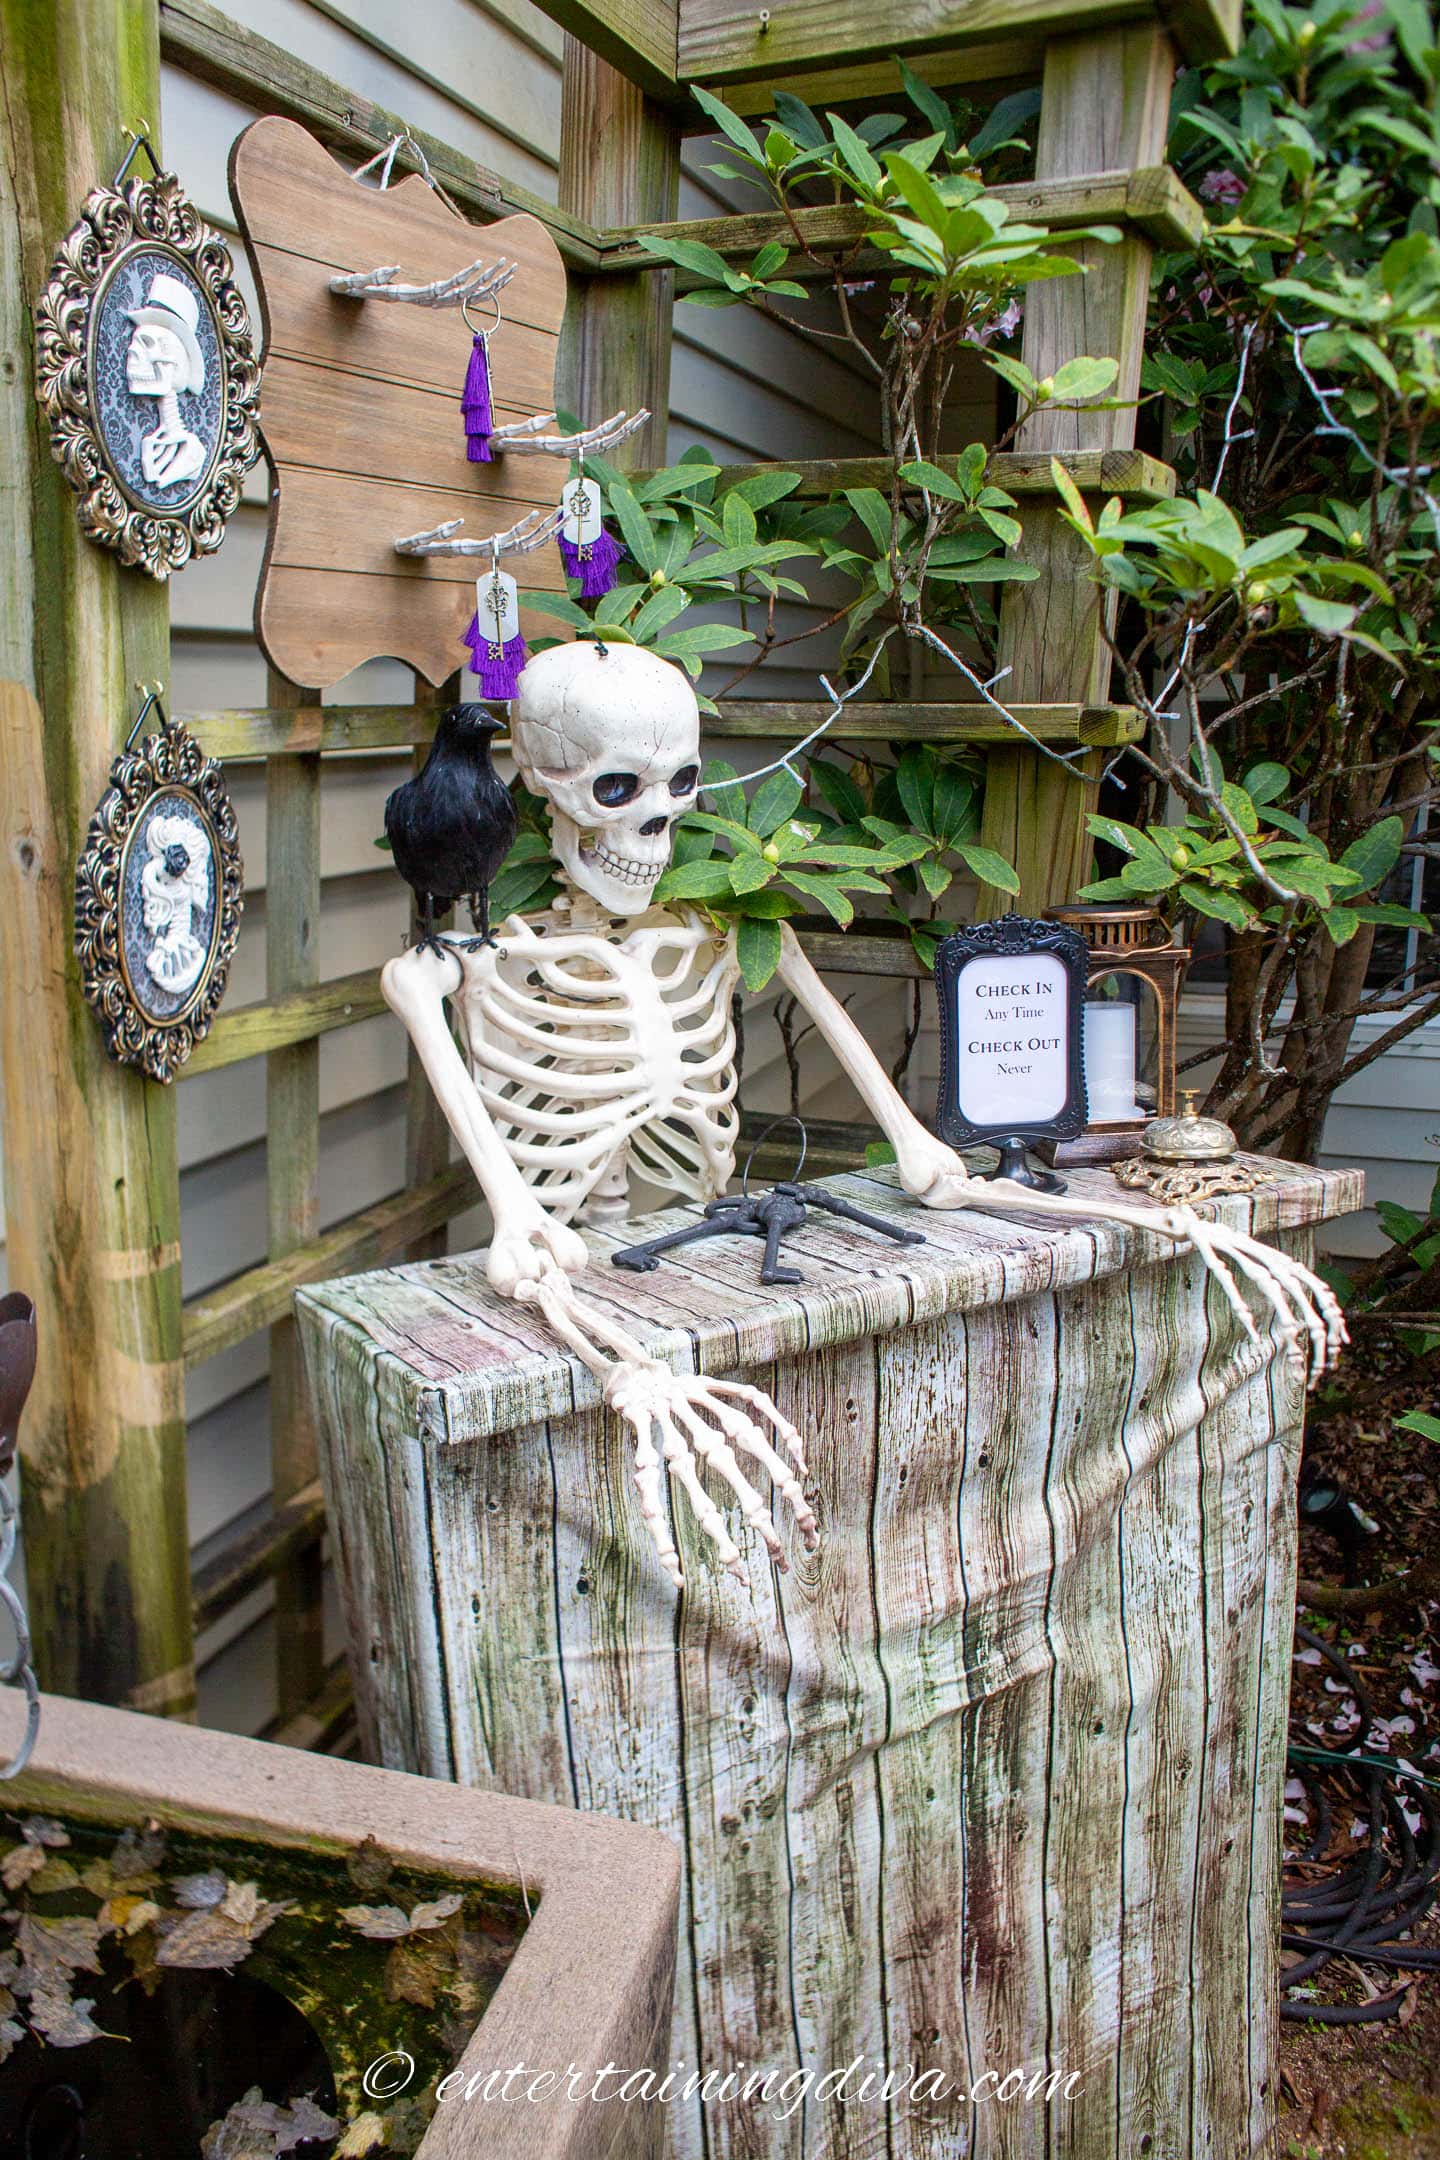
This was during the height of the pandemic so all of the decorations were set up outside (since I didn’t have a party).
But this check in desk manned by a skeleton would totally work indoors, too.
This year I’m planning to repurpose the board for my Beetlejuice party, so I’ll be adding more pictures soon.
Other DIY Halloween decorations you might like
Or browse all of our Halloween ideas.
Have comments or questions on how to make our DIY skeleton hands Halloween wall decor? Tell us in the section below.
This post was originally published on October 17, 2022 but was updated with new content on November 1, 2023.