
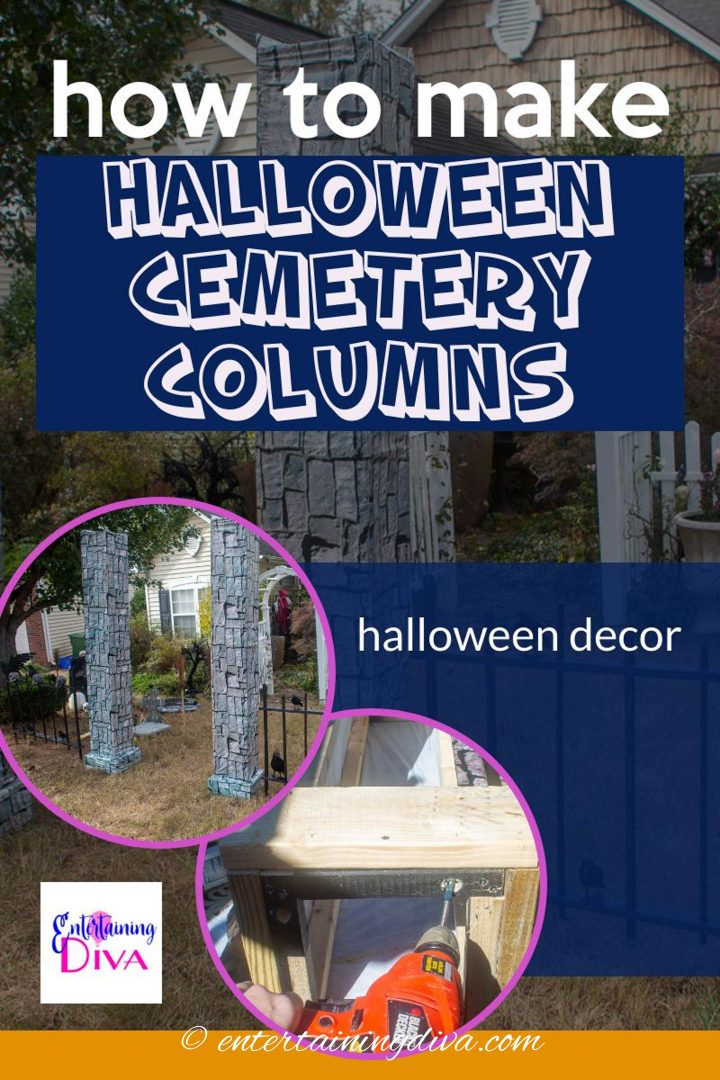
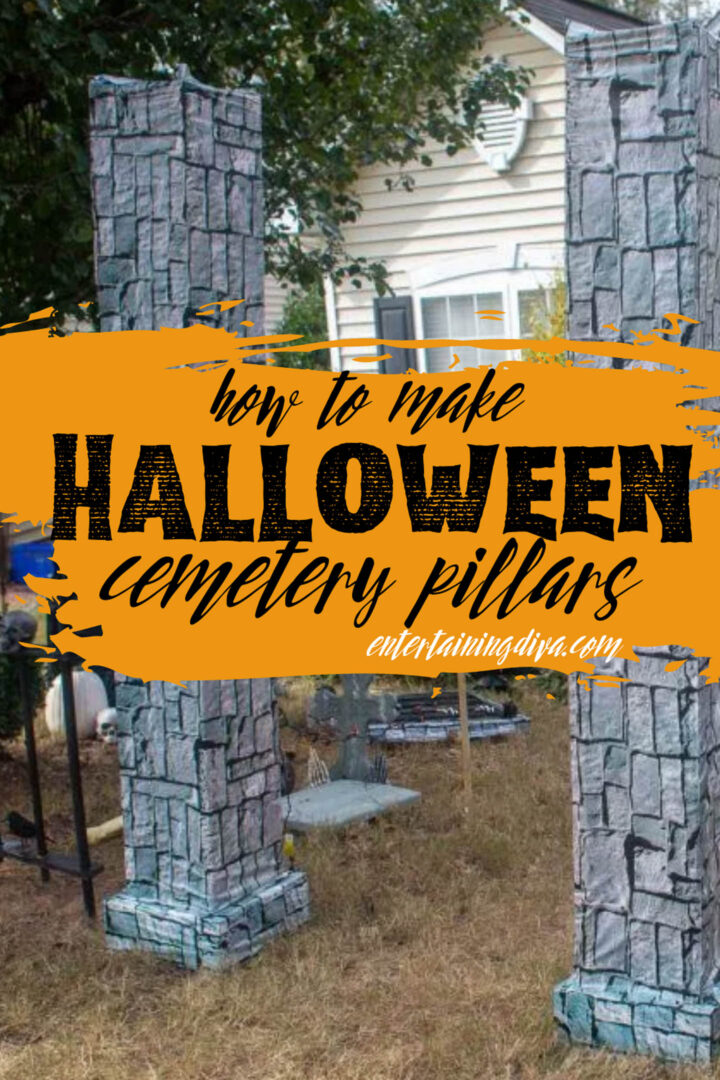
How To Make DIY Halloween Cemetery Pillars (The Easy Way)


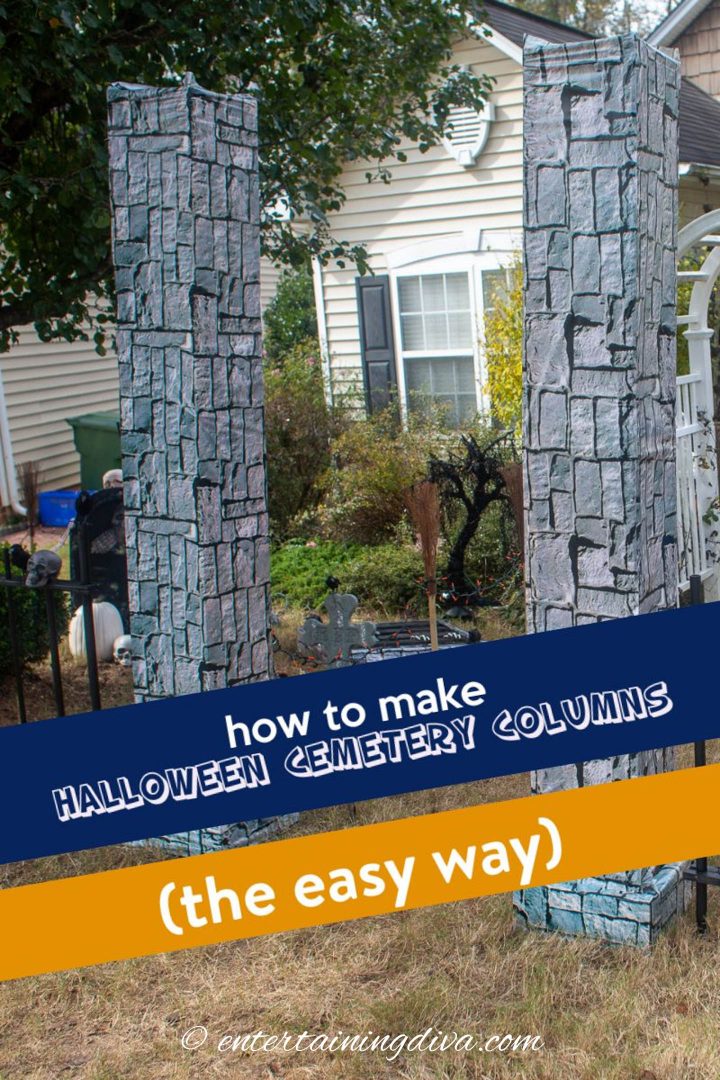


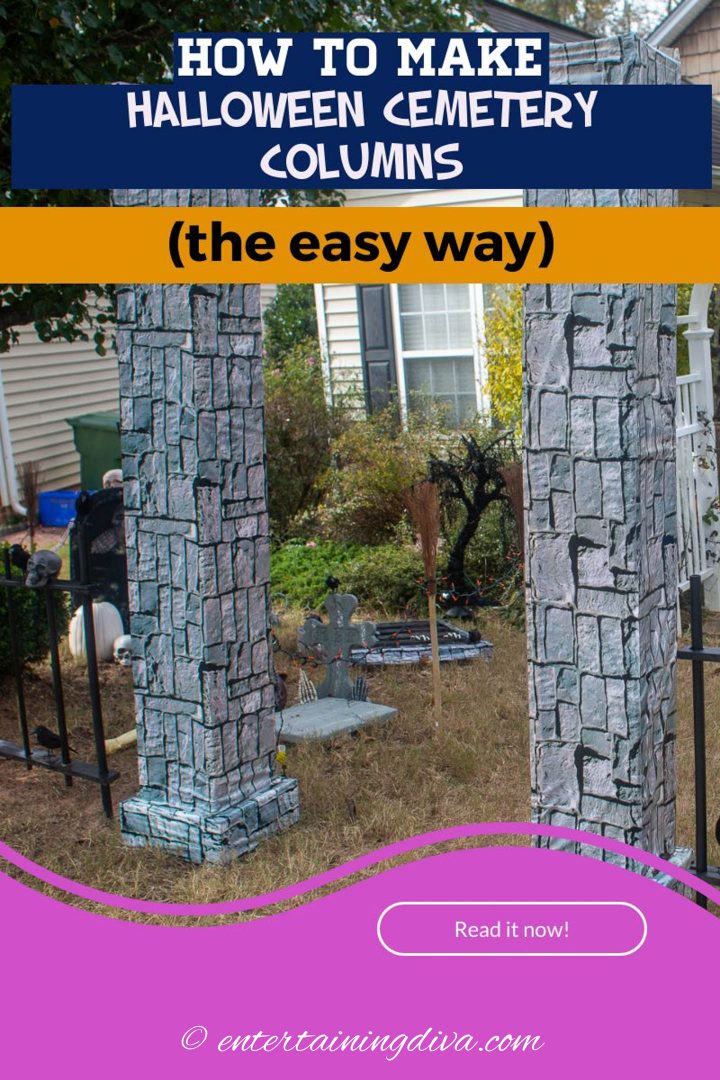
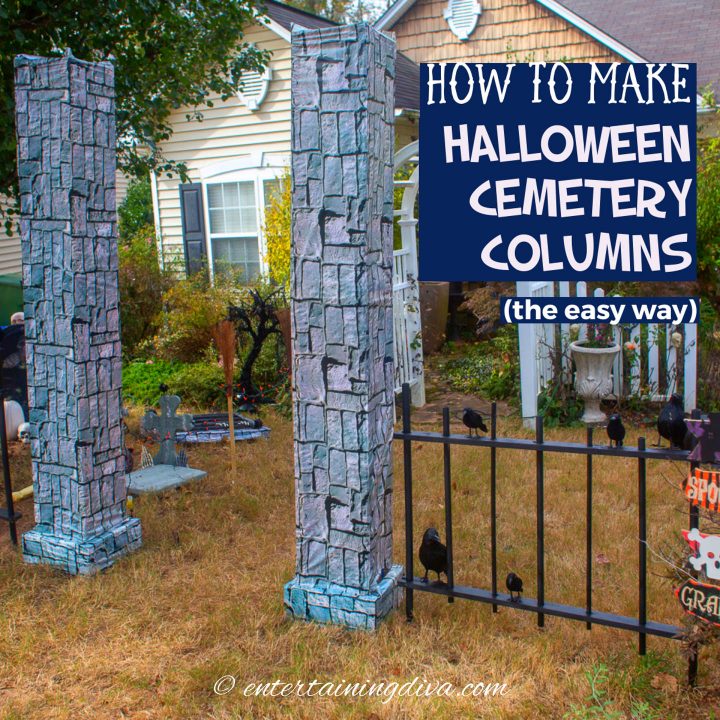


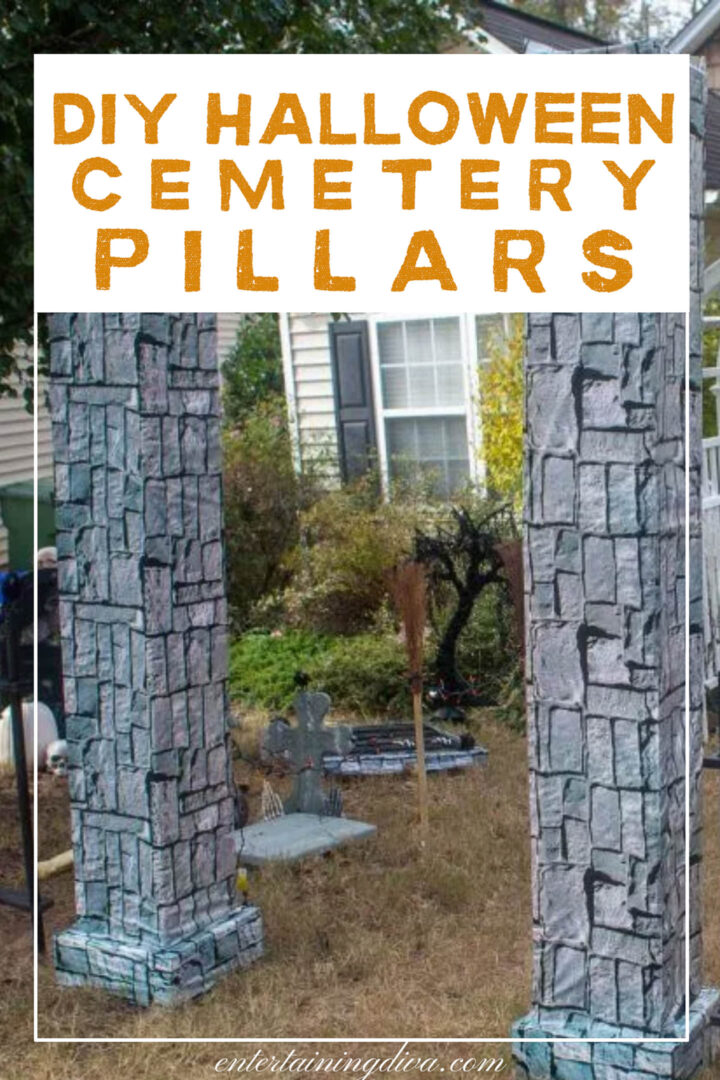
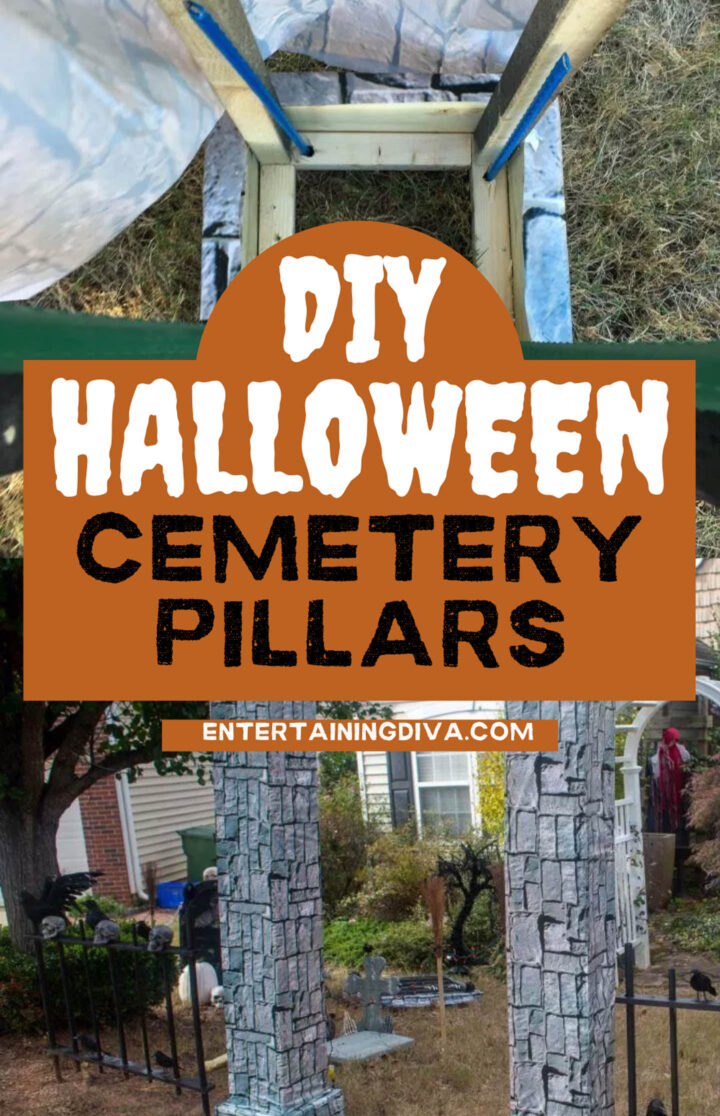

Making the right entrance to your Halloween graveyard sets the whole mood for your yard haunt. Which is why I came up with these DIY Halloween cemetery pillars to go along with my Halloween picket fence. And it’s not that hard to do!
As I’ve mentioned before, every year I create a Halloween cemetery in my front yard so I’m always looking for new ways to add to my Halloween decor.
Last year, I decided to do this by creating a Halloween picket fence for my graveyard.
But what’s a fence without some brick cemetery columns at the entrance? (Okay…faux brick cemetery columns…)
The problem is that most DIY Halloween cemetery pillars are a lot of work!
They require making a wood frame.
Then getting large sheets of Styrofoam that you cut to size, carve to look like bricks and paint with different shades of gray and black to make them look old. I just don’t have that kind of time!
There had to be an easier way.
Which is when I thought of one of my favorite indoor Halloween decorating items. Plastic scene setters!
They don’t have quite the same 3-D effect that cut Styrofoam does, but they’re a heck of a lot faster to put up.
And I just happened to have a scene setter that has a gray brick pattern on it.
So I decided to give it a try.
DIY Halloween Cemetery Pillar Supplies
This post may contain affiliate links. We make a small commission if you buy the products from these links (at no extra cost to you). As an Amazon Associate, I earn from qualifying purchases. But we only recommend products we would use ourselves. For more information, click here to see our disclosures
Materials
For each pillar, you’ll need:
- 6 – 2″ x 2″ boards for the frame
- 2 1/2″ wood screws
- brick scene setter** – one package (10′ long by 4′ wide) should be enough
- 3/16″ staples
- 5 foot length of 2″ x 6″ board
- picture wire
Tools
- Miter saw
- measuring tape
- pencil
- cordless screwdriver
- staple gun
- 1/2″ drill bit
- thin metal garden stakes
How To Make DIY Halloween Cemetery Pillars
Cut The Wood
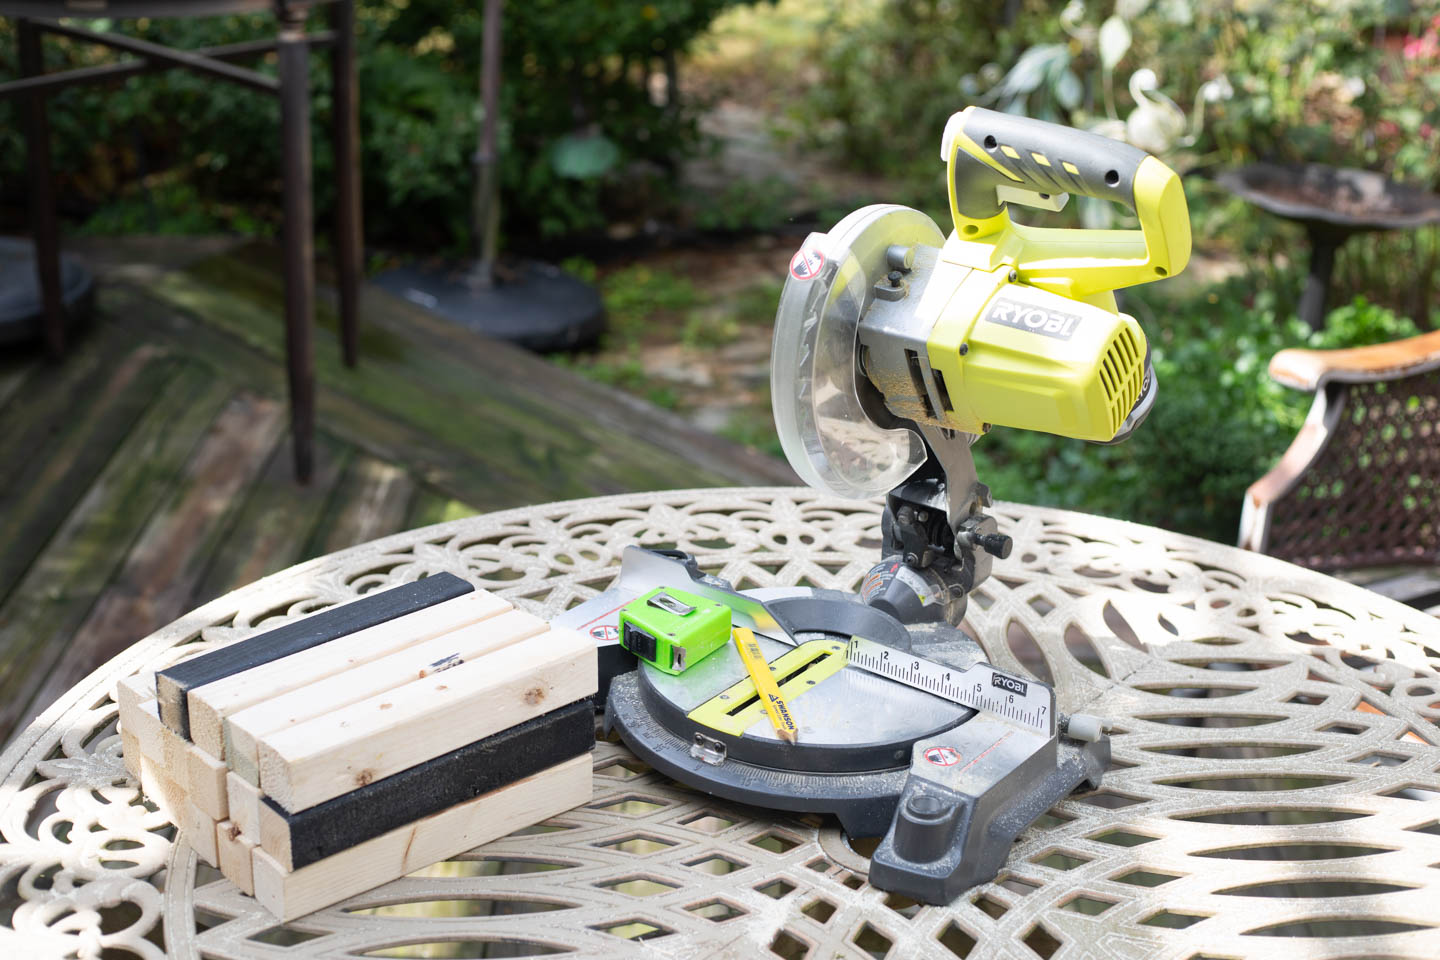
You’ll need to cut:
- 16 – 10″ pieces of 2″ x 2″ boards – These will make the top and bottom of the pillar sections. I chose this size so that the brick scene setter will wrap all the way around without needing extra joins.
- 8 – 4′ long 2″ x 2″ boards – These will be the vertical boards of the pillar sections. You can make these taller or shorter depending on how high you want your pillars to be. I used 4 feet because it’s the least amount of cuts (you just have to chop the 8-foot 2″ x 2″ in half).
- 2 – 14½” pieces of 2″ x 6″ – These will create a base at the bottom of the pillar.
- 2 – 11½” pieces of 2″ x 6″
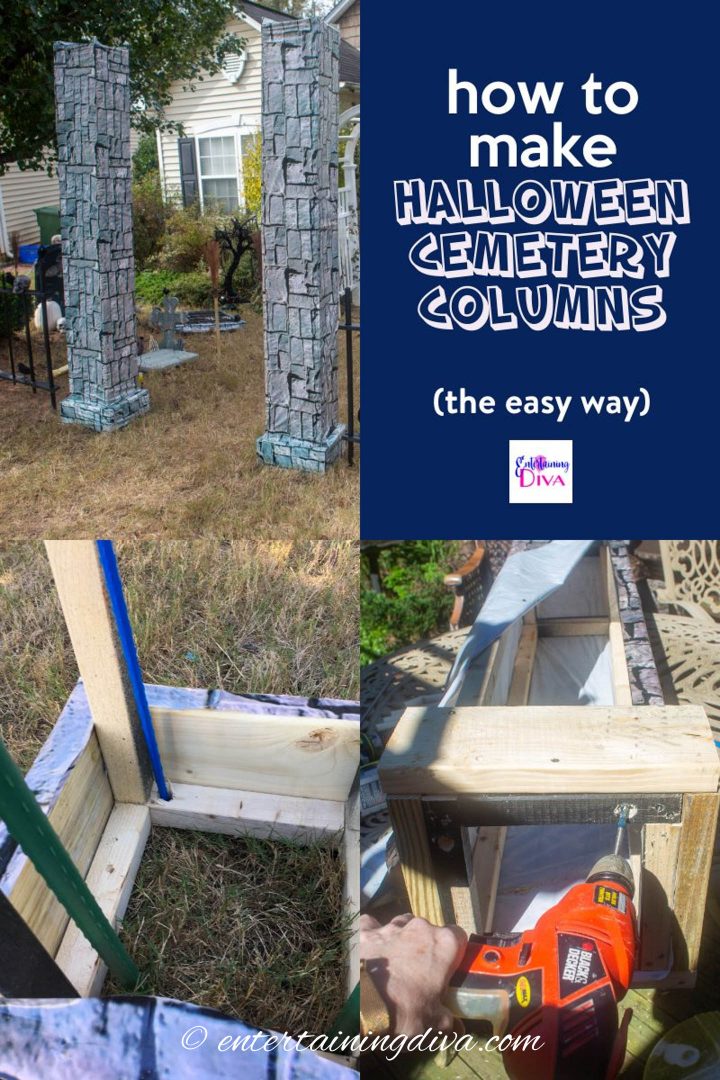
Make The Top and Bottom Of The Frame
The first step is to make four squares out of the short 2″ x 2″ boards. These will be the top and bottom of the frames.
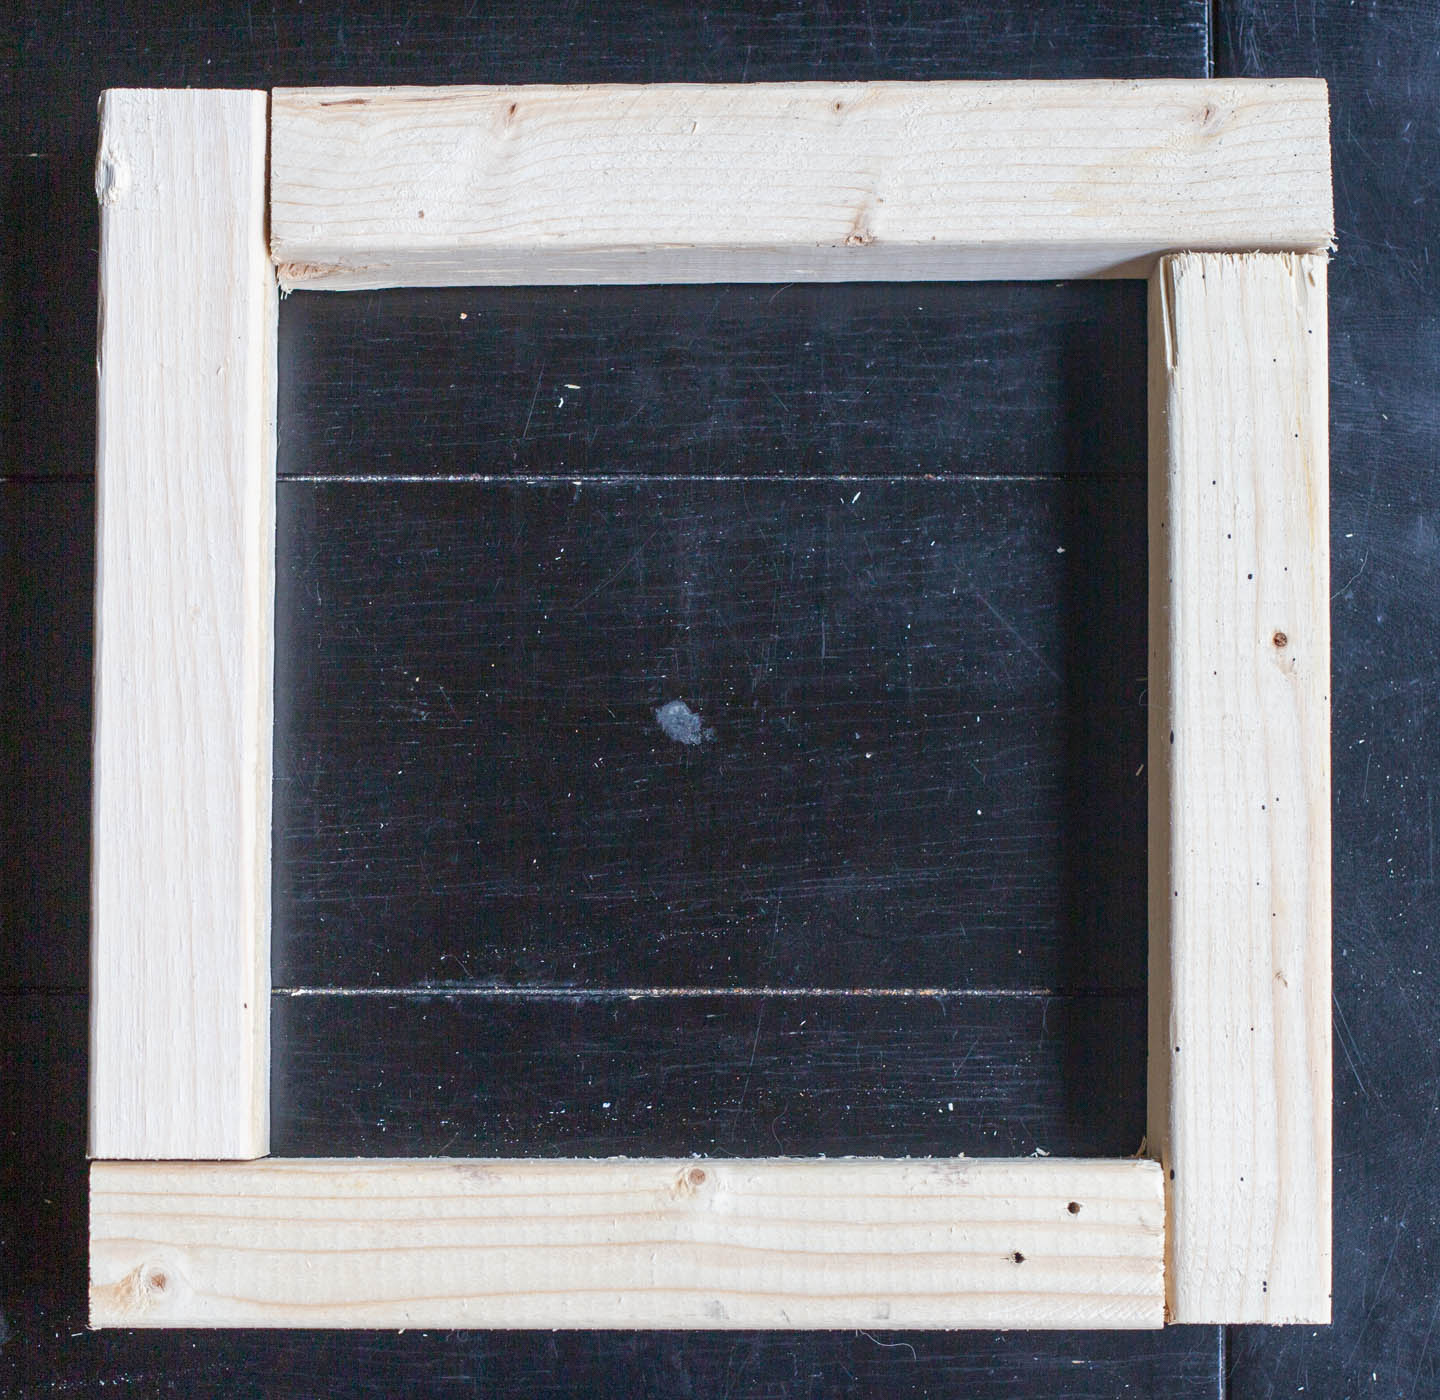
To do this, lay the pieces of wood out in a square.
Continue all the way around until you’ve attached all of the boards together.
Then repeat the same process until you have 4 squares.
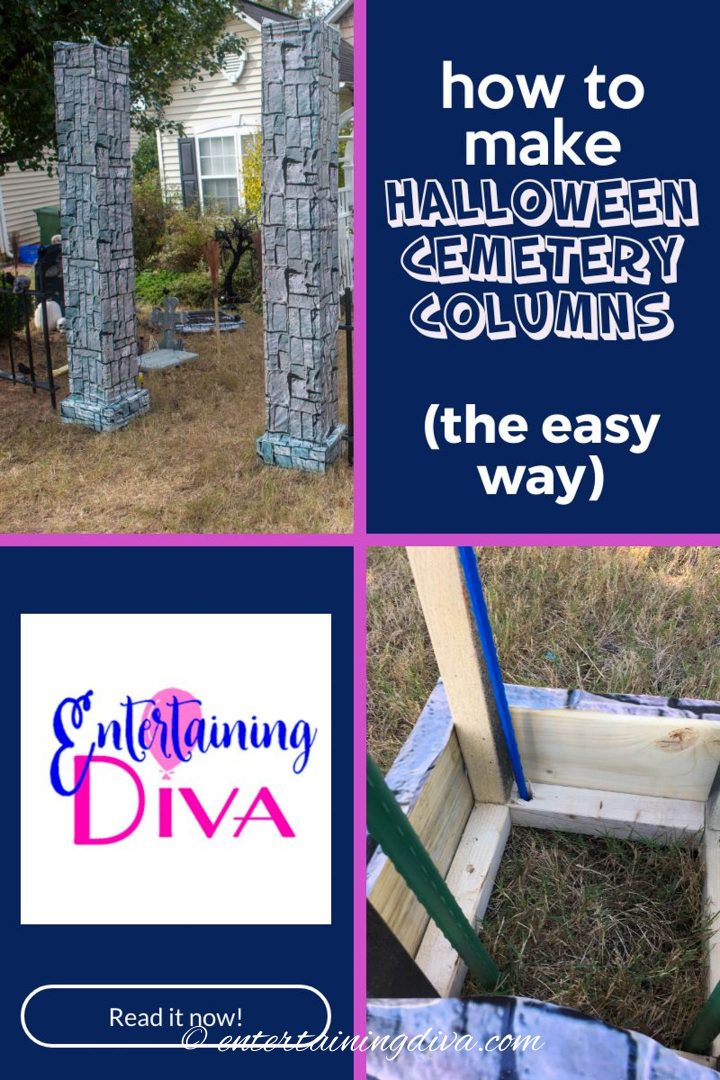
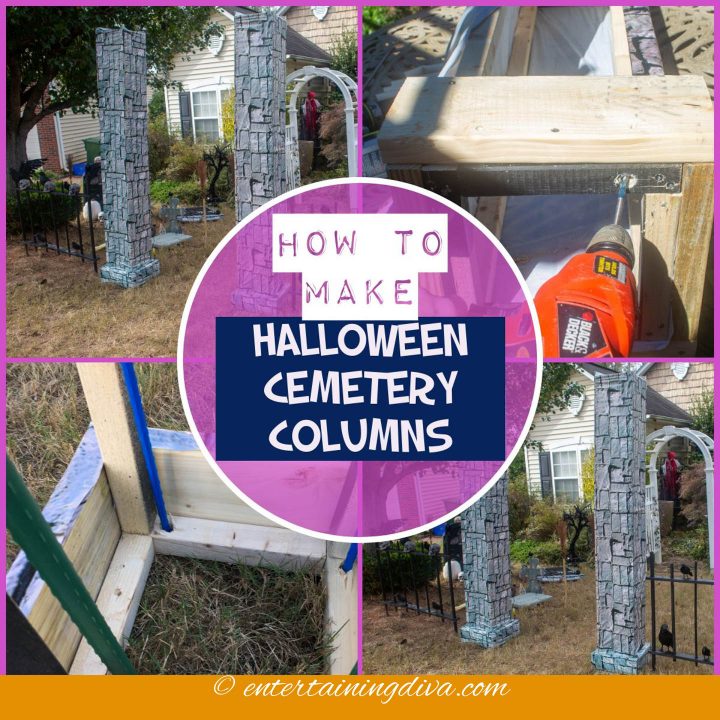
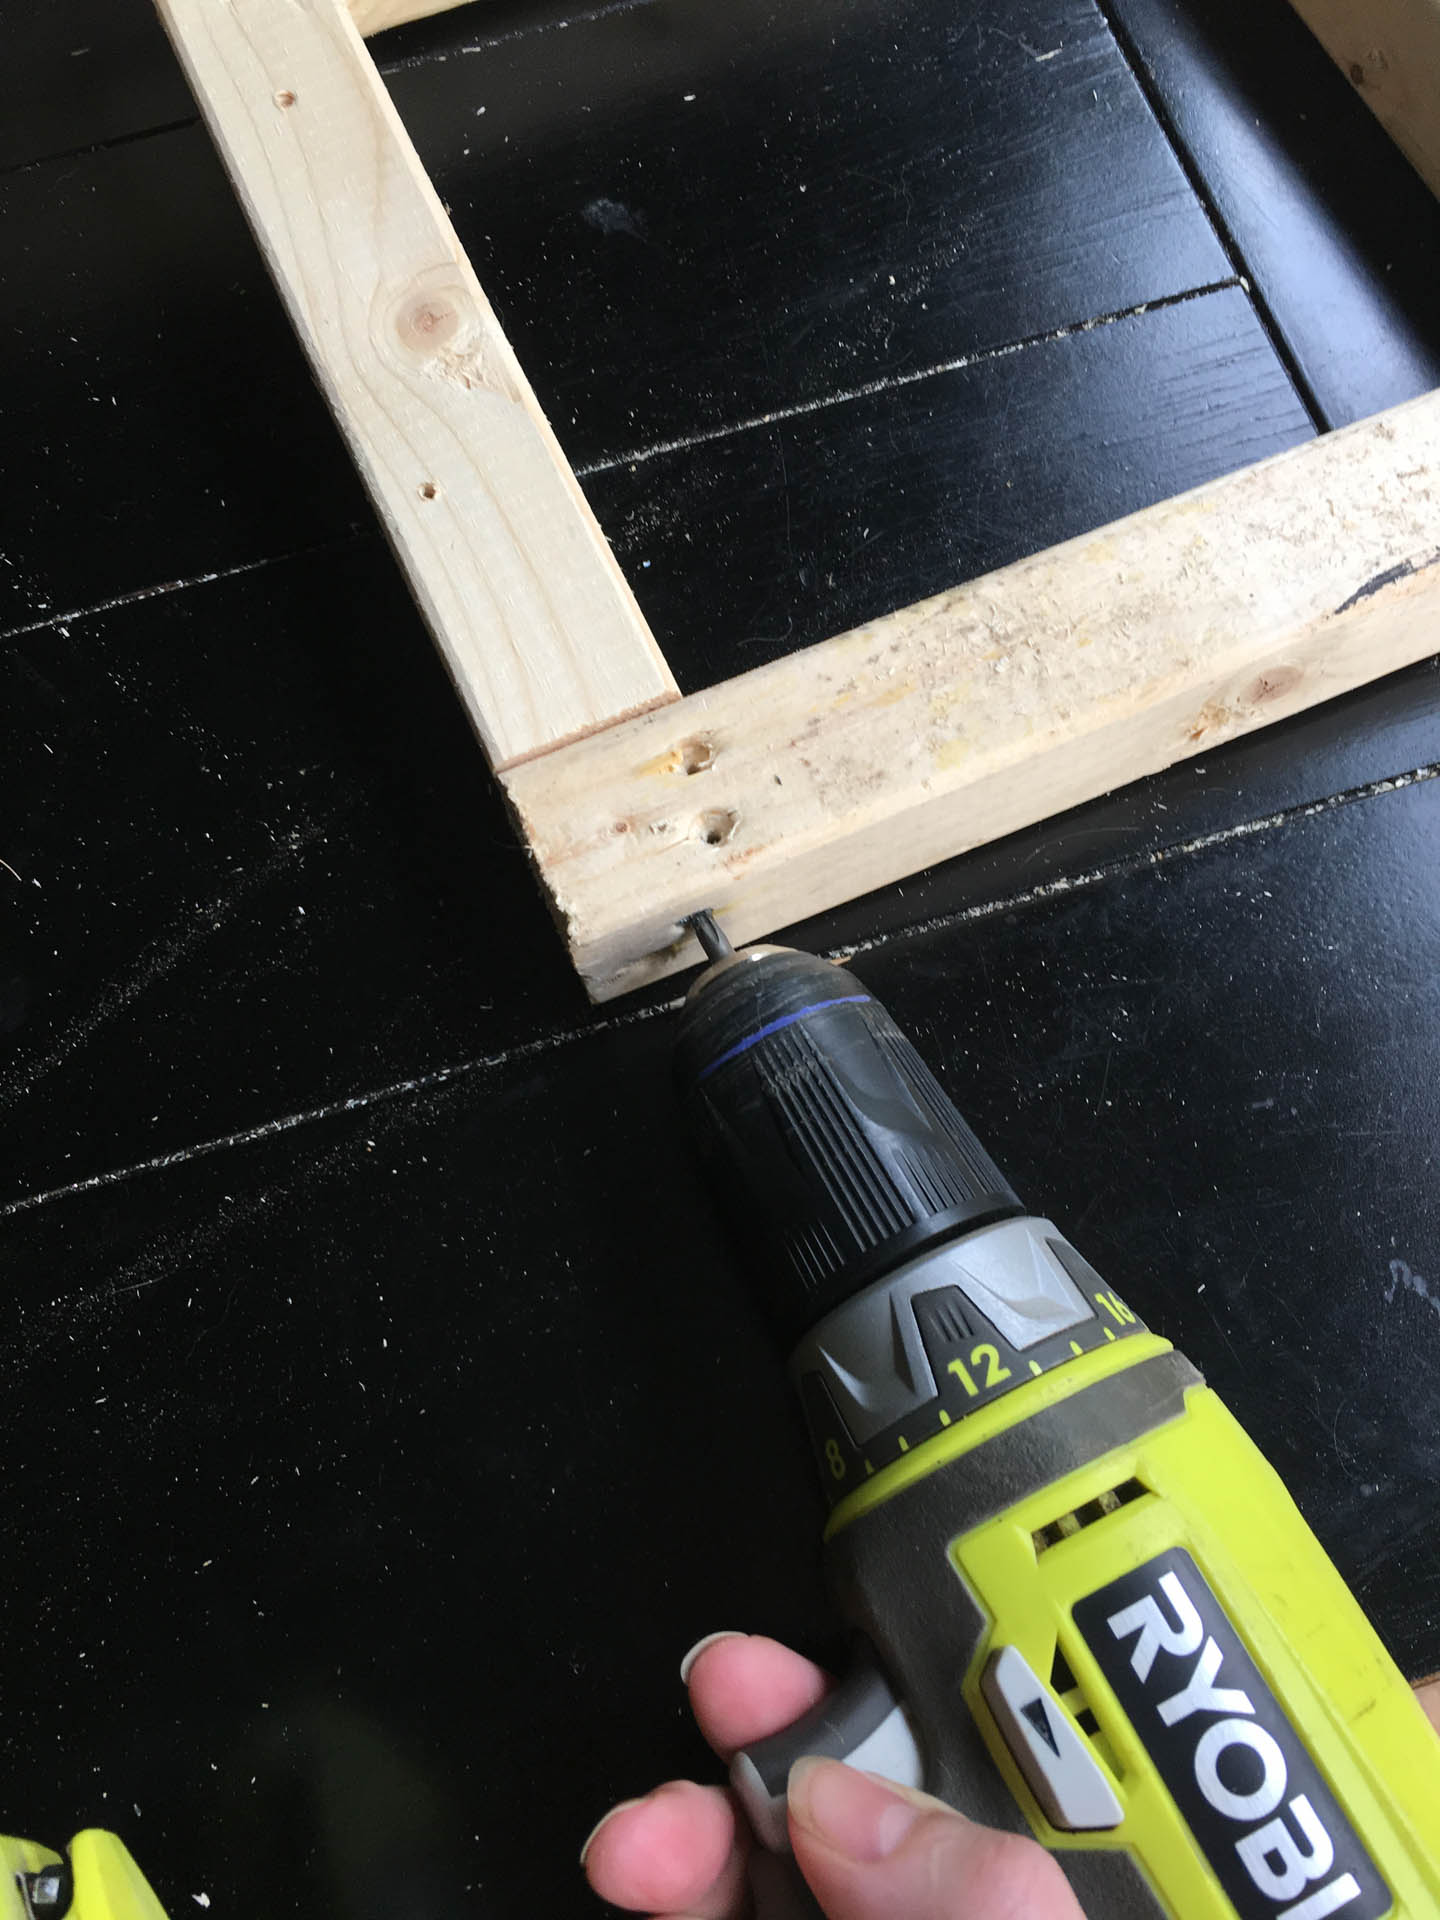
Put The Frame Together
Next we’re going to attach the long boards to the squares to create a tall rectangular frame.
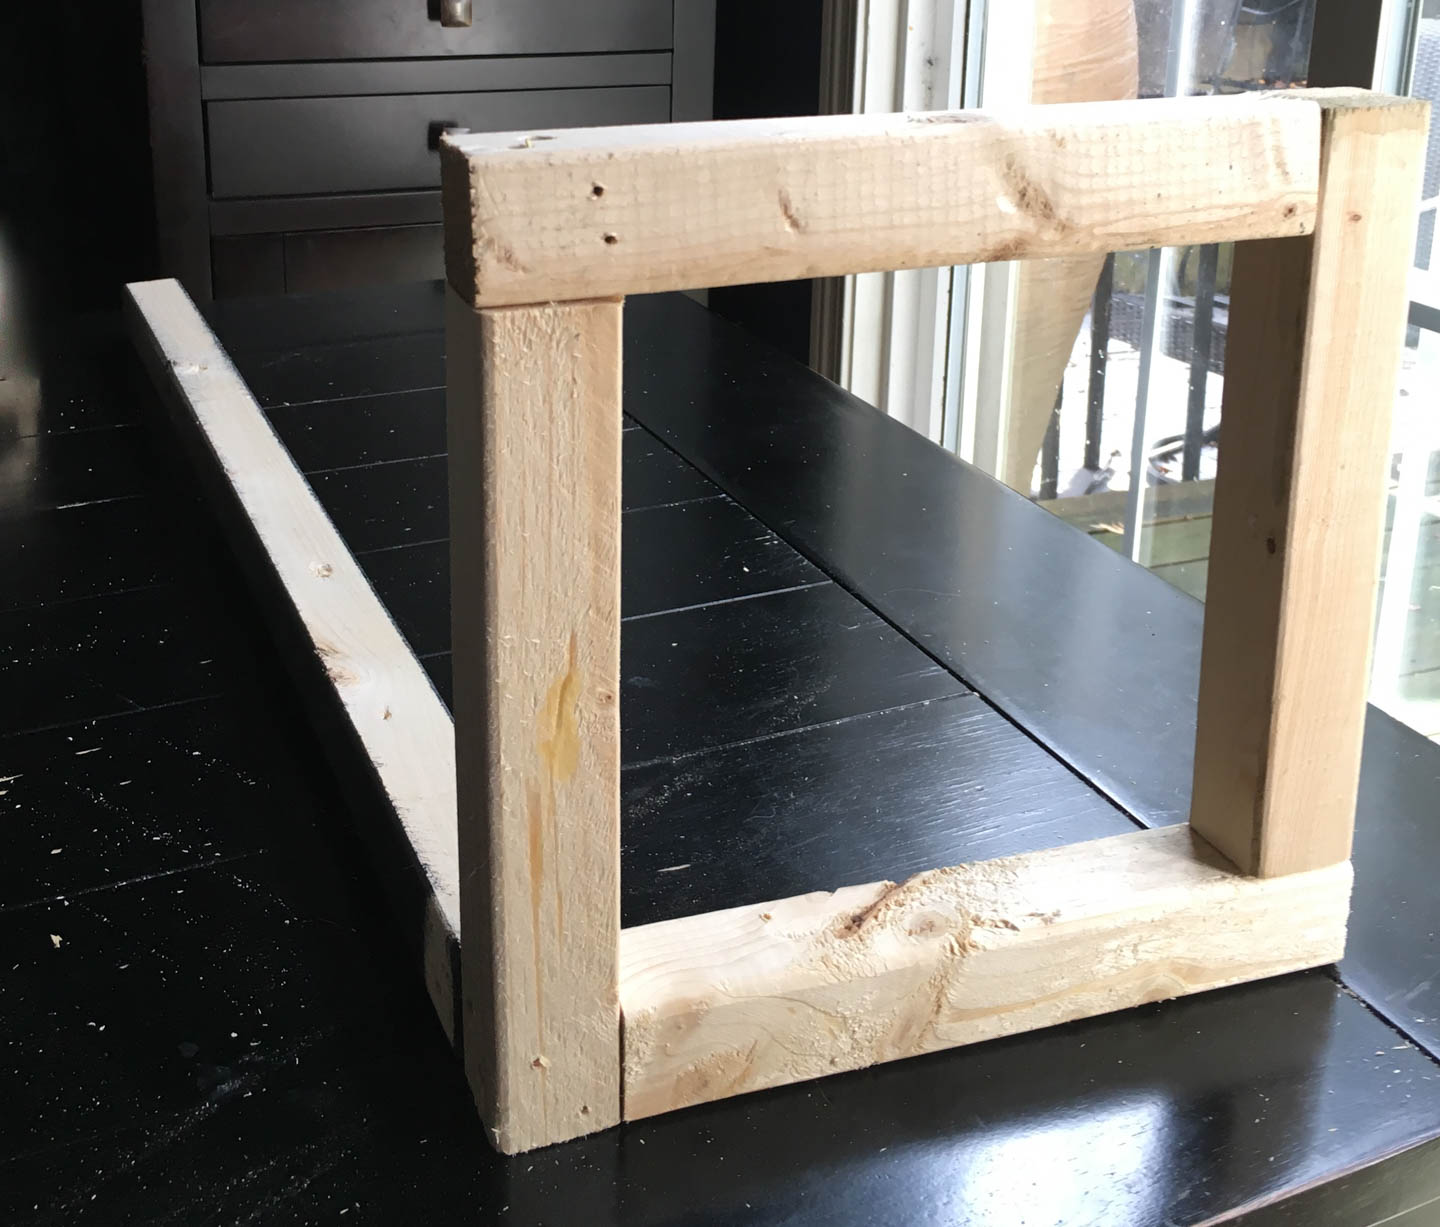
For this, turn one of the squares up on its side.

Attach another long board to the other bottom corner of the square.
Then flip the square over so you can attach long boards to the remaining two corners.
I used extra scrap pieces of wood to hold the original long boards up so they stay square and the screws don’t pull out of the wood.
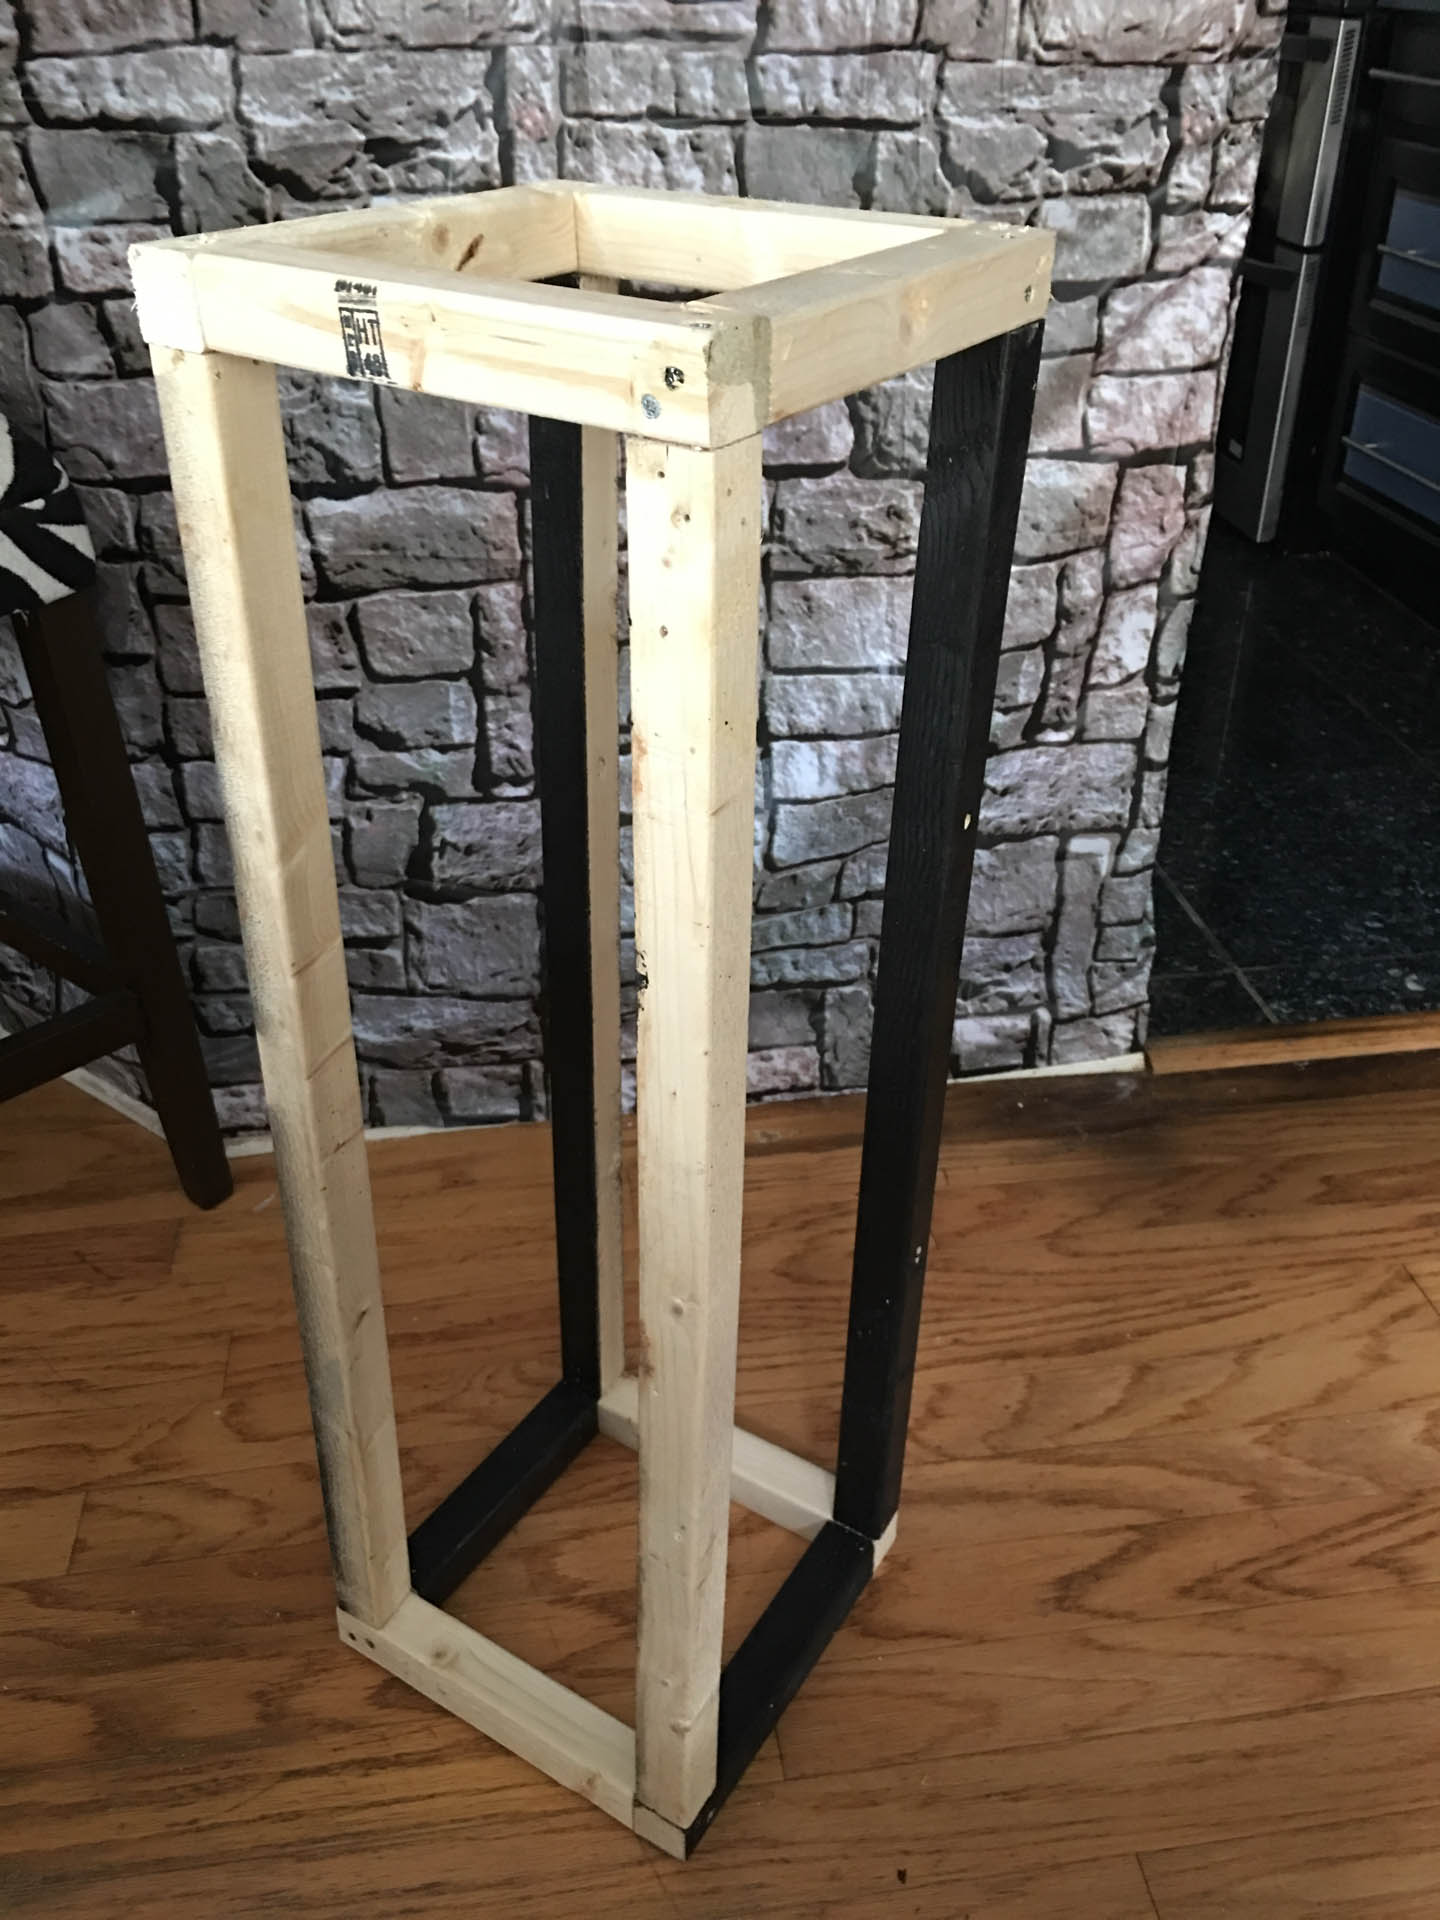
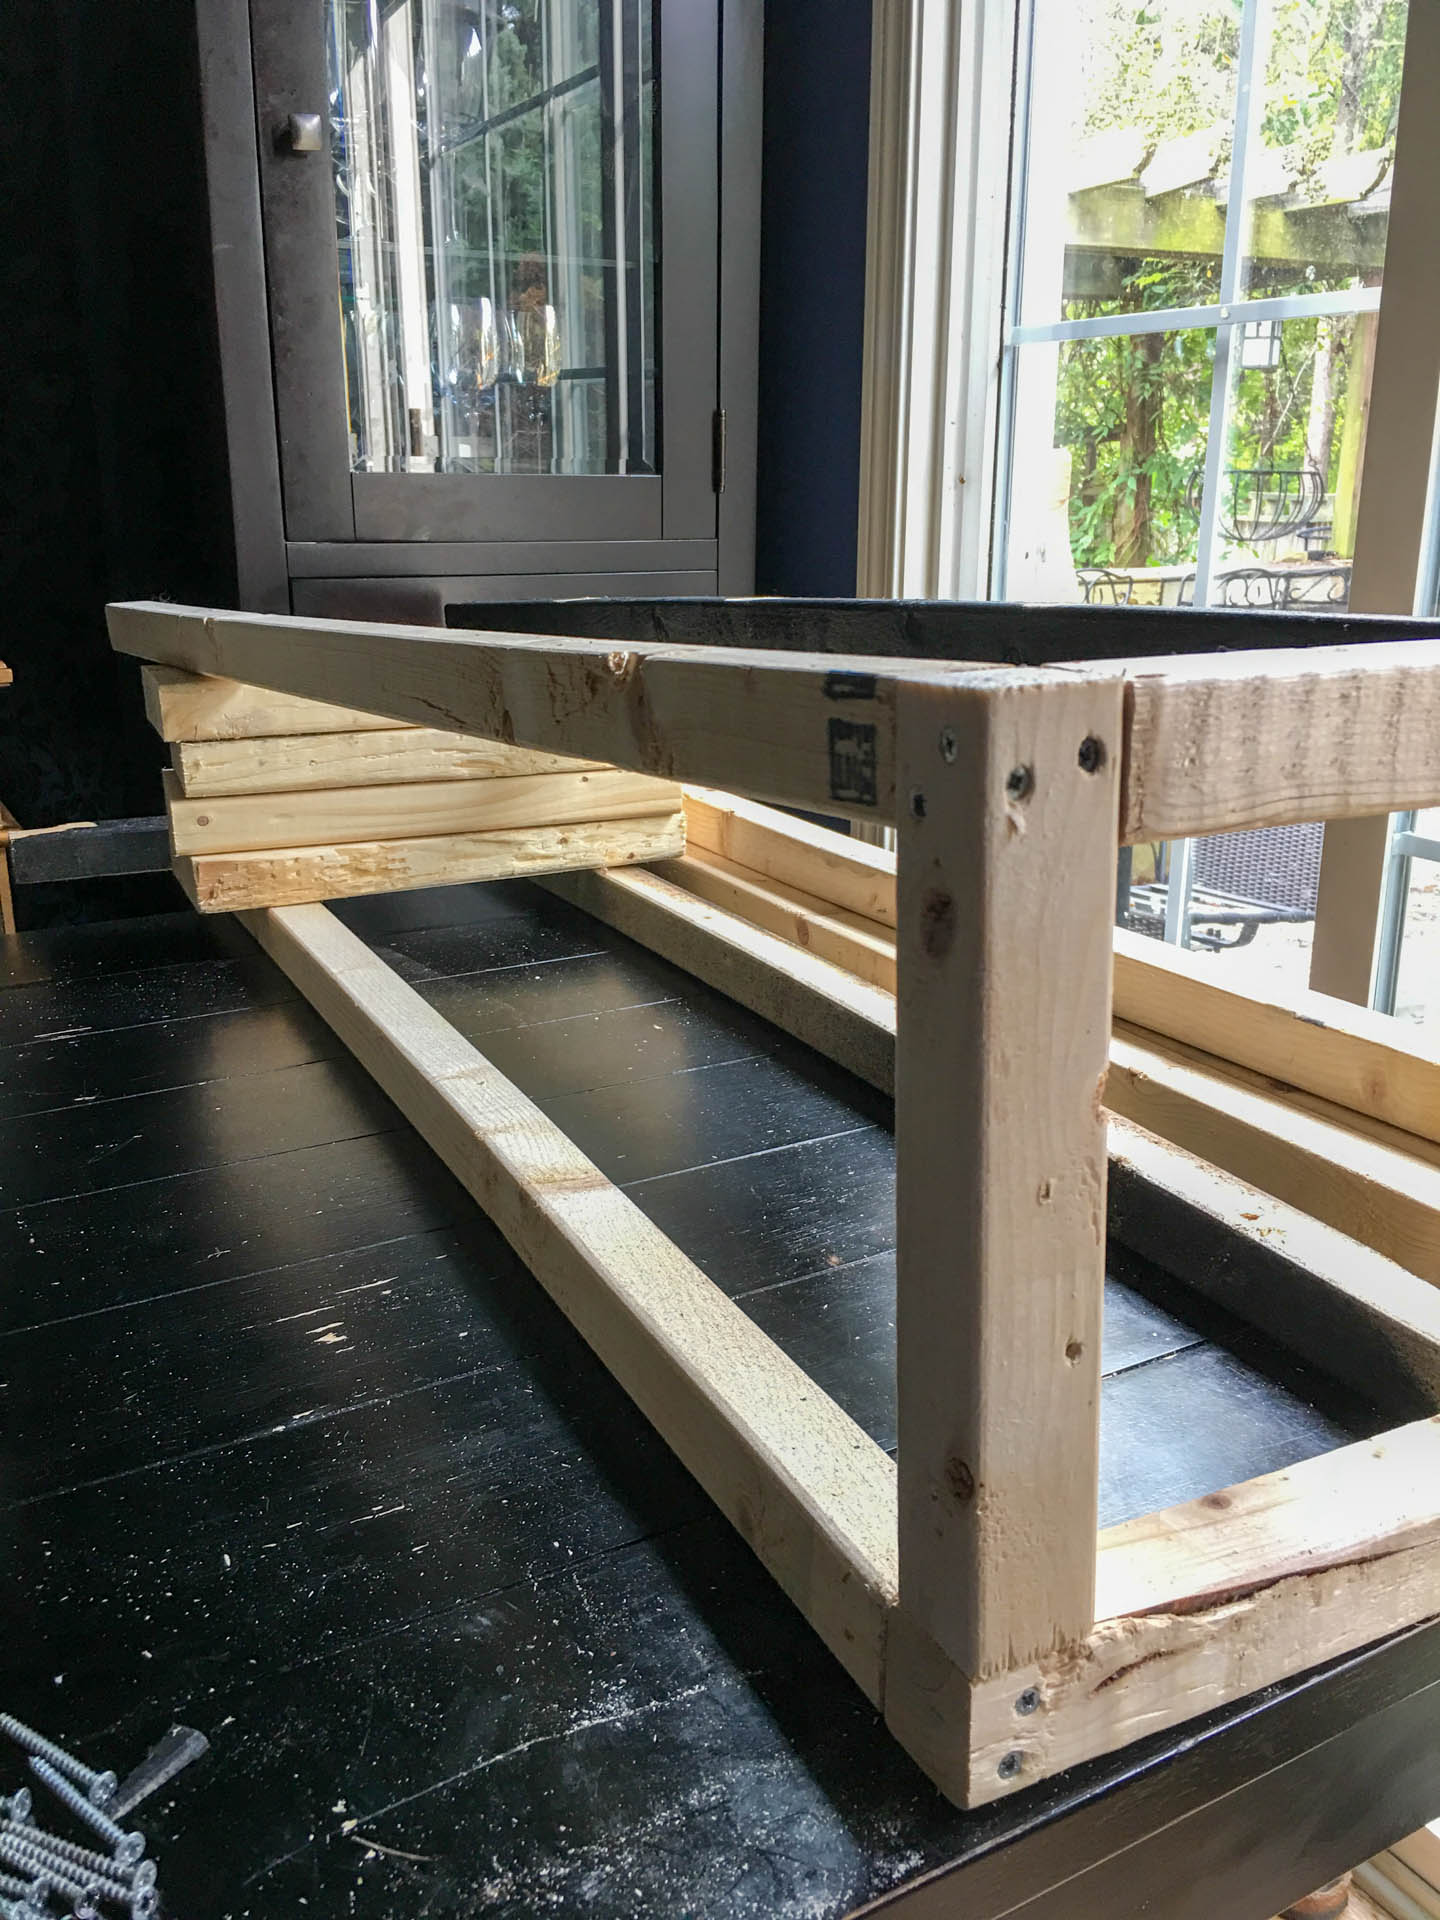
Finally, once you’ve got the four posts installed, attach another one of the squares to the other end of the long boards.
You should end up with a rectangular frame that’s about 4 feet 3 inches tall.
Repeat the exact same process again to create a second frame that’s the same size.
Join The Two Frames
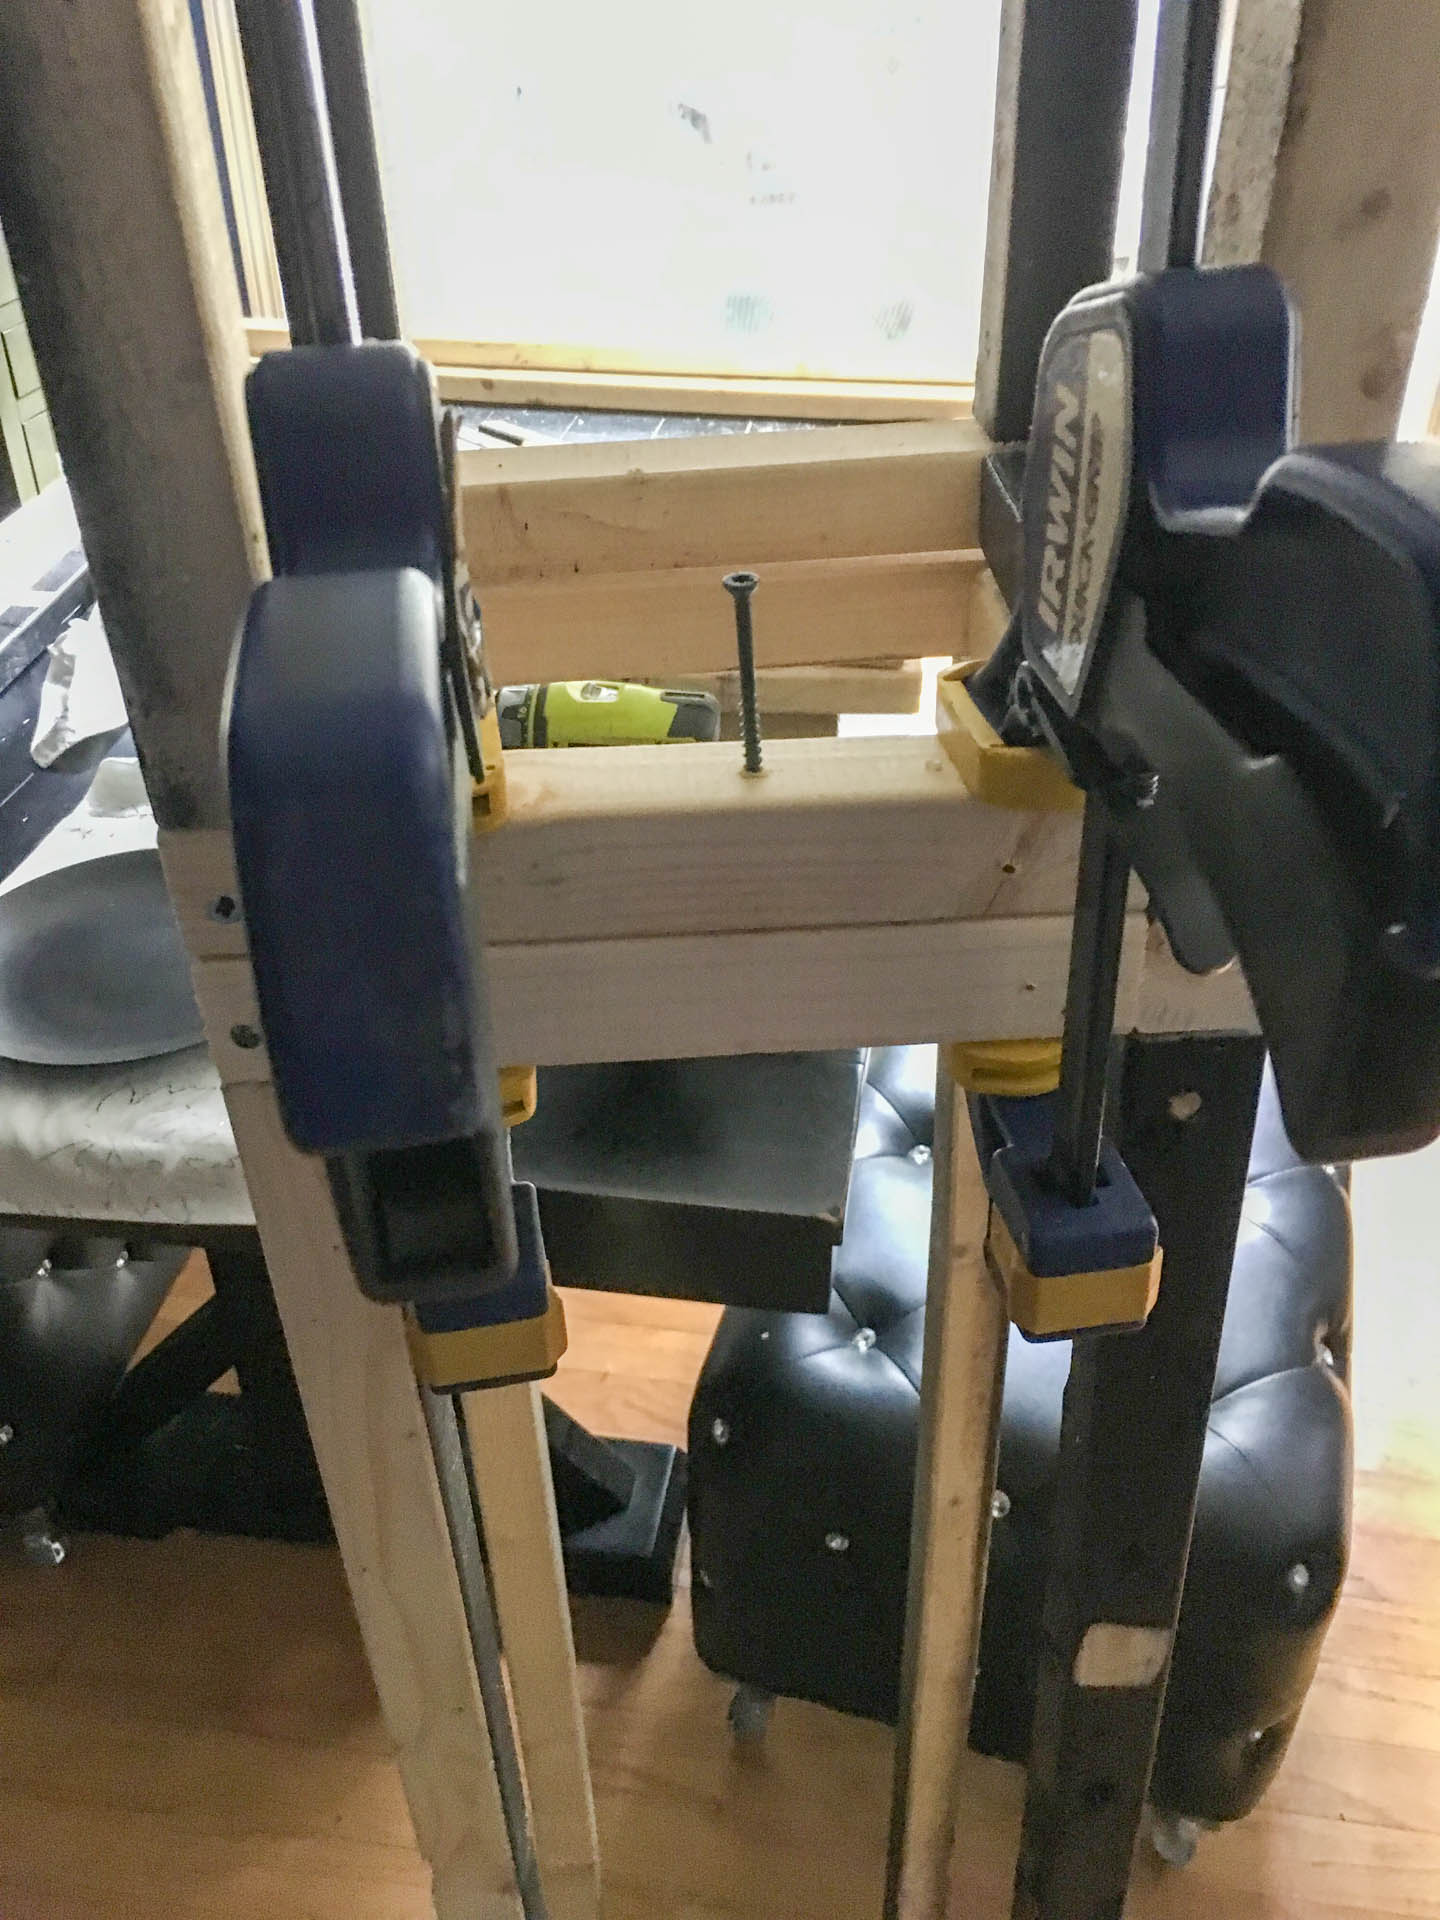
Stack the two frames, one on top of the other and hold them together with clamps.
Then use 2½” screws to join the sections together.
I put one screw in the middle of each side, which was strong enough to hold it tightly.
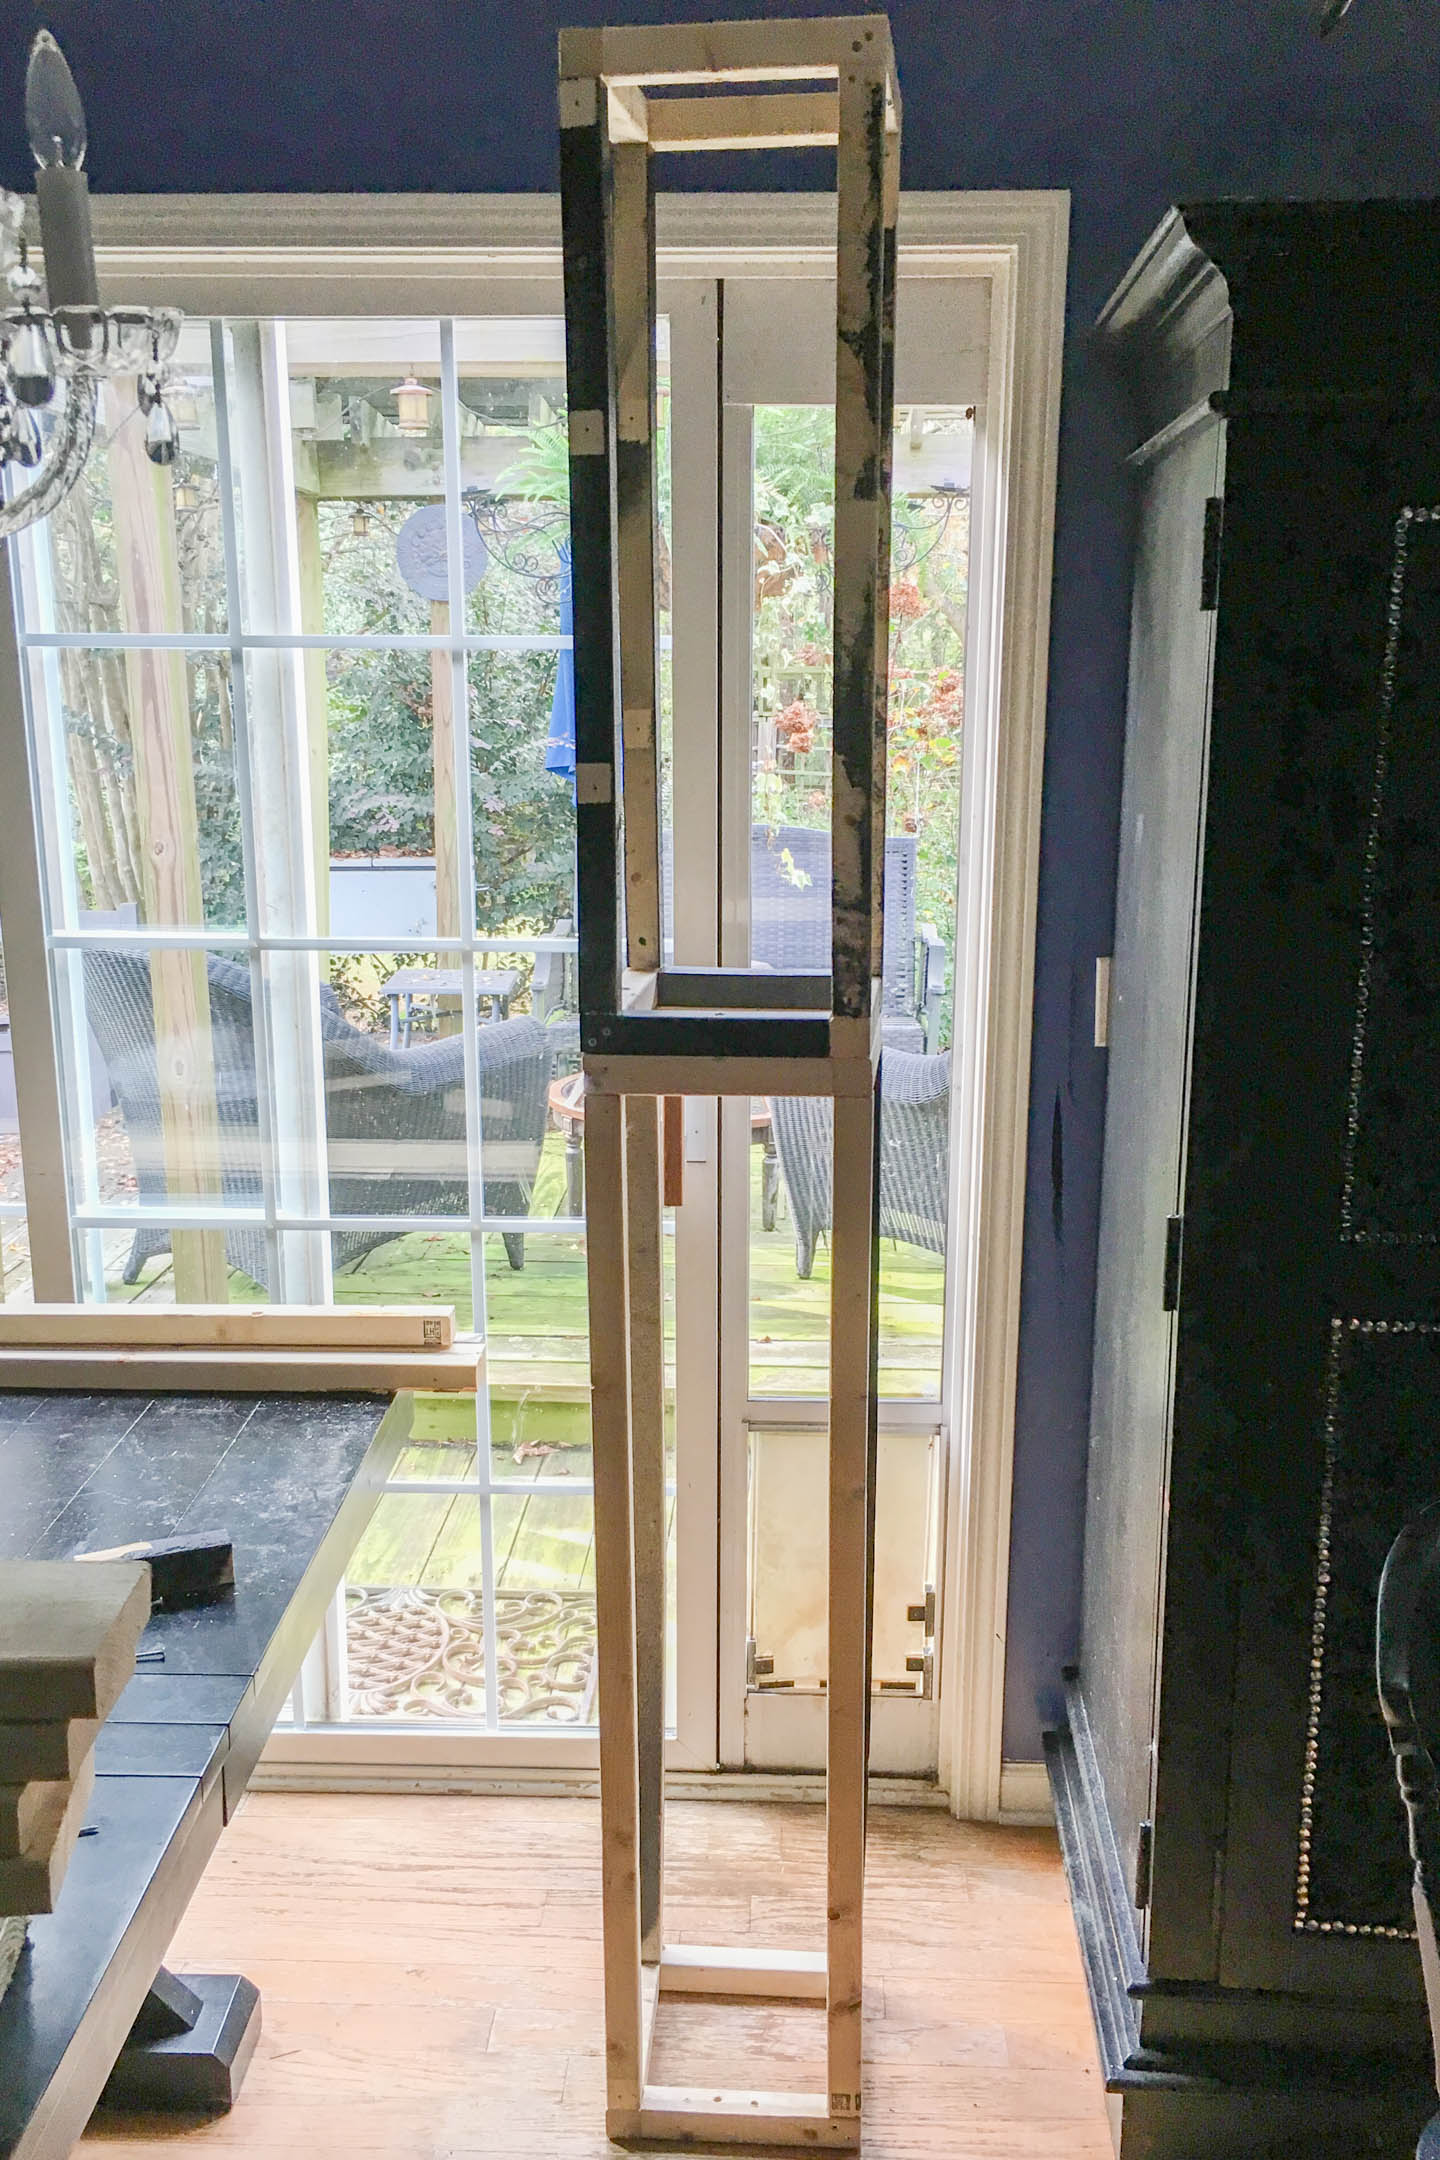
You should end up with a tall frame that looks something like this.
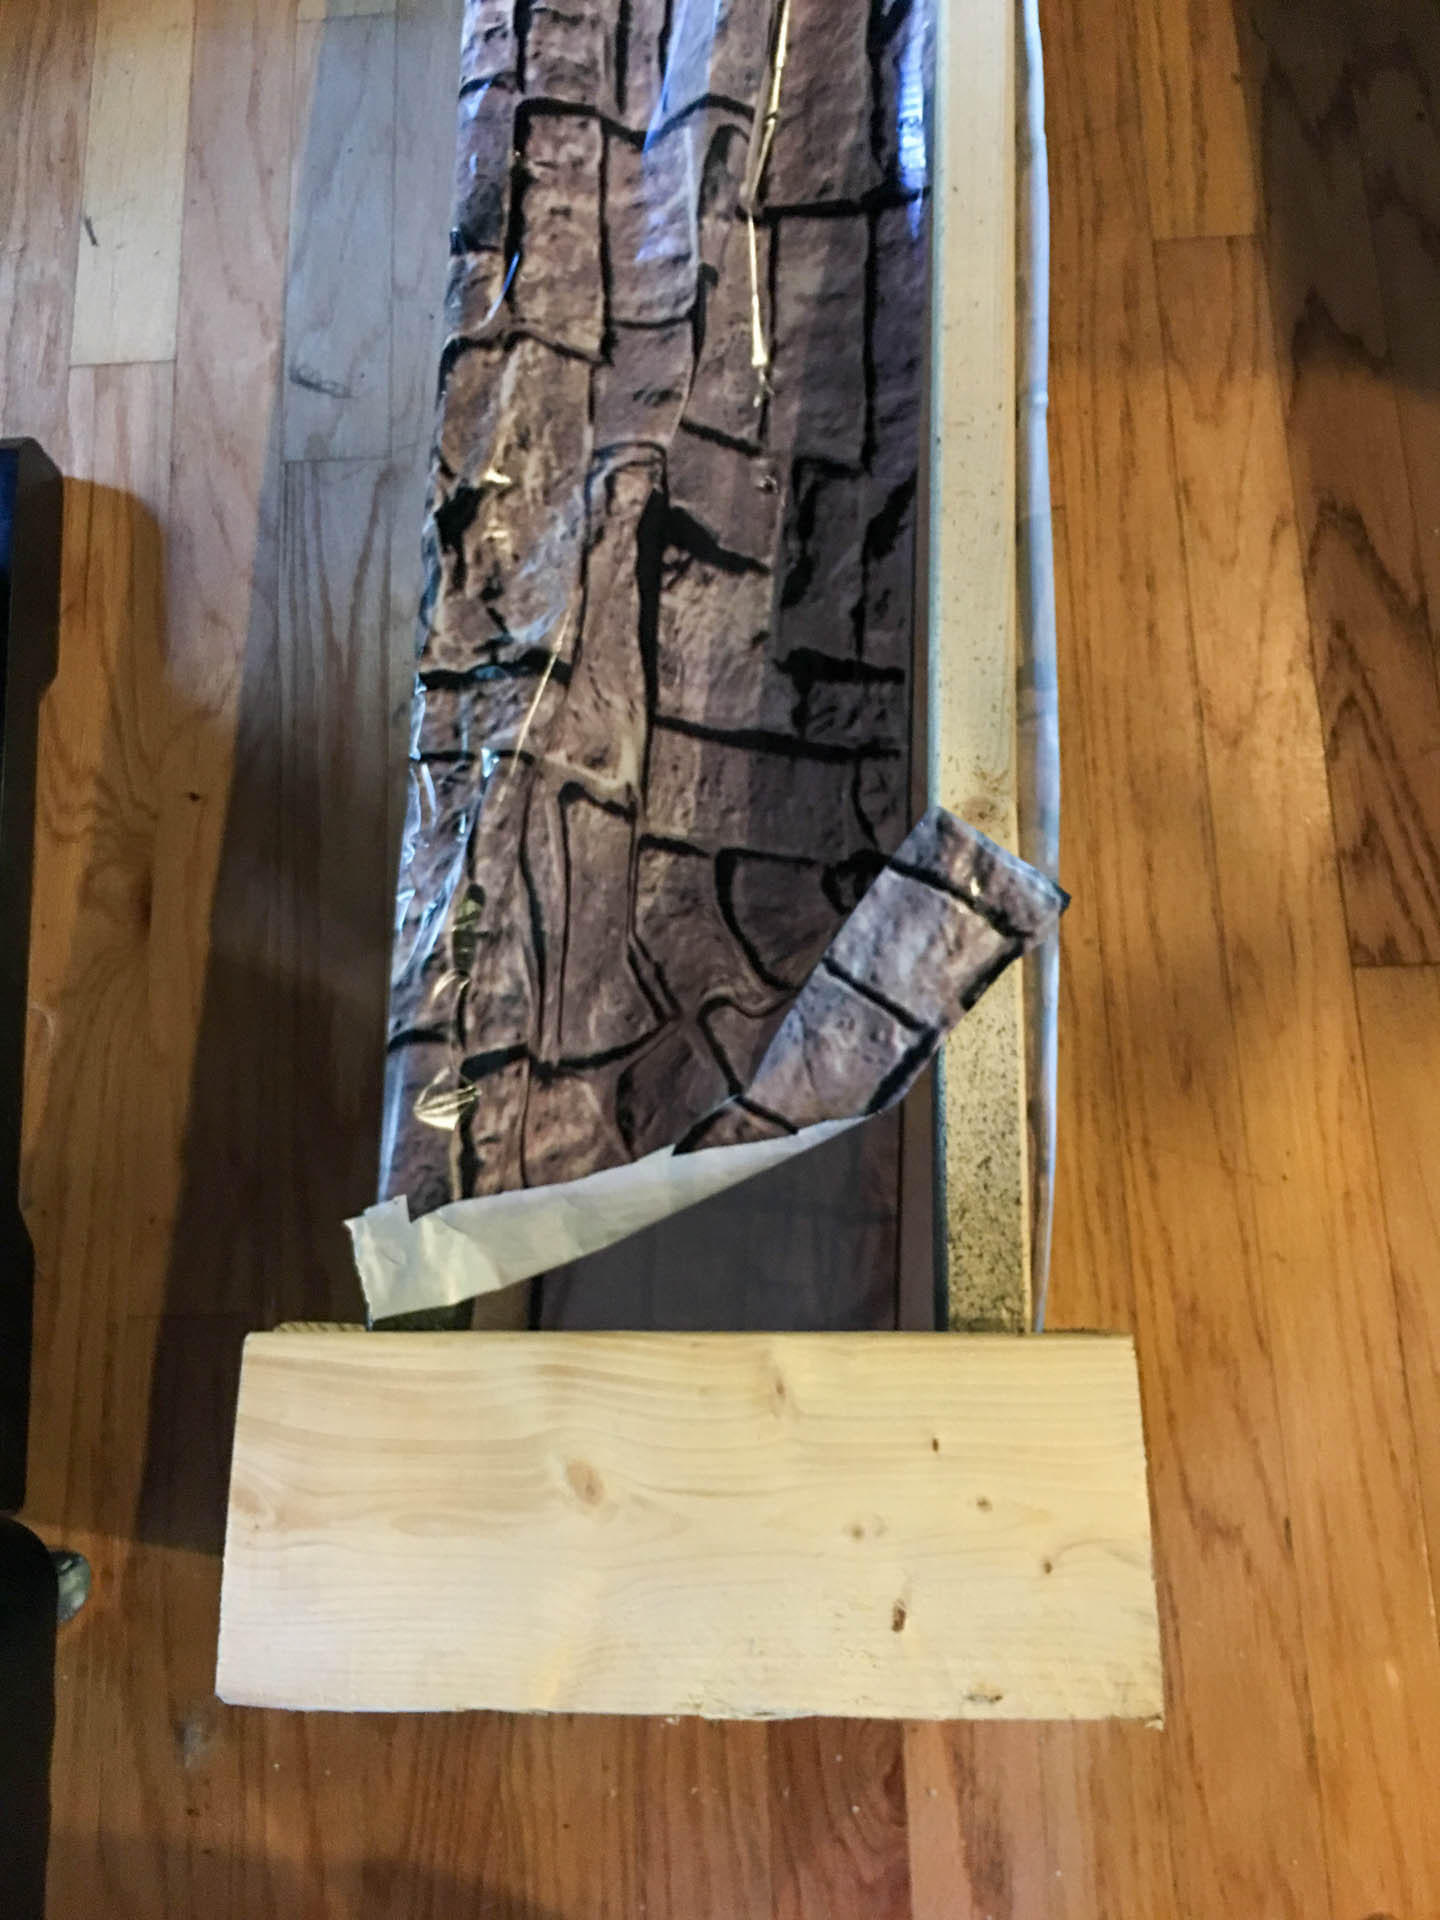
Staple On The Bricks
Now we’re on to the easy step…adding the bricks.
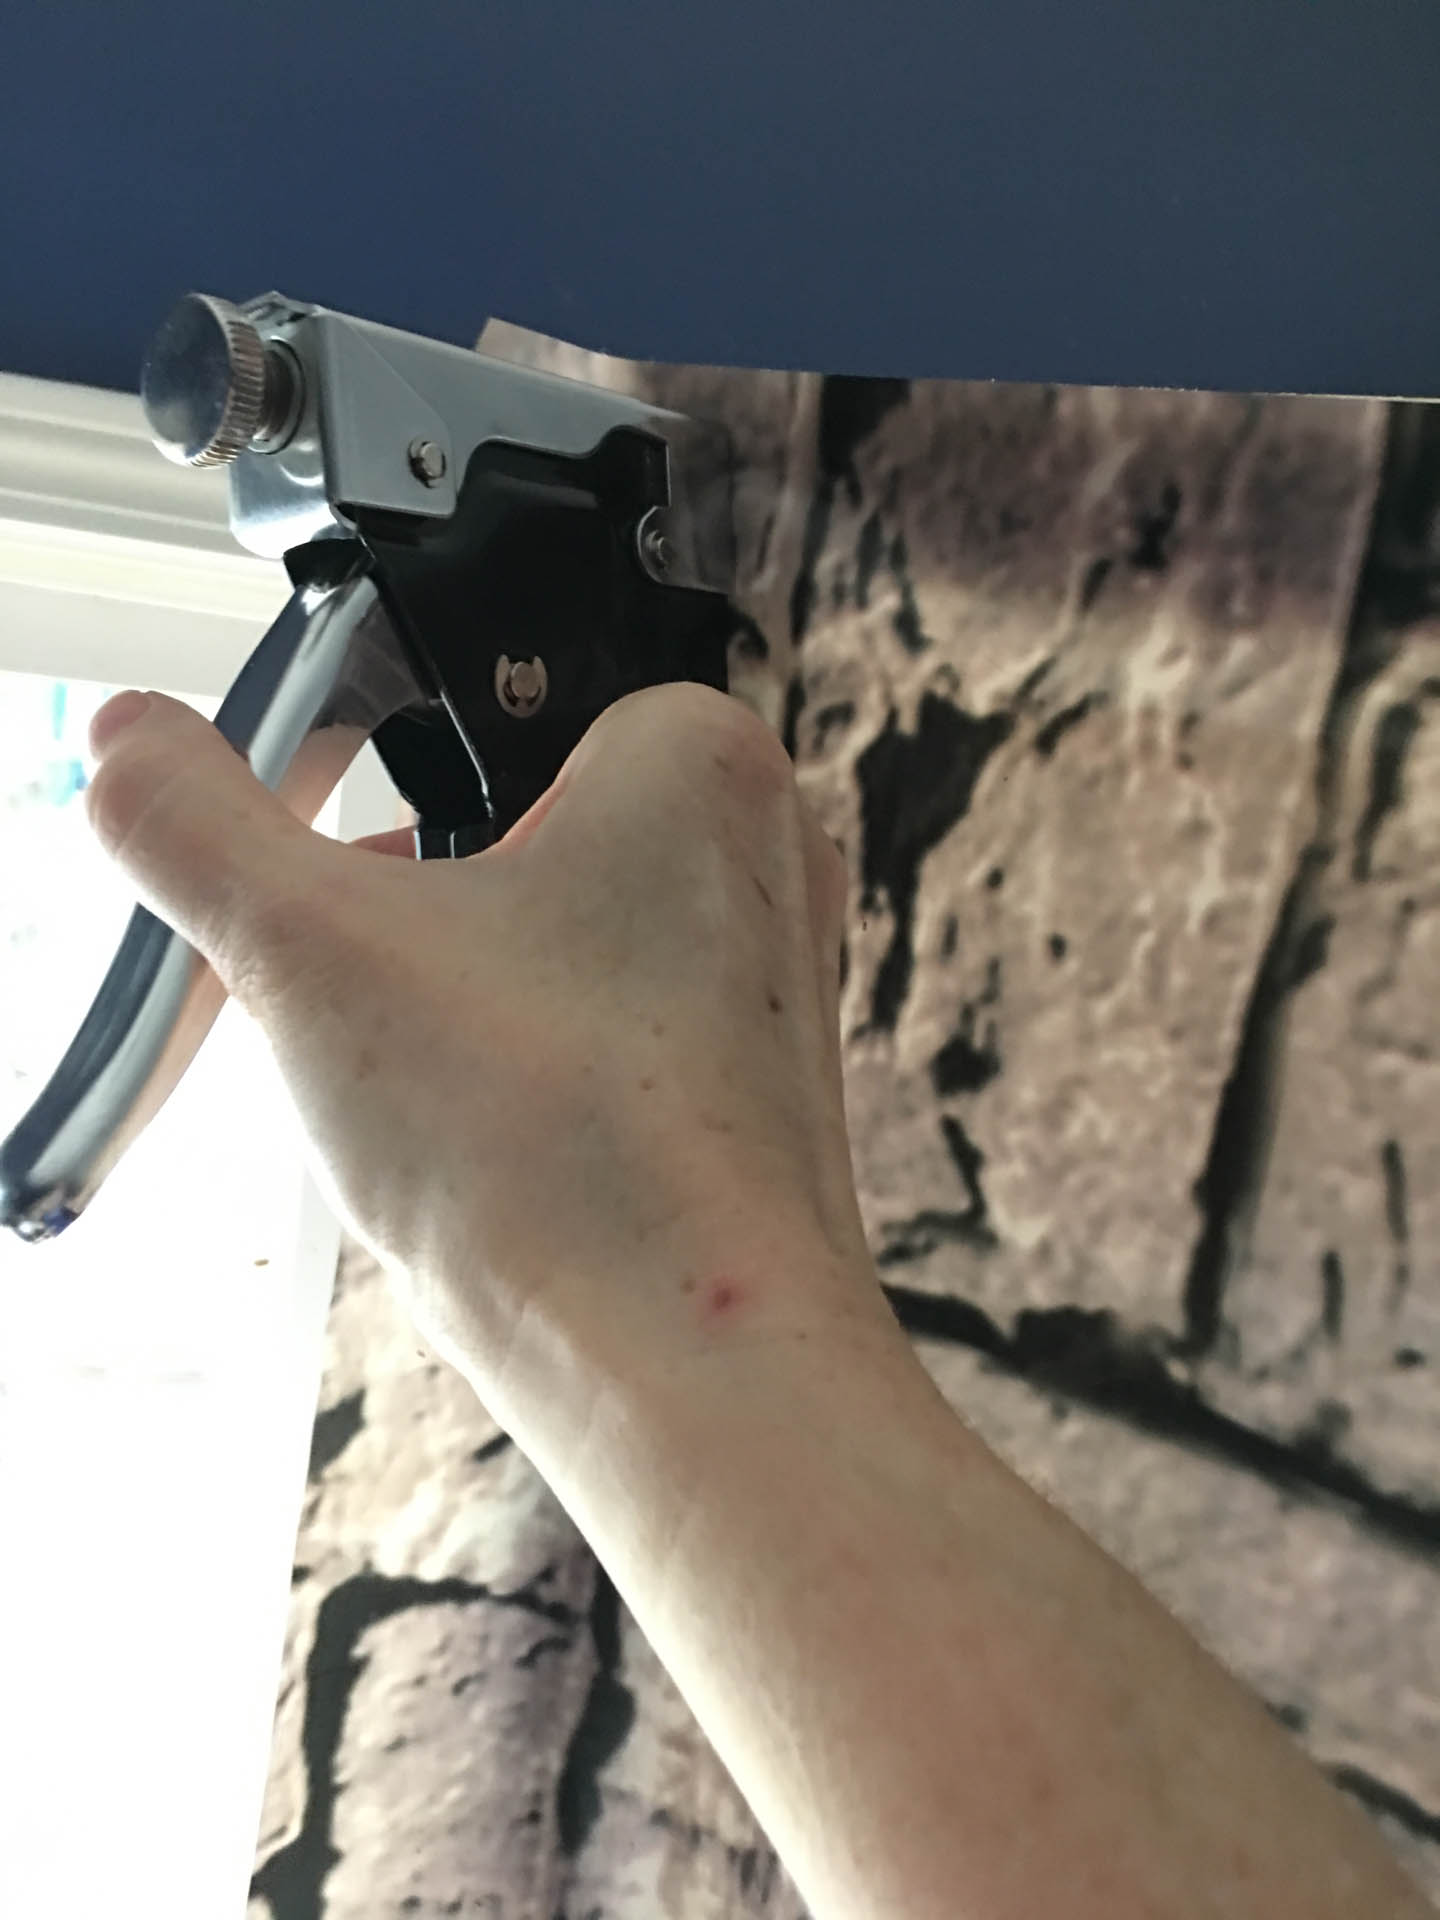
Line the edge of the scene setter up with the top of the frame.
To have only one seam, use the width of the scene setter plastic to wrap around the column so that the length of the plastic foll covers the height of the pillar. (This will only work if the circumference of your pillar is less than 4 feet long.)
Start at one corner and staple the plastic onto the wood frame all the way around the top.
Then staple halfway down the length of the frame leaving the ends unattached for now.
Do not cover the top of the column, since the plastic will sag and rip if water accumulates on it.
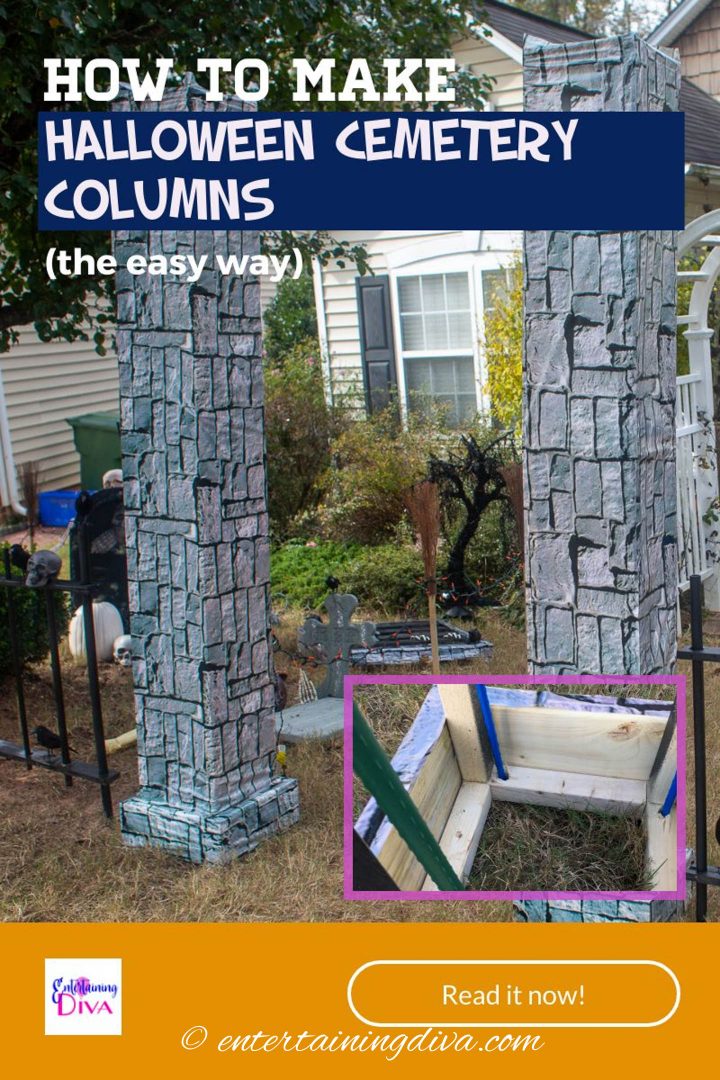
Add The Base
Now we’re ready to add the 2″ x 6″ boards around the bottom.
Catch the plastic scene setter between these boards and the frame on all sides except one (where the join is). You’ll want to leave this side open so we can anchor the pillars to the ground later on.
Use screws to attach the two 11½” pieces on opposite sides of the base, making sure they line up with the sides and bottom of the frame.
Then add the two 14½” on the ends so that they complete the frame around the bottom edge.
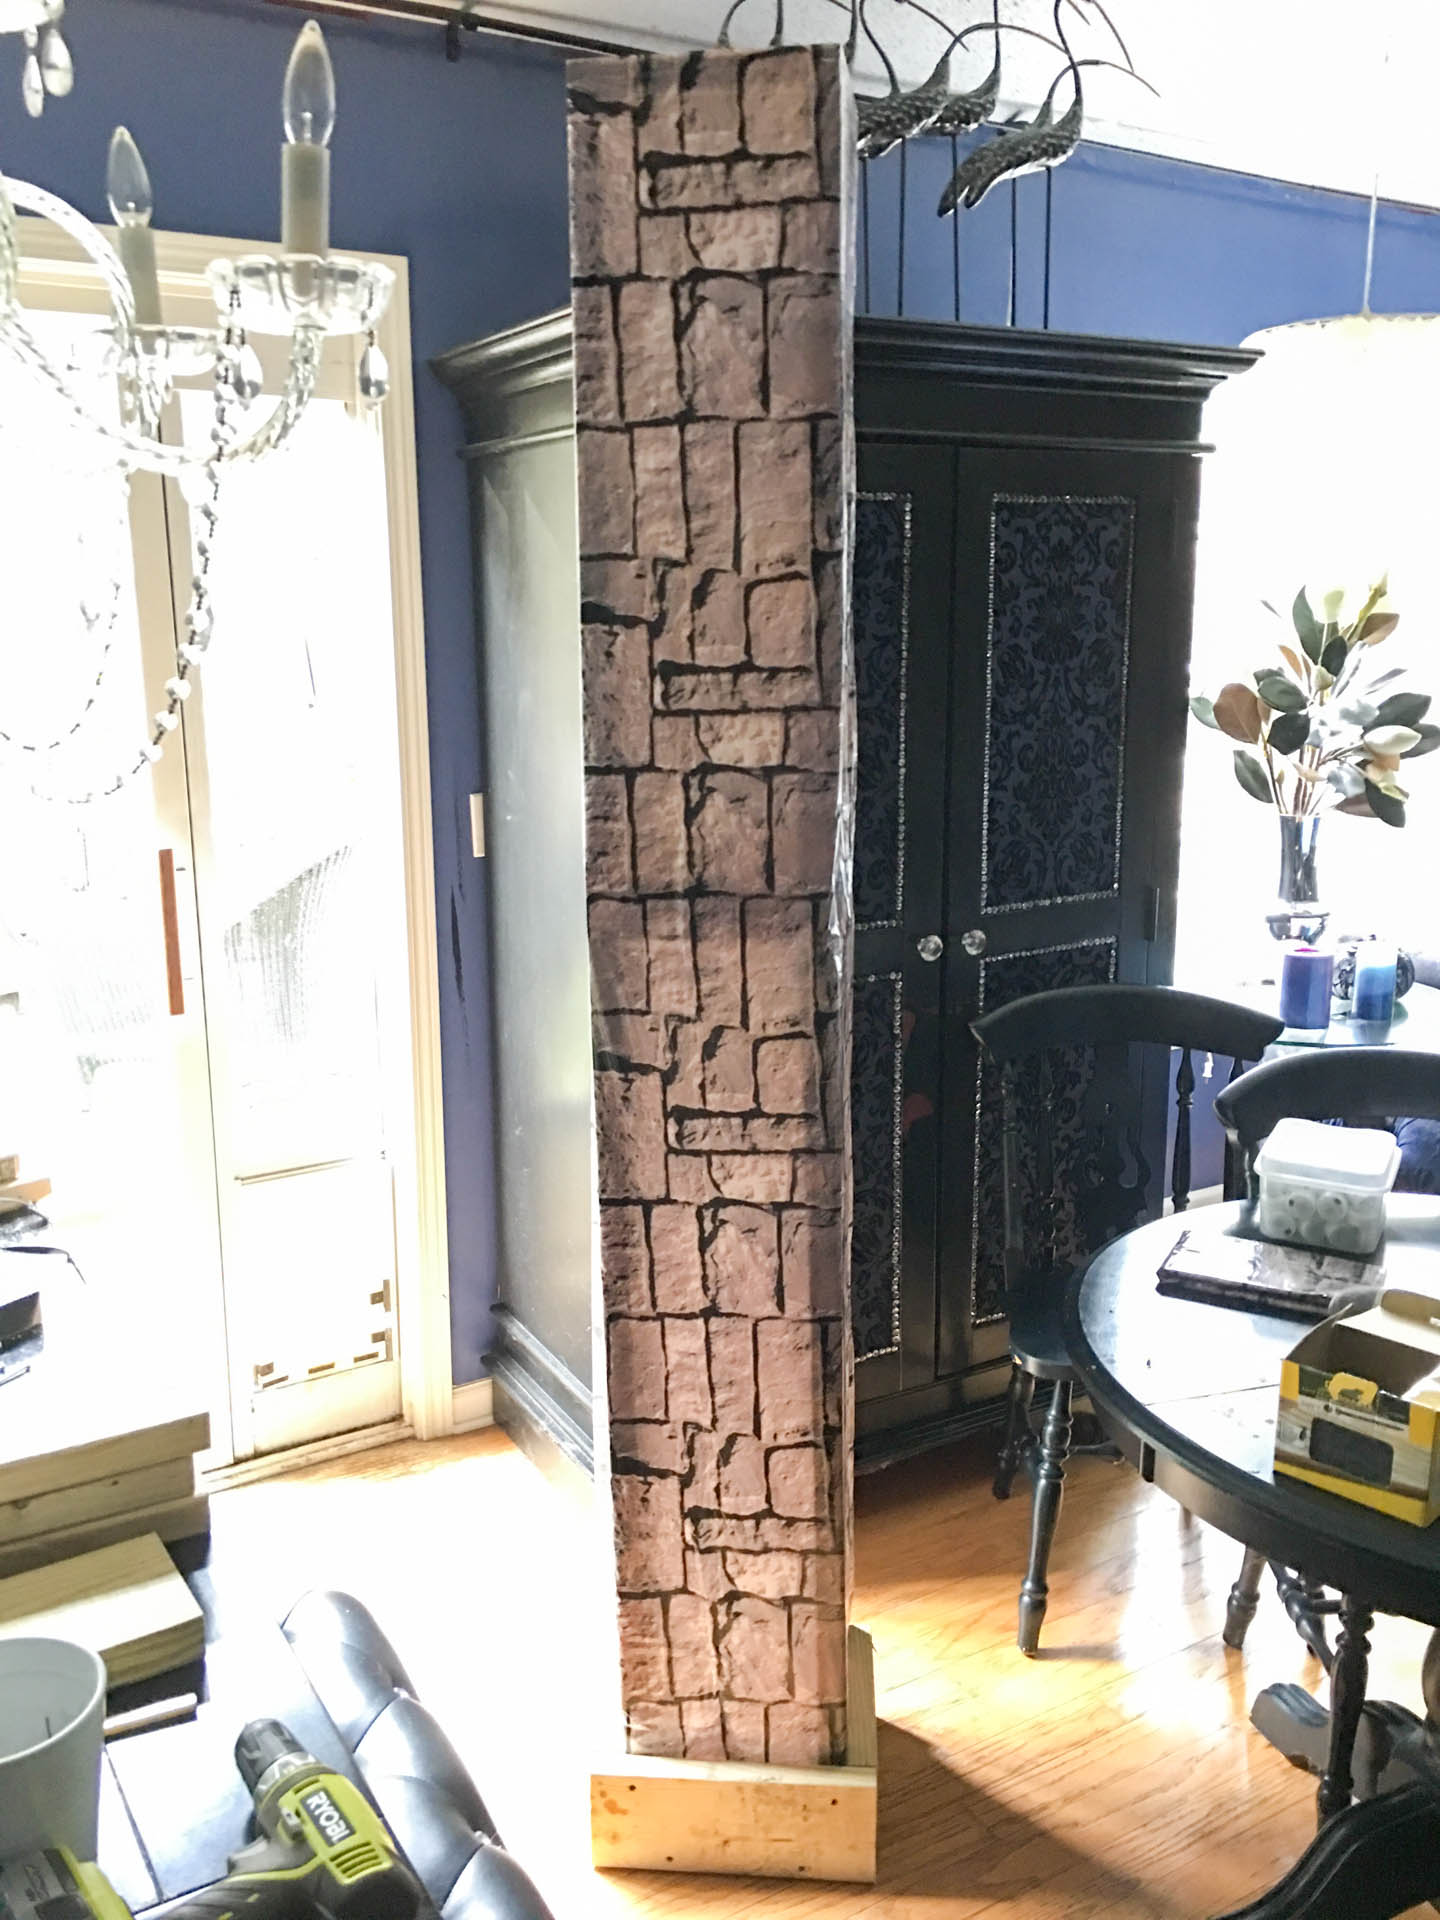
The good side of the column should look like this.
Now it’s time to put our Halloween cemetery pillars up!
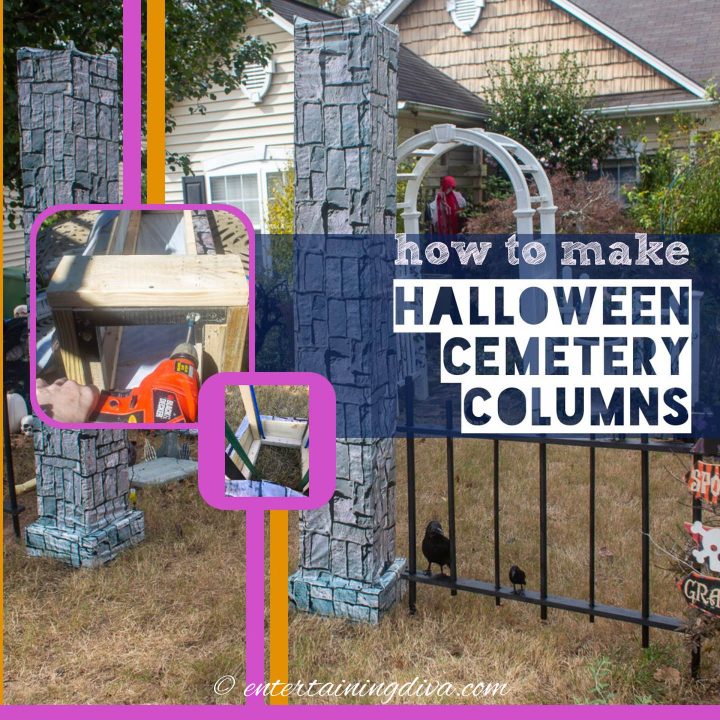
Put Up The DIY Halloween Cemetery Entrance
The most important part of installing these cemetery columns is to make sure they aren’t going to fall over.
To make them steady, I wanted to have posts that were driven into the ground.
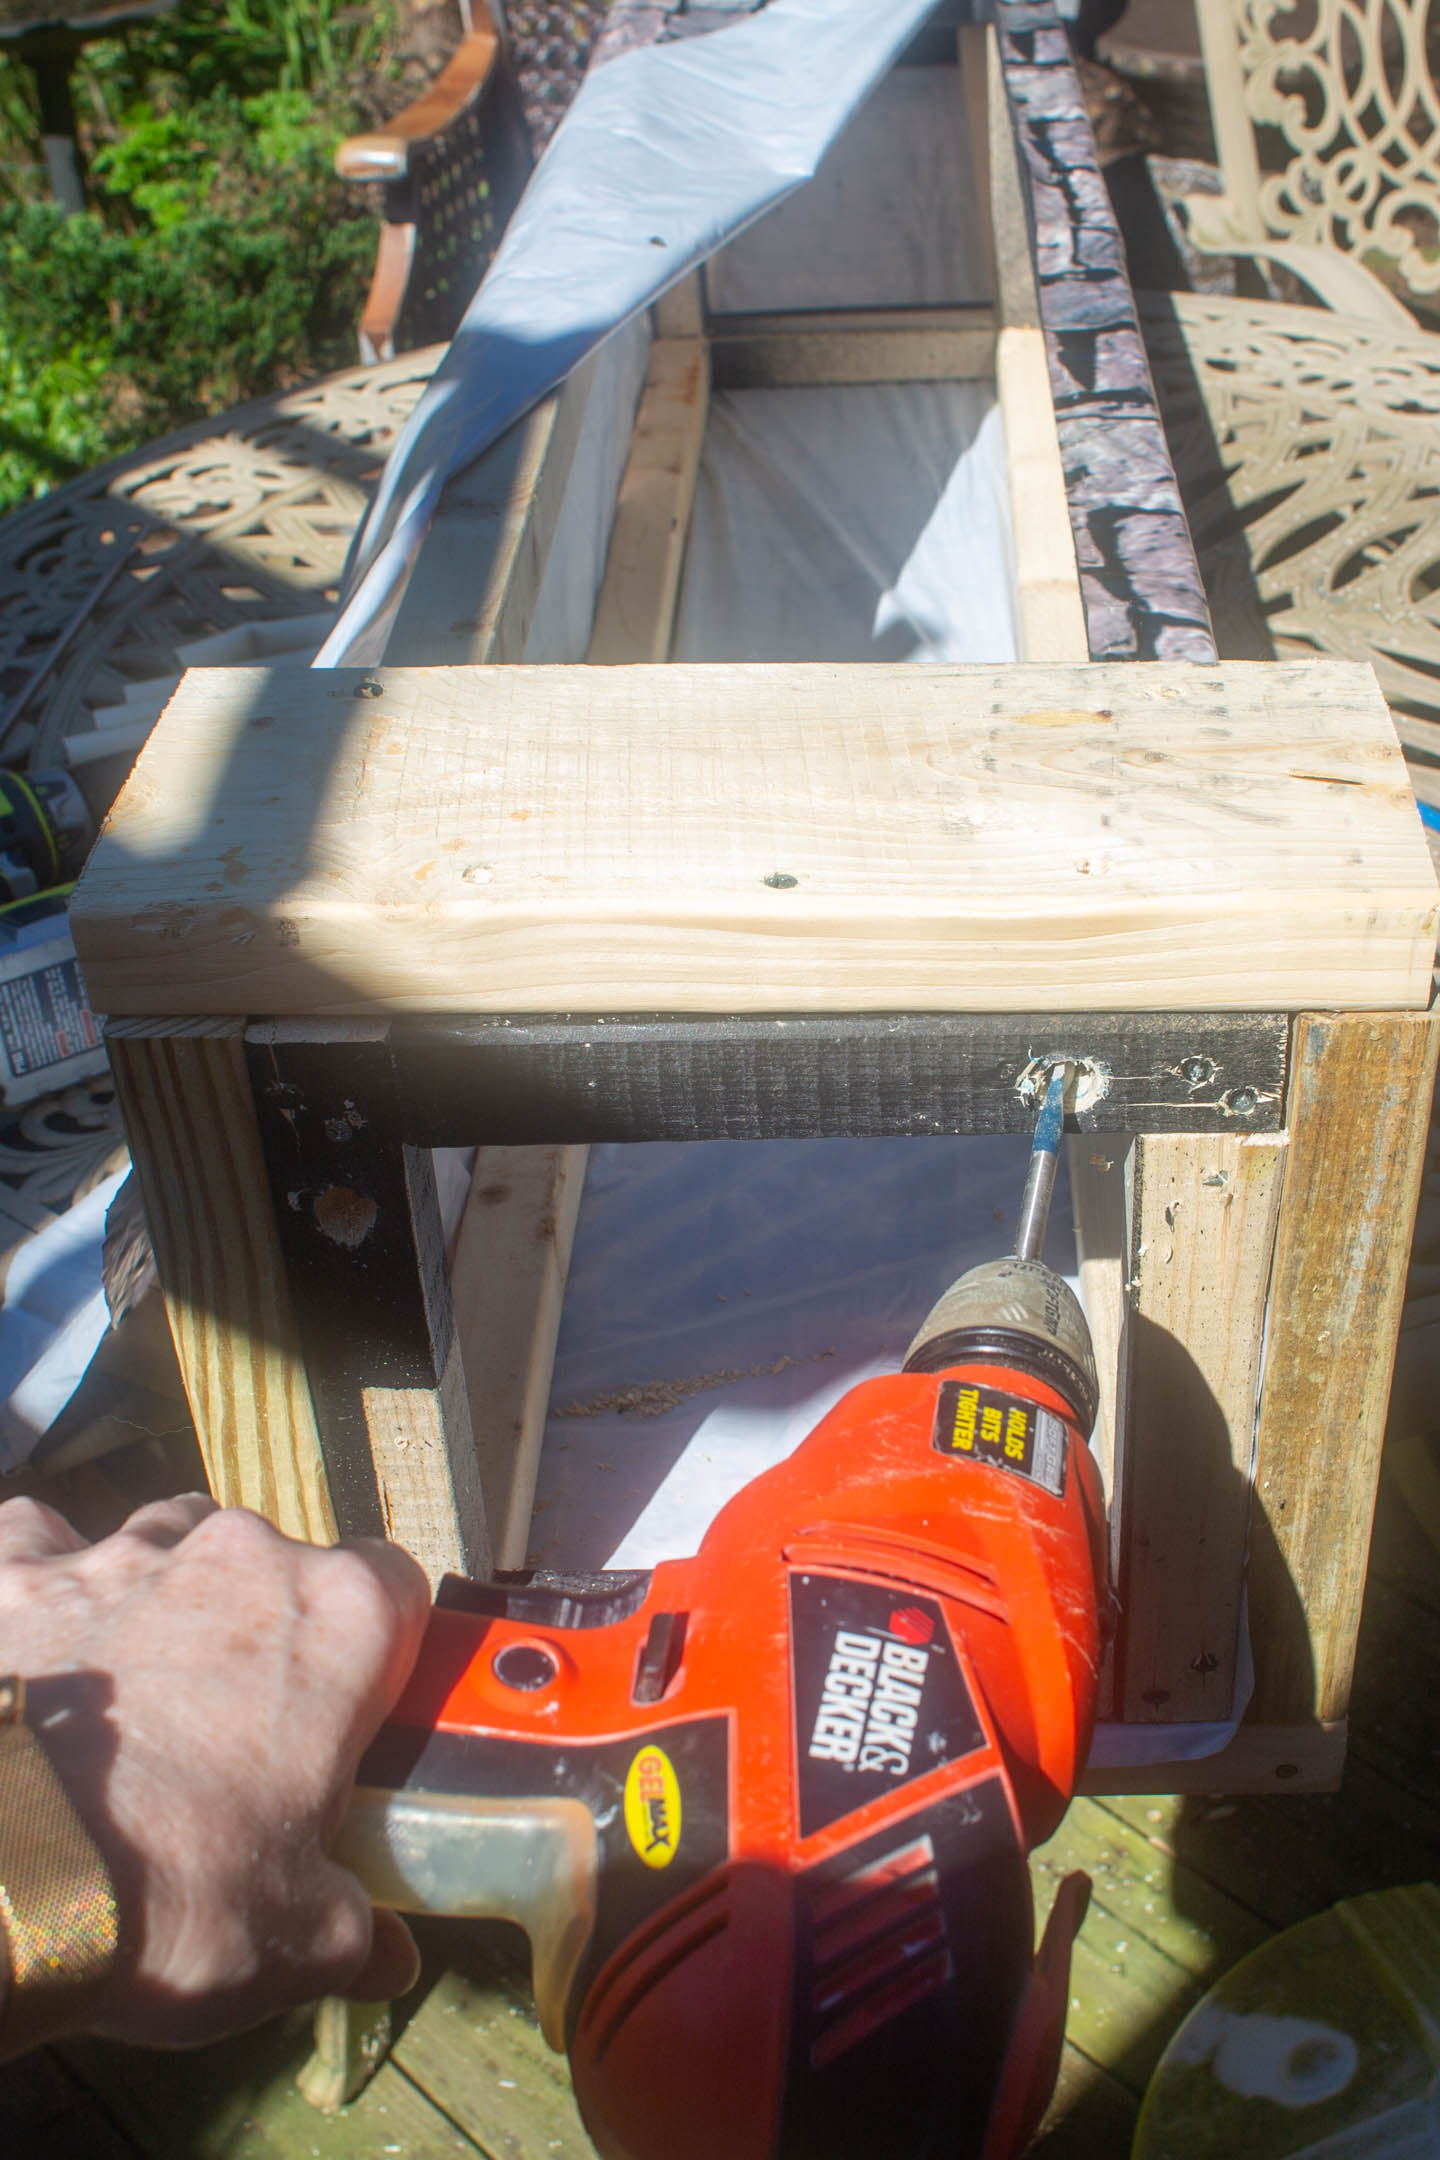
Next wrap the base with an additional piece of scene setter.
I found it worked best to do this after you drill the holes, since the scene setter rips pretty easily if it is rubbed along the ground.
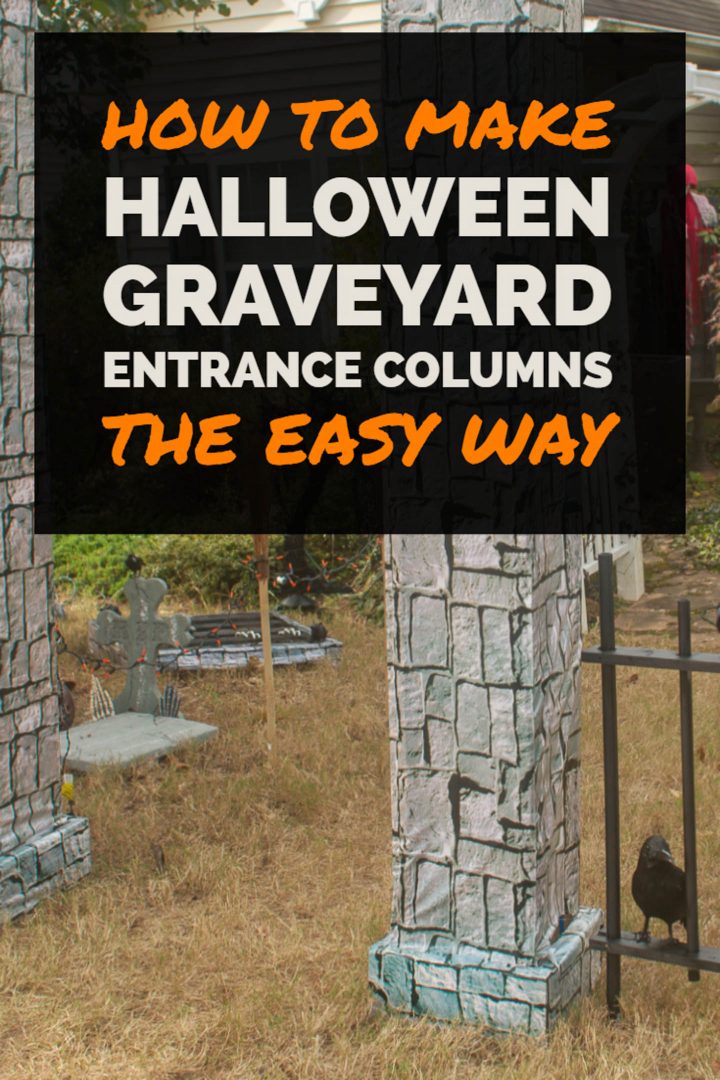
Then position the pillars where you want them in your yard, making sure that the free edge of the scene setter is facing in the least noticeable direction.
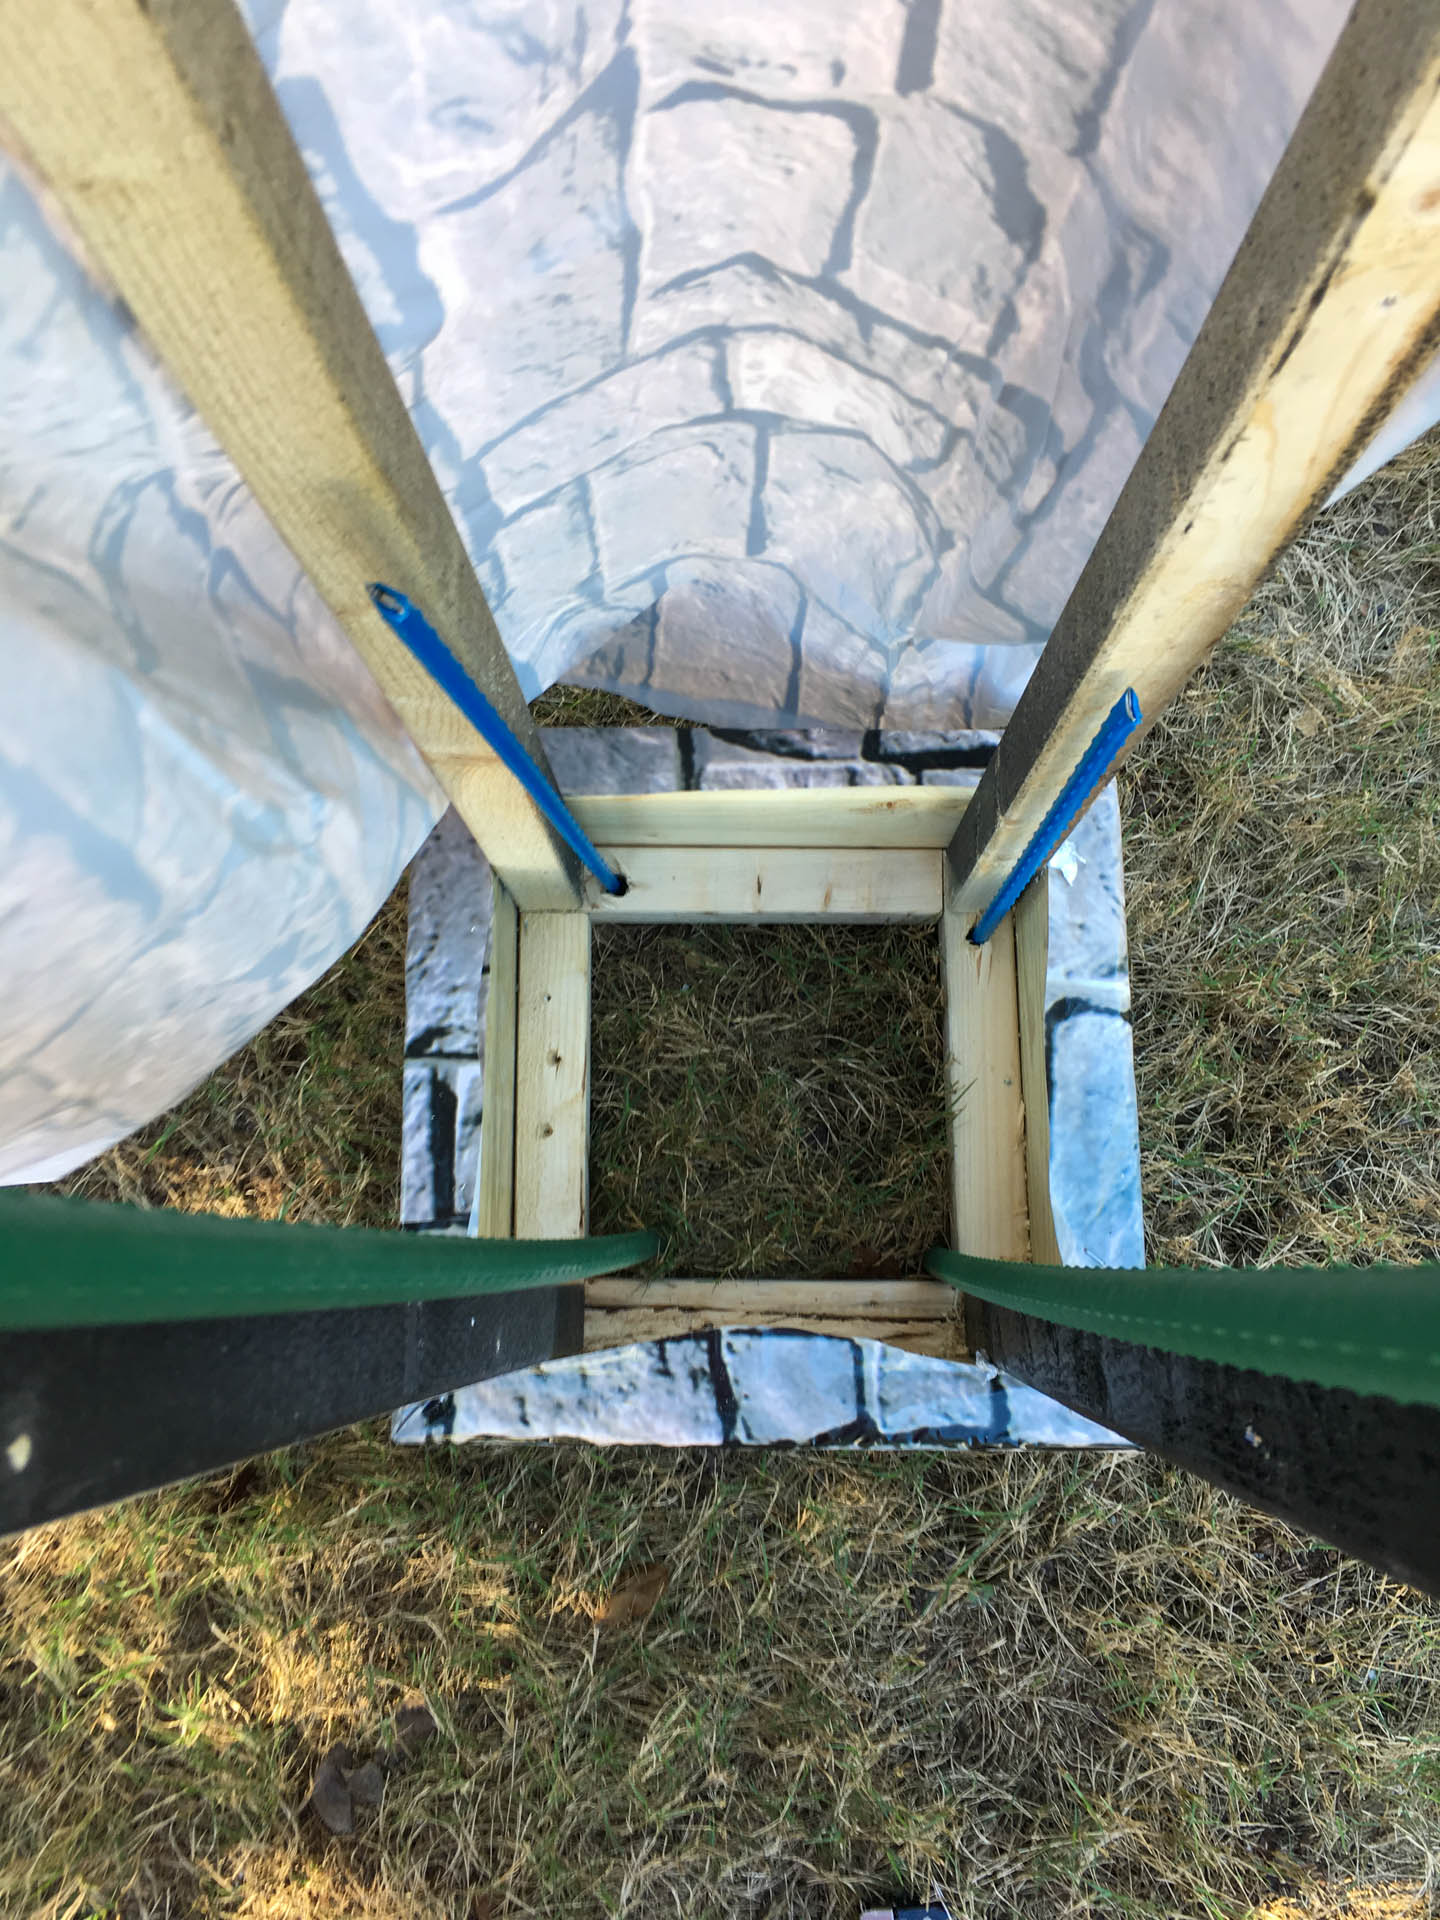
Once they are in the right place, pound metal garden stakes through the holes in the bottom frame. Try to get them at least eight or twelve inches into the ground.
Then secure the stakes to the side of the frame using picture wire.
I also added a couple of larger stakes just inside the posts, that I also attached to the frame with picture wire.
Finally staple the remaining edges of the scene setter in place.
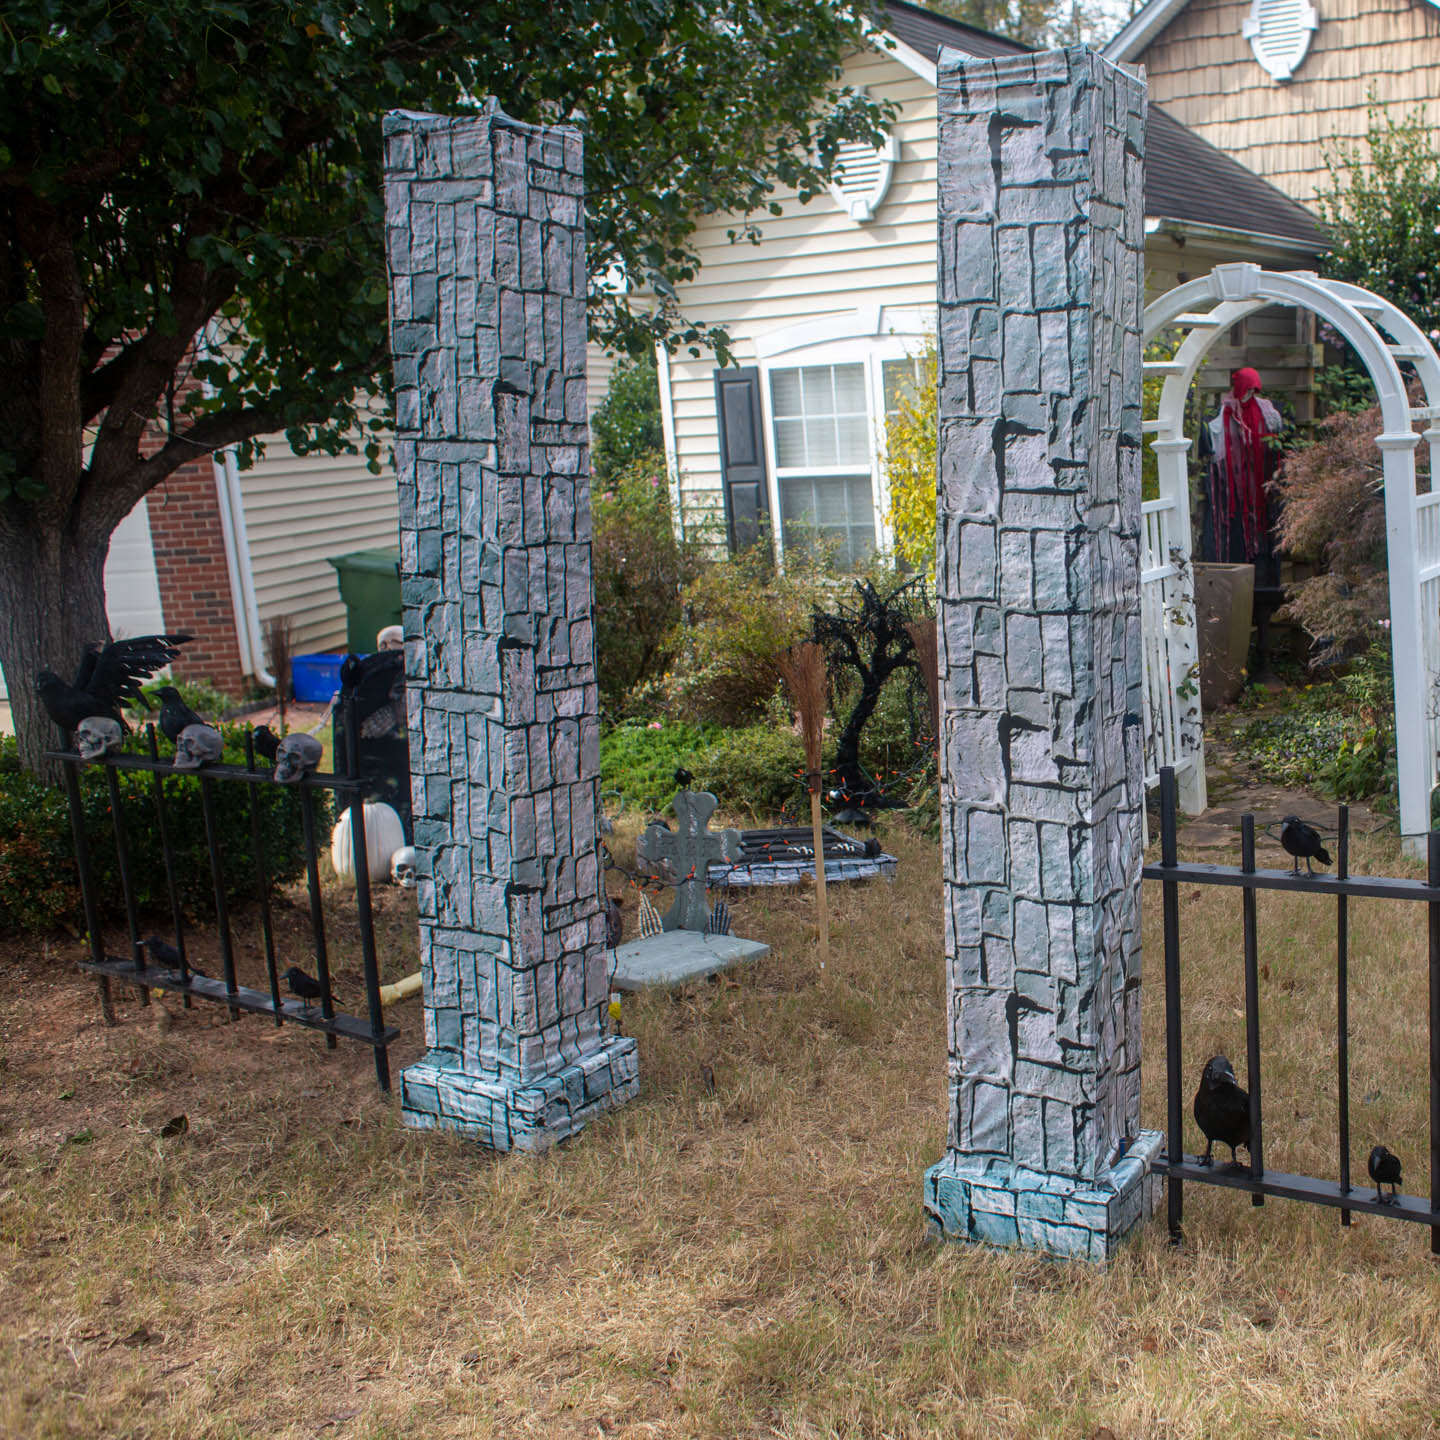
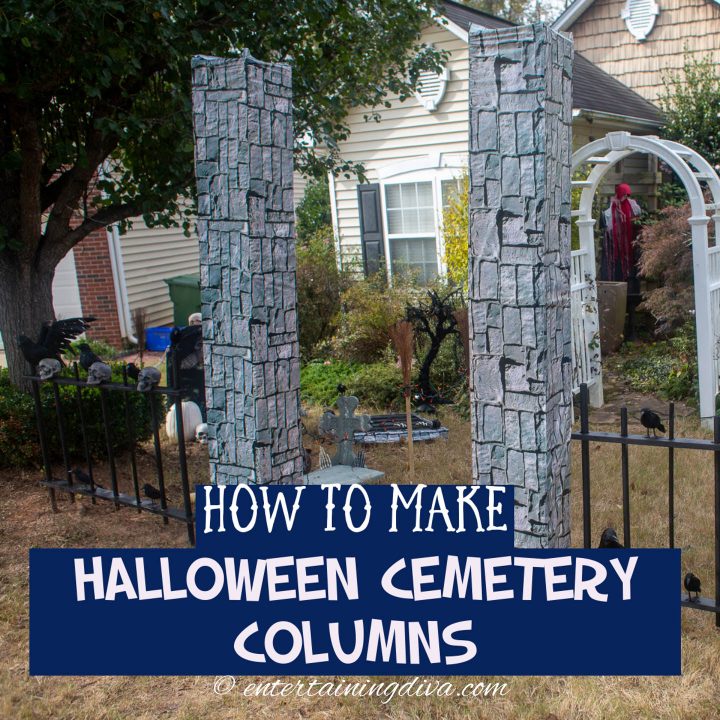
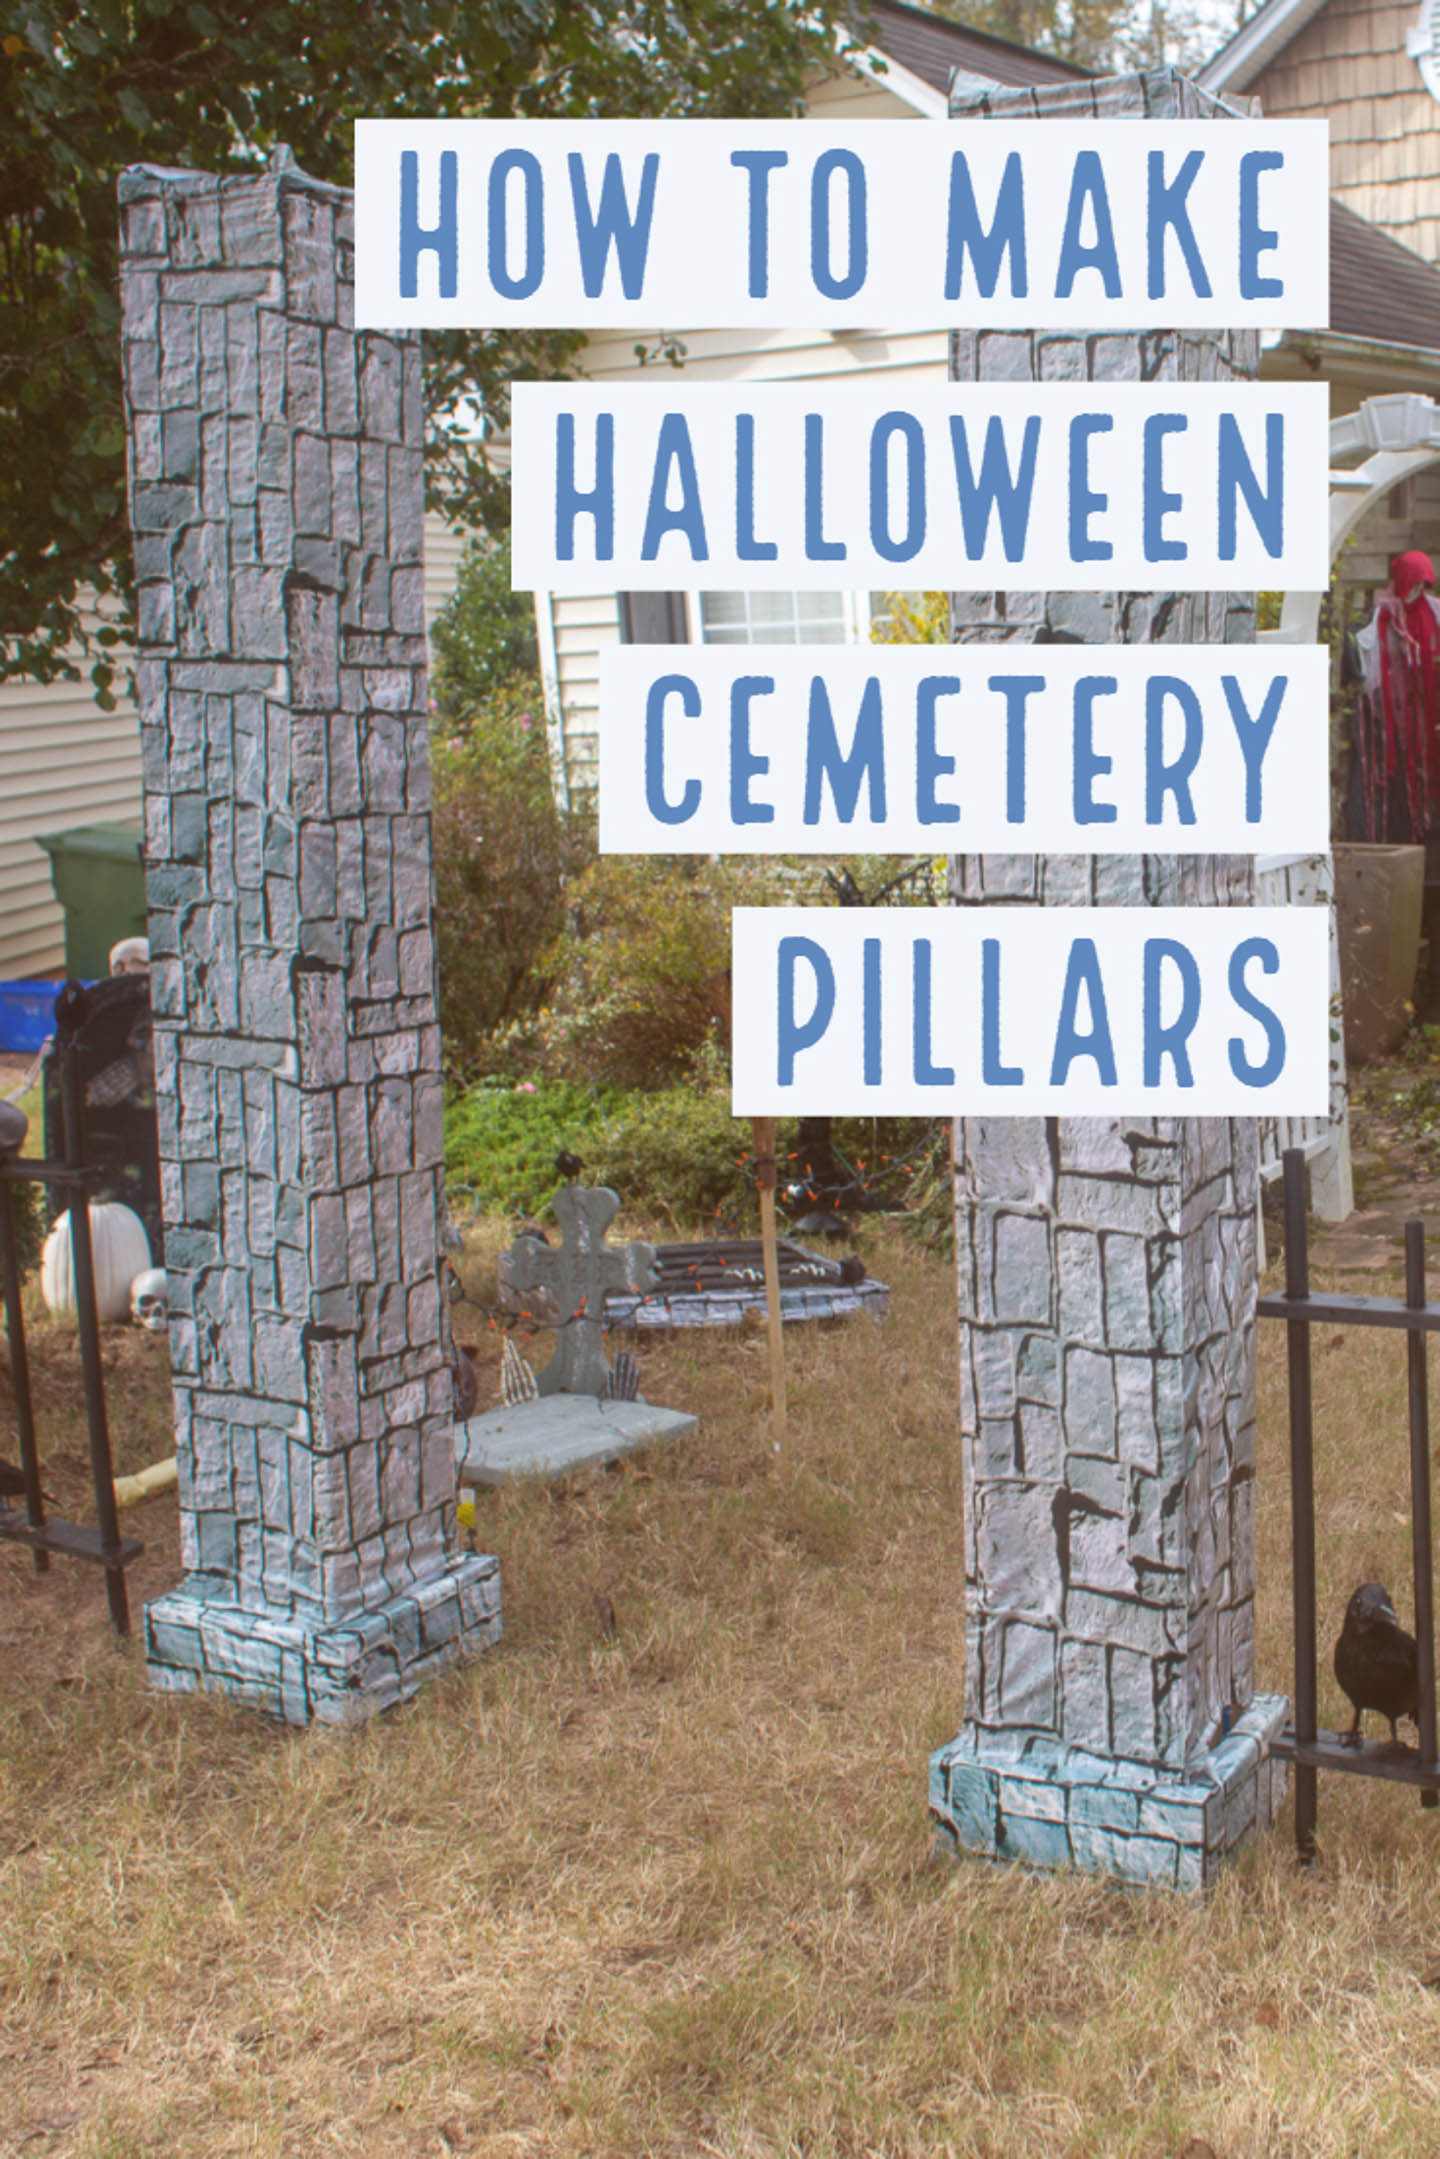
And there you have it! DIY Halloween cemetery pillars that make a great entrance for your Halloween yard haunt.
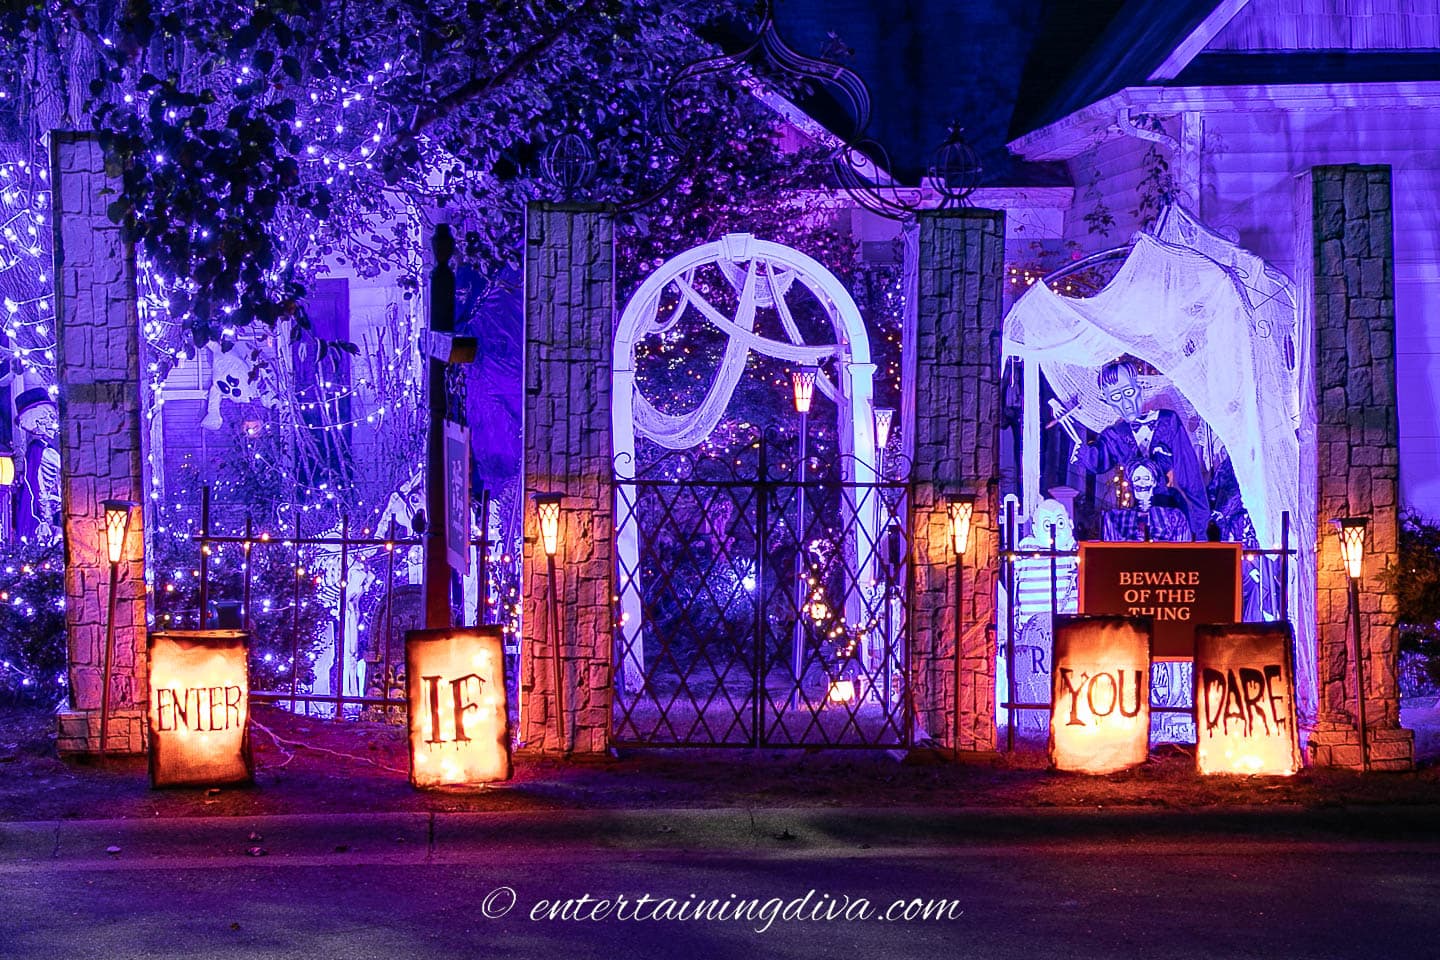
And while they look good during the day, they look really awesome at night with some spooky Halloween lighting.
Other Halloween Graveyard Ideas You Might Like
- How to make a DIY Halloween cemetery picket fence
- DIY Halloween graveyard ideas: How to make a Halloween cemetery
- Halloween haunted hotel graveyard
Have comments or questions about our DIY Halloween cemetery pillars? Tell us in the section below.
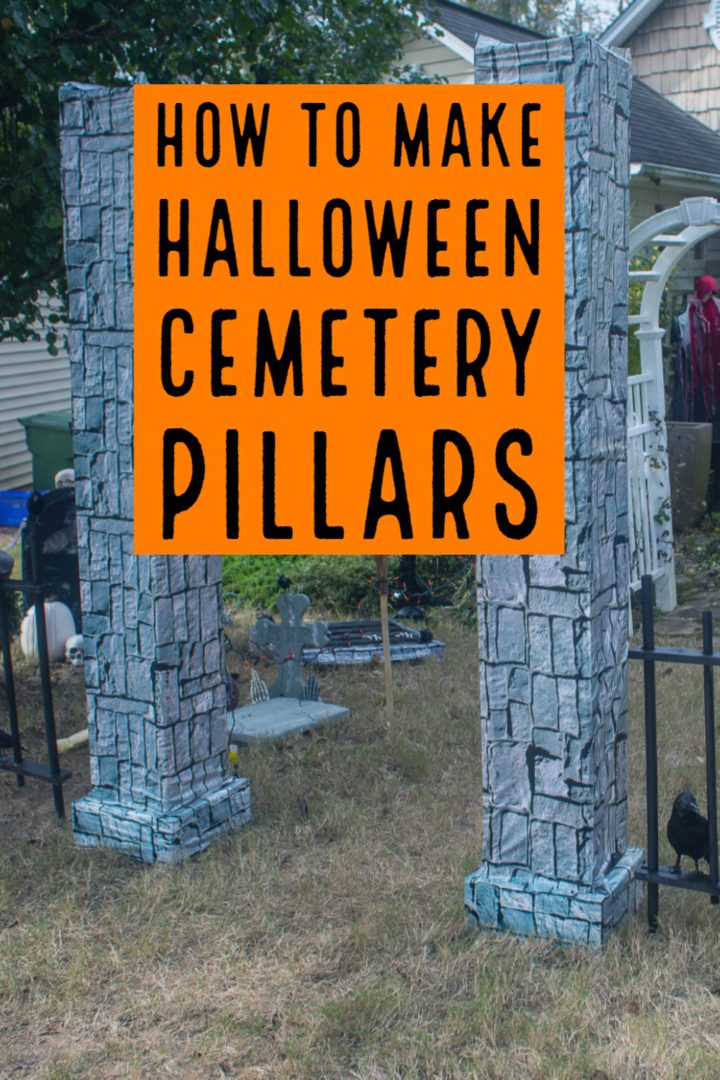
Pin It So You Don't Forget It!
This post was originally published on September 4, 2019 but was updated with new content on November 1, 2023.
Great simple project. Very good looking. Suggest if you can’t stake to ground?, place board across inside bottom of post and weight down with sand bag.
Thanks for the good suggestion, Craig!