
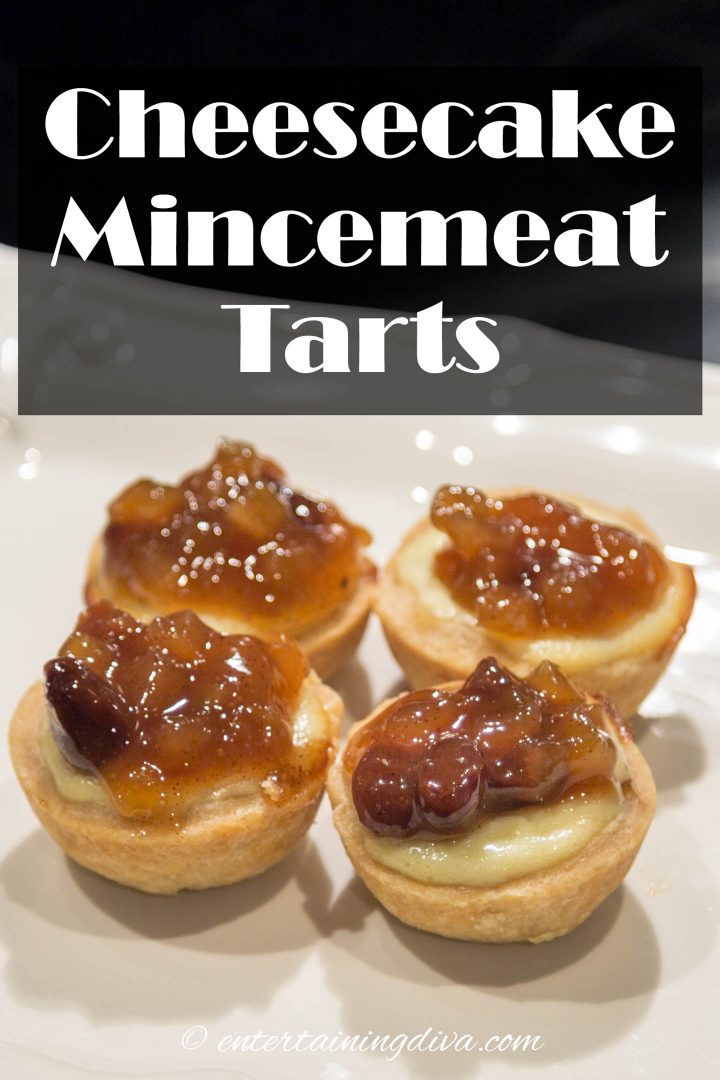
Cheesecake Mincemeat Tarts
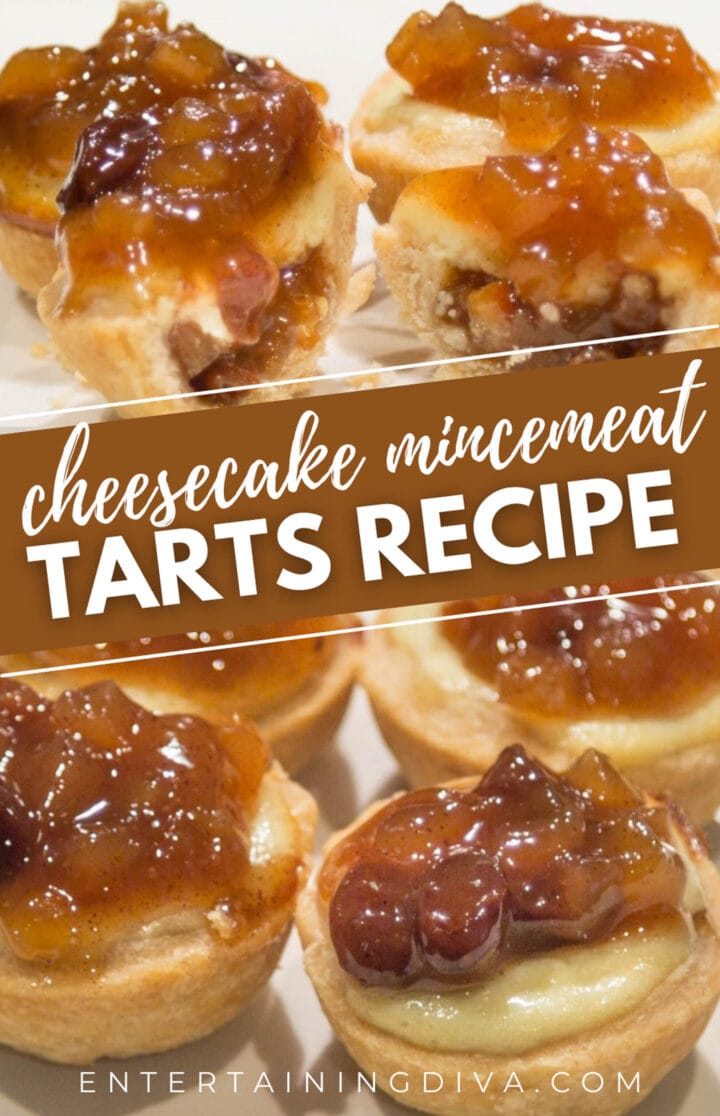
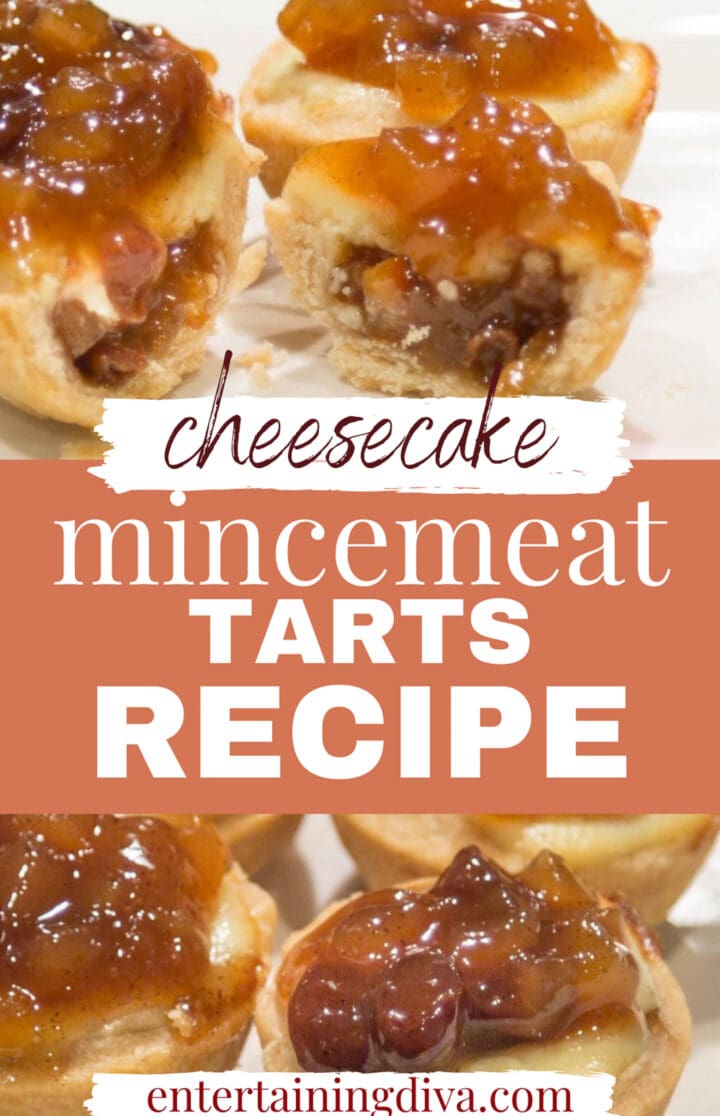
These cheesecake mincemeat tarts are a twist on the traditional British mince tarts. They’re easy to bake and to eat, which means them the perfect holiday dessert for a party.
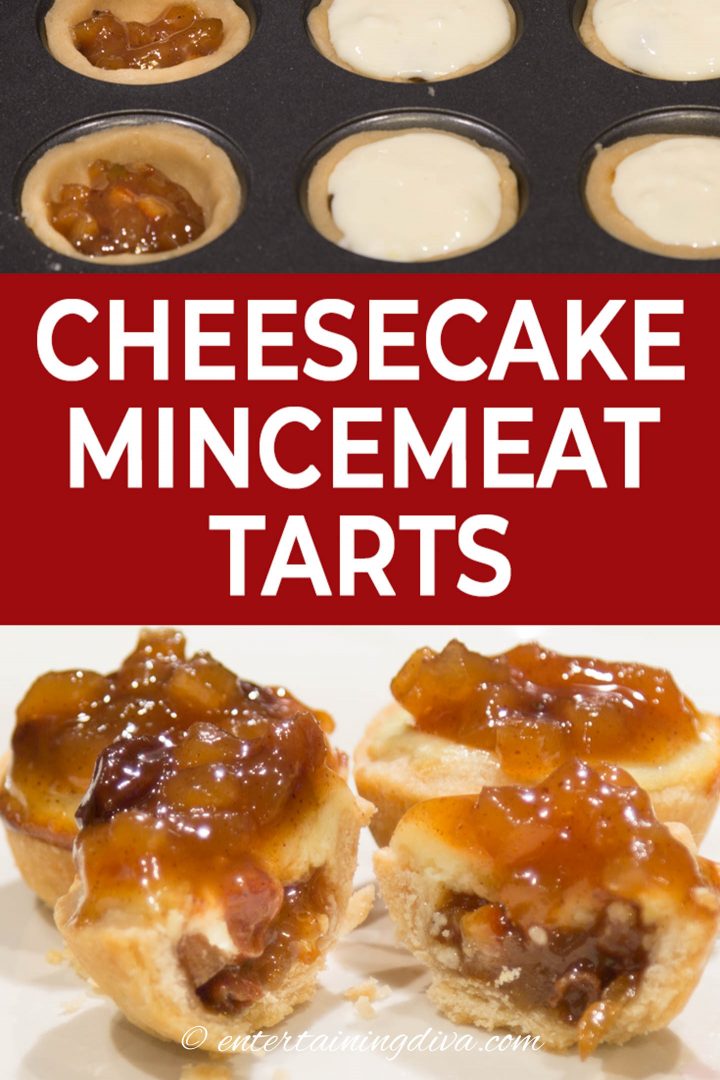
Cheesecake Mincemeat Tarts Recipe
Around my house these cheesecake mincemeat tarts are a tradition at Christmas. I think there would be some serious temper tantrums being thrown if we didn’t serve them.
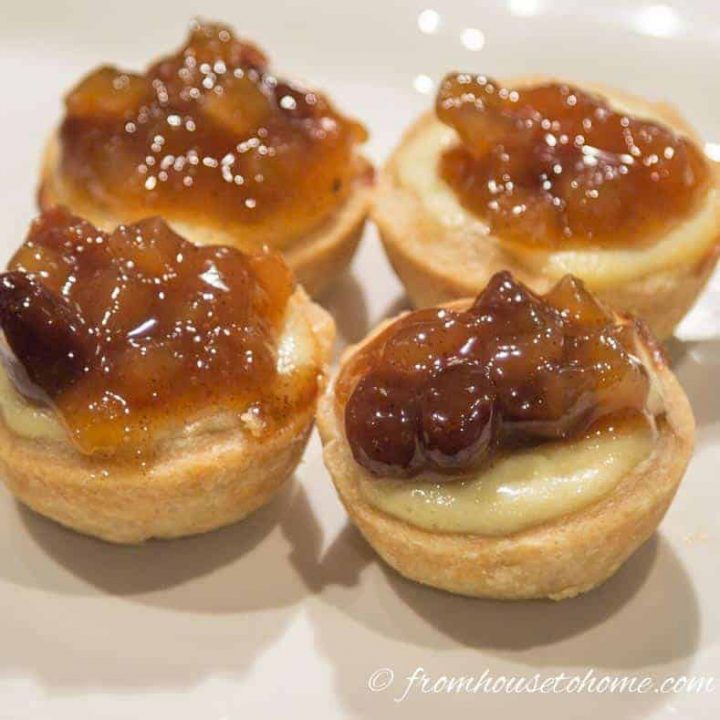
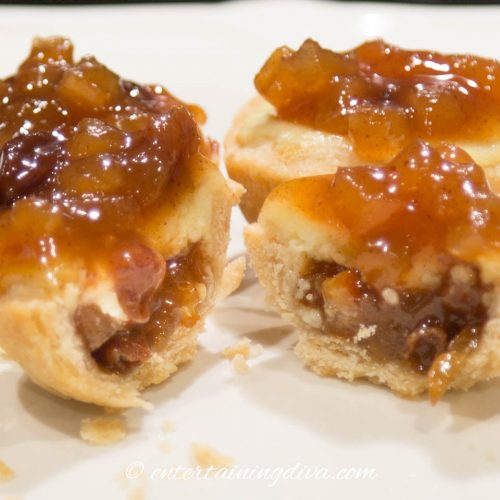
They are made with a raisin and fruit filling, a layer of cheesecake and then topped with more of the mincemeat filling.
Which makes them look a lot more complicated to bake than they actually are. Especially if you use the canned filling and pre-made tart shells like I usually do 🙂
I make them in mini muffin tins so they are the perfect bite-sized treat to serve on a dessert tray.
They’re also one of my go-to treats for holiday parties. You get 48 mini tarts out of one batch…enough to put out on a buffet. And everyone loves them!
Now on to the recipe.
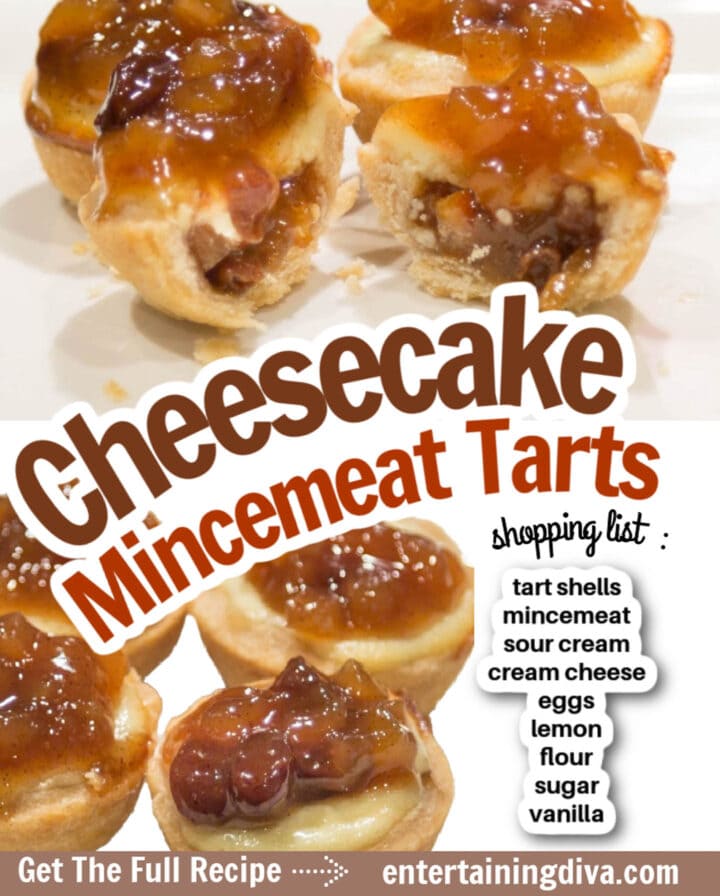
Ingredients
Here is your shopping list for this cheesecake mincemeat tarts recipe:
- 48 mini tart shells – you can use the store bought kind, or make your own with our no fail pie crust pastry recipe.
- 29-oz can of prepared mincemeat
- Dairy – 1 cup sour cream, 1 8-oz package of cream cheese
- 2 Eggs
- Fruit – 1 lemon
- Baking supplies – 1 Tablespoon flour, 1/2 cup sugar
- Flavoring – 1/2 teaspoon vanilla
Utensils and Supplies
- mini muffin tins* – enough for about 48 tarts. You can also use standard sized muffin tins if you want larger tarts.
- electric mixer and mixing bowl
How To Make Cheesecake Mincemeat Tarts

The first step to making this cheesecake mincemeat tarts recipe is to line the muffin tins with the tart shells.
You can either buy them pre-made (usually in the freezer section) or make your own using our no-fail pastry crust recipe.
Then place a small spoonful of the mincemeat in the bottom of each tart shell. You don’t want to fill it too full because we will be putting the cheesecake on top of it.
Next, make the cheesecake.
To do this, beat the cream cheese in a mixing bowl until it is smooth.
Then add in the sour cream, eggs, vanilla, and lemon peel.
Finally, stir in the flour and sugar by hand.
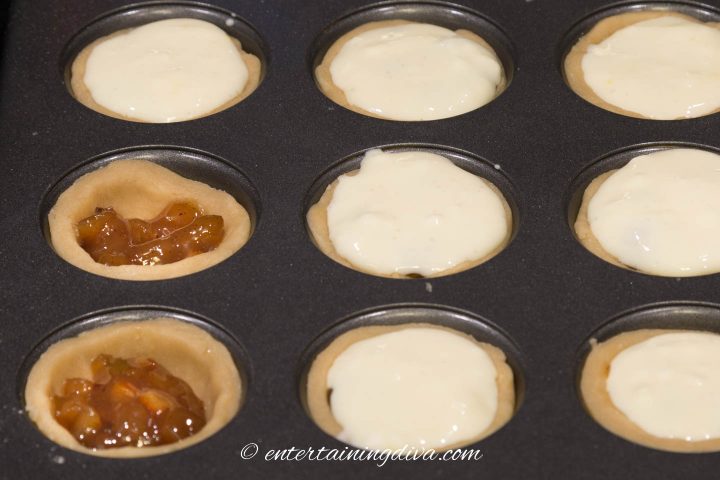
Cover the mincemeat mixture in each of the tarts with a layer of the cheesecake mixture.
Bake at 375F for 25 to 30 minutes until lightly browned.
Let cool.
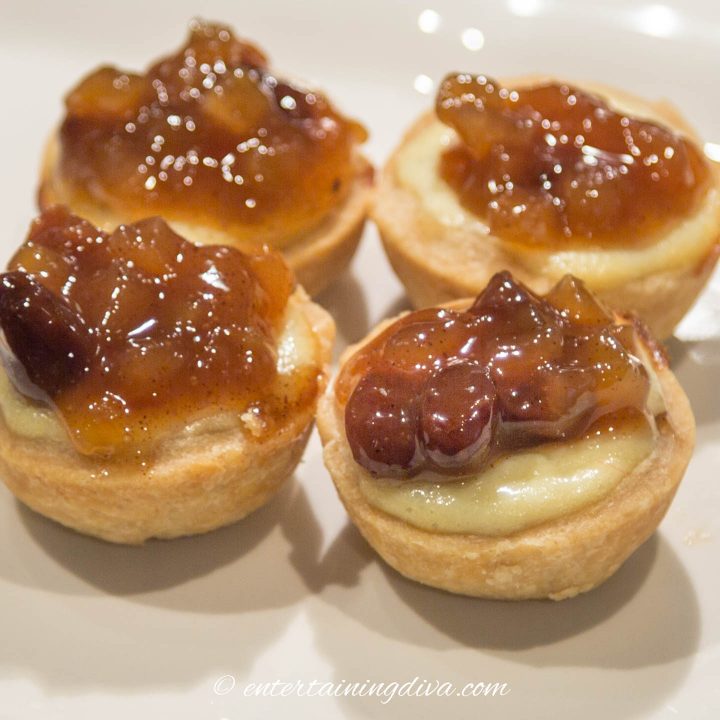
Just before serving, add a scoop of mincemeat filling to the tops of each of the tarts.
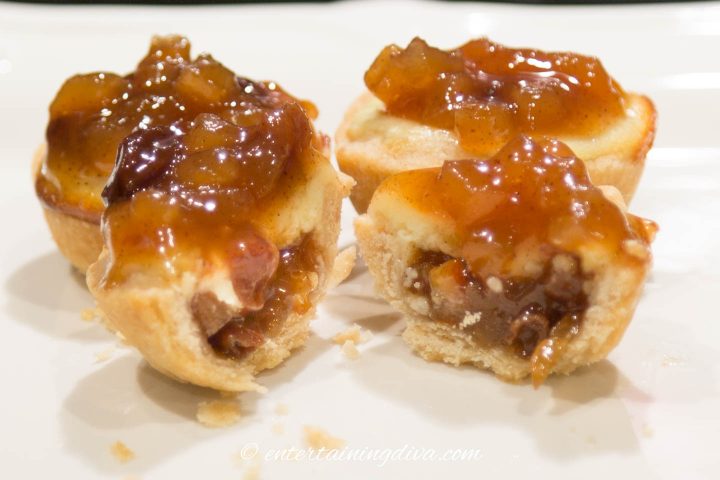
When you bite into one of them, they look like a complicated, filled-in-the-middle dessert. No one needs to know how easy they were to make!
You can also freeze these tarts (without the topping) in an airtight container for up to a month. Thaw and add the mincemeat on top just before serving.
Other Dessert Recipes You Might Like
- No-Fail Pie Crust Pastry
- Cherry Cheesecake Tarts
- Traditional Christmas Fruit Cake
- Pistachio Fruit Salad
Cheesecake Mincemeat Tarts
Ingredients
- 48 mini-tart shells You can either buy these pre-made or see our recipe for No-Fail Pie Crust Pastry (found here: https://www.entertainingdiva.com/recipes/no-fail-pie-crust-pastry/) if you want to make them yourself.
- 1 29-ounce jar of prepared mincemeat
- 1 8-ounce package of cream cheese
- 1 cup sour cream
- 2 eggs
- ½ teaspoon grated lemon peel
- ½ teaspoon vanilla
- ½ cup sugar
- 1 Tablespoon flour
Equipment
- 2 mini muffin tins (these hold 24 small tarts instead of the usual 12)
- electric mixer and mixing bowl
Instructions
- Heat oven to 375° F.
- Line the mini-muffin tins with the mini tart shells.
- Place a small spoonful of the mincemeat into the bottom of each tart shell. Be sure to leave about 1/2 cup of the mincemeat in the jar to use as a topping later.
- In the mixing bowl, beat the cream cheese until smooth.
- Blend in the sour cream, eggs, lemon peel and vanilla.
- In a separate small bowl, mix the sugar and flour together.
- Stir the sugar mixture into the sour cream mixture.
- Pour the cream cheese mixture over the top of the mincemeat in each of the tarts.
- Bake for 25 to 30 minutes, until lightly browned.
- Cool. The tarts can be frozen at this point and thawed before serving.
- Just before serving, spoon a little of the reserved mincemeat on top of each of the tarts.
Notes
Nutrition values are estimates only, using online calculators. Please verify using your own data.
Other Christmas Dessert Recipes
This post was part of the 5th annual 12 Days of Holiday Ideas event, hosted by Shirley of Intelligent Domestications and Erlene of My Pinterventures. So as an added benefit, you’ll find a whole bunch of other Christmas dessert recipes from my blogging friends.
If you missed them, you can go here to see our kick-off collection of holiday decor ideas as well as all of this years talented participating DIY and Foodie Blogs.
Now, be sure to check out all of the other Christmas dessert and treat recipes by clicking this link:
Other bloggers’ recipes you might like
Have comments or questions about our cheesecake mincemeat tarts? Tell us in the section below.
Pin It So You Don't Forget It!
This post was originally published on December 2, 2019 but was updated with new content on March 19, 2024.
My mom made mincemeat tarts every Christmas. They were not a hit with us kids but the adult guests would eat them up. Now, this is a mincemeat tart I could sink my teeth into and probably would’ve as a child too! I use the premade tart shells as well but I like your idea of using mini muffin tins. Definitely trying that instead. Pinned
Thanks, Marie! Yes, I think the cheesecake part makes everyone love these 🙂
This looks delicious! I have never tried mincemeat before, but you have inspired me to give this a try! Pinned!
Thanks, Lynne! They are really tasty 🙂
My husband talks about growing up eating mincemeat, but I’ve never had any. These are so cute and sound delicious that I would like to try them.
Thanks, Rachelle! They’re really easy to make, too…so that’s always a bonus 🙂