Mad Hatter Tea Party Ideas
I have been mentioning the anniversary party I was going to host for some friends of mine for a few weeks…well, it finally happened!
But back to the beginning…both of my friends love to dress and love to wear hats.
So I decided to go with the Mad Hatter Tea Party theme.
And this was definitely one of the most fun parties I have had in a long time.
Keep reading to see my Mad Hatter Tea Party ideas.
The Invitations
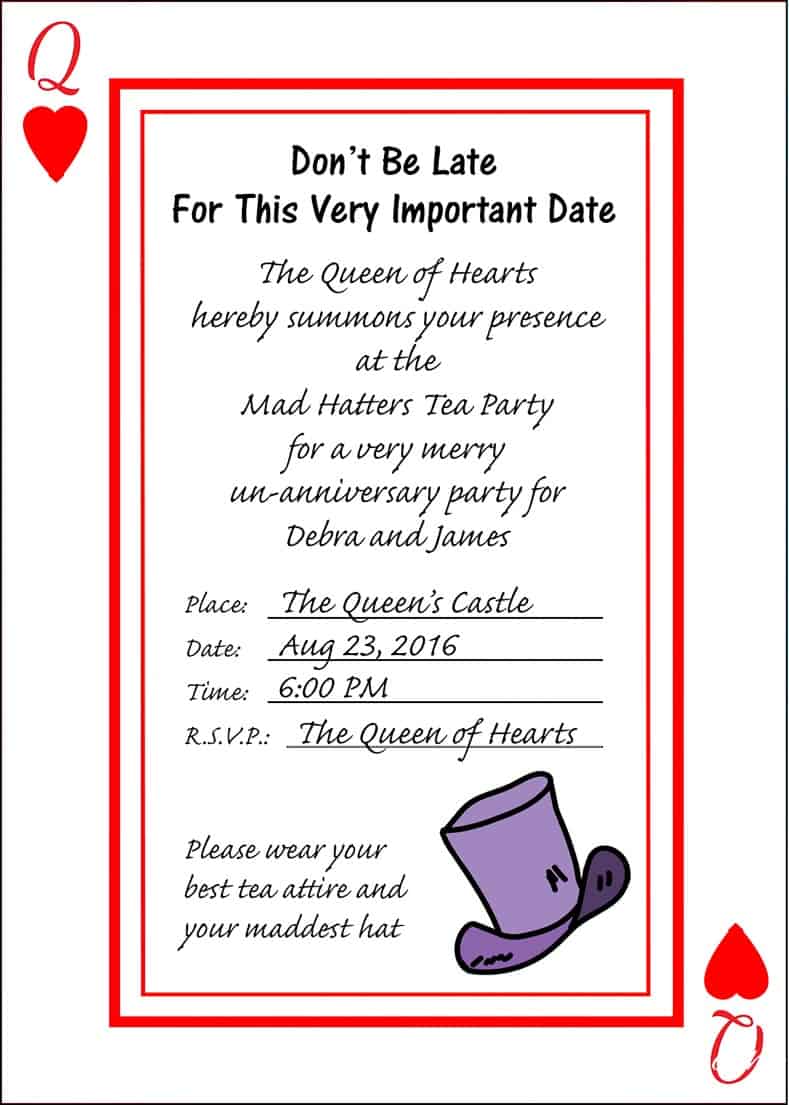
Since this was an anniversary party, I sent out real printed invitations (which I almost never do!)
I used my color printer to print these onto heavy paper stock and sent them in 6″ x 9″ envelopes…which definitely got everyone’s attention!
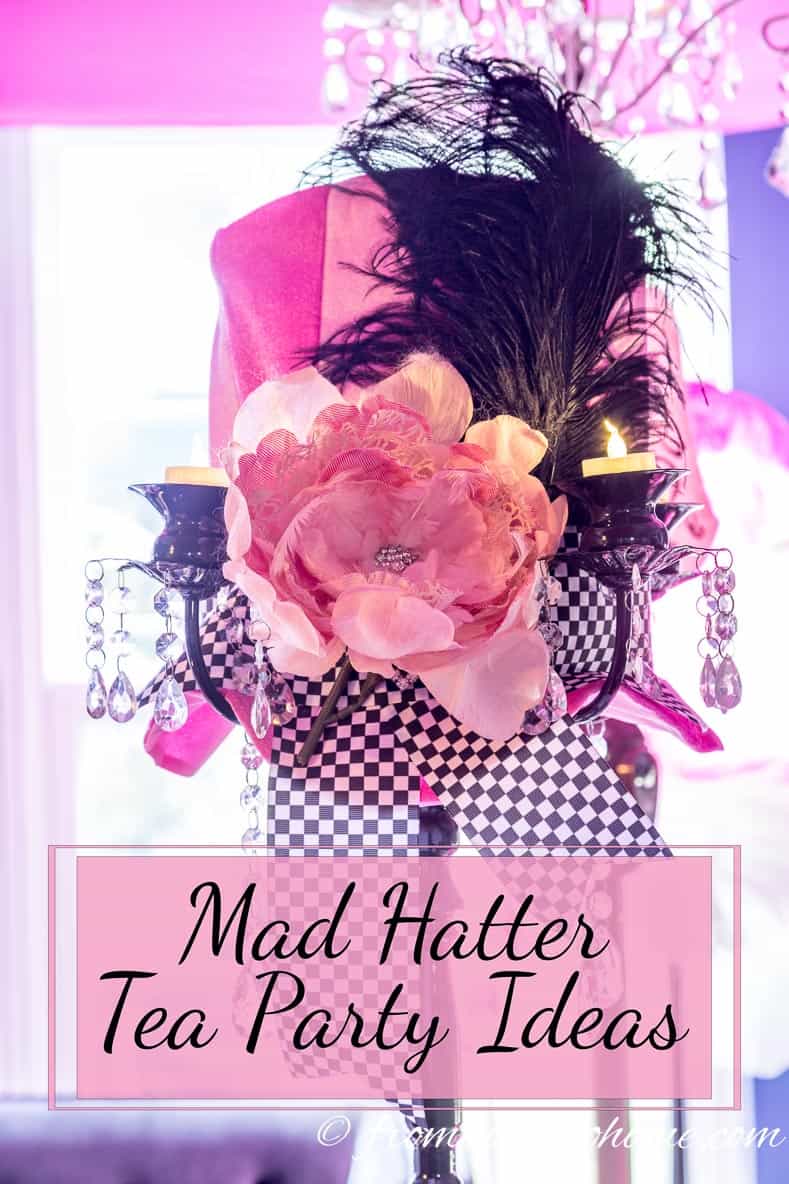
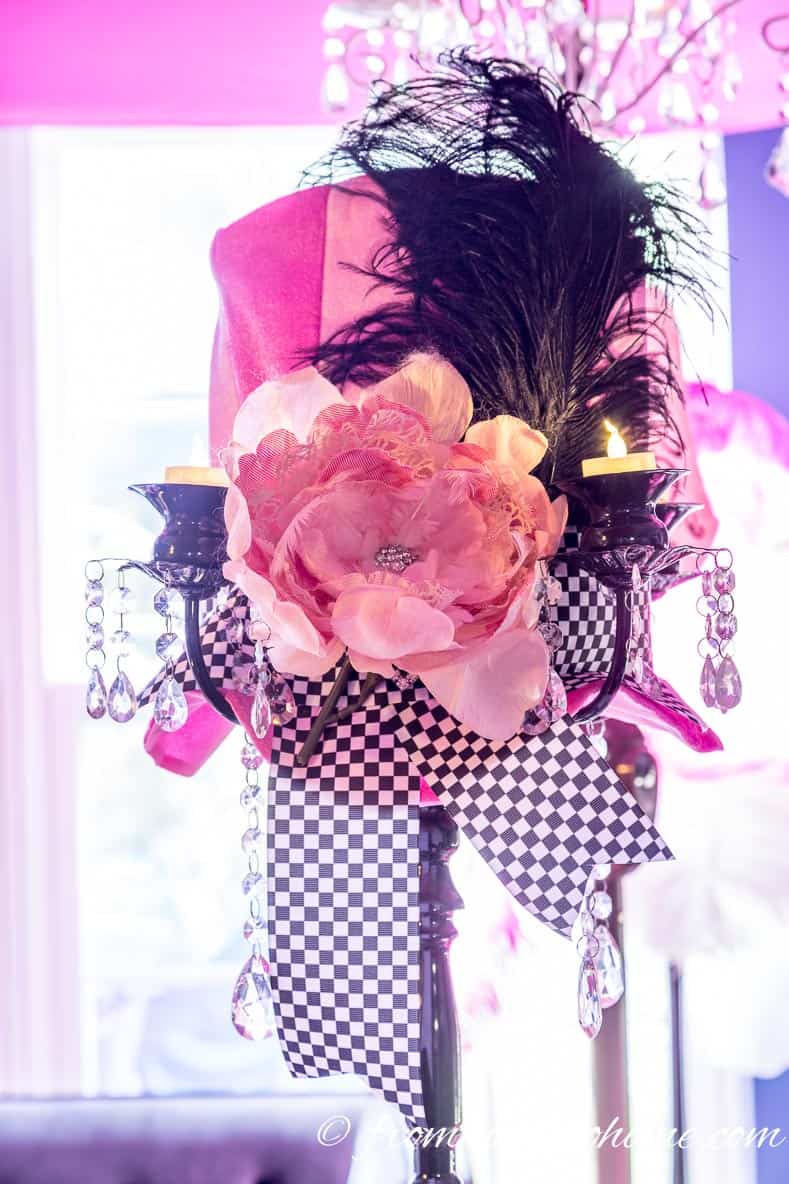
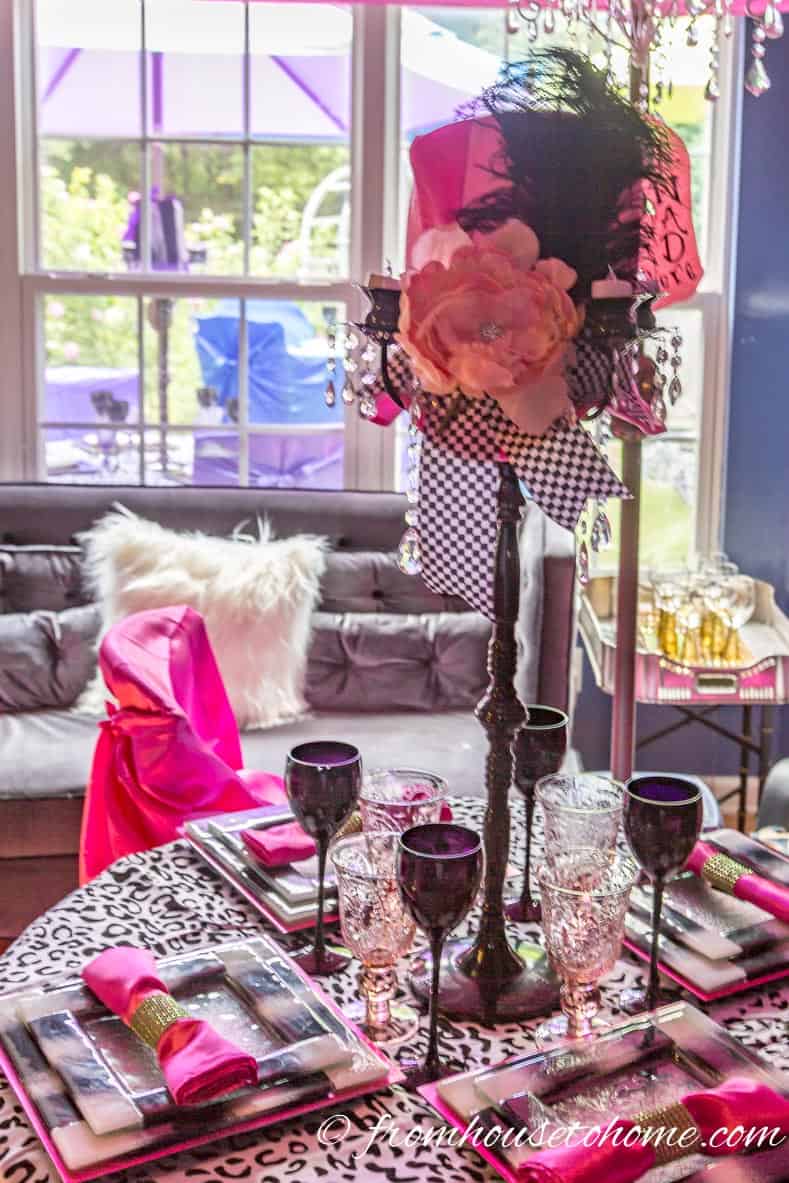
The Centerpieces

To go with the Mad Hatters Tea Party theme, I knew I wanted the table centerpieces to have something to do with hats.
I also knew that I wanted to go with bright colors – pink, purple, green and blue to tie in with the Alice in Wonderland theme.
Combine those two ideas together and what do you get? Hats in different colors as the centerpieces.
Now I have a confession to make…I really don’t like wearing hats…I only own one (that I bought on vacation and have never really worn). All that to say that I didn’t have any hats I could use for centerpieces, and I didn’t want to spend a lot of money buying hats that I would never use. That means…you guessed it…a DIY project.
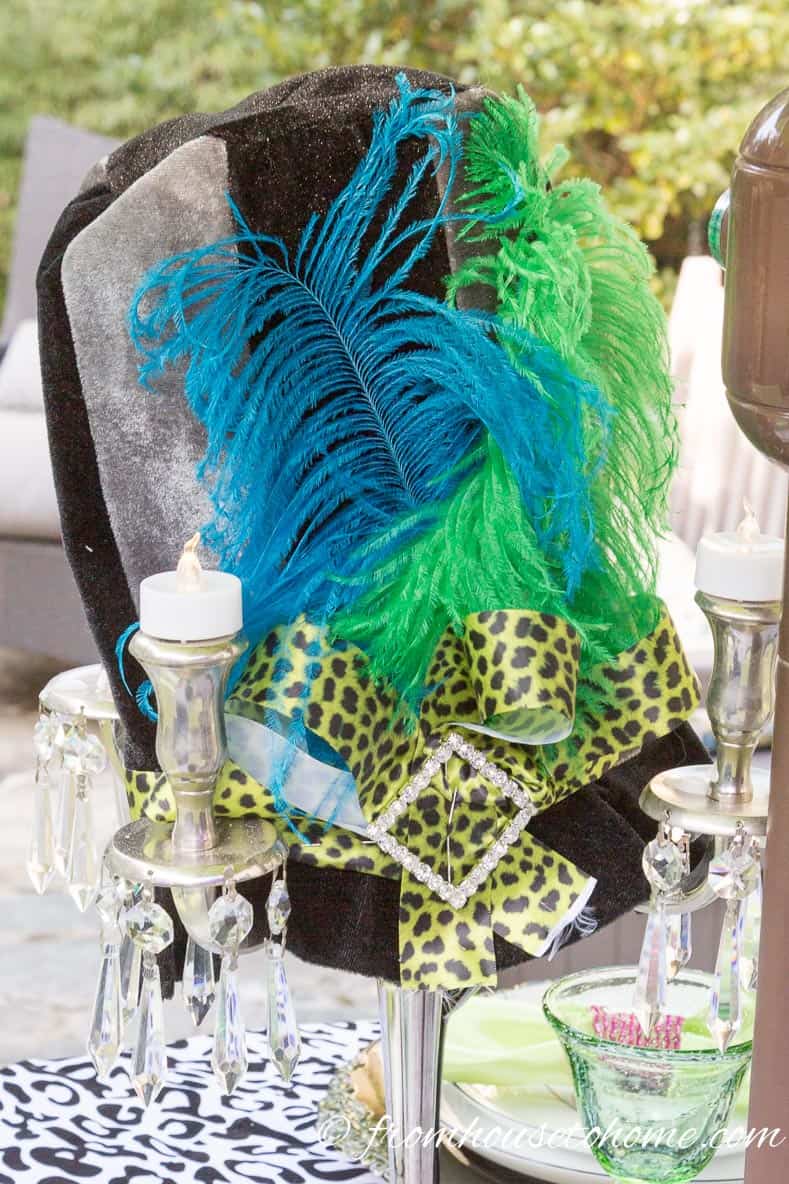
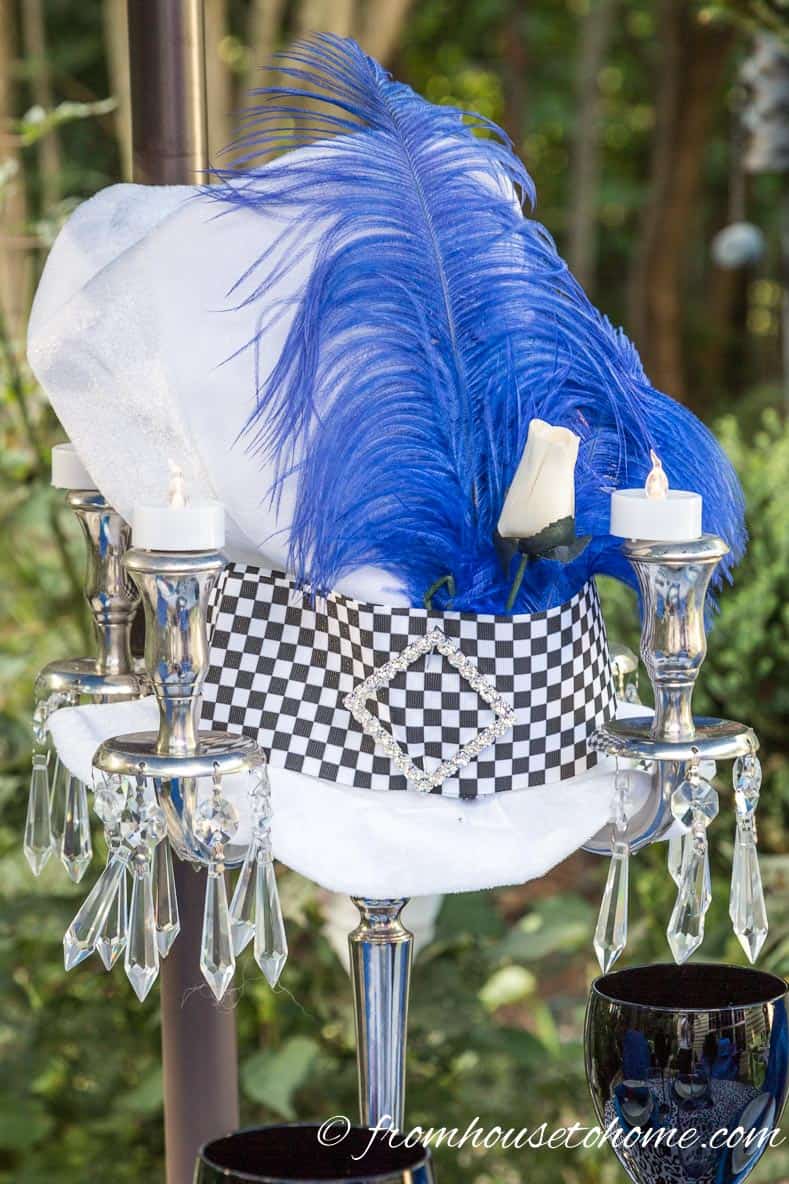
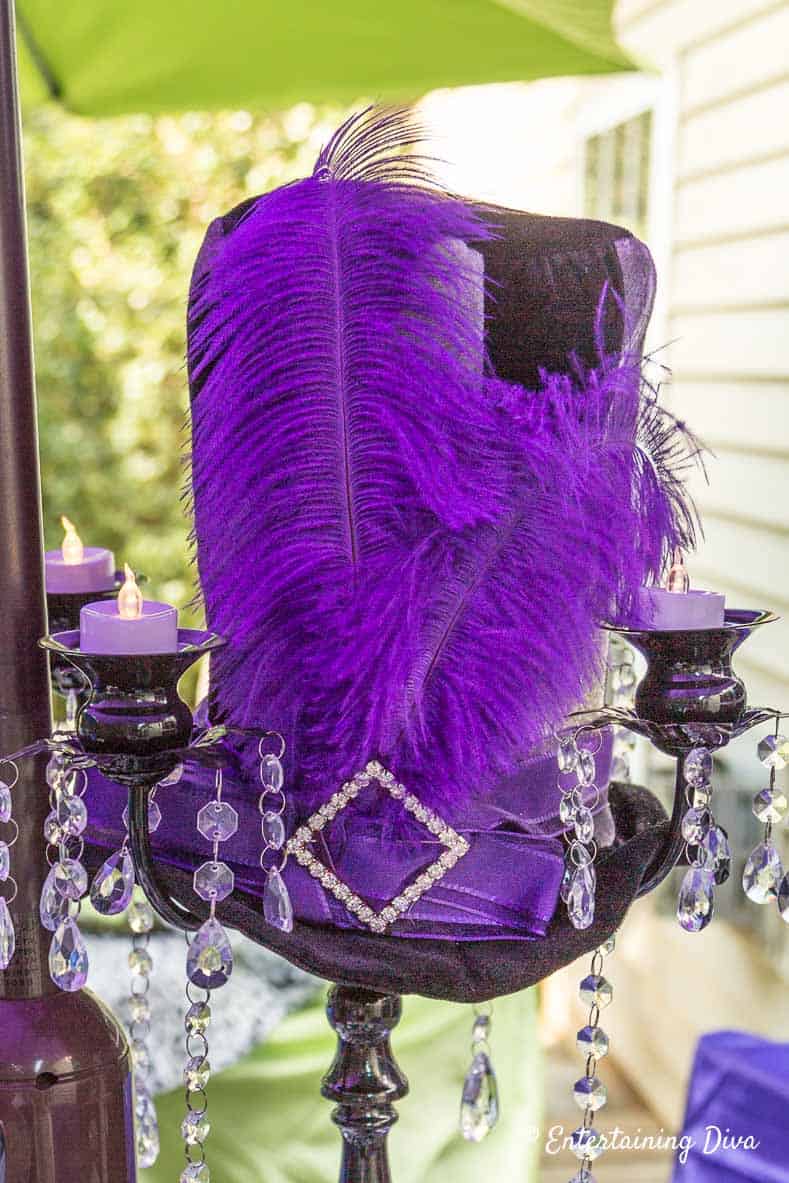
I didn’t go so far as to actually make the hats themselves, but instead bought some inexpensive tall fabric hats from Party City.
And then added ribbons, feathers and fake flowers to them to add the color. If you want to know more of the details, read how to make Mad Hatter hats.
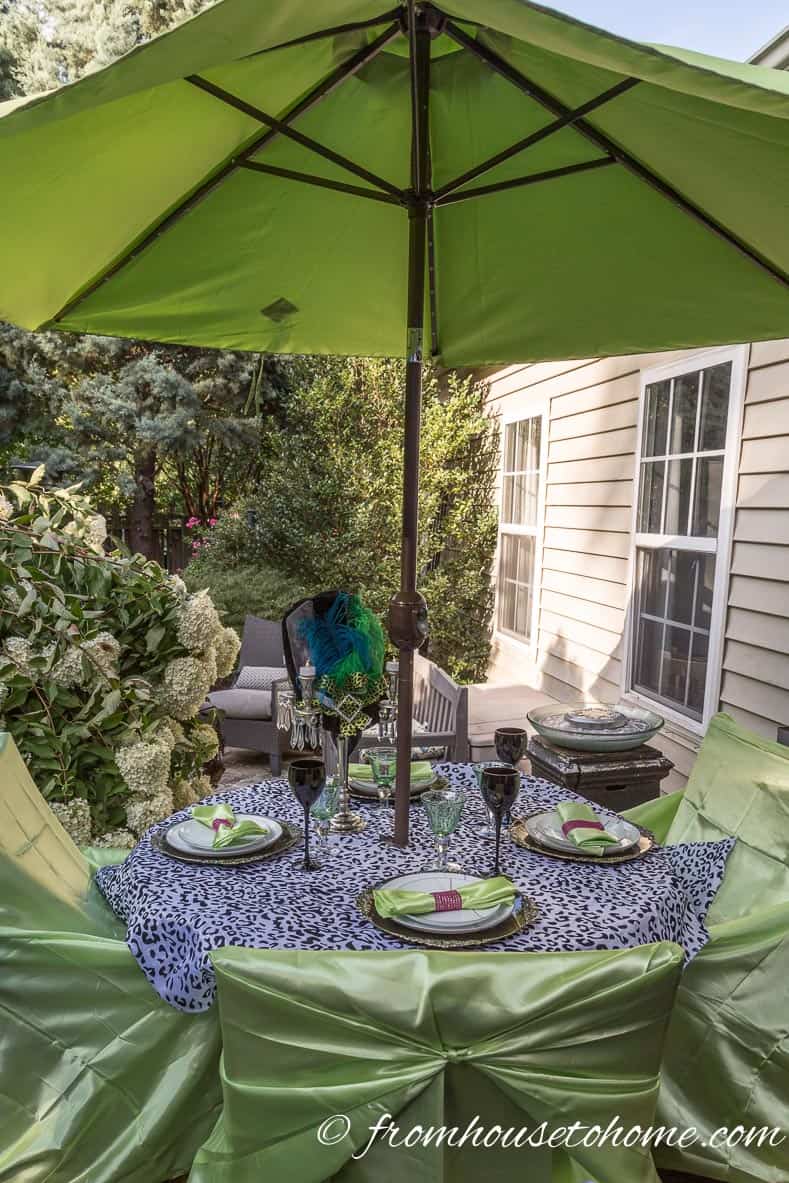
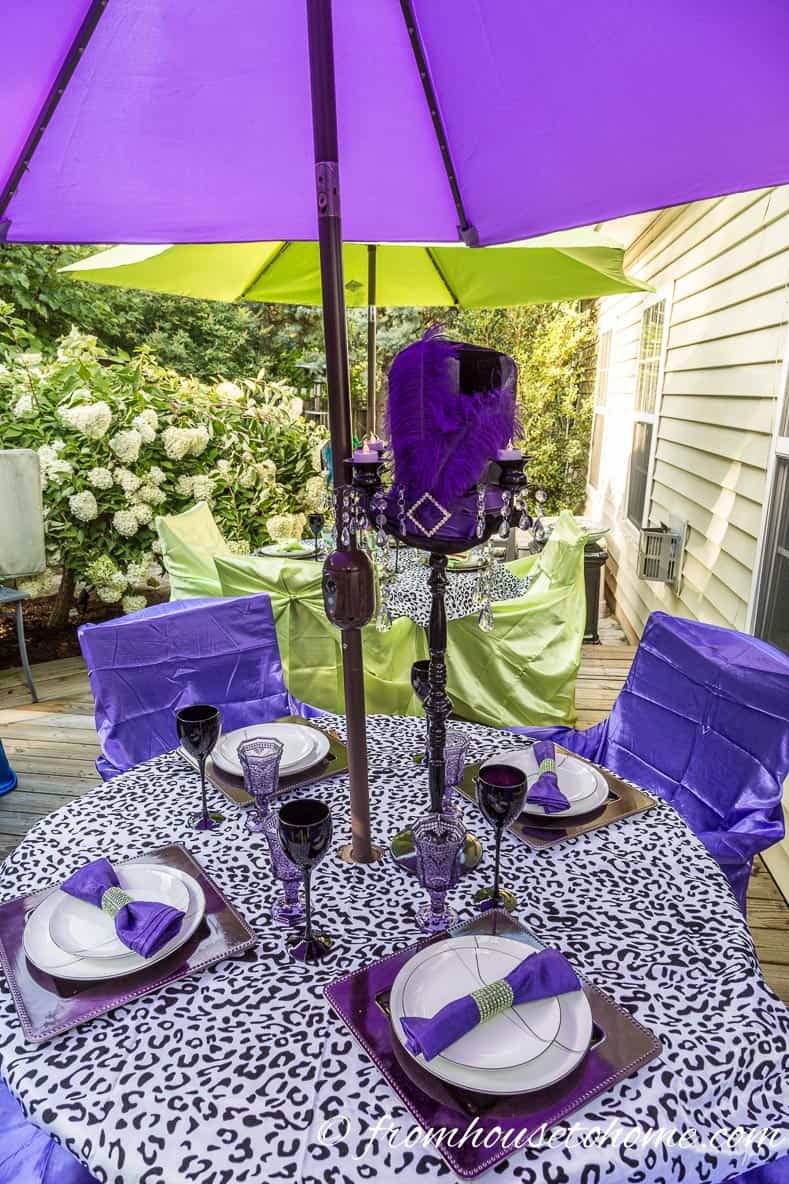
To make them stand out on the table, I put the hats on top of 5 light candelabras and used flame-less candles to make sure nothing caught on fire.
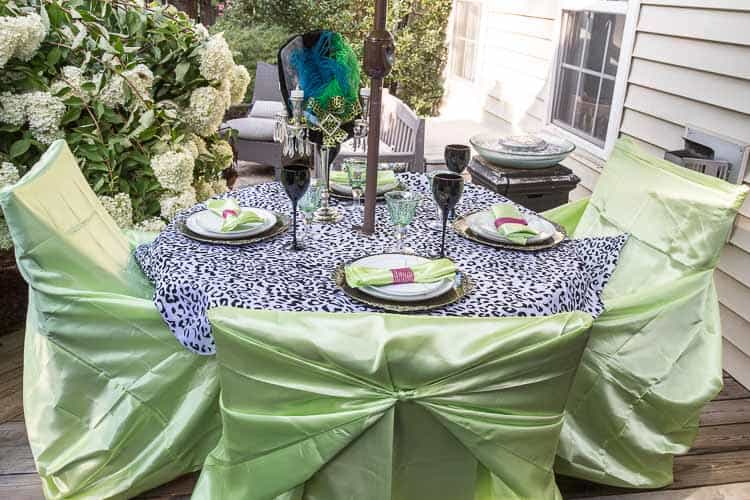
The Tablecloths
I knew from the beginning that I wanted to use white and black table cloths.
They provide a unified backdrop for all of the tables, and make the colors stand out.
I actually owned some black and white damask tablecloths that I had used for another party.
But then I realized they wouldn’t work for the tables outside, since the umbrellas come up through the center of the table (and I didn’t want to cut holes in the middle of these tablecloths).
So I went hunting online for some really inexpensive ones and found these black and white leopard print tablecloths*. Perfect!
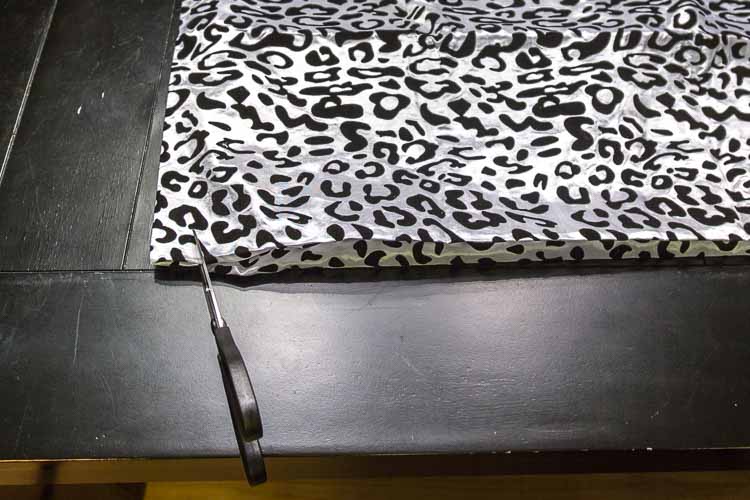
To make them fit the outside tables, I simply folded them in quarters.
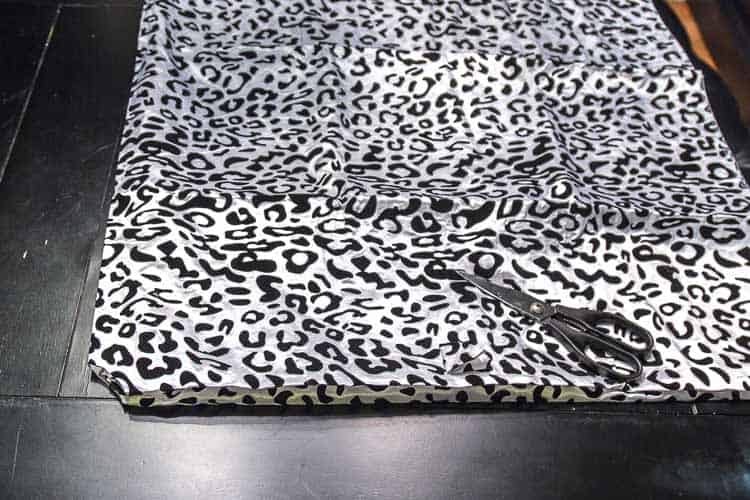
Then cut off the corner where all of the quarters met.
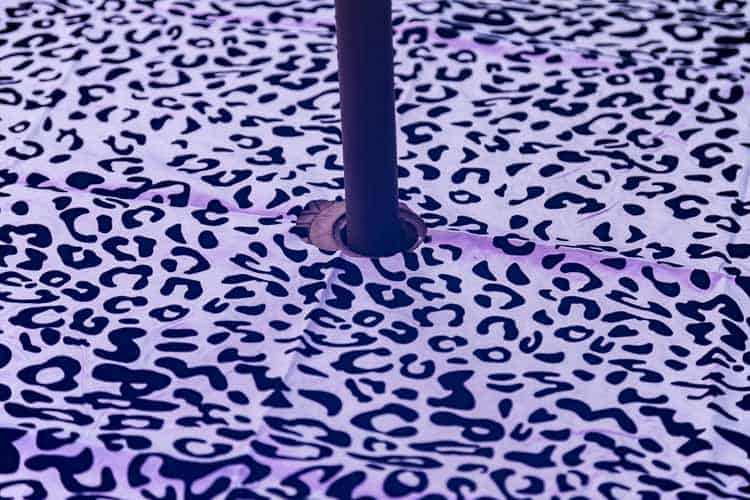
Unfold the tablecloth and the hole will be exactly in the middle. Then lay it down on your table and fit the umbrella through.
It also works really well outside, because the umbrella prevents them from blowing off the table.
The Table Settings

Once I had the top hats, coming up with the table settings was easy.
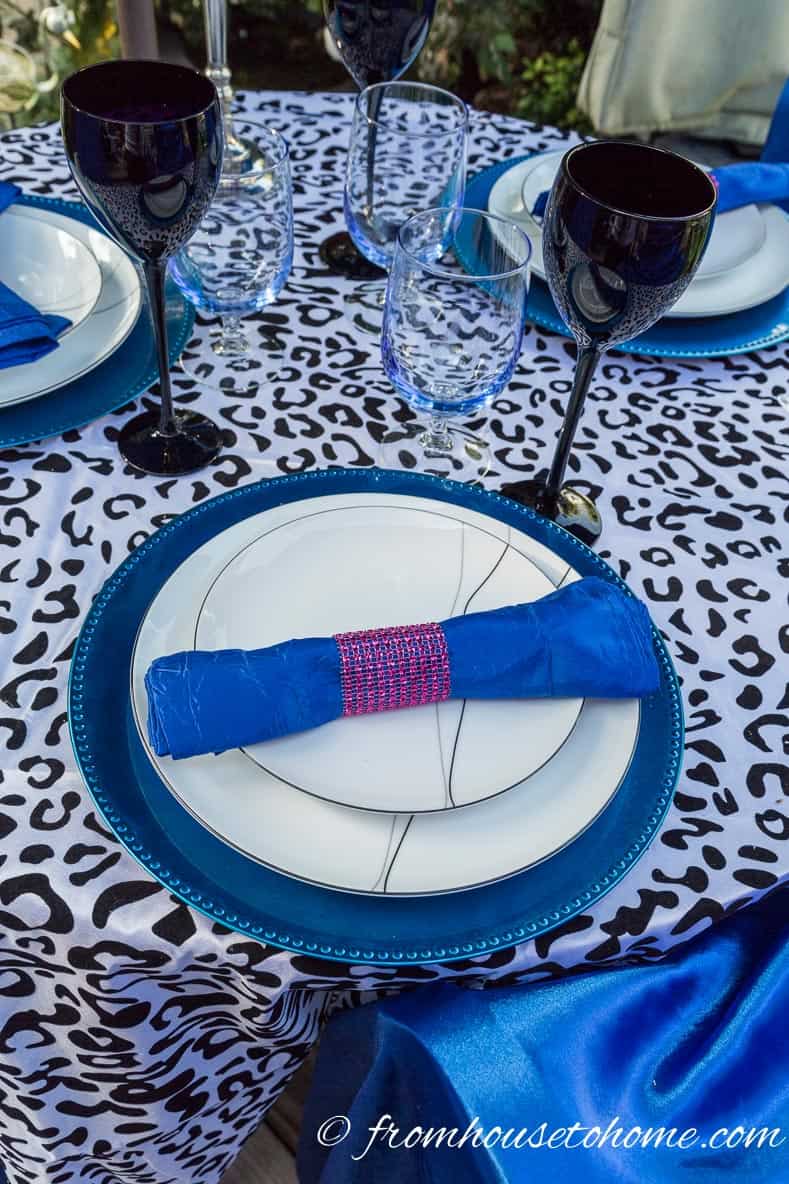
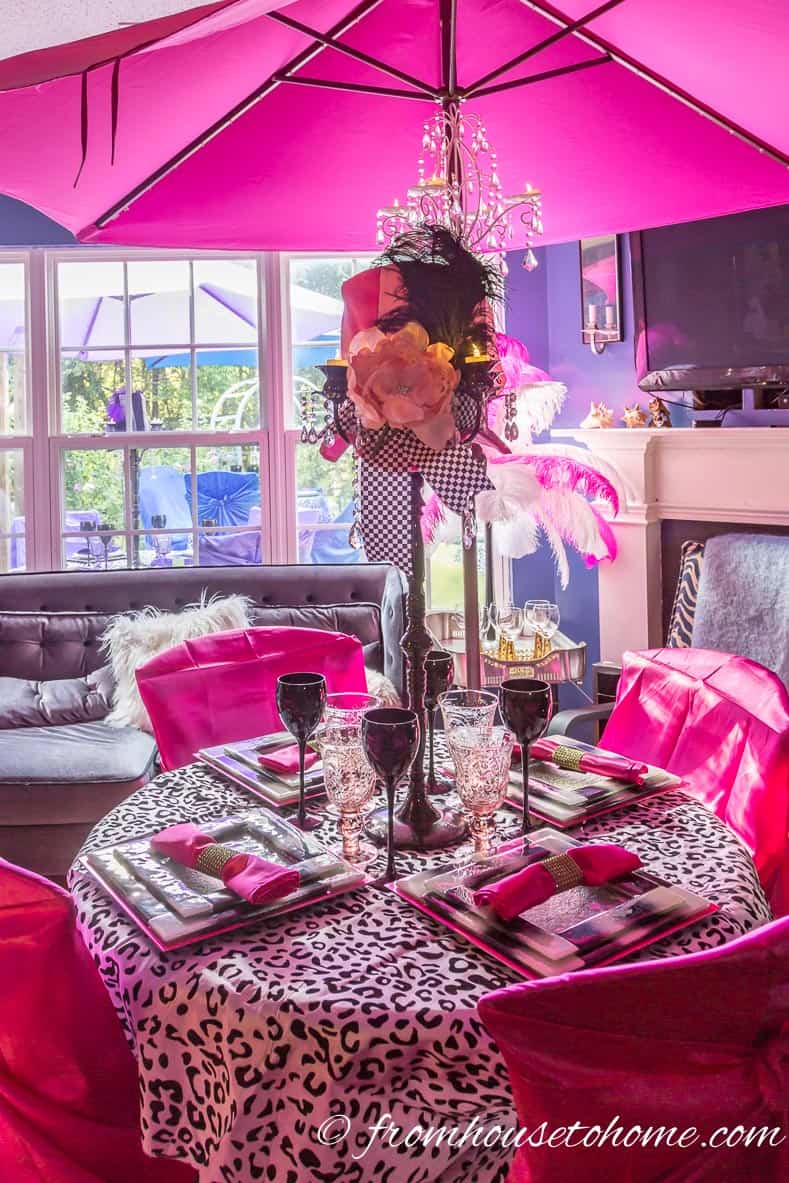
I wanted to do a different color for each of the tables so that the tableware matched the centerpiece hat.
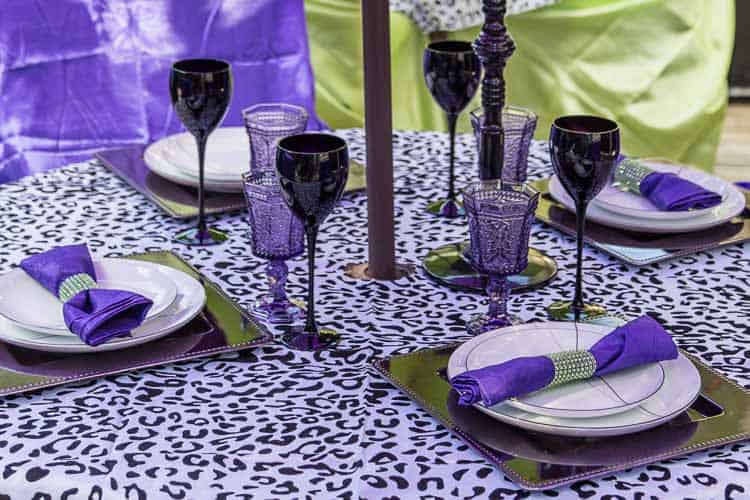
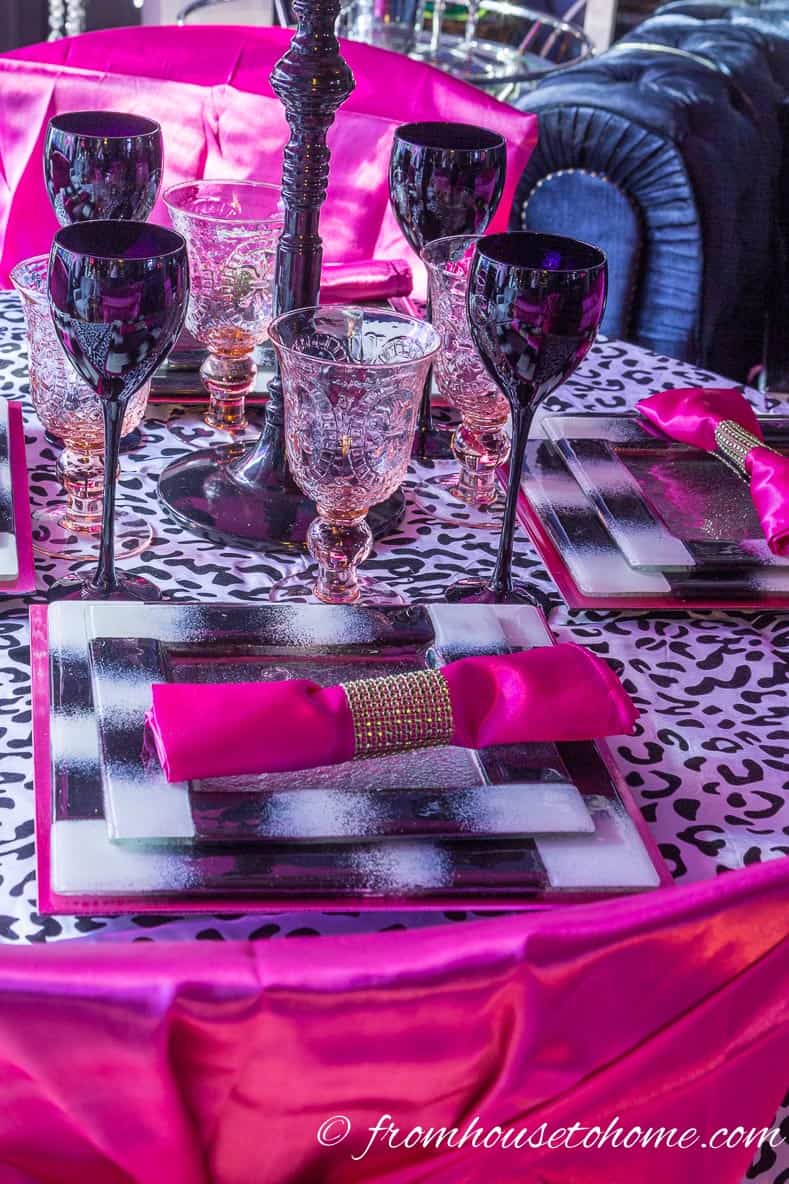
Then I used chargers, napkins, glasses and chair covers that matched the colors of the centerpieces.
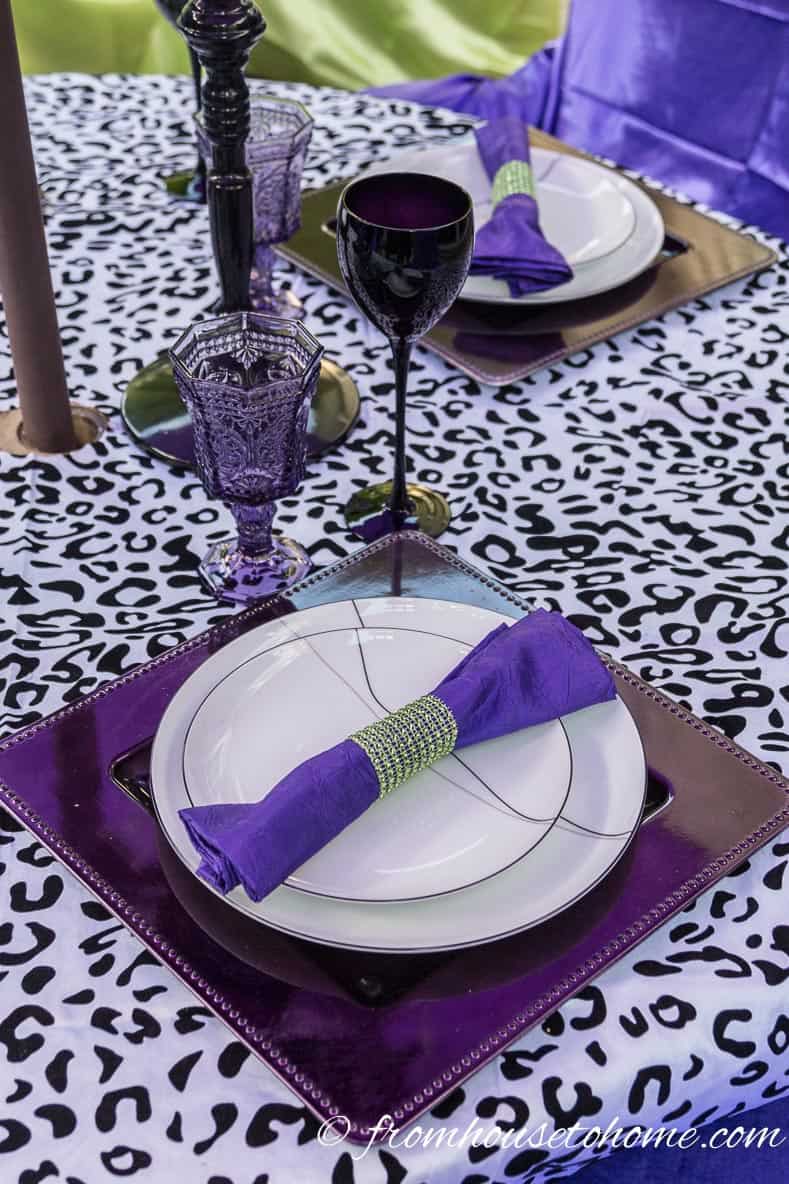
To prevent too much color overload, I used black and white plates.
As you can see, I didn’t worry too much about having everything matching.

The plates, chargers and water glasses were different across the tables.
And then added a touch of one of the other colors to each table with the napkin rings. These are my DIY sparkle napkin rings in pink and green…click here if you want the instructions on how to make these (they’re really simple and really inexpensive!).
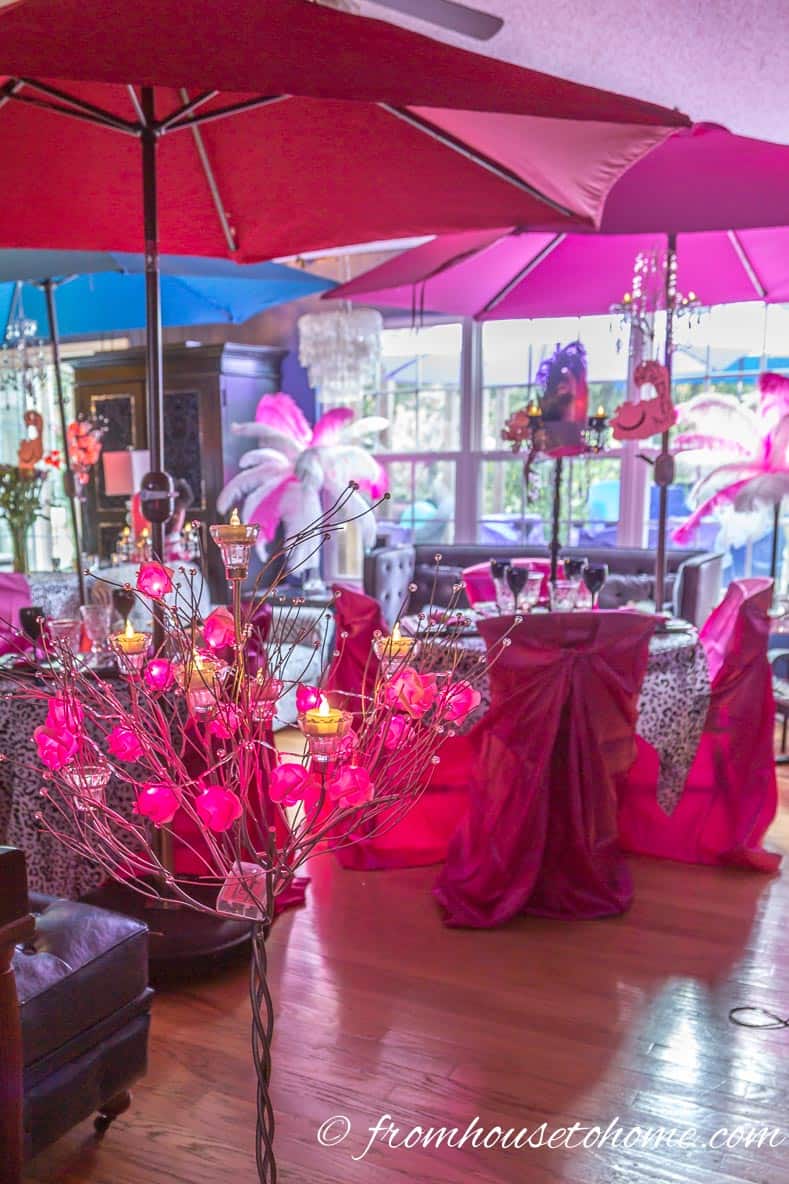
The Umbrellas

Since my party was being held in the summer, my original thought was to have the entire party outside. My house isn’t that big so hosting 50 people is much easier to do outside!
But the problem was, in the summer in South Carolina, there is always a chance of evening thunderstorms rolling through that could completely ruin outdoor decor.

So I thought I would set up a bunch of umbrellas that could at least prevent the tables from getting soaked.
I ended up buying umbrella covers in the same colors as I was using for the table decor.
But I thought I also needed some indoor decor just in case there was a real downpour…and was having a hard time figuring out what I wanted to do inside. Then I had a brainwave…why not just bring some of the umbrellas inside and make my living room into a continuation of the deck?

It worked out better than I could have imagined! Everyone loved the indoor umbrellas, and I didn’t have to design another set of decorations 🙂
The Feather Vases
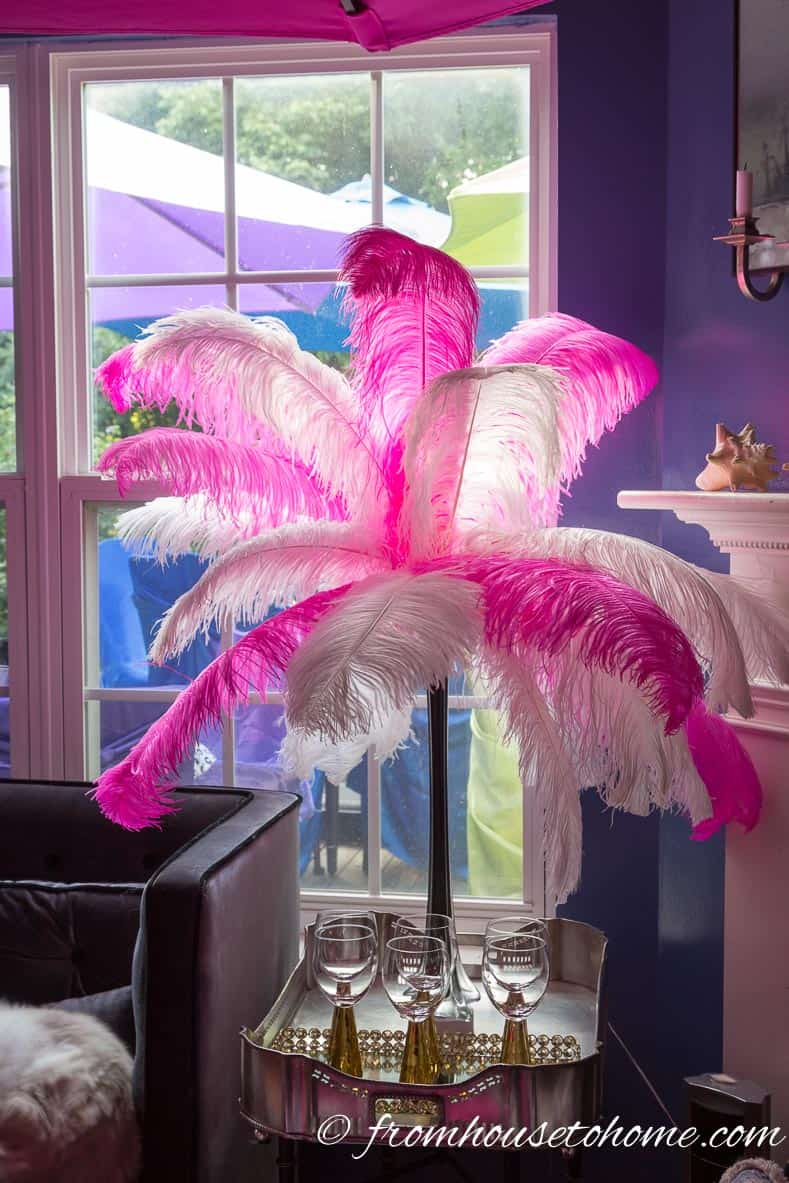
To go along with the indoor tables, I also used some of my signature feather vases. Since I already own all the feathers and vases, they are an easy way to add drama to any space.
The Cheshire Cat
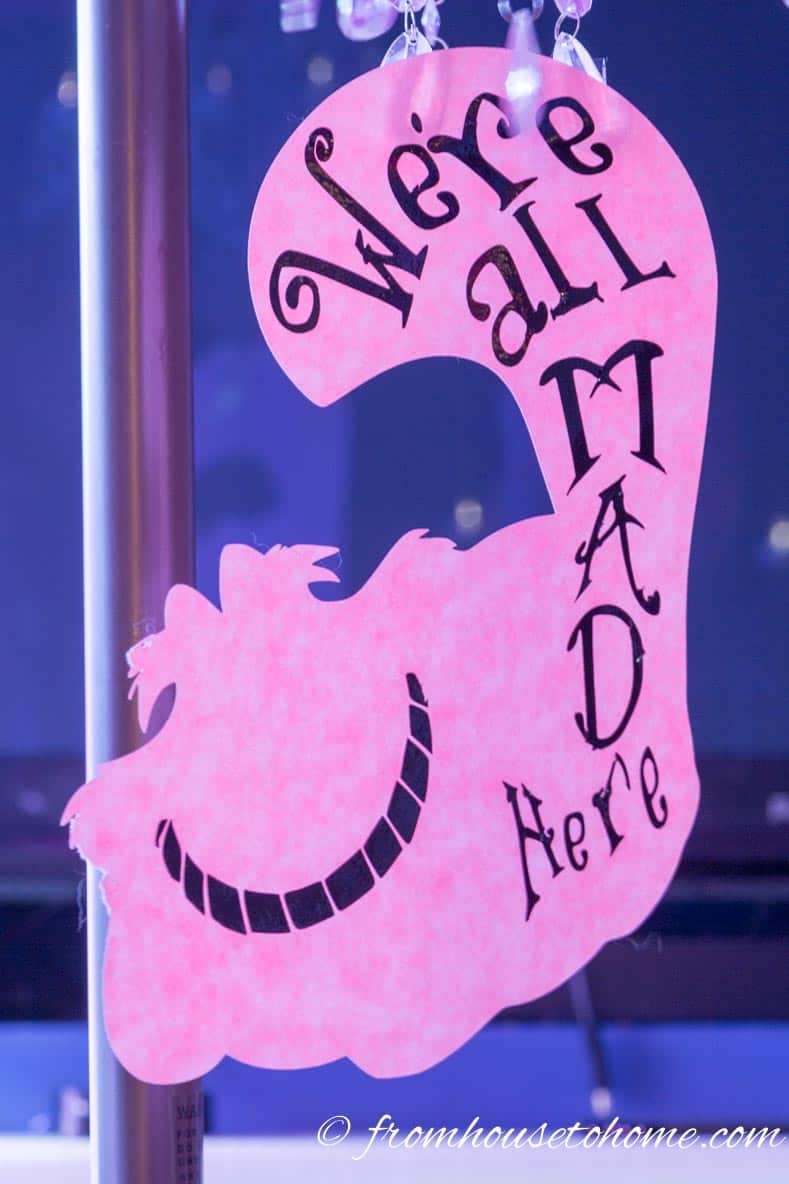
Seeing as how I have 2 cats, I couldn’t have an Alice in Wonderland party without including the Cheshire Cat.
I hung these signs from the inside of the umbrellas so that he would look like he was floating.And I like the quote, too 🙂
The Roses
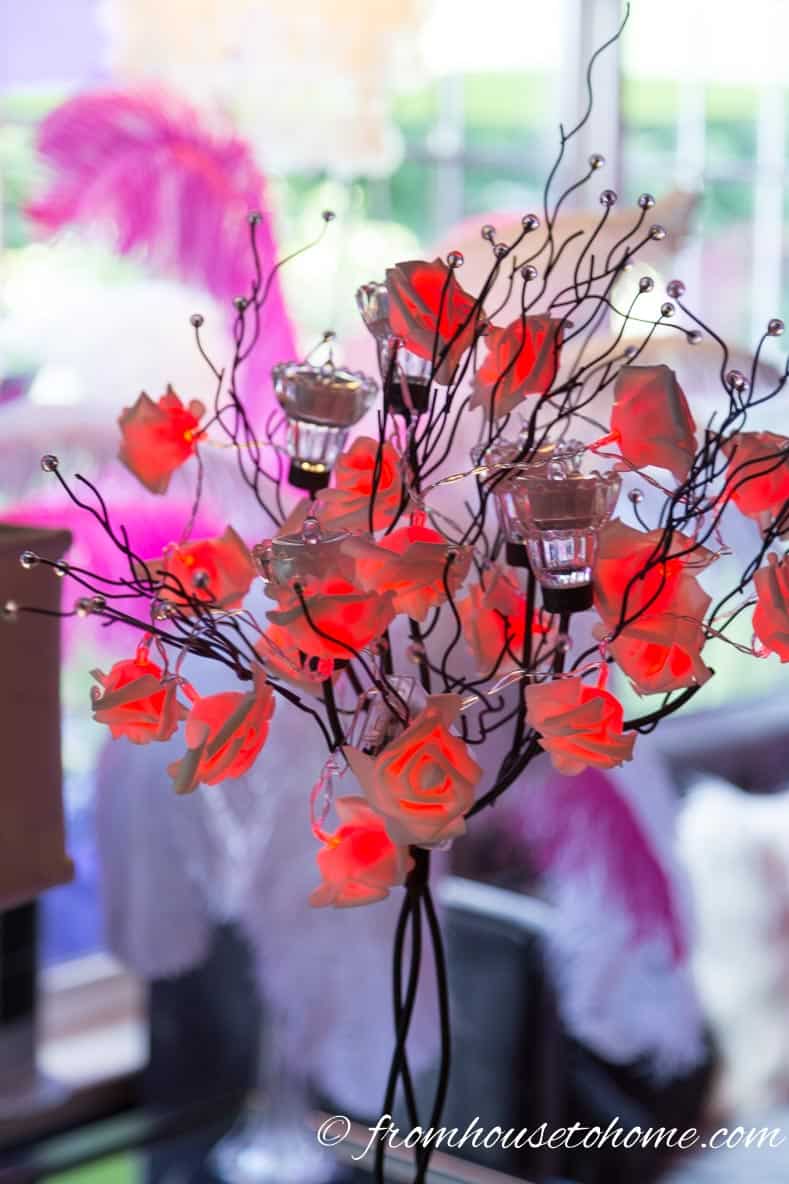
To add some indoor rose bushes, I bought some red rose string lights and strung them through some candle trees* that I already owned.
The candle trees provide the perfect entrance to the party…just like the rose bushes in the Queen of Hearts’ garden.
The Royal Croquet Court
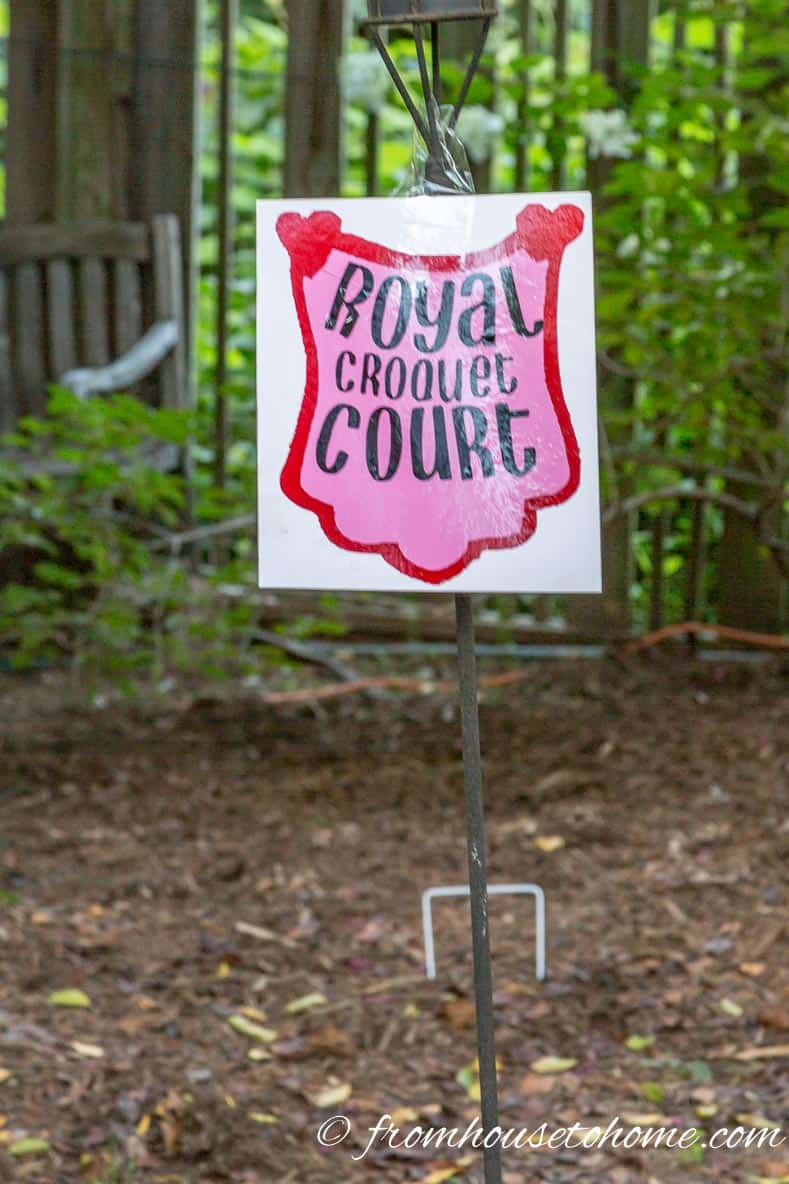
The Queen of Hearts was all about the Royal Croquet Court using flamingos as croquet sticks. So for outdoor entertainment, I set up a croquet court. I wasn’t sure how it would go over, but everyone really liked it! Something to keep on the “summer party” list.
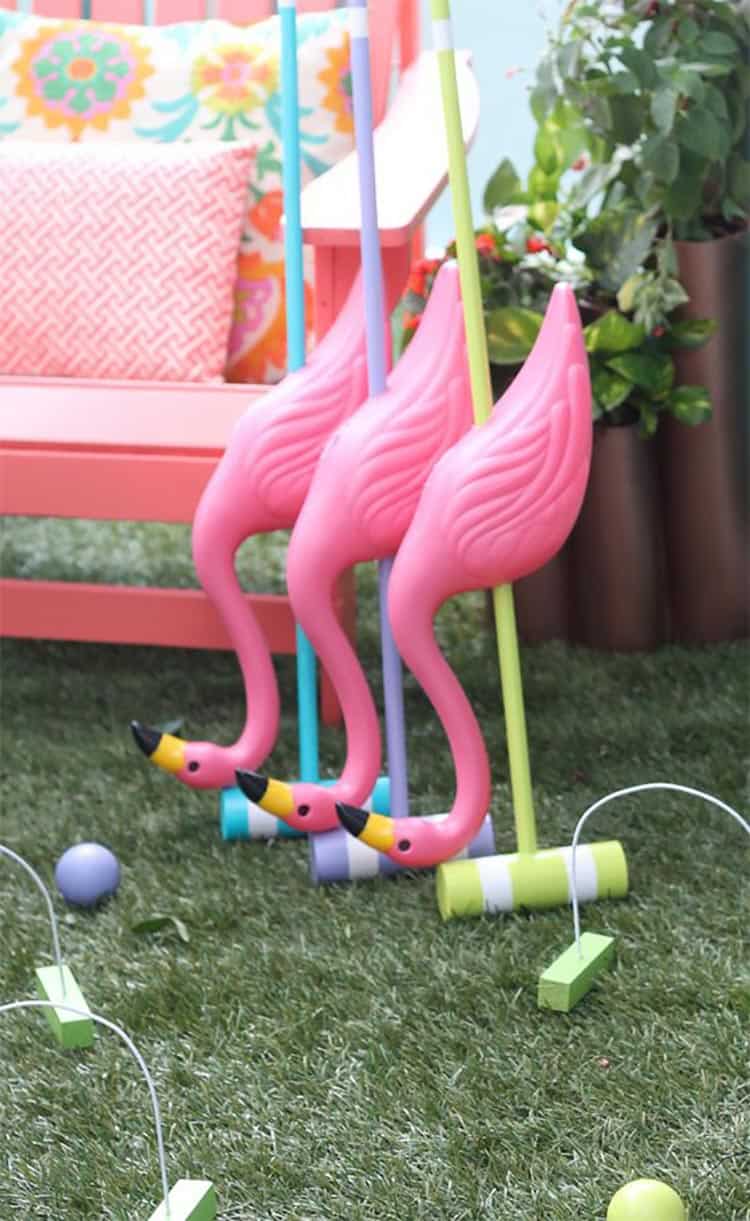
Make Your Own Alice In Wonderland Croquet Set via blog.homedepot.com
I saw this this great tutorial on homedepot.com from Amber Kemp-Gerstel of Damask Love for making your own pink flamingo croquet sticks, but didn’t actually have the time to try it…so I had to settle a regular croquet game and the sign.
The Tea Party Cake
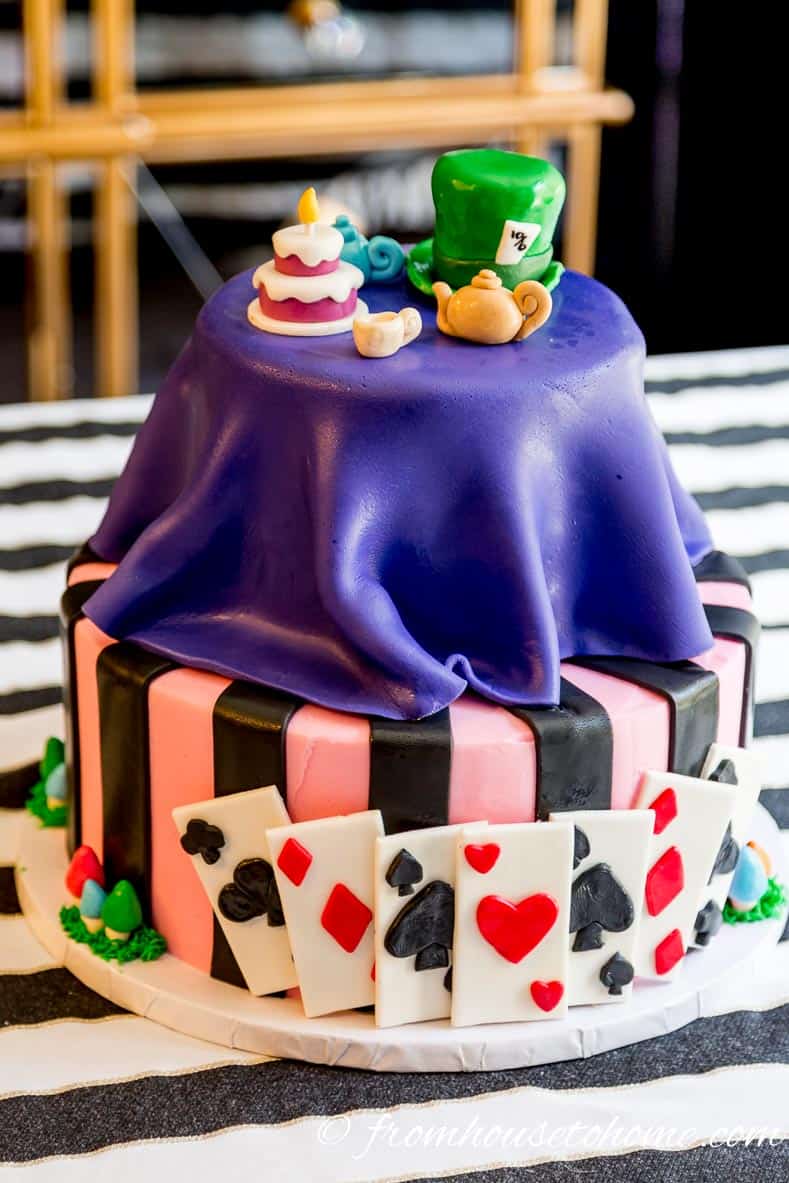
What’s a tea party without a proper tea party cake?
If you have read any of my other attempts at baking, you know that cake/cupcake decorating is not my strong suit!
So I decided in the interest of having a cake that people will actually want to eat, I should hire someone to make it (and actually, a good friend of mine took on the task of getting this done).
I am so glad that I did.
The cake was so much better than I ever could have done…both in the looks and the taste department! (If you happen to live in the Greenville, SC area and want to know who made it…it came from Stax Bakery.)
The Drinks
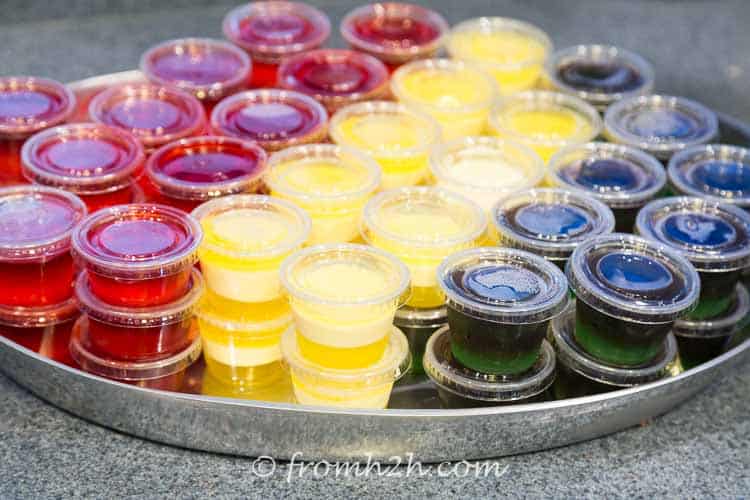
To go with the multi-colored Alice in Wonderland theme, I tried my hand at making striped jello shots.
By far the most successful ones were the Pina Colada jello shots (you can find the recipe here). But there were none left by the end of the evening so all of them went over well.
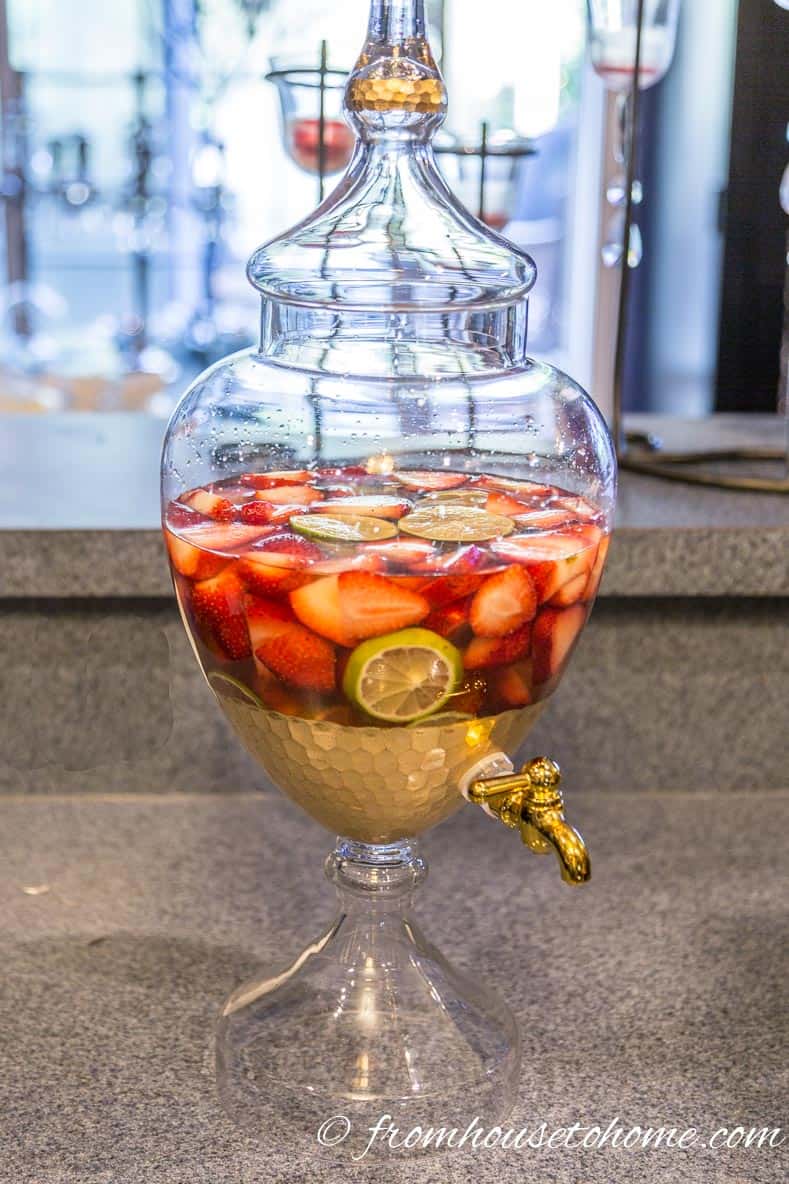
I also made my favorite summer party drink…Berries and Lime Sangria.
It’s refreshing and low in alcohol…perfect for people who don’t want to drink too much….click here to get the recipe.
Have comments or questions about my Mad Hatter Tea Party Ideas? Tell us in the section below.
This post was originally published on August 24, 2016 but was updated with new content on January 21, 2024.
Over the top indeed! What a festive wonderful party that would have been. Well done, Wanda
Thanks, Aunt Elaine! I had a lot of fun putting this party together 🙂
I am looking for a sign actually to put up outside my house “The Mad Hatter.” Done in pretty bright colors like the tables were done.
If you know where I can have this done I would appreciate it.
Thank you 😊
Hi April…I would check Etsy. Something like this sign (https://www.etsy.com/listing/854891557/mad-hatter-alice-in-wonderland-garden) is not exactly what you are looking for, but it is custom made. So if you contact the seller, they may be able to make something for you. Or you might find something that is perfect 🙂