
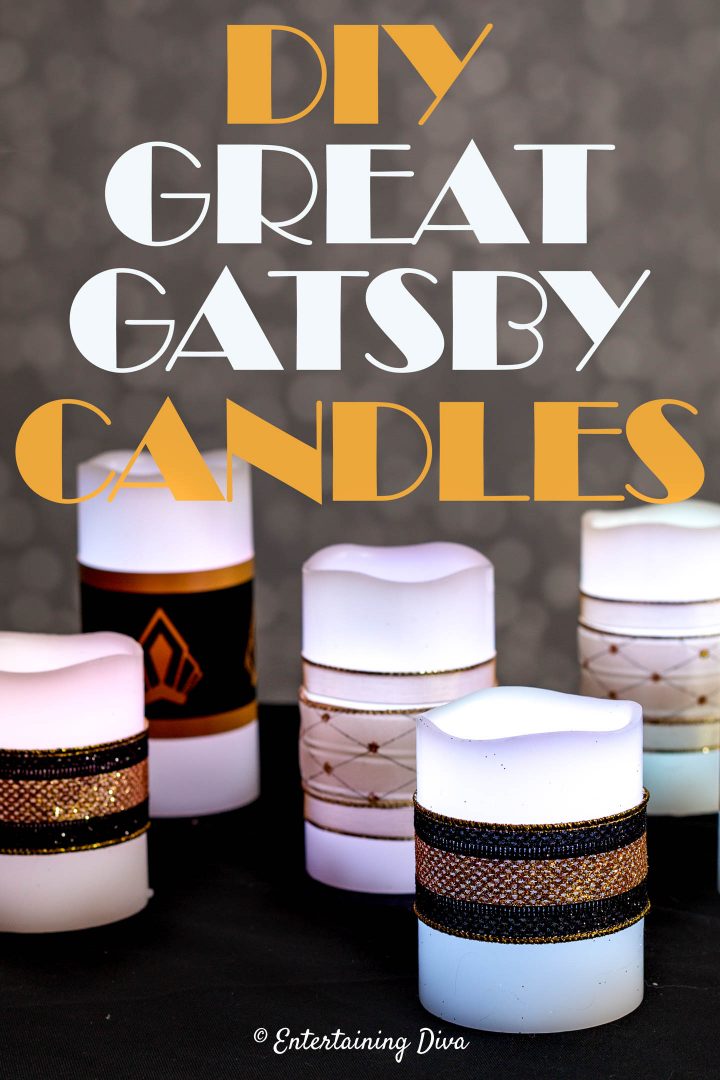
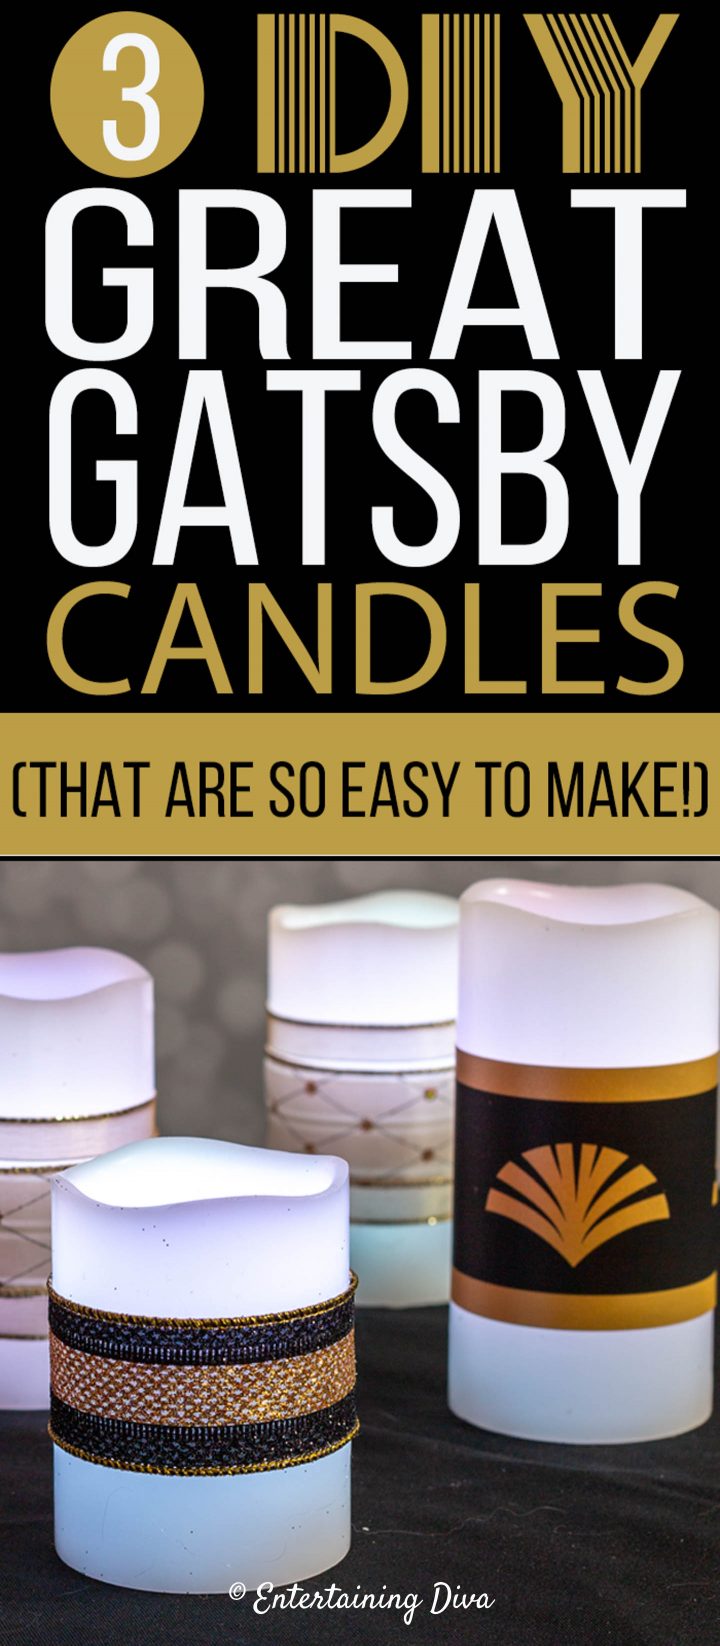
DIY Great Gatsby Candles

These easy and inexpensive black, white and gold DIY Great Gatsby candles will be a great addition to any roaring 20’s party. And then can be re-decorated and re-used for your next event.
I love to use candles to party decor regardless of the party theme.
But I don’t want to buy new candles for every occasion. So I came up with a way to decorate them to match the party color scheme that can be removed when you’re done. Leaving the candles to be reused again next time.
These candle decorations will only work with flame-less candles. But that’s what I use for parties most of the time anyway, since they’re safer when there’s a bunch of people milling around.
Keep reading to find out how to make DIY Great Gatsby candles.
Supplies
Materials
- flame-less pillar candles* – I like to use the ones with a remote for parties since they are easy to turn on and off all at one time.
- ribbon or down load our printable wrappers (below)
- gold paper*
Files
To make these DIY Gatsby candles from scratch, get the printable pattern file(s) from our resource library.
If you’re already a subscriber to our newsletter, you’ll find the password for the resource library at the bottom of every email. If you don’t have a password yet, you can request one by signing up below.
Equipment
- glue gun
- scissors
- paper cutter (optional)
How To Make The DIY Great Gatsby Candles
If you prefer, you can also watch our video:
1 | Simple Ribbon Candle
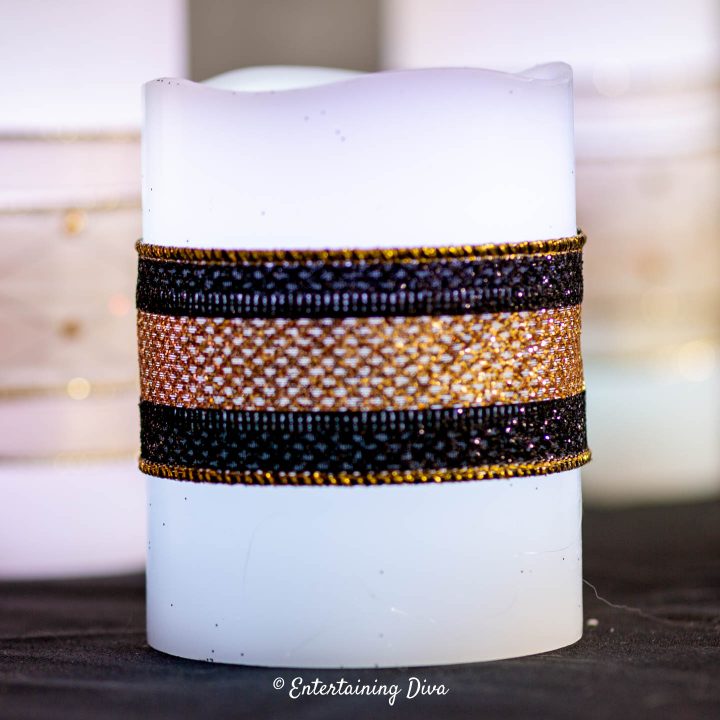
This gold and black striped candle is the easiest one of the candles to do…not that any of them are hard 🙂
All you need is some ribbon that has a Gatsby-like design.
I used black and gold striped ribbon.
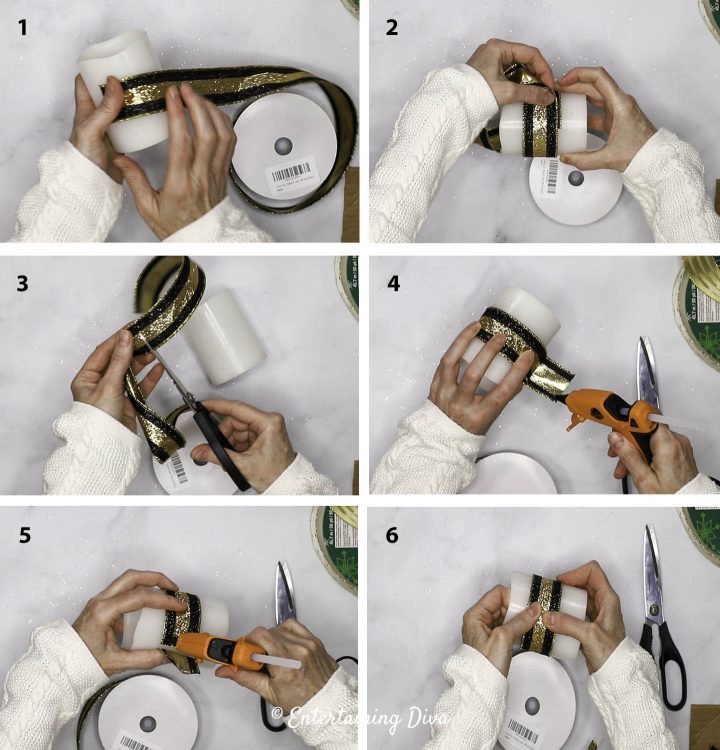
Cut off a piece of the ribbon that is long enough to wrap all the way around the candle with some overlap.
Wrap the ribbon around the candle. If it has stripes like mine did, make sure that the stripes line up.
Use your glue gun to glue the ends together.
Make sure that the ribbon is wrapped on tight enough so that it doesn’t slide down the candle.
2 | Double Ribbon Candle
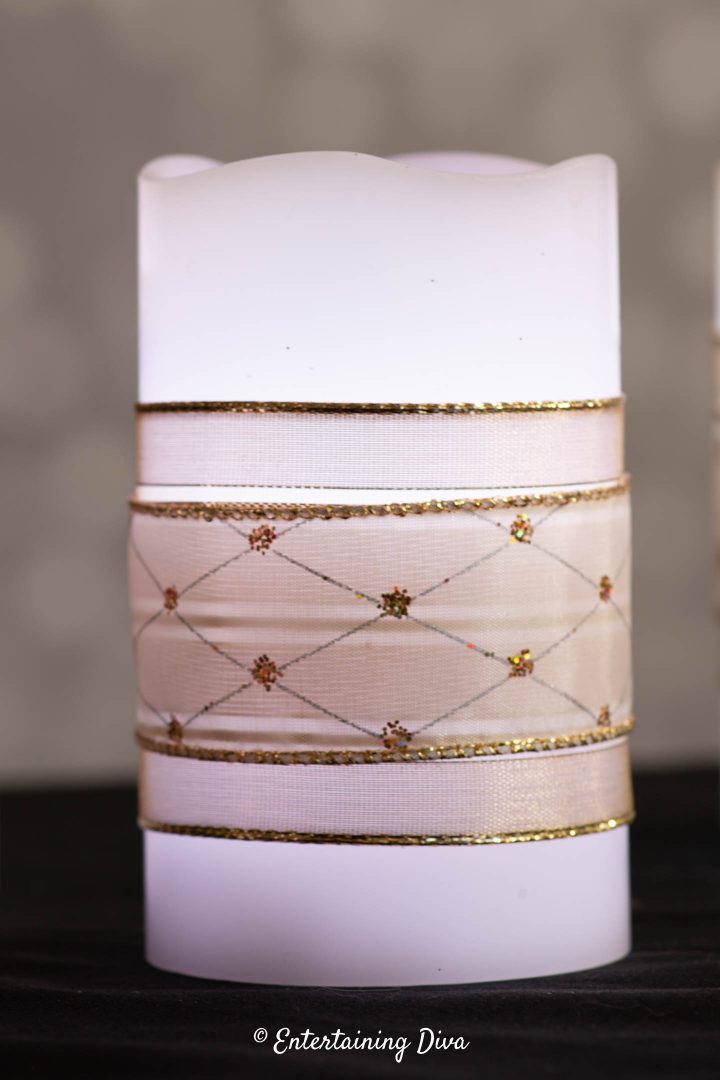
The next candle is made almost exactly the same way, but it was two ribbons instead of one.
One ribbon should be wider than the other.
I used a wider gold ribbon and a narrower white and gold ribbon.
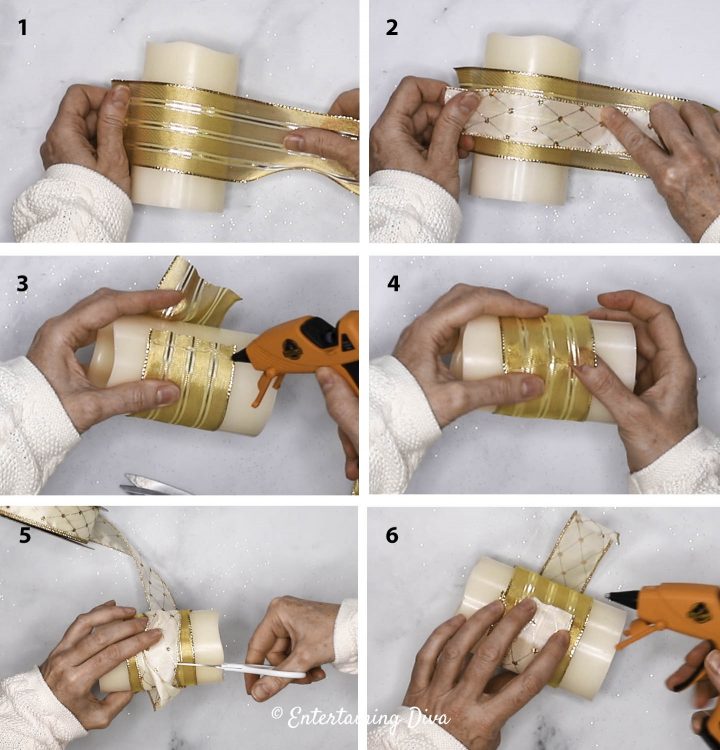
Wrap the wider ribbon around the candle and glue it the same way as the candle above.
Then repeat the process with the second smaller ribbon, centering it over the wider ribbon.
Make sure that the overlapping ends of both ribbons are on the same side of the candle. That way if the join is visible, you only have one side of the candle to hide.
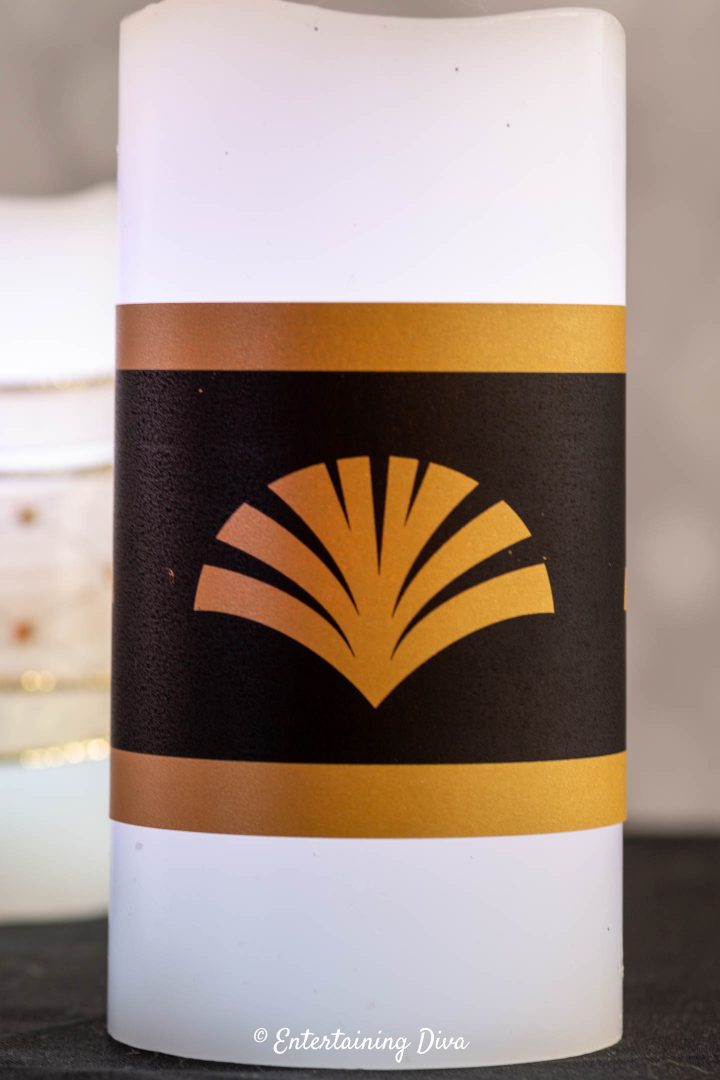
3 | Art Deco Design DIY Gatsby Candles
[columns] [span6]

[/span6][span6]

[/span6][/columns]
These next candles don’t require ribbon at all.
They use Art Deco-style designs that I printed out on gold paper.
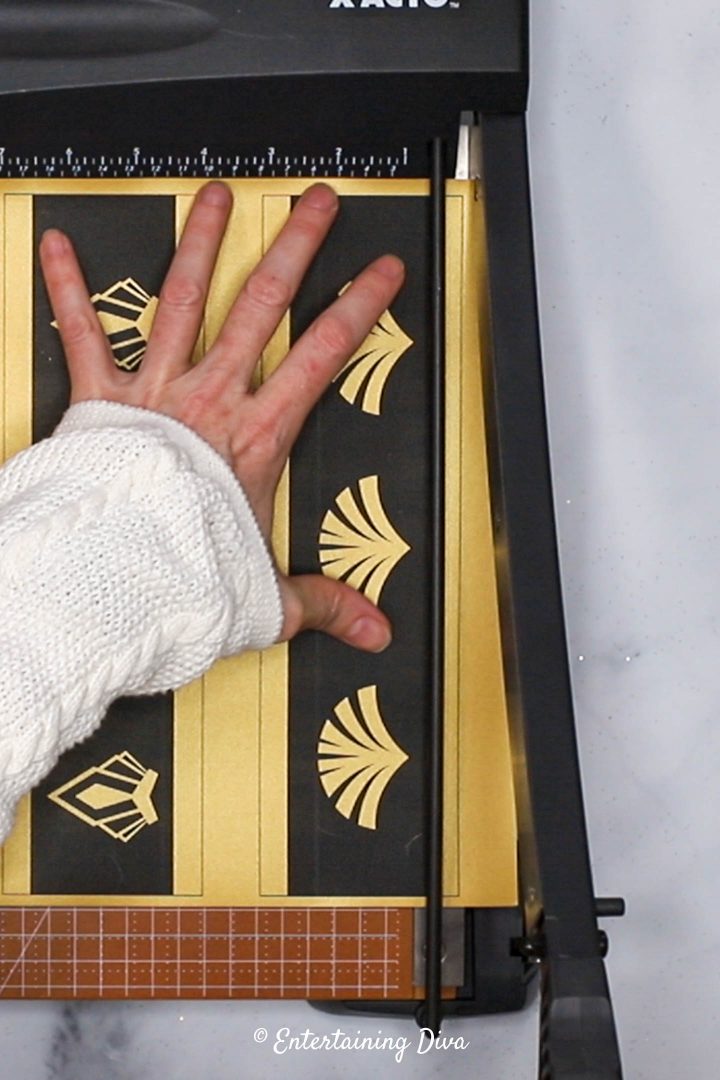
Cut the wrapper along the lines on the design. I used a paper cutter, but you could use scissors as well.
Wrap it around the candle to make sure that the pattern doesn’t overlap too much. If it does, trim the extra paper from the edges of the wrapper.
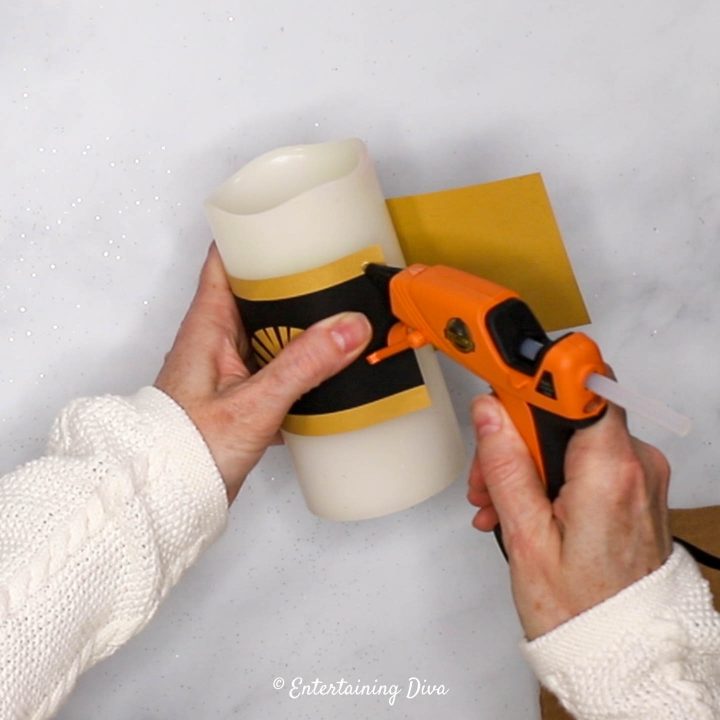
Then use the exact same steps as you would for a ribbon to glue the ends together around the candle.
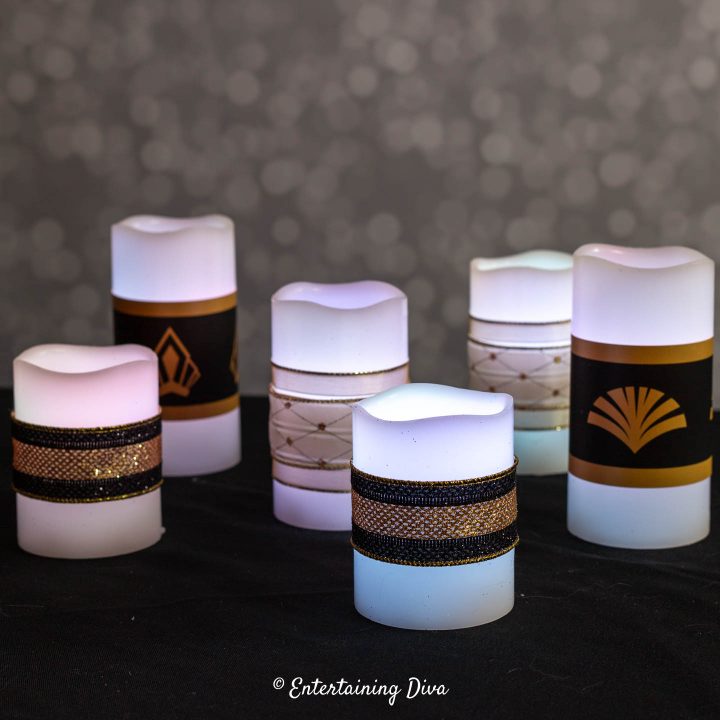
Using ribbon colors that co-ordinate helps to make all the candles look like they belong together.
Have comments or questions about our DIY Great Gatsby candles? Tell us in the section below.
Pin It So You Don't Forget It!
This post was originally published on January 23, 2020 but was updated with new content on December 13, 2023.