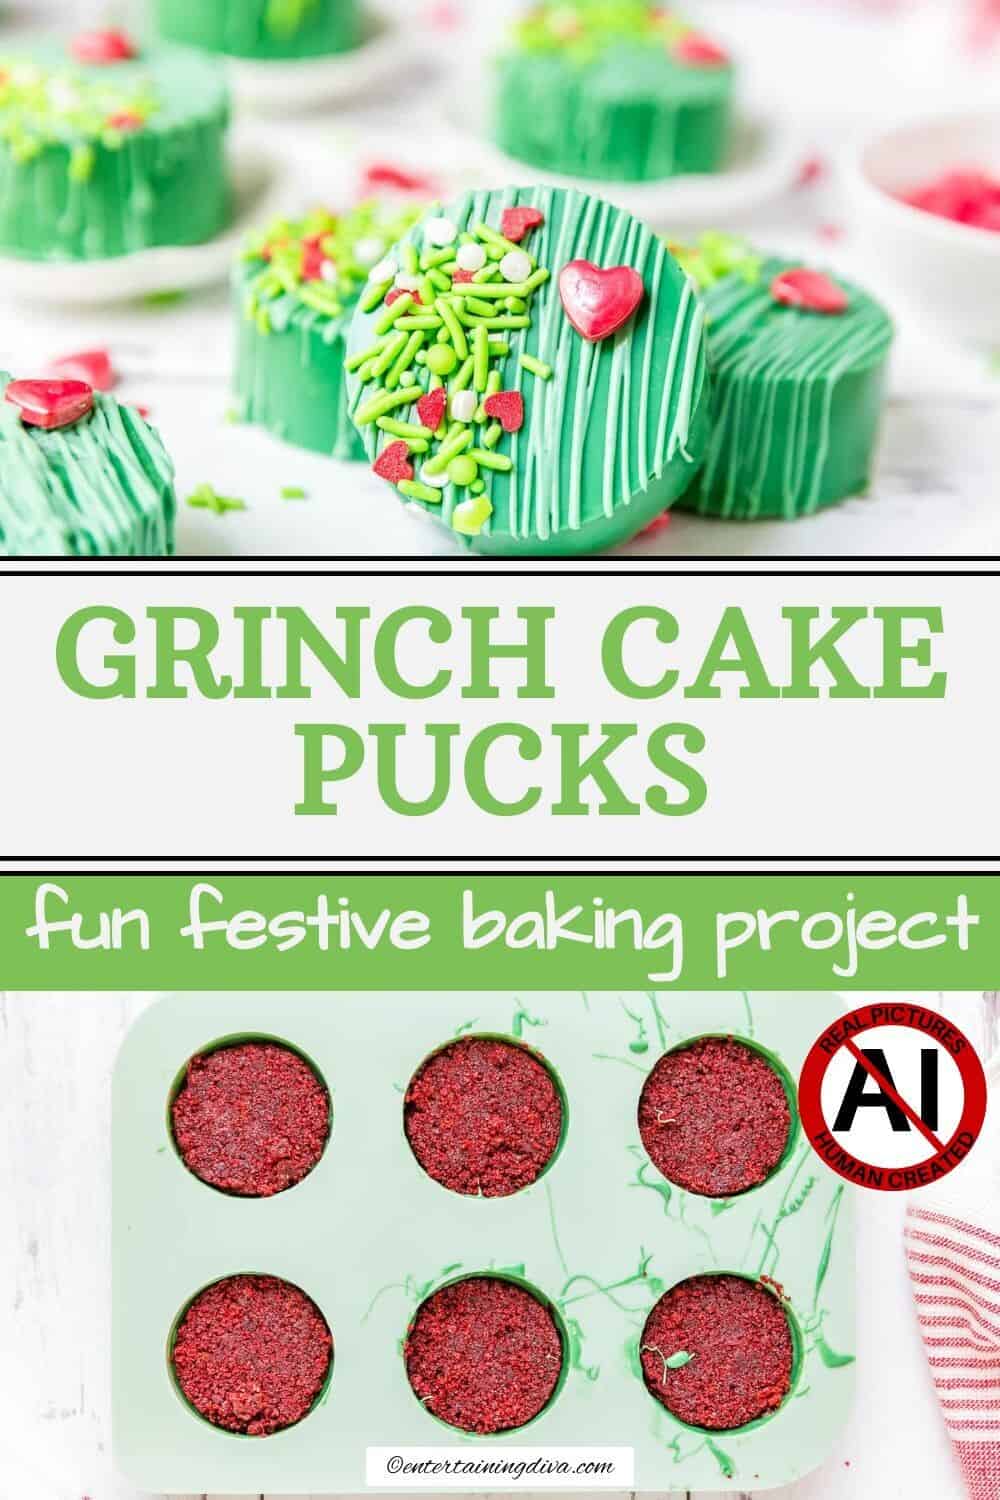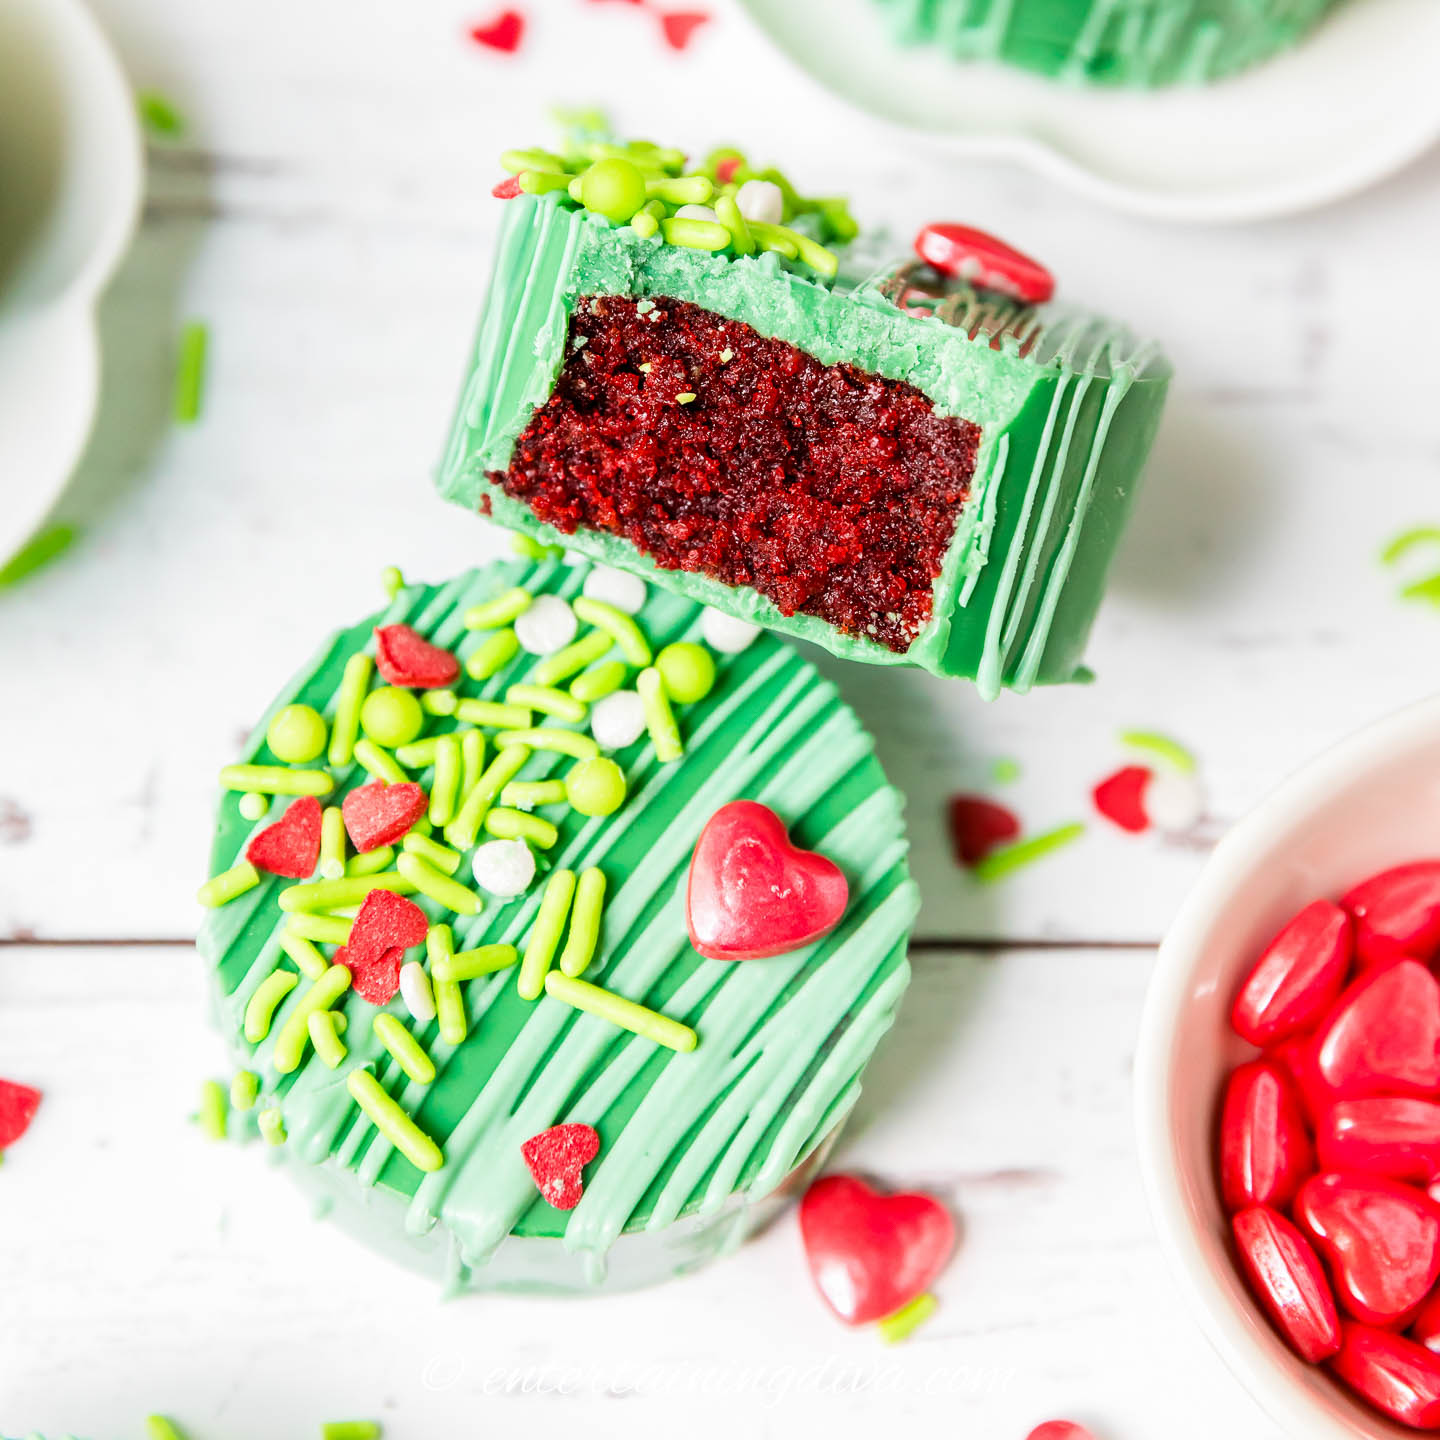

Why I love this Grinch cake pucks recipe
These Grinch cake pucks are such a fun way to bring a bit of holiday cheer to the dessert table.
They’re made from red velvet cake mixed with cream cheese frosting, shaped into pucks, and finished off with green chocolate and sprinkles. Perfect for a Grinch-themed Christmas party!
They do take a little time to put together, but I think the effort is totally worth it when you see how festive and cute they look.
And who doesn’t love red velvet cake with cream cheese?
Looking for more Grinch desserts? You'll love these Grinch Cupcakes With A Heart Inside and Grinch Heart Sugar Cookies.
Ingredients
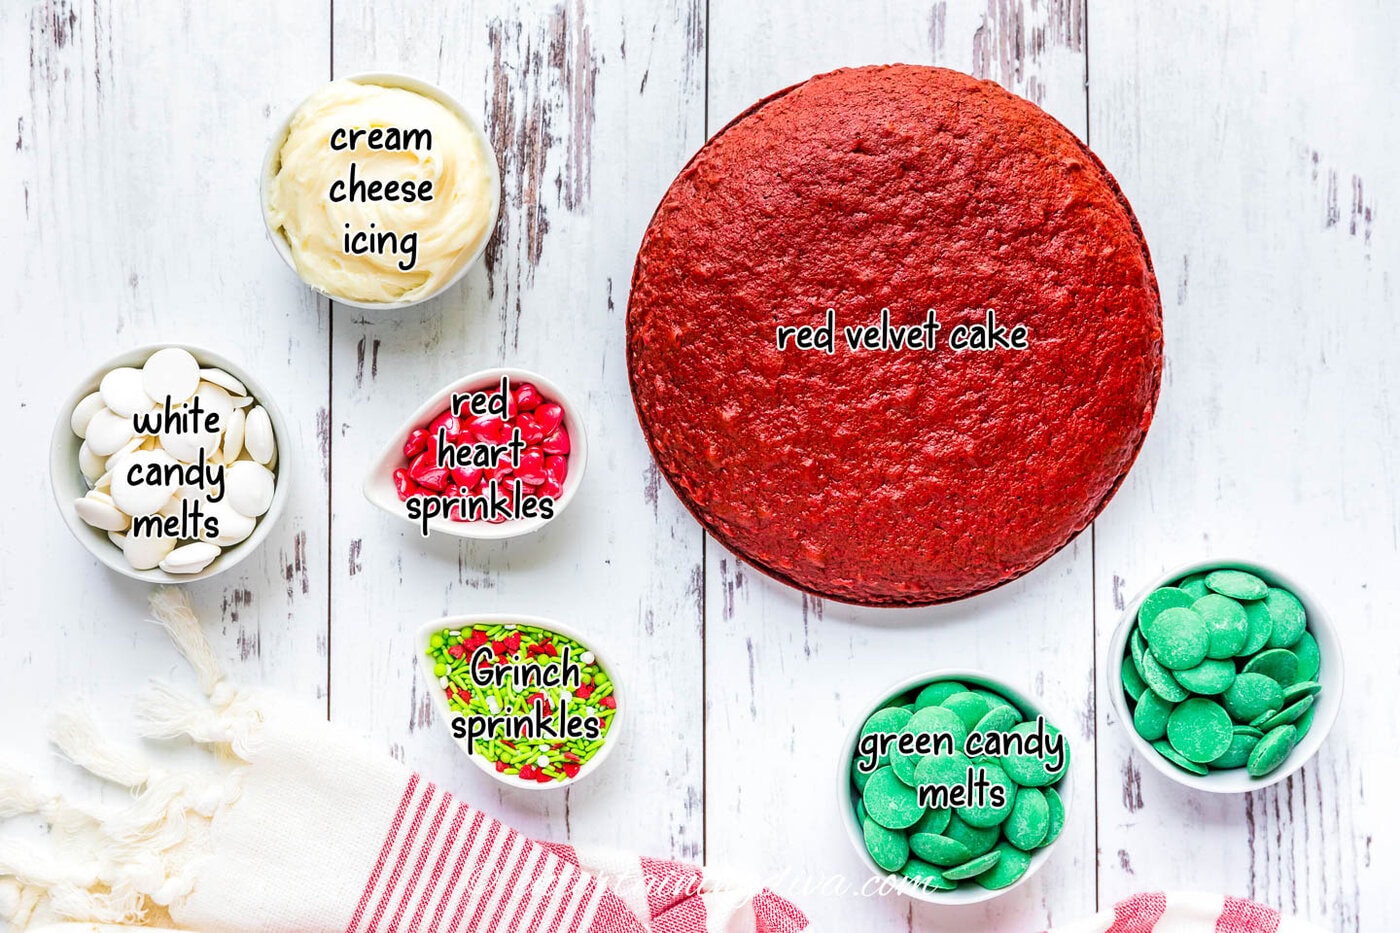
Here is your shopping list (for 23 cake pucks):
- Cake mix – 1 package Betty Crocker super moist red velvet cake mix
- Cake mix ingredients – 1 cup water*, ½ cup vegetable oil*, 3 eggs*
- Frosting – 1 container (16 ounces) cream cheese frosting
- Candy – 30 ounces green candy melts, 3 ounces white candy melts – I used Wilton brand for both.
- Candy sprinkles – Grinch themed sprinkles*, large heart sprinkles*
Substitutions & Additions
- You can use any kind of cake mix you like. Just adjust the oil, water and eggs to match the instructions on the box. Or make red velvet cake from scratch if you prefer.
- Homemade cream cheese frosting is a good alternative to the store-bought kind if you don’t mind doing a little extra work.
Special equipment
You will also need a silicone cake puck mold* to get the correct shape. (Although I haven’t tried it, you might also be able to use a silicone muffin tin).
The silicone part is important. Otherwise you won’t be able to get the cake pucks out of the mold without breaking them.
How to make Grinch cake pucks
1 | Bake the cake
Bake the red velvet cake according to the package directions.
Once it’s done, let it cool completely before continuing. Otherwise, you can burn your hands and the warmth can cause the frosting to melt which affects its consistency.
2 | Mix the batter

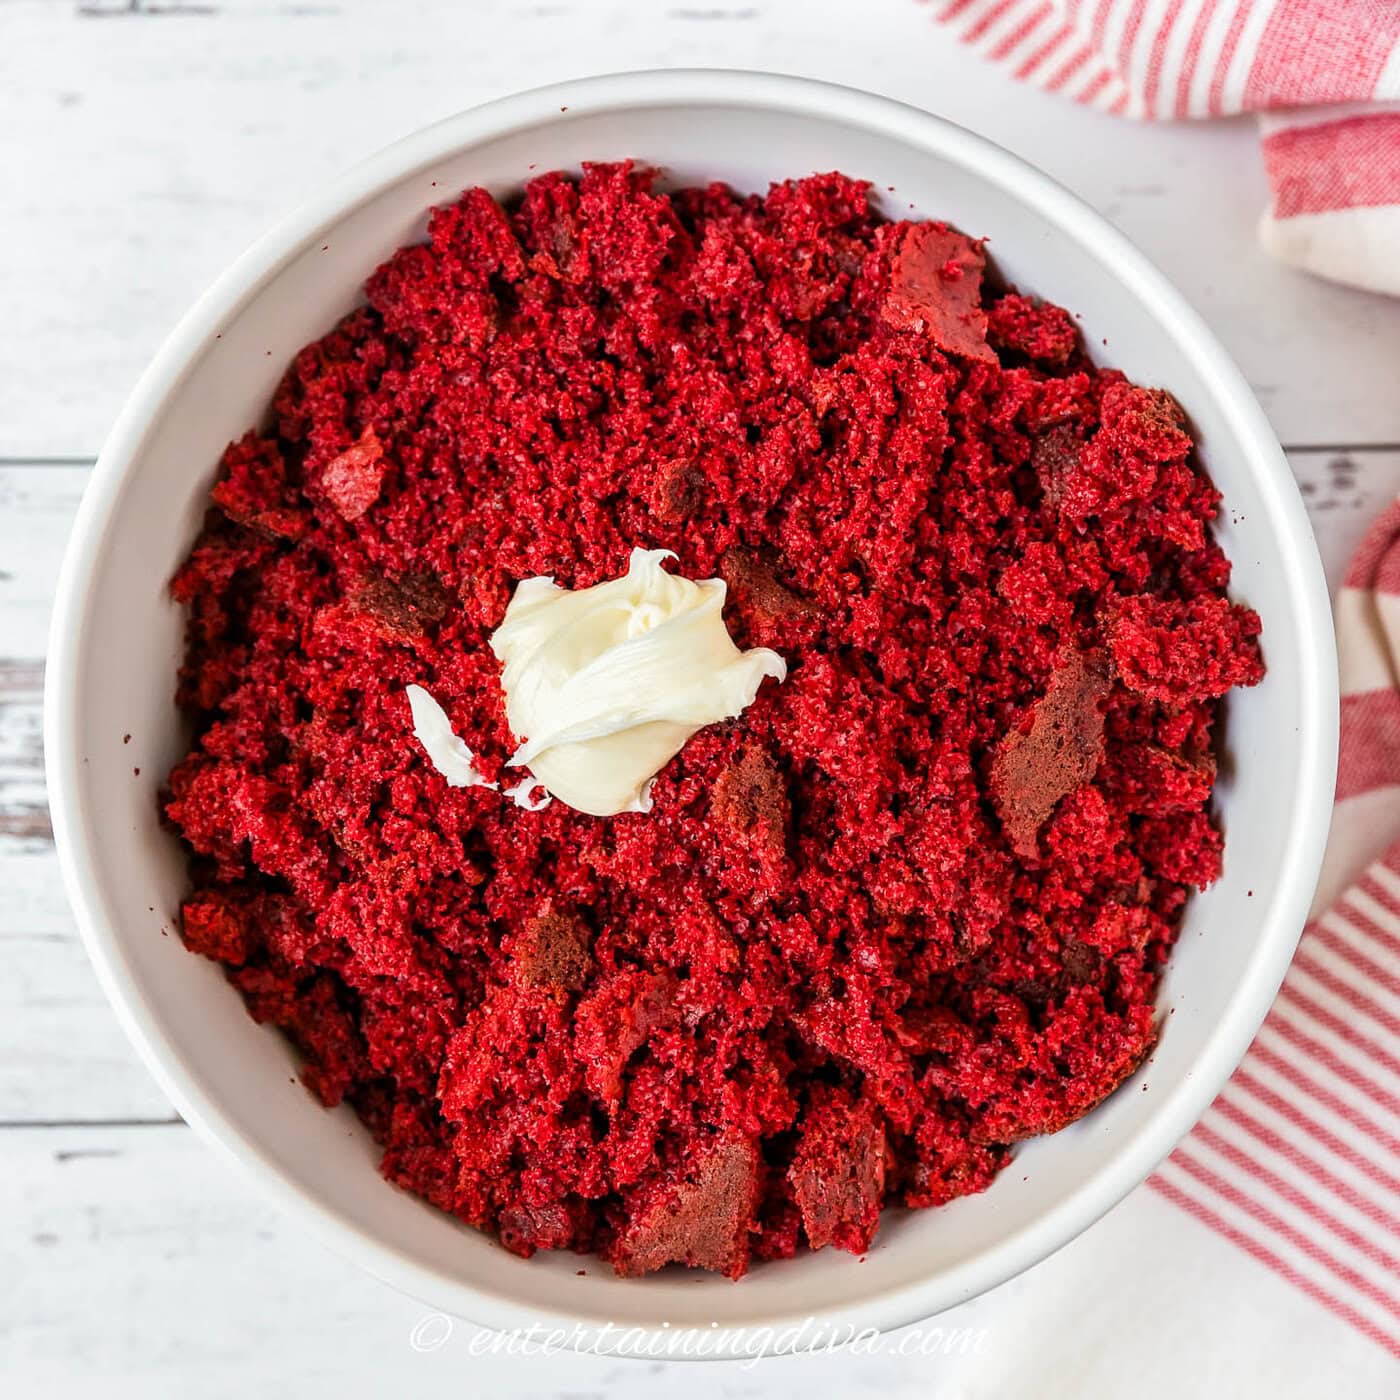
Once the cake is cooled, break it into small pieces. You can do this with your hands or a fork. Put these into a big mixing bowl.
Add about ¼ cup of frosting to the bowl.
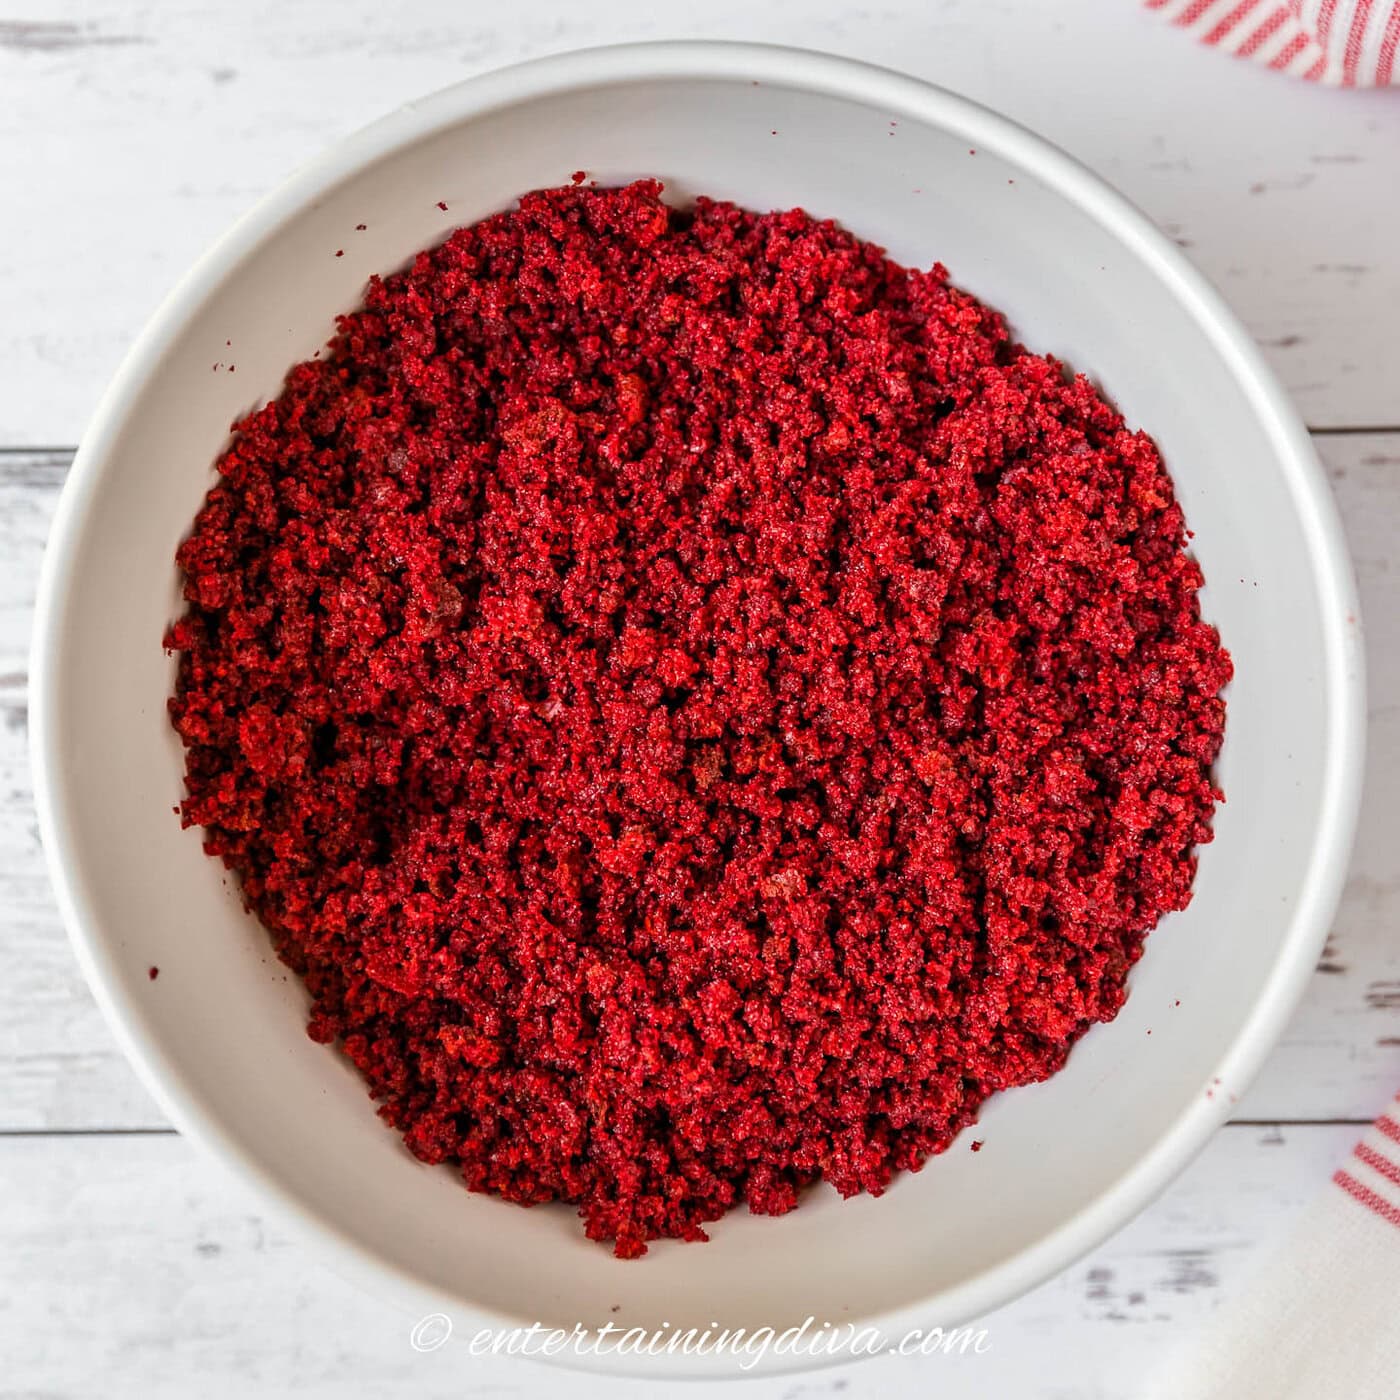
Using a hand mixer or a stand mixer, blend everything together. If you don’t have a mixer, you can mix with a sturdy spoon or spatula, but it might take a little elbow grease.
Check the mixture to see if it will stick together when you press it.
You should not be able to see the cream cheese frosting. But it should add just enough stickiness to hold the cake together.
If it’s still too crumbly, add a little more frosting, one tablespoon at a time. Mix after each addition.
You want the mixture to be firm enough to hold its shape when you form the pucks, but not so wet that it’s mushy. It’s better to use less frosting first and then add more if needed.3 | Make the cake pucks

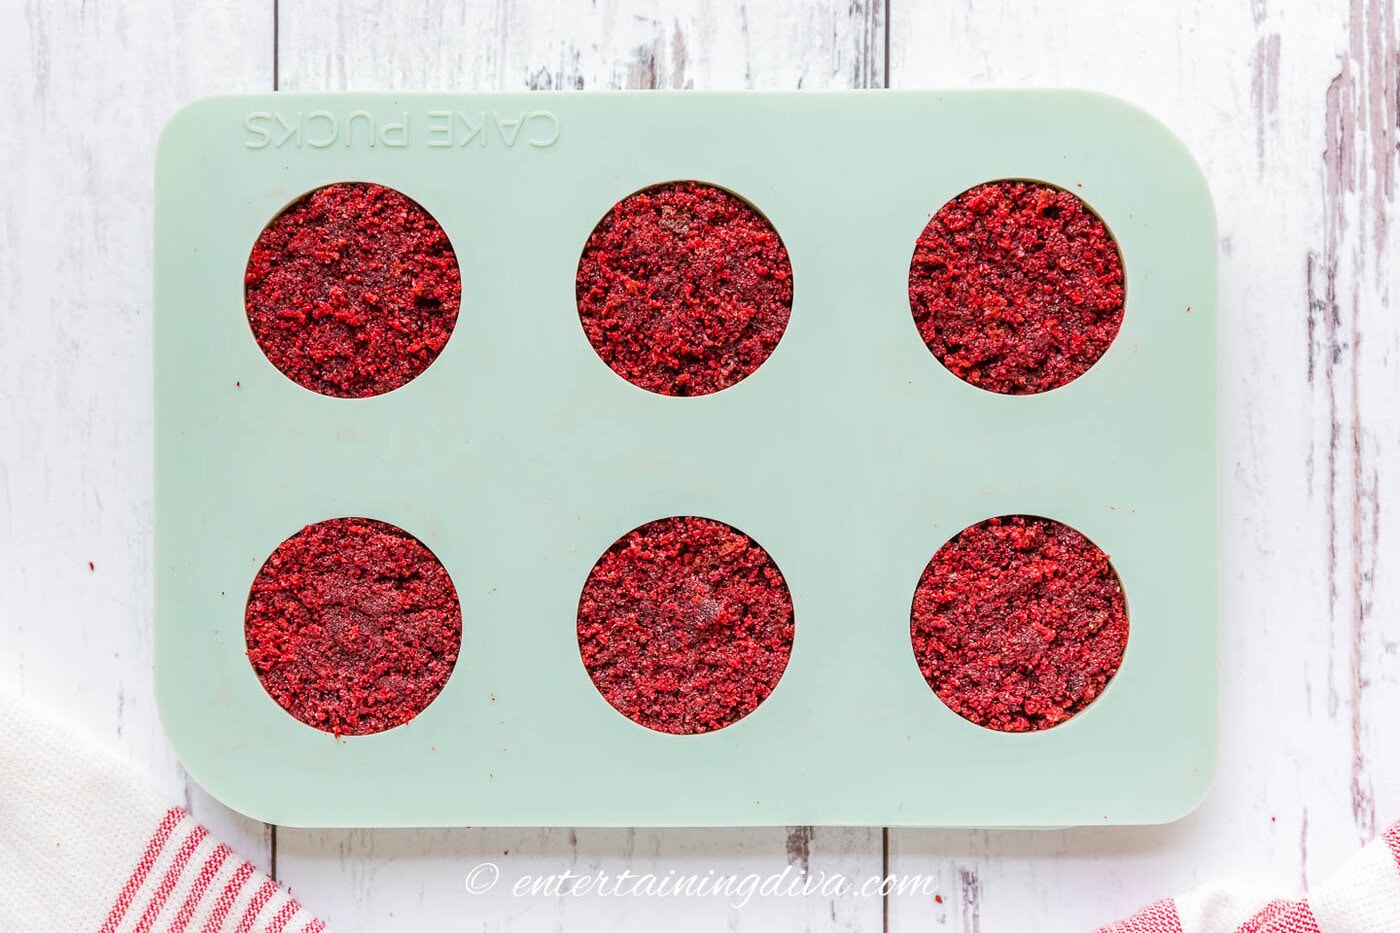
Spoon the mixture into your cake puck molds. Each mold should get about 1/4 cup of mixture.
Use the back of the spoon or a small spatula to press it down firmly.
Place the molds in the freezer and chill until the pucks are firm, about 20 minutes.

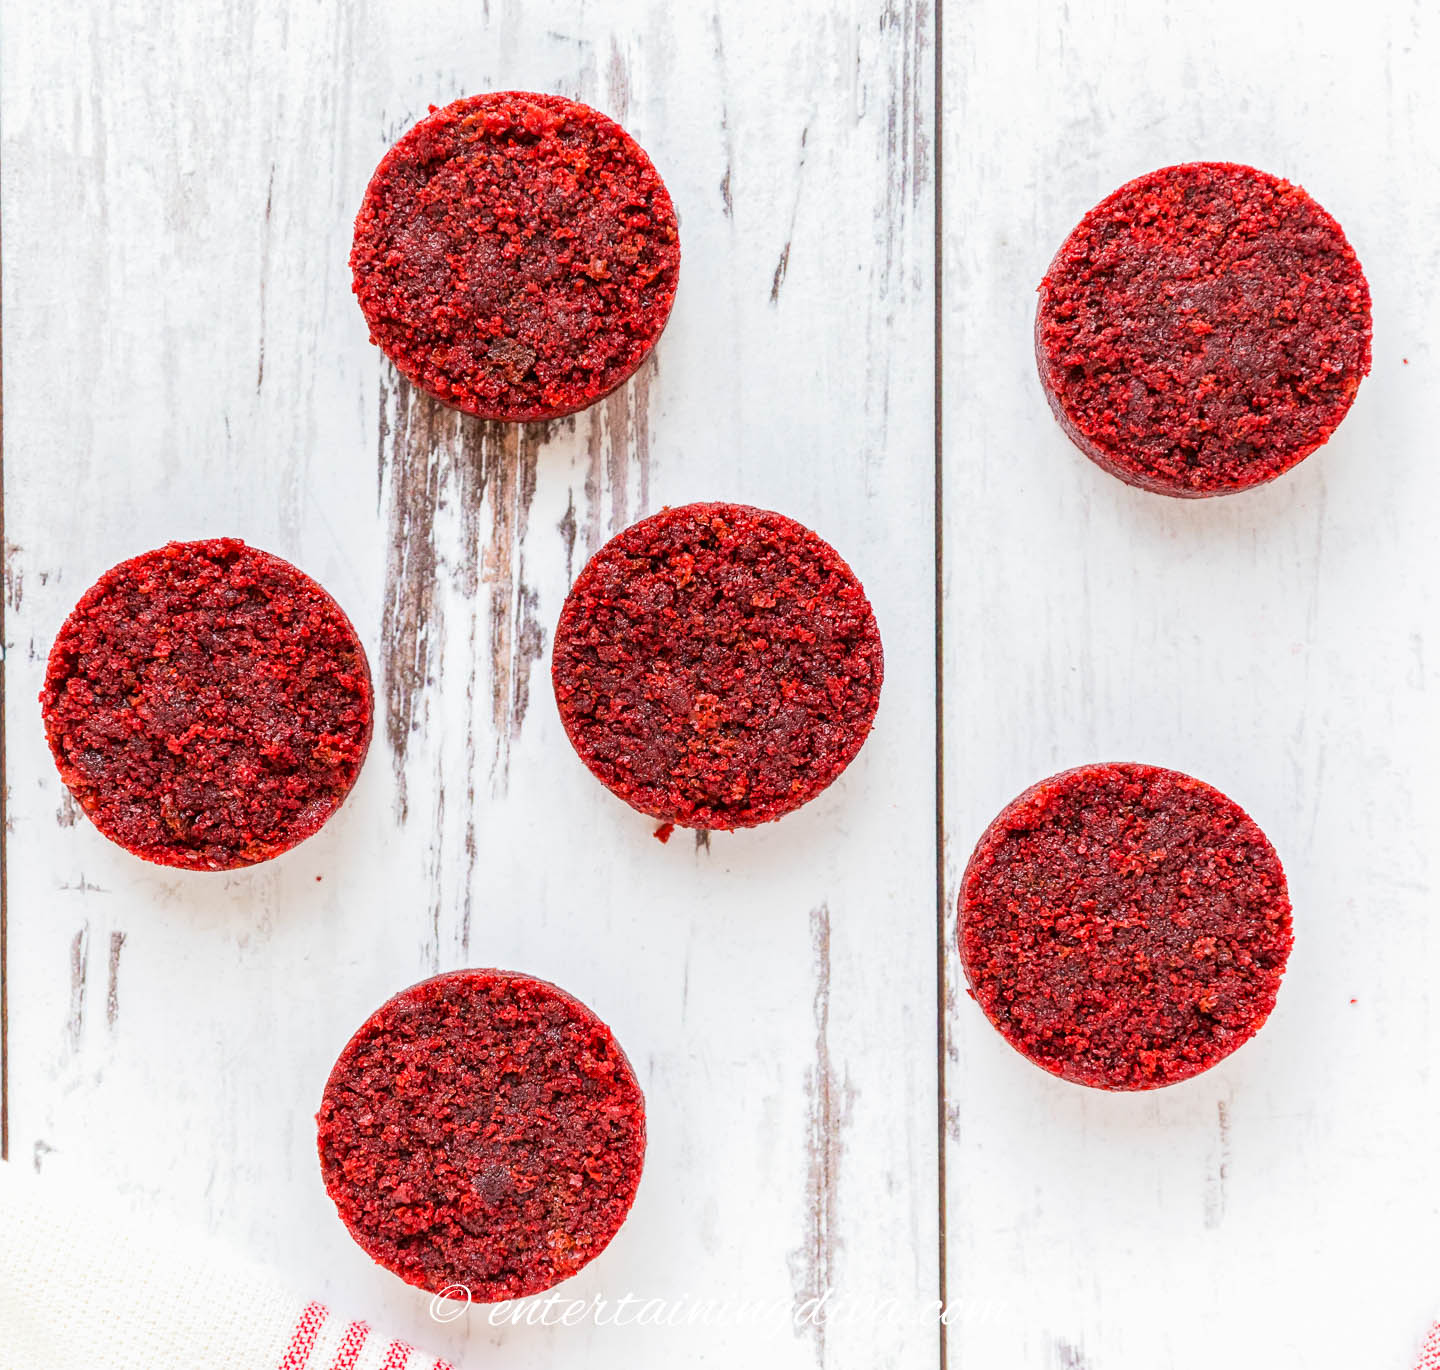
Once chilled, gently pop the pucks out of their molds.
If they crumble, they probably need a bit more chilling time, so put them back in the freezer for a few more minutes.
4 | Melt the green candy melts
We will need to melt a total of 21 ounces of green candy melts in the microwave.
But you don’t want to do it all at once since it will harden again before you get finished with it. And if you only have one mold, you’ll need to wait for the first batch to harden before you can do the next one.
So start with about 7 ounces (1/3 of the total amount).
Microwave for 1 minute. Then stir. Microwave for another 30 seconds and then stir. Repeat the 30-second microwaving and stirring process until the chocolate is completely smooth.
Don’t be tempted to rush this step. The chocolate will often look like it isn’t melted on top but it actually is underneath. Which you won’t find out until you stir it. And it goes from not melted to being burnt very quickly.
5 | Add the coating
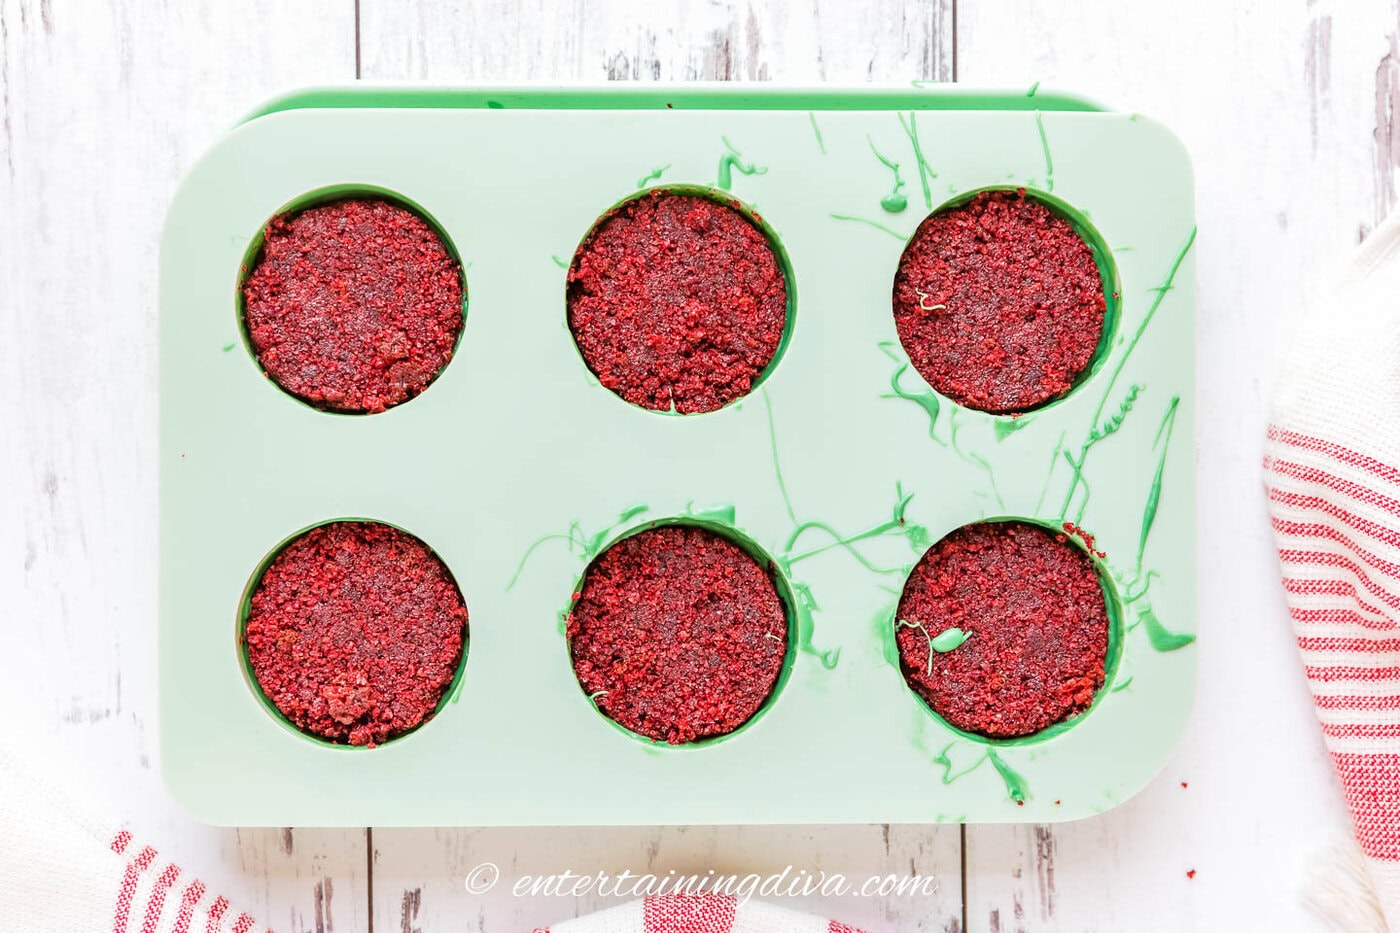
Use a basting brush to coat the inside of your molds with the melted green chocolate. Cover the bottom and sides thoroughly.
Then press a red velvet cake puck into the center of each mold. Tap the mold gently on the counter to help push out any trapped air bubbles which can cause bumps or holes in the coating.

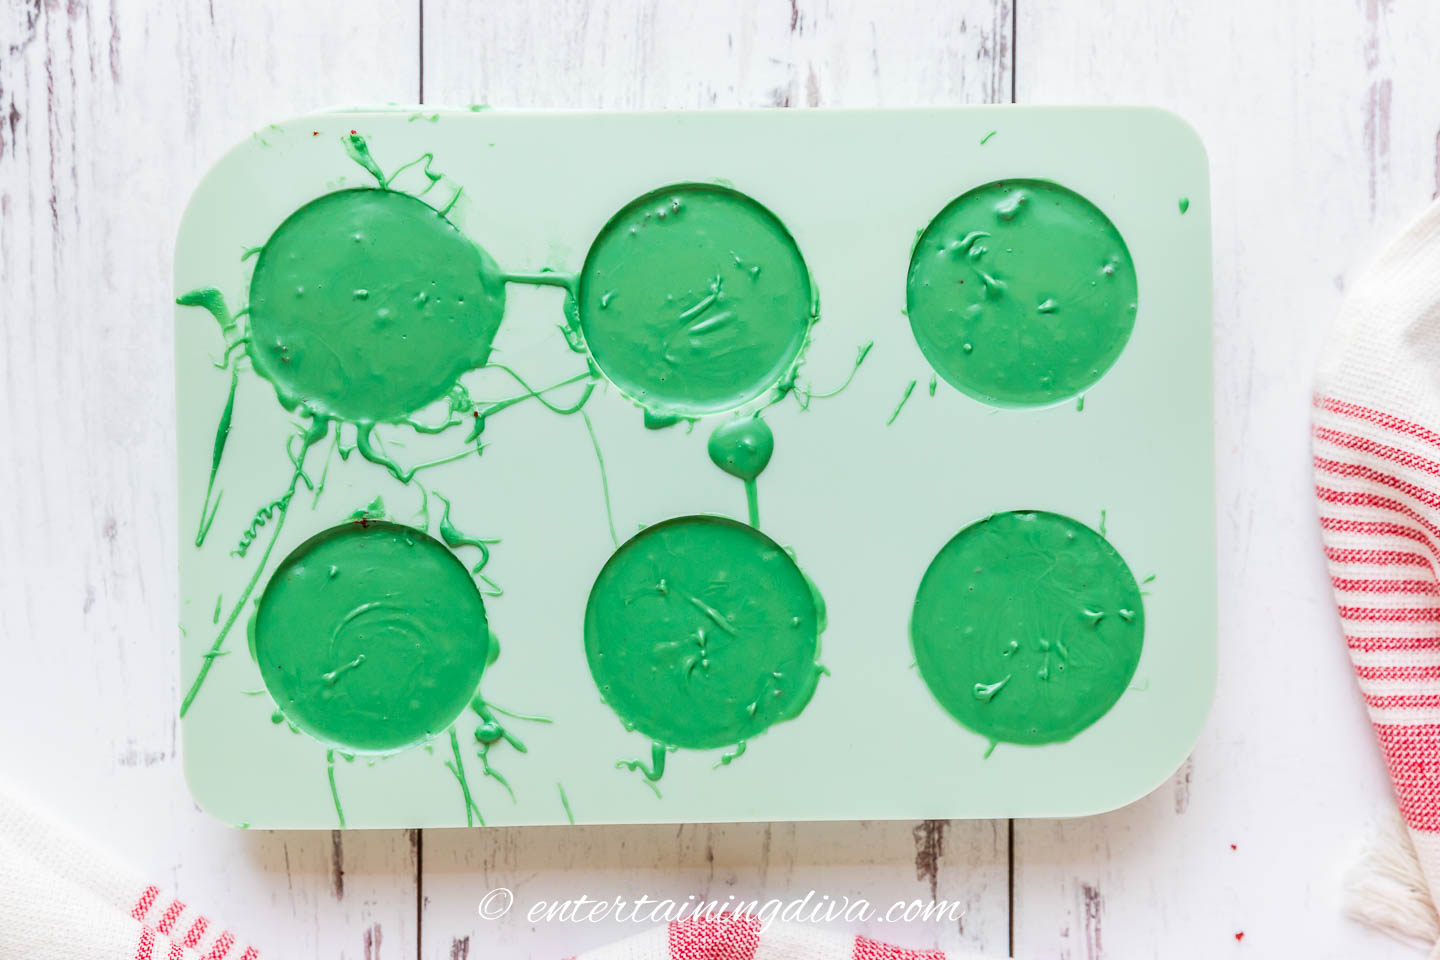
Finally, cover the tops and sides of the pucks with more melted green chocolate.
Tap the mold again to help air bubbles escape.
If you still see bubbles, you can use a toothpick to pop them. But work quickly because the chocolate can start to set if you take too long.
If the surface of the chocolate still looks bumpy, you can use a scraper or a flat spatula to smooth it out. Then tap again to level.
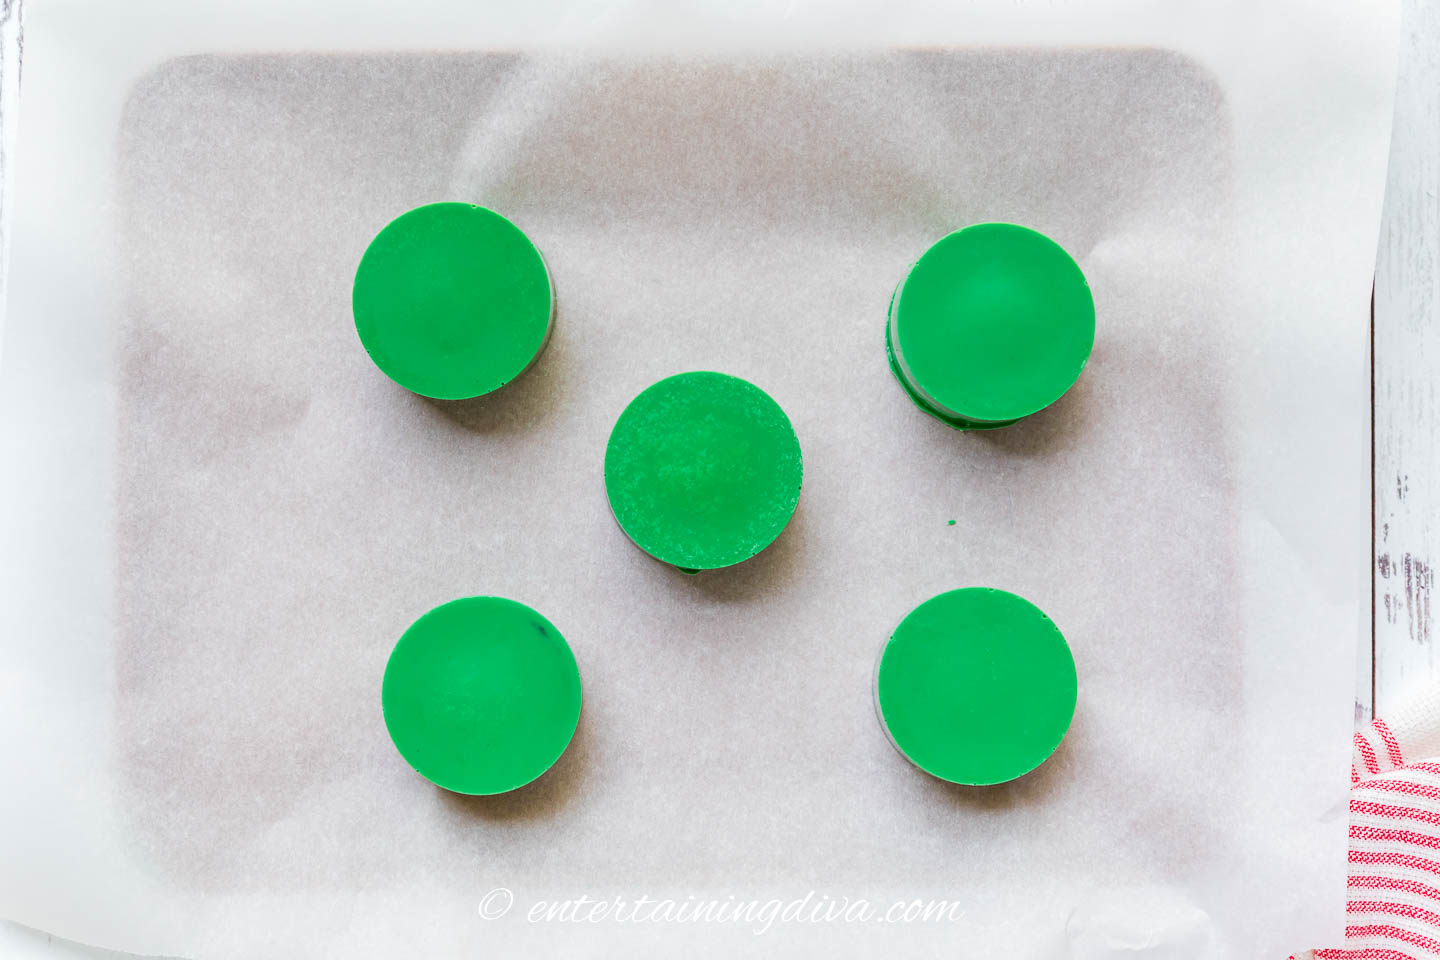
Chill the molds in the fridge for about 15 minutes until the chocolate is set and firm.
Gently pop the pucks out of the molds once they’re ready.
To make the clean up easier after you have decorated them, it helps to put them on parchment paper.
5 | Decorate
Get your Grinch sprinkles and candy hearts ready. You’ll need to get them on the cake pucks quickly once the chocolate is melted.
Put 9 ounces of green melts and 3 ounces of white melts together in a microwave-able bowl. Melt them using the same 30-second melt and stir process you used before. This will give you a lighter green color than the original coating.
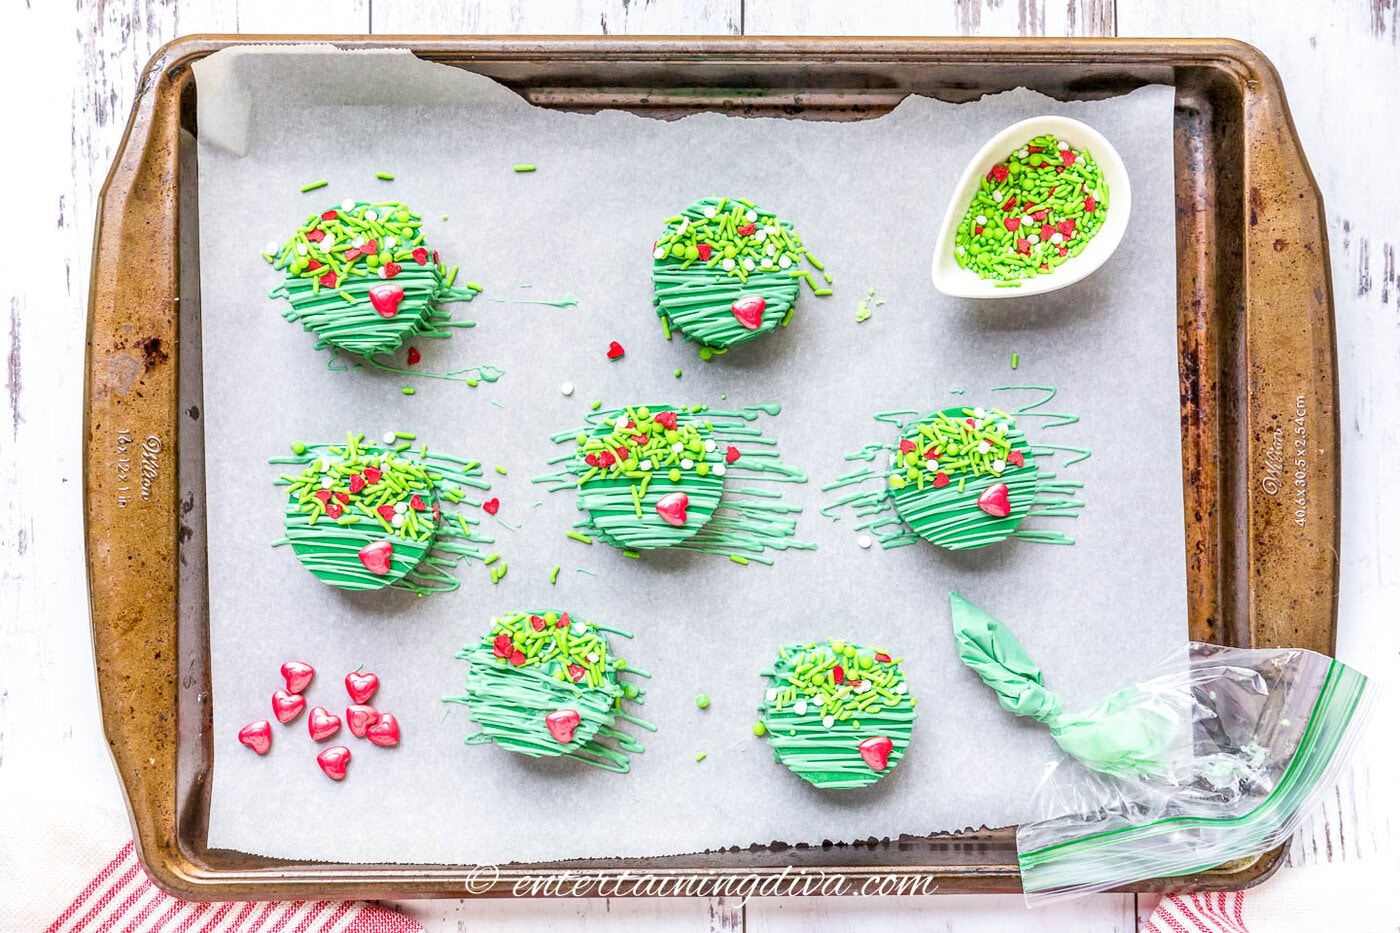
Pour the melted chocolate into a ziploc bag.
Twist the top to close it, then snip off a tiny corner with scissors, just enough to make a small hole.
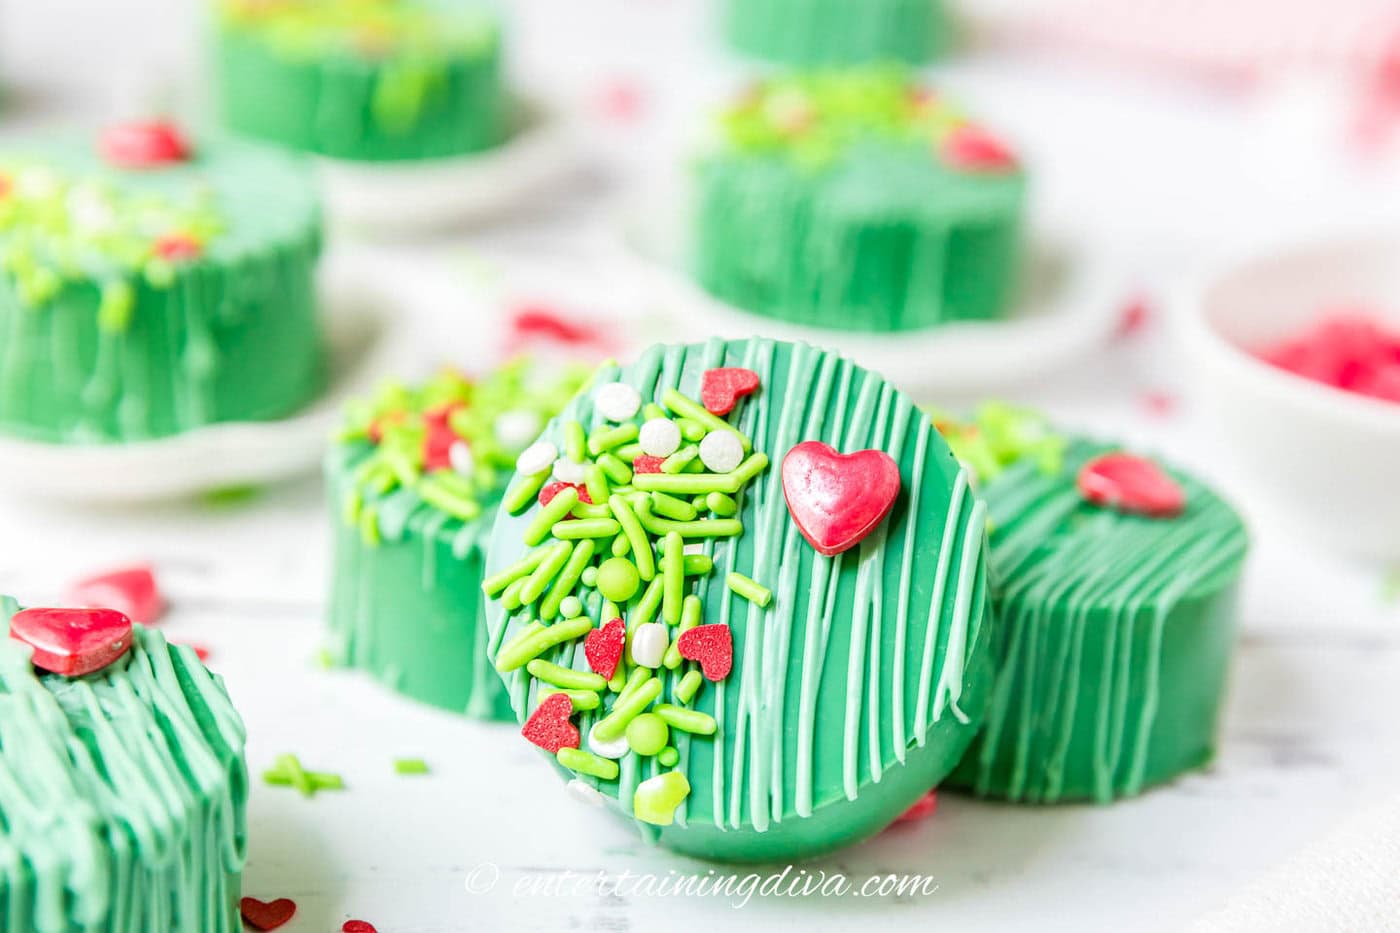
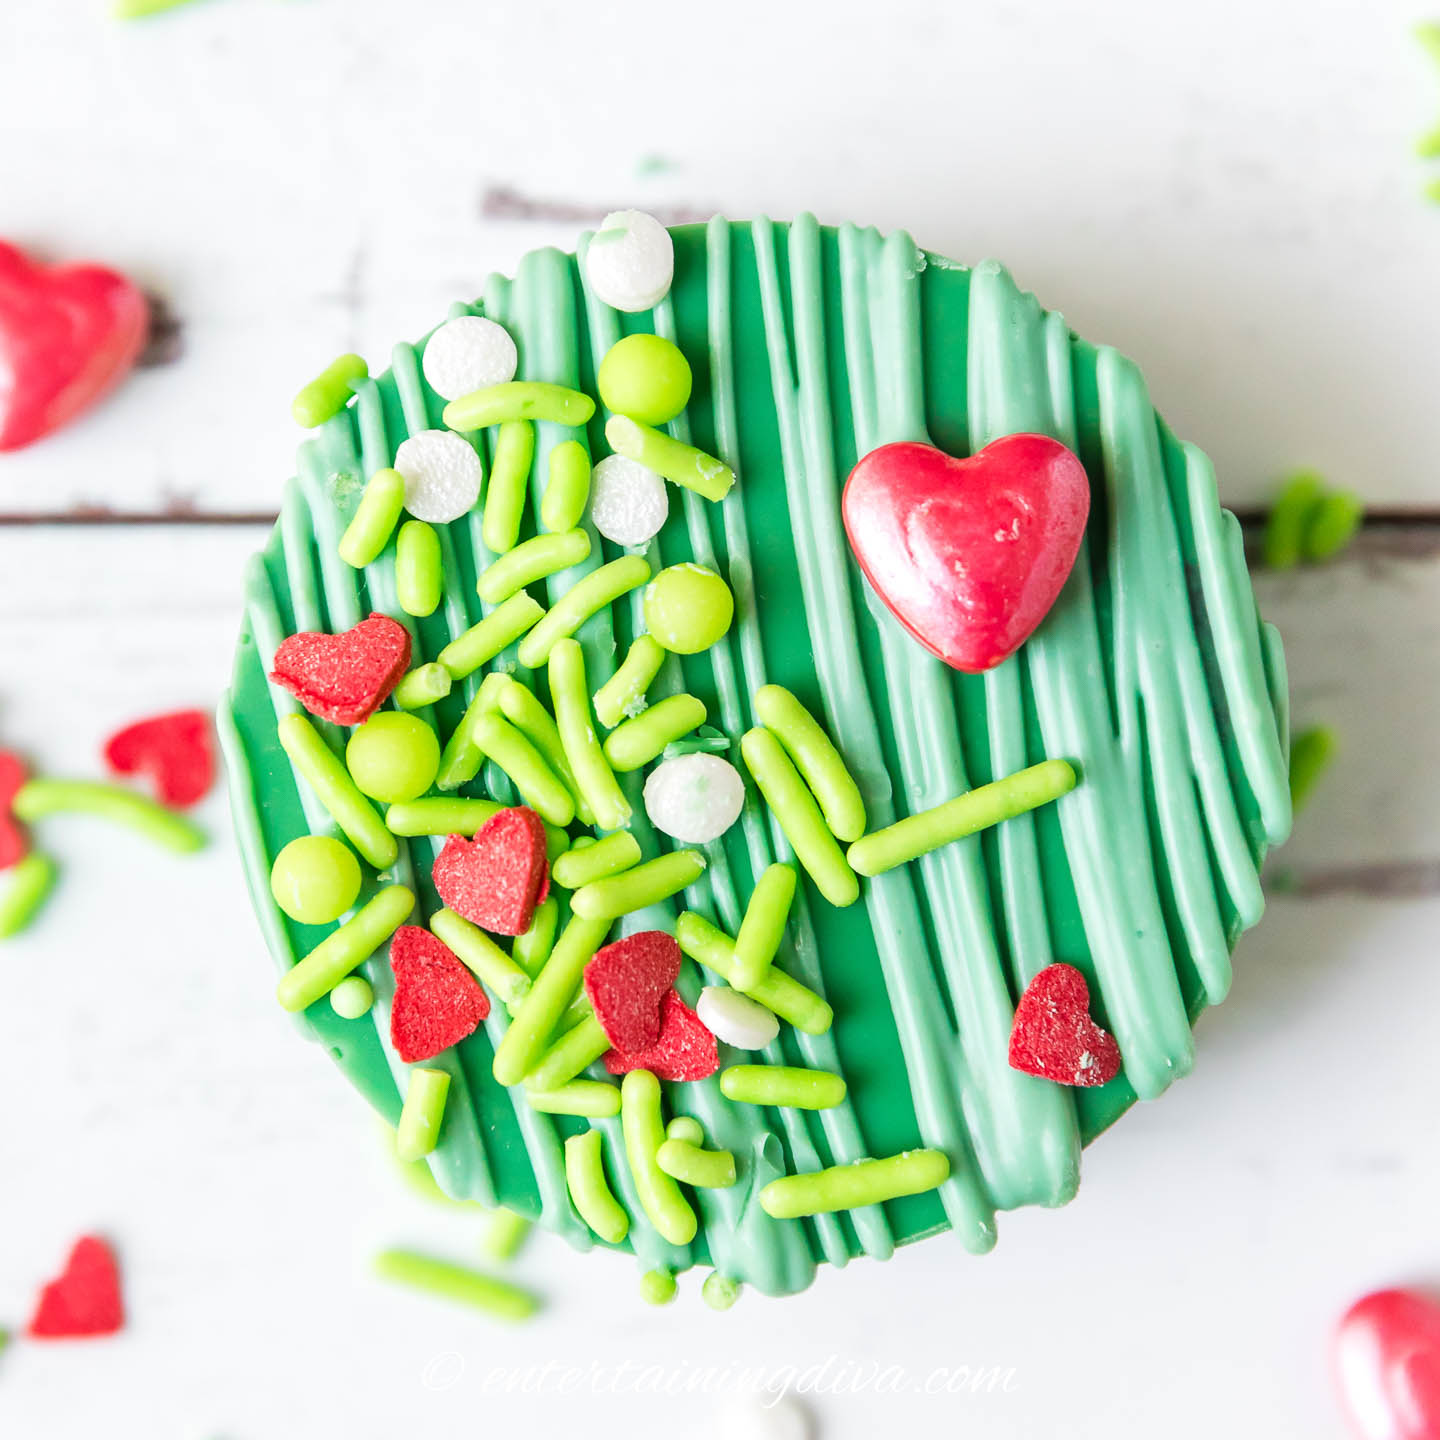
Hold the bag over the first puck and drizzle the chocolate in a zigzag pattern. Don’t worry about perfect lines. Just go back and forth across the puck.

While the drizzle is still wet, sprinkle some Grinch sprinkles on one side of the puck and place a larger heart sprinkle on the opposite side. Do this quickly before the chocolate dries.
Repeat with the other pucks.
Let everything set and dry completely before handling.
How to make ahead
These Grinch cake pucks can be made up to a week ahead of time and stored in an airtight container in the refrigerator.
If you are stacking them, place a layer of parchment paper or wax paper between the layers to prevent sticking.
Take them out an hour or so before serving so the chocolate coating isn’t too hard.
I don’t recommend freezing them because of the chocolate coating. It breaks easily when frozen and the cold temperatures can change its consistency.
Grinch Cake Pucks
Ingredients
- 1 package Betty Crocker super moist red velvet cake mix
- 1 cup water
- ½ cup vegetable oil
- 3 eggs
- 1 16-oz container cream cheese frosting
- 30 ounces green candy melts divided
- 3 ounces white candy melts
- Green “Grinchy” themed sprinkles
- large heart Sprinkles
Equipment
- measuring cups and spoons
- mixer and mixing bowl
- cake pan(s)
- cake puck mold
- Microwave Safe Bowl
- spoon
- basting brush
- toothpicks (optional)
- spatula or scraper
- ziploc bags
- parchment paper
Instructions
- Bake red velvet cake according to package directions, let cool.1 package Betty Crocker super moist red velvet cake mix, 1 cup water, ½ cup vegetable oil, 3 eggs
- Once the cake has cooled break into pieces and put into a large bowl.
- Add ¼ cup frosting to bowl and mix with a mixer.1 16-oz container cream cheese frosting
- Check to see if mixture will stick together. If not add a little more frosting one tablespoon at a time until it does, being careful not to add too much. You want the mixture to be firm, not mushy.
- Spoon about ¼ cup of the cake mixture into cake puck molds, packing it in tight.
- Chill in freezer until pucks are chilled and firm, about 20 minutes.
- Carefully pop the pucks out of their molds. If they start to crumble, put them back in the freezer for a few more minutes.
- Working in batches of 6 to 8 ounces, melt the green candy melts in the microwave.30 ounces green candy melts
- Use a basting brush to coat the entire inside of each mold with the melted green chocolate, making sure you cover the bottom and the sides.
- Press the red velvet cake pucks into the center of each mold and tap the mold to help get the air bubbles out.
- Cover the tops with more melted green chocolate making sure to get all of the puck covered and tap the mold again to get the air bubbles out. You can use a toothpick to pop the air bubbles if needed, but work quickly so the chocolate doesn't harden.
- If the chocolate top is bumpy on top, use a scraper or flat spatula to help smooth the chocolate over and tap once more.
- Chill in the refrigerator until chocolate has set, about 15 minutes.
- Carefully pop the pucks out of their molds.
- Melt 9 ounces green melts and the white melts together in the microwave to create a green color that is a little lighter than what was used for the pucks.30 ounces green candy melts, 3 ounces white candy melts
- Fill a ziploc bag with the chocolate mixture and twist the top of the bag to create a piping bag. Use scissors to cut a very small hole in one corner of the bag and drizzle chocolate over the pucks in a zigzag pattern.
- Working quickly before the drizzle dries, sprinkle the sprinkles down one side of the puck and place one larger heart sprinkle on the opposite side.Green “Grinchy” themed sprinkles, large heart Sprinkles
- Let set until dry.
Notes
- You can use any type of red velvet cake mix that you like. Just make sure to adjust the water, oil and eggs to match the package directions.
- Making the red velvet cake from scratch and using homemade cream cheese frosting are also options instead of the store-bought versions.
Nutrition
Nutrition values are estimates only, using online calculators. Please verify using your own data.
Have comments or questions about our Grinch cake pucks recipe? Tell us in the section below.
Pin It So You Don't Forget It!