
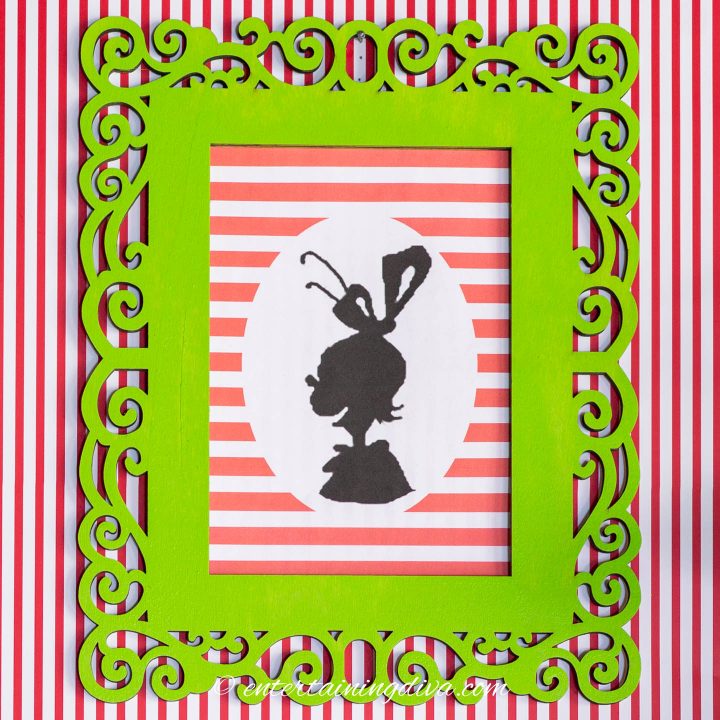
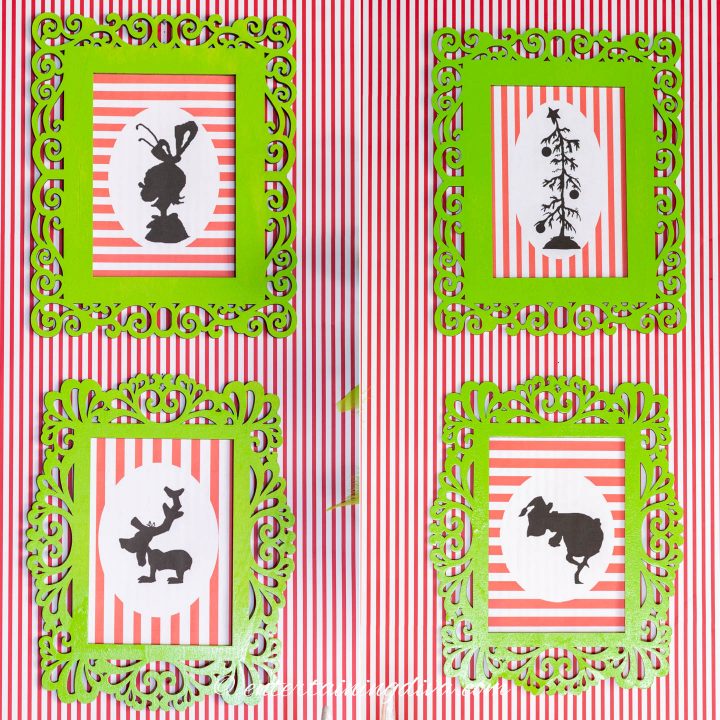
For a quick and easy addition to your Grinch Christmas party decorations, try these simple DIY Grinch printable silhouette pictures. With our free printables, they only take 15 minutes to put together.
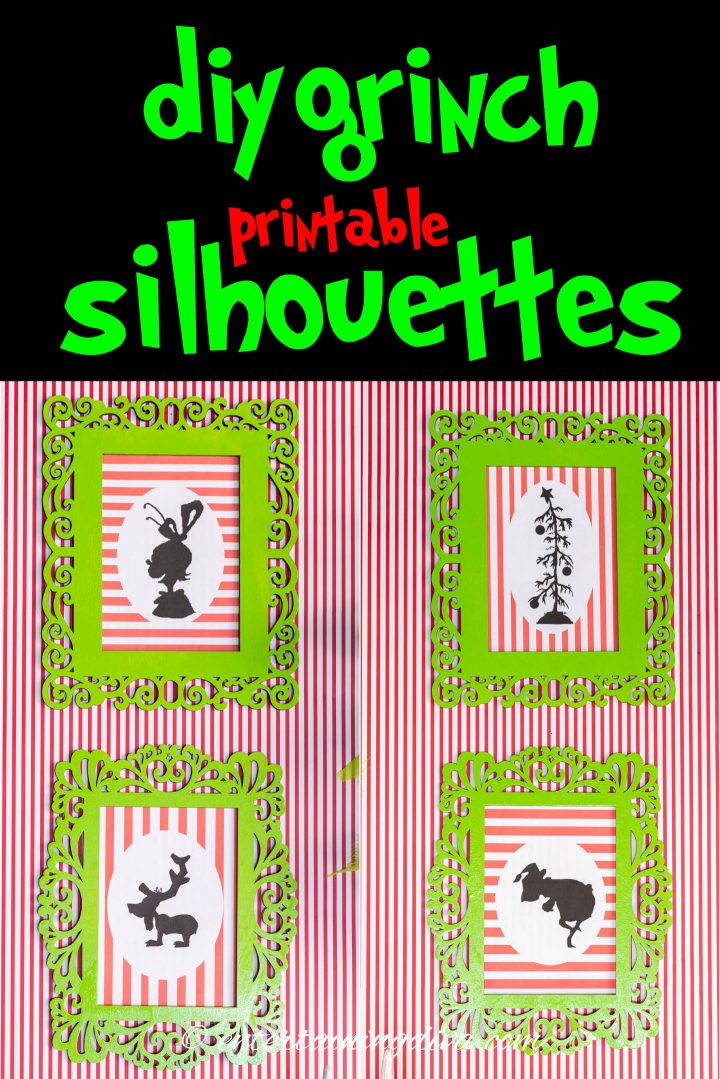
I went on a bit of a Grinch Christmas decorating binge this year.
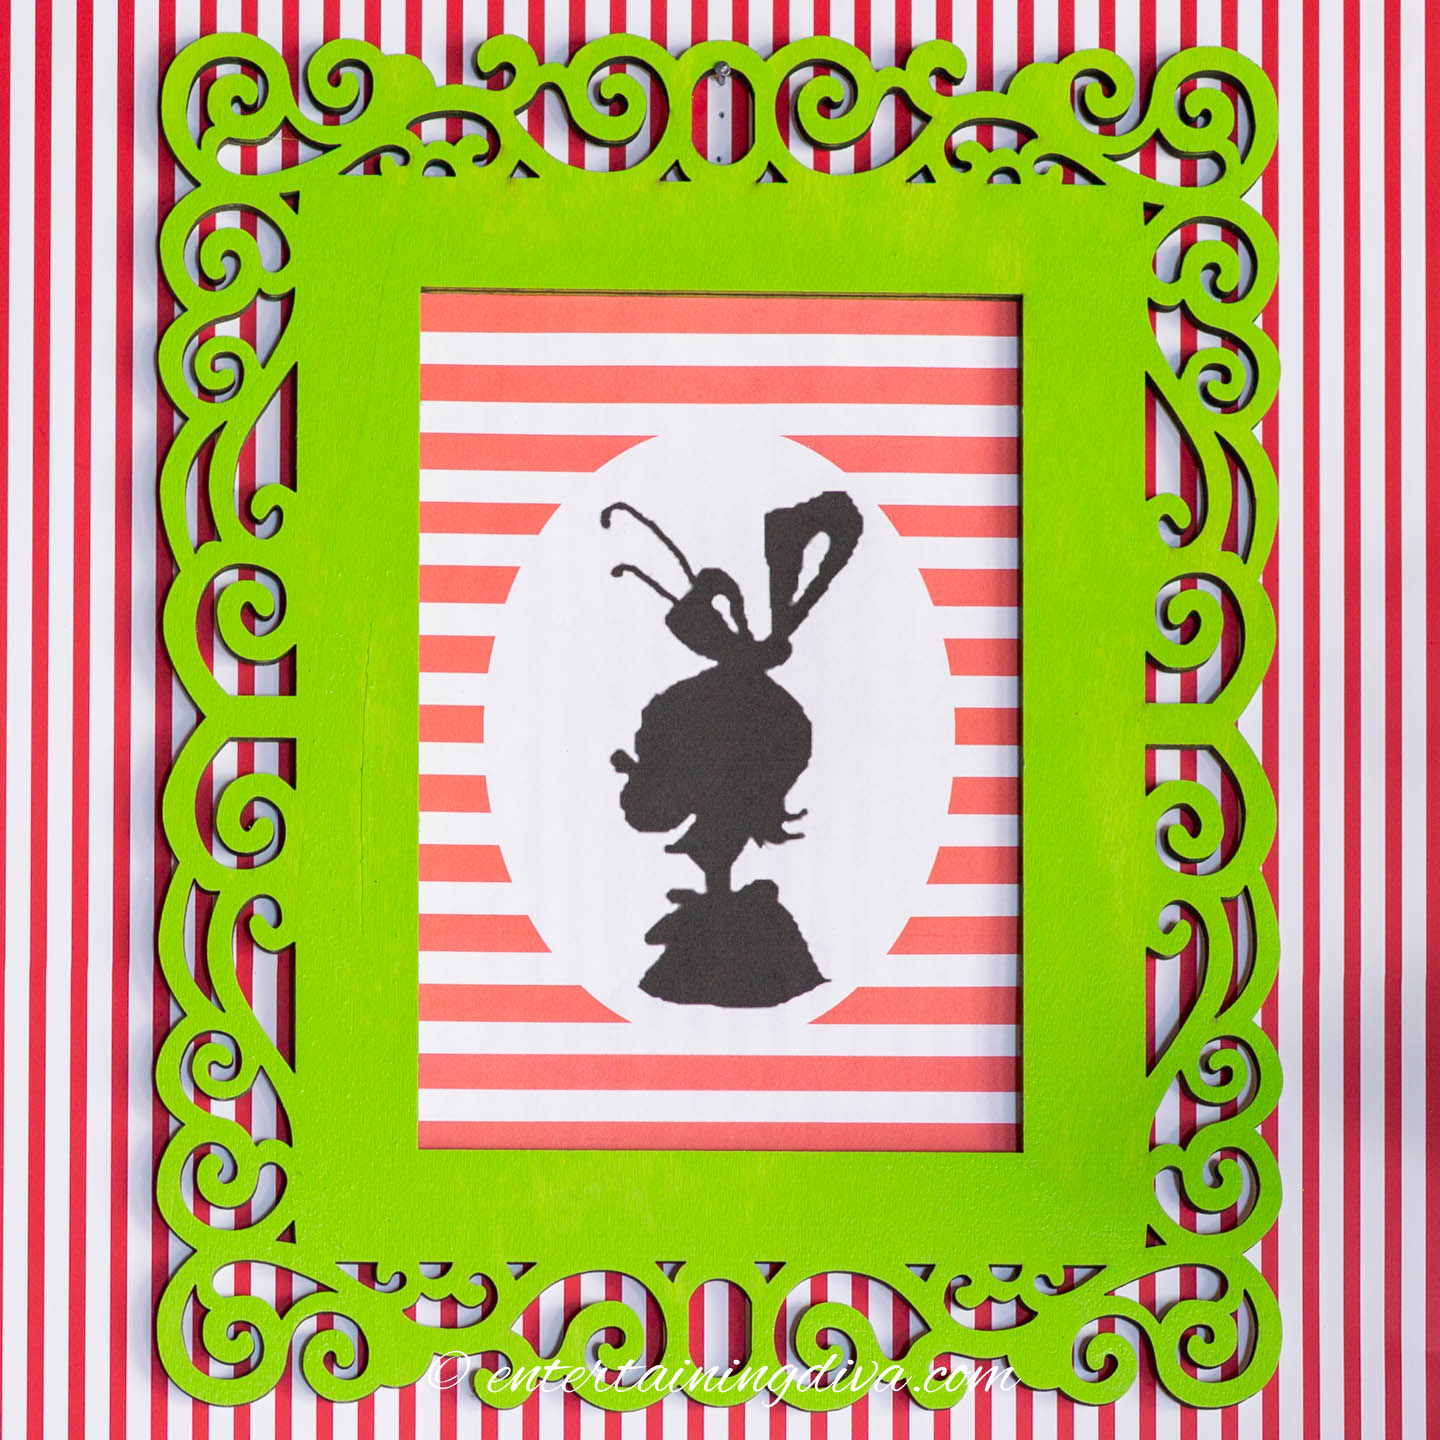
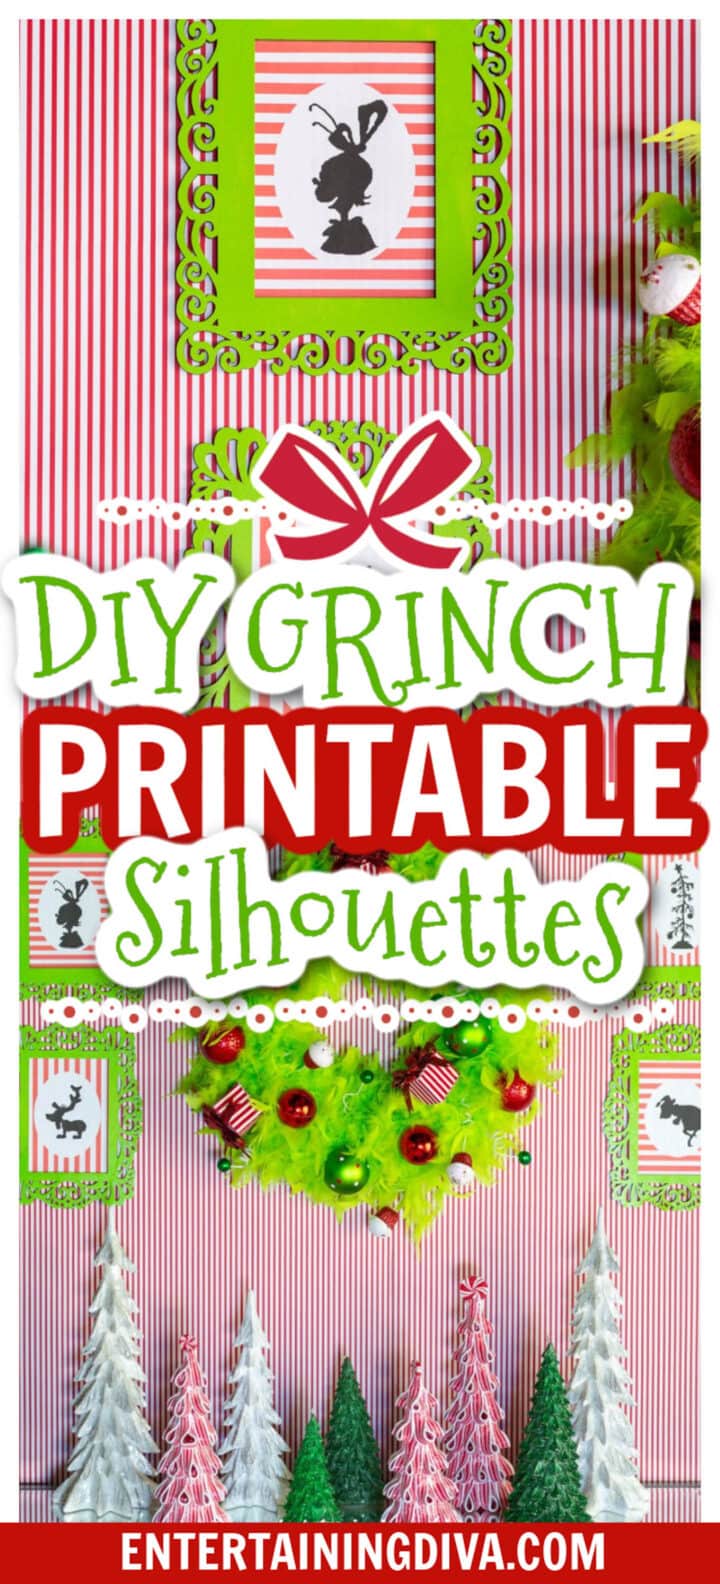
And these DIY Grinch printable silhouette pictures were one of the easy projects I made to put up on the wall above my fireplace.
They’re so simple to make, they literally take about 15 minutes of work time to put together (plus the time for the paint to dry).
Supplies
Materials
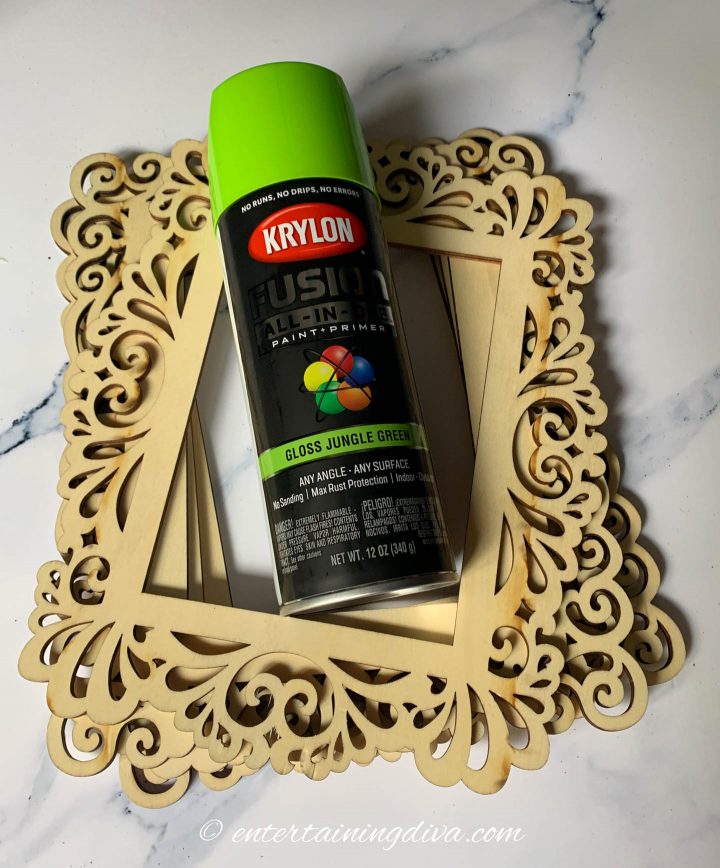
- unfinished wood frames – The exact ones I used aren’t available anymore but these ones* are pretty close. Make sure to look at the size. They need to fit a 5″ x 7″ picture. (Many of the ones available for sale are a lot smaller than that.)
- neon green spray paint*
- scrap piece of cardboard or a garbage bag – something that you can get spray paint on
- Grinch silhouette printables – you can get these from our free resource library, which is available to our newsletter subscribers (sign up below if you don’t already have access)
- scotch tape or masking tape
Tools
- Color printer
- Scissors
How To Make The Pictures
1 | Paint The Frames
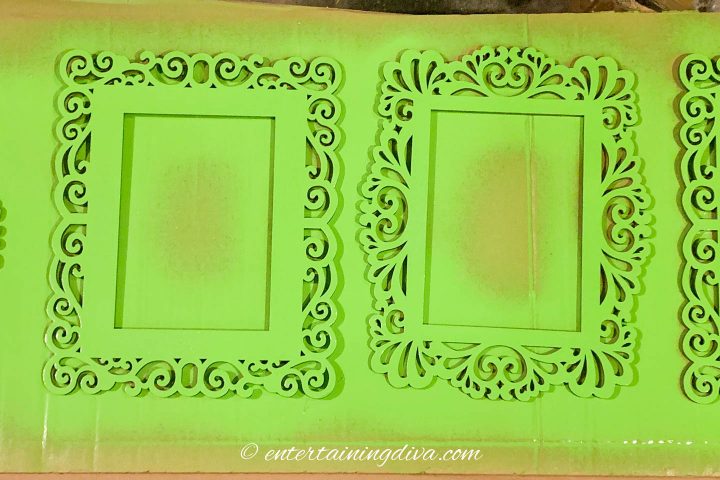
The first step of making the Grinch silhouette pictures is to paint the frames.
Lay the frames out on a scrap piece of cardboard or a garbage bag that you can spray paint on.
Then use the green spray paint to give the frames a couple of coats of paint.
Let the paint dry for at least 2 hours.
2 | Print The Pictures
Get the silhouette pictures from the Resource Library. They’re under the “Christmas” section.
Open each picture and print it making sure it stays at its original size.
To do this:
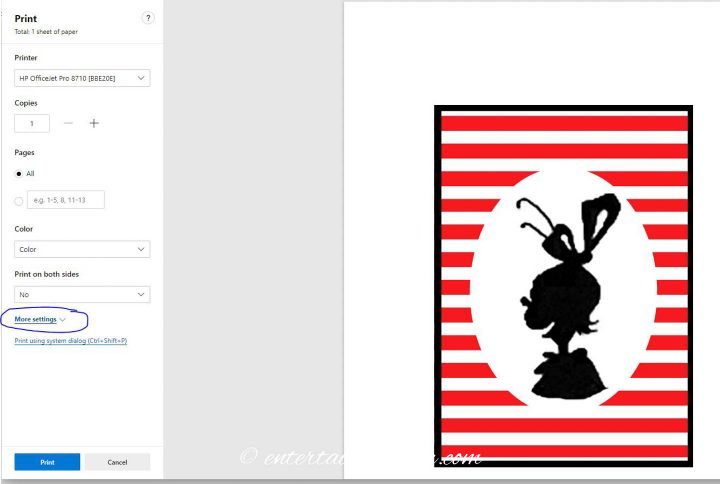
- Open the More settings section in the left options bar.
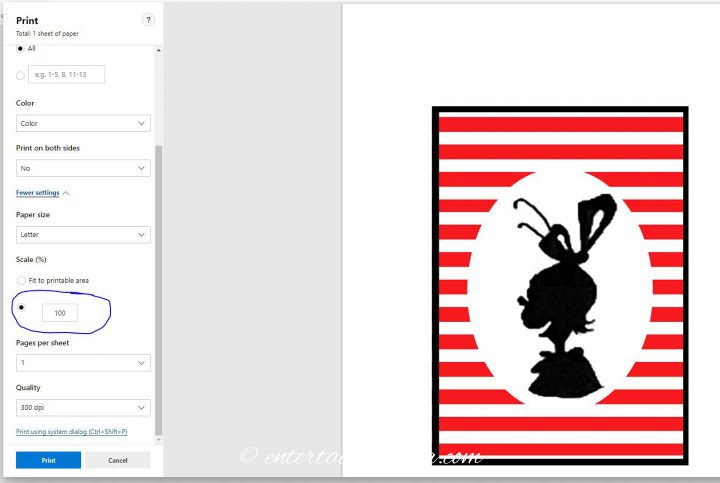
- Under Scale, pick the radio button with the field beside it, and make sure it says 100.
3 | Frame The DIY Grinch Printable Silhouette Pictures
Cut the pictures out along the inside of the black lines.
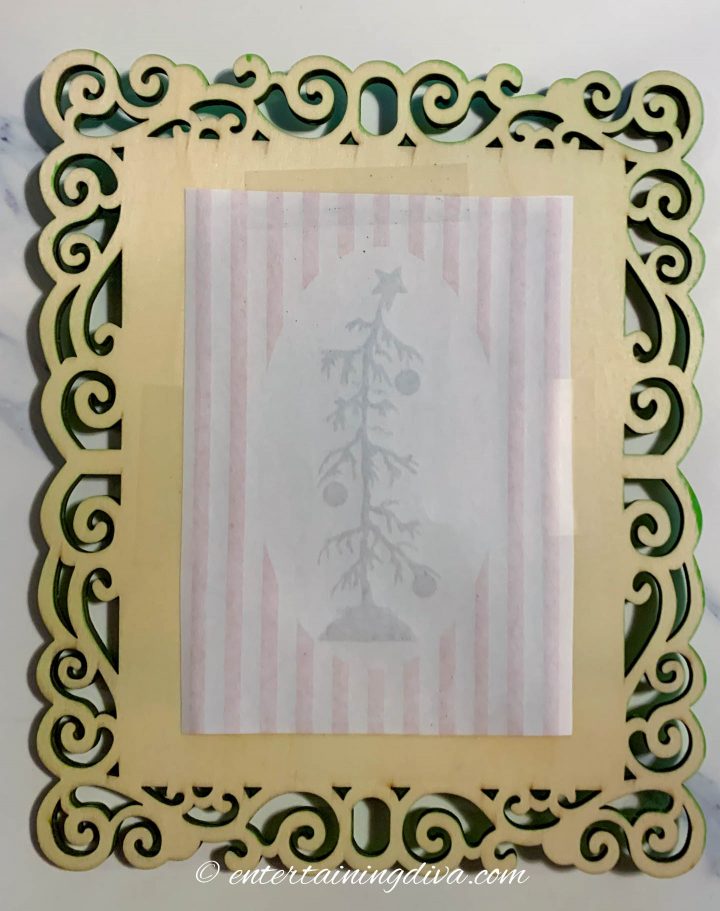
Then place the frame face down and turn the picture over.
Center the picture over the frame opening.
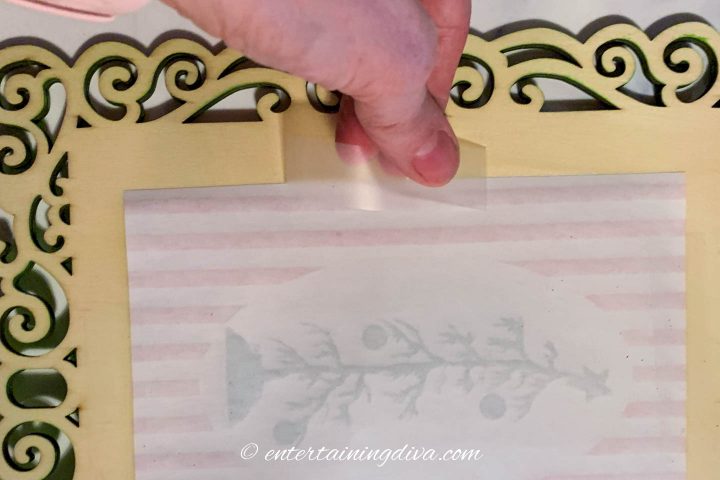
Use scotch tape or masking tape to attach the picture to the back of the frame.
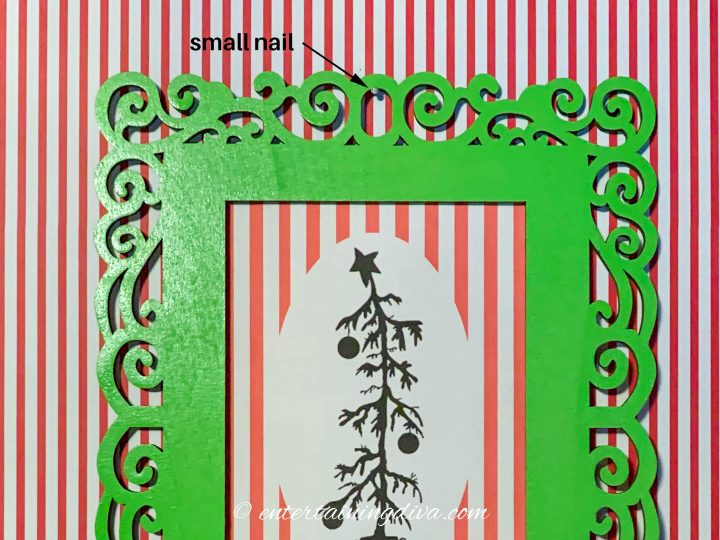
Use a small nail or pin to hang the frame.
If you don’t want to make any holes, you could also try double-sided tape. I haven’t done this, but I think the frames are light enough it should work.
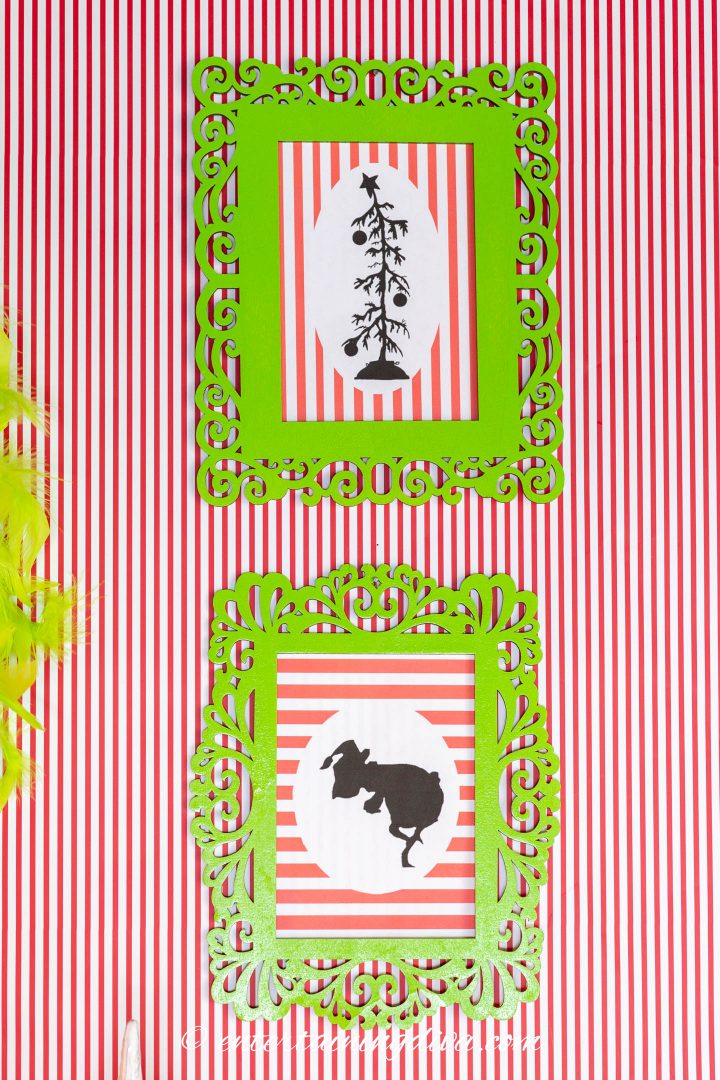
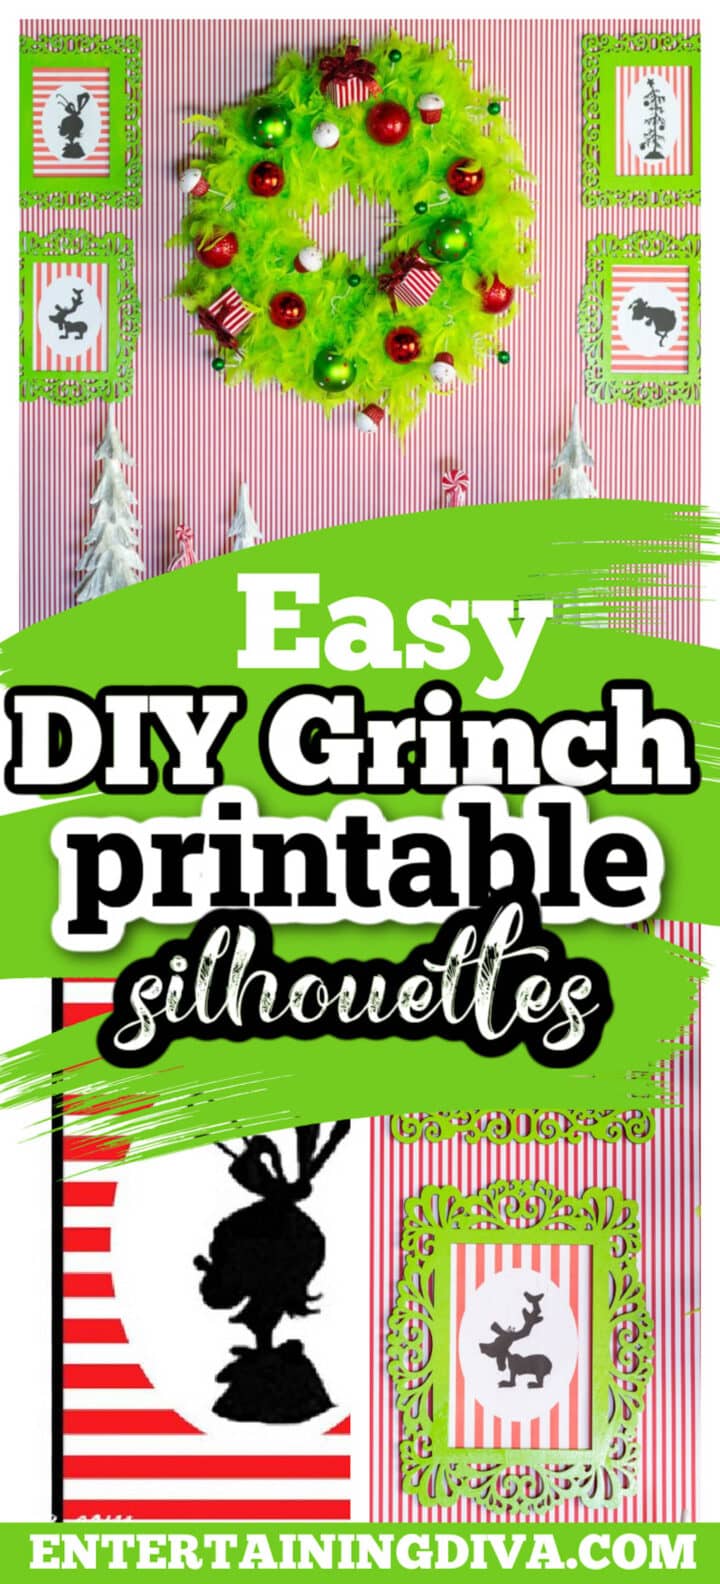
I arranged the pictures so that on one side there was a picture with vertical stripes on the top and horizontal stripes on the bottom.
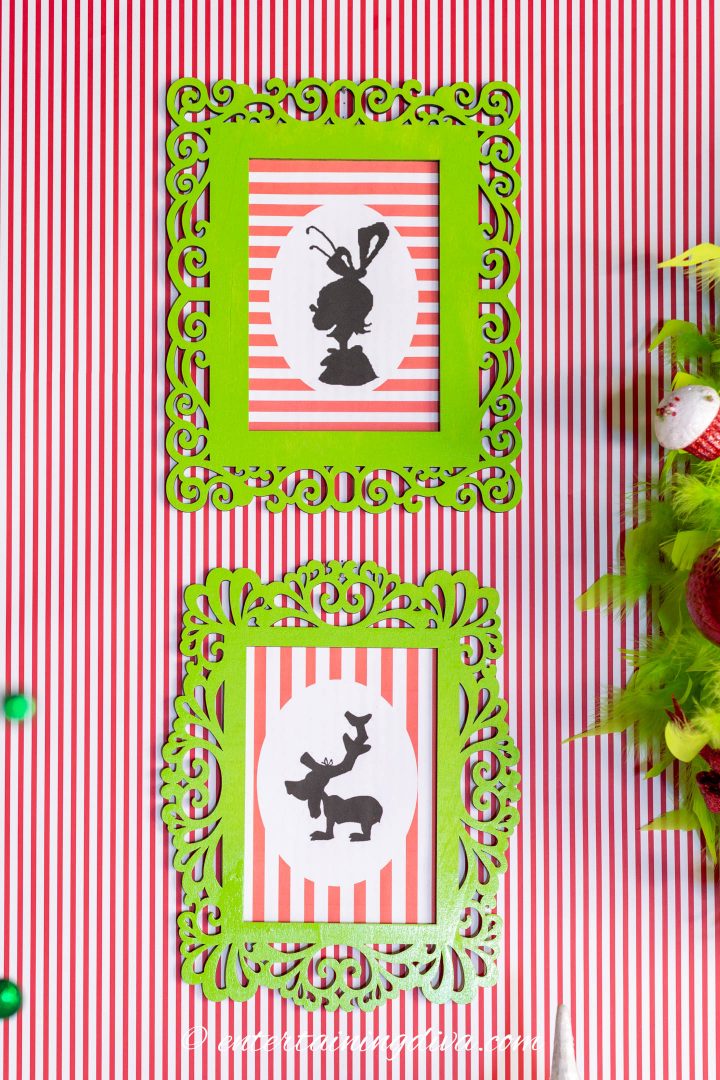
On the other side, I put the horizontal-striped picture on top and the one with vertical stripes on the bottom.
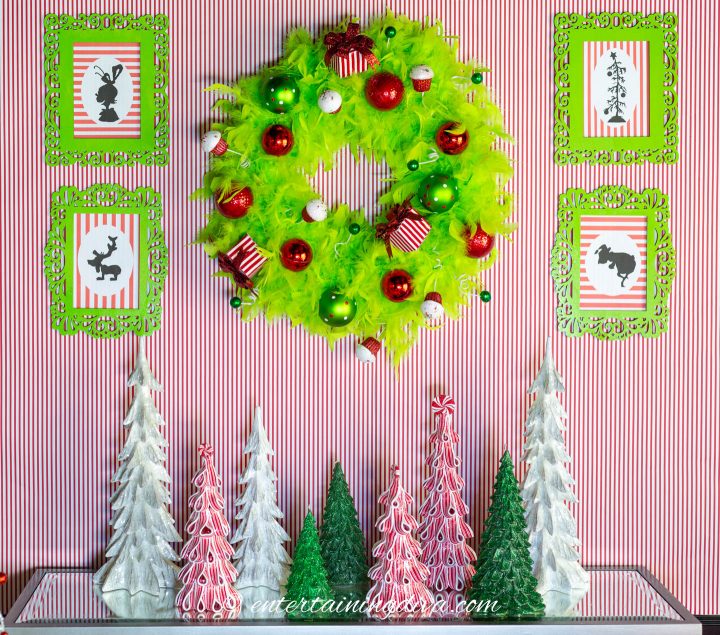
If you are using frames with different patterns like I did, I found that putting the same frame on the top (and bottom) on both sides of my Grinch wreath made it easier to get them looking level.
And that’s all there is to it!
Other Grinch Christmas Ideas You Might Like
- DIY Grinch wreath
- Grinch Christmas tree
- Printable Grinch bingo
- Grinch food and drink ideas
- Grinch outdoor decor ideas
Have comments or questions about our DIY Grinch printable silhouette pictures? Tell us in the section below.
This post was originally published on November 26, 2020 but was updated with new content on August 20, 2024.
Where did you get the frames ?
Hi Jackie…I bought them from Amazon. You can find them HERE.
Hi hope all is well..but im trying to find the grinch silhouettes and don’t know if they are still available..thank you..
Hi Brenda…they are. I sent you an email with the instructions of where to find them in the resource library.
Hi and thank you..enjoy your Holidays..