
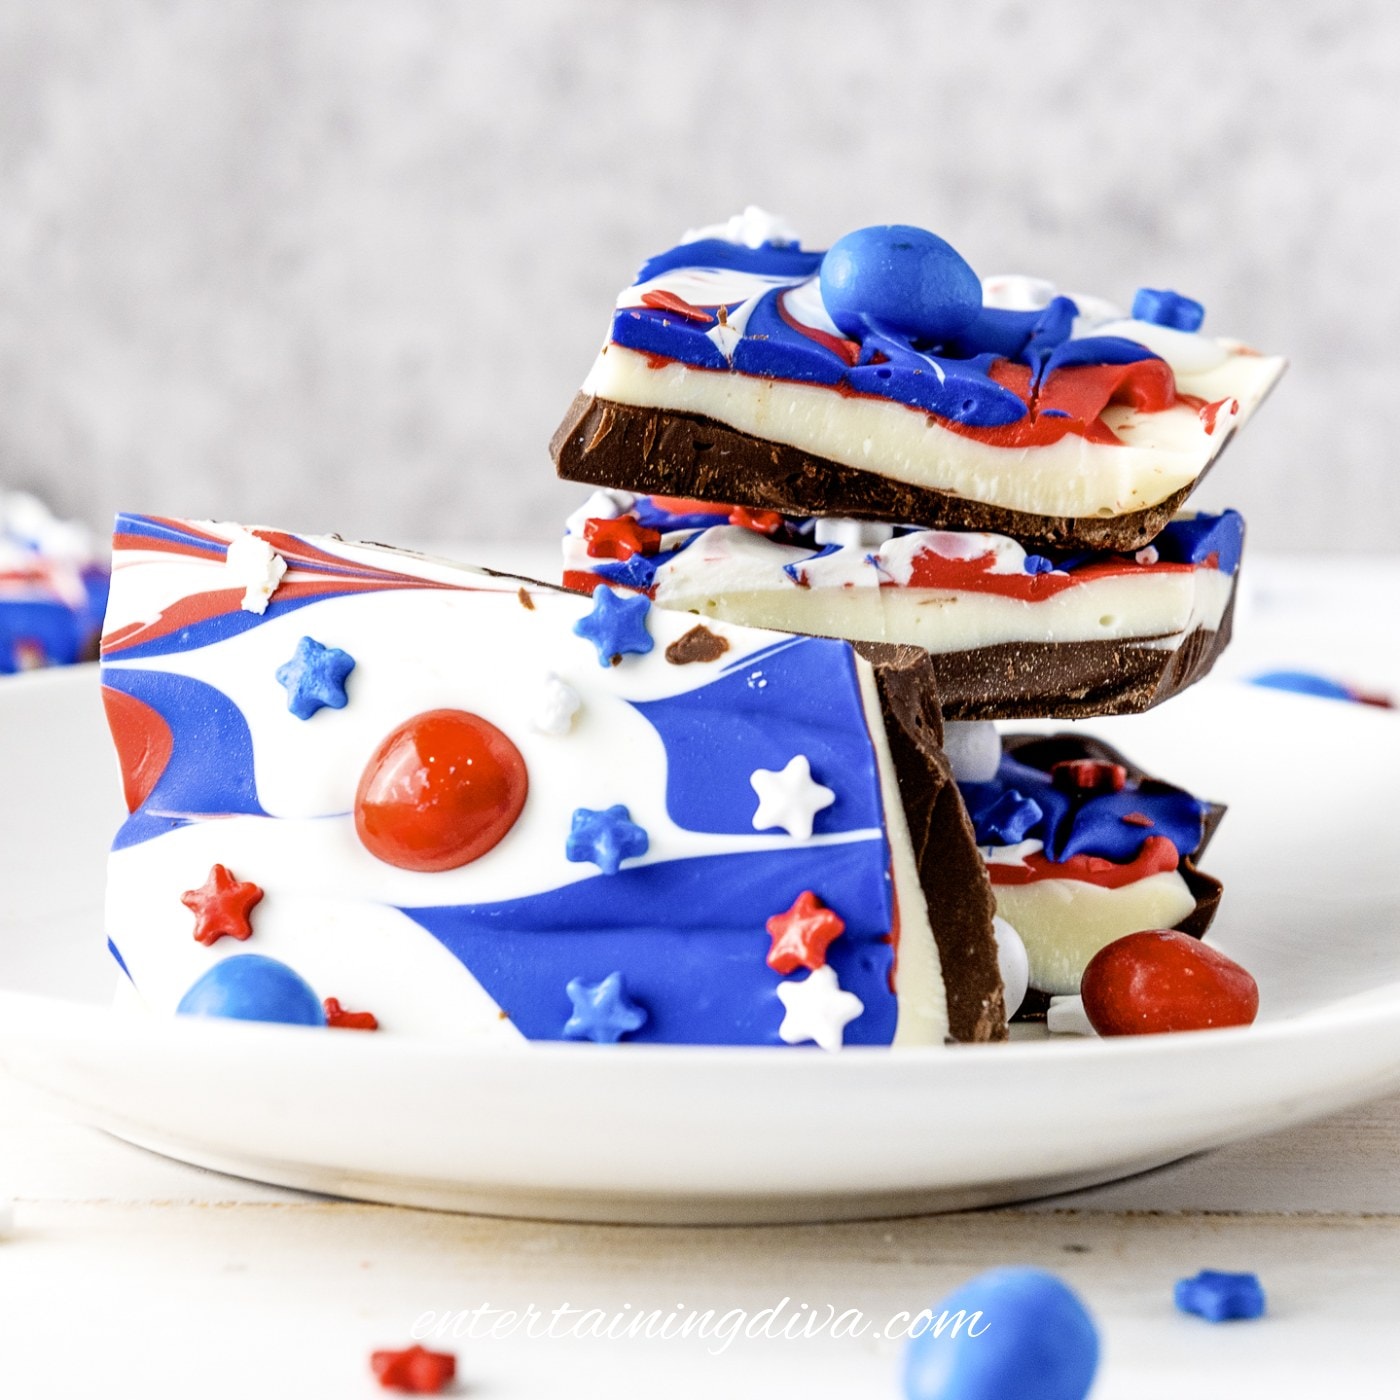

Why I love this patriotic 4th of July bark
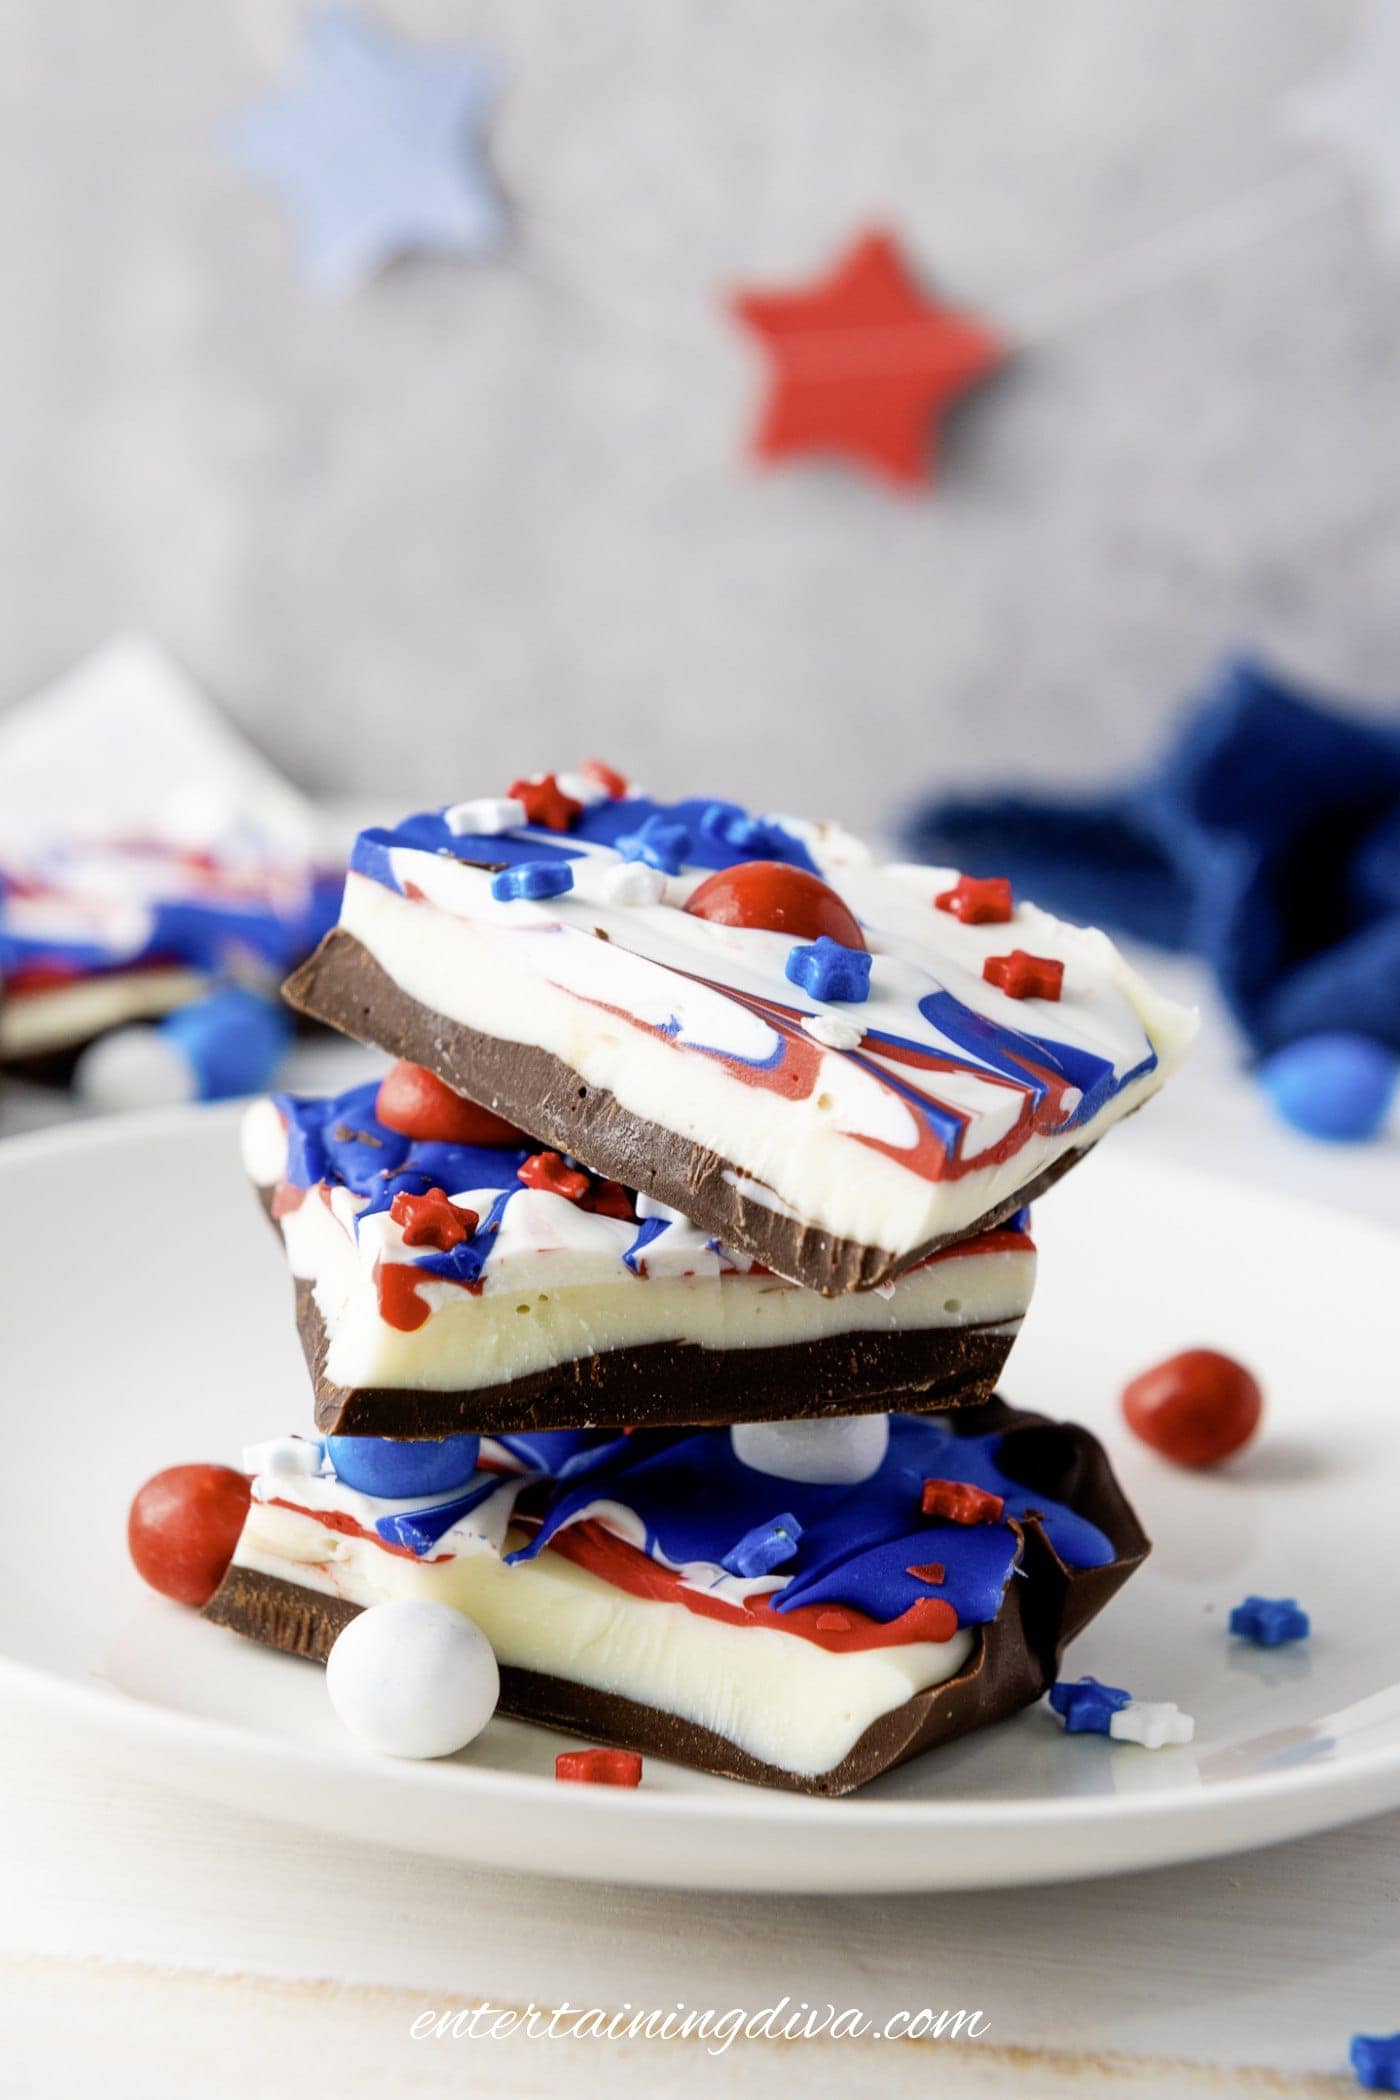
There is nothing that screams Independence Day (or Memorial Day) celebration quite like this 4th of July bark.
I am absolutely obsessed with how simple yet stunning it is to whip up for any backyard bash!
It is the ultimate stress-free dessert that brings a patriotic pop of color to the table.
The layers of rich semi-sweet and creamy white chocolate pair perfectly with the satisfying crunch of colorful M&Ms and those patriotic star-shaped sprinkles. What’s not to love?
And honestly, you don’t need any special skills to get that beautiful, professional-looking swirl.
Looking for more patriotic desserts? You'll love Patriotic Popcorn and Red White And Blue Rice Krispie Treats.
Ingredients
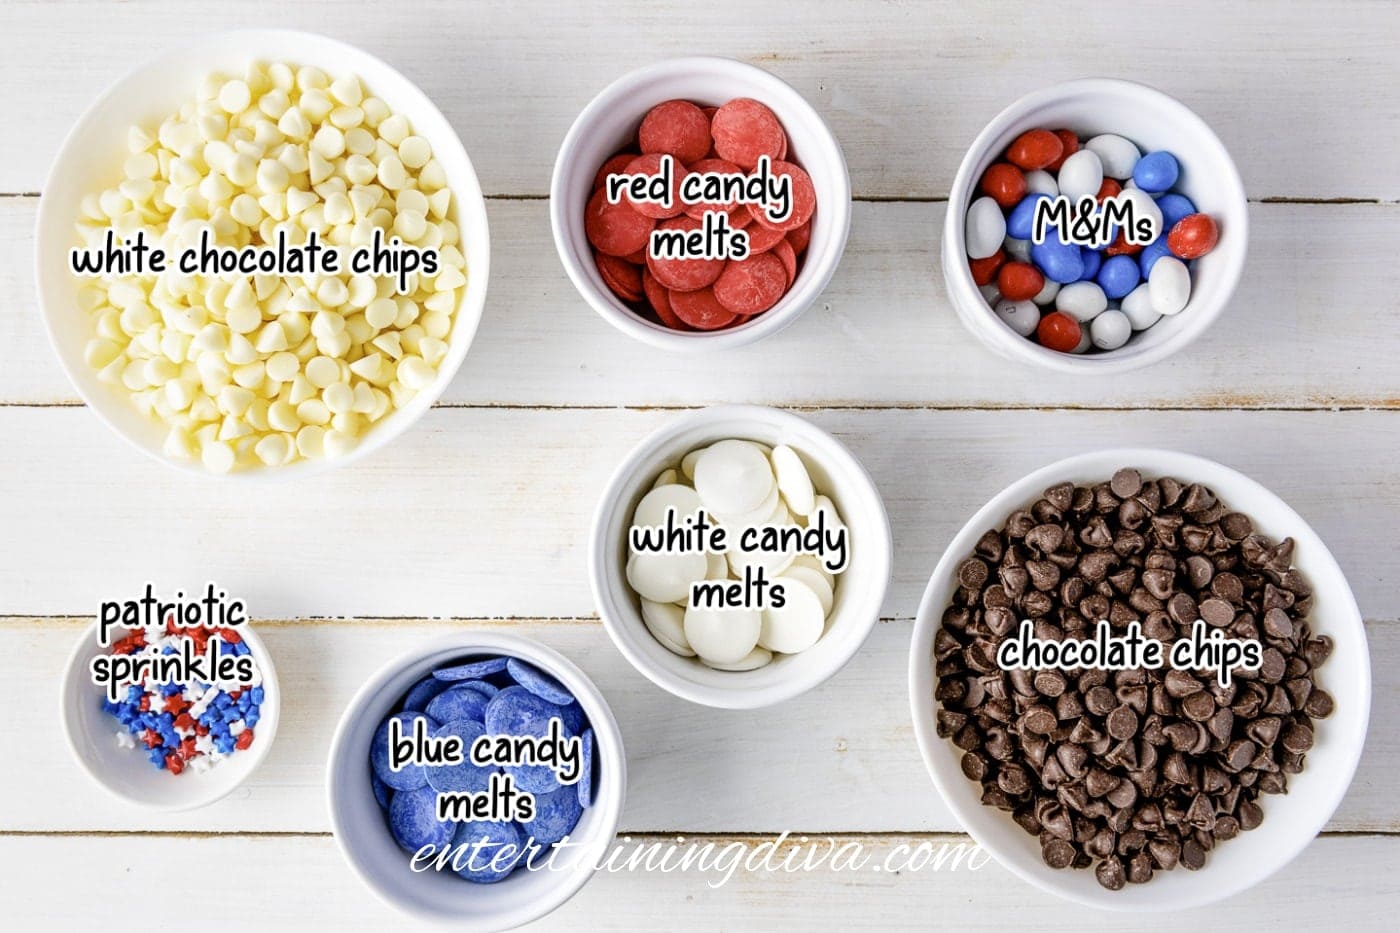
Here is your shopping list (for 15 servings):
- Chocolate – 2 cups white chocolate morsels, 2 cups semi-sweet chocolate morsels.
- Candy – ½ cup red candy melts, ½ cup white candy melts, ½ cup blue candy melts, ¼ cup red, white and blue M&M’s
- Candy sprinkles – 1 Tablespoon red, white and blue sprinkles. (I like the ones shaped like stars).
How to make 4th of July bark
1 | Prep work
Line a baking sheet with parchment paper.
2 | Make the chocolate layer
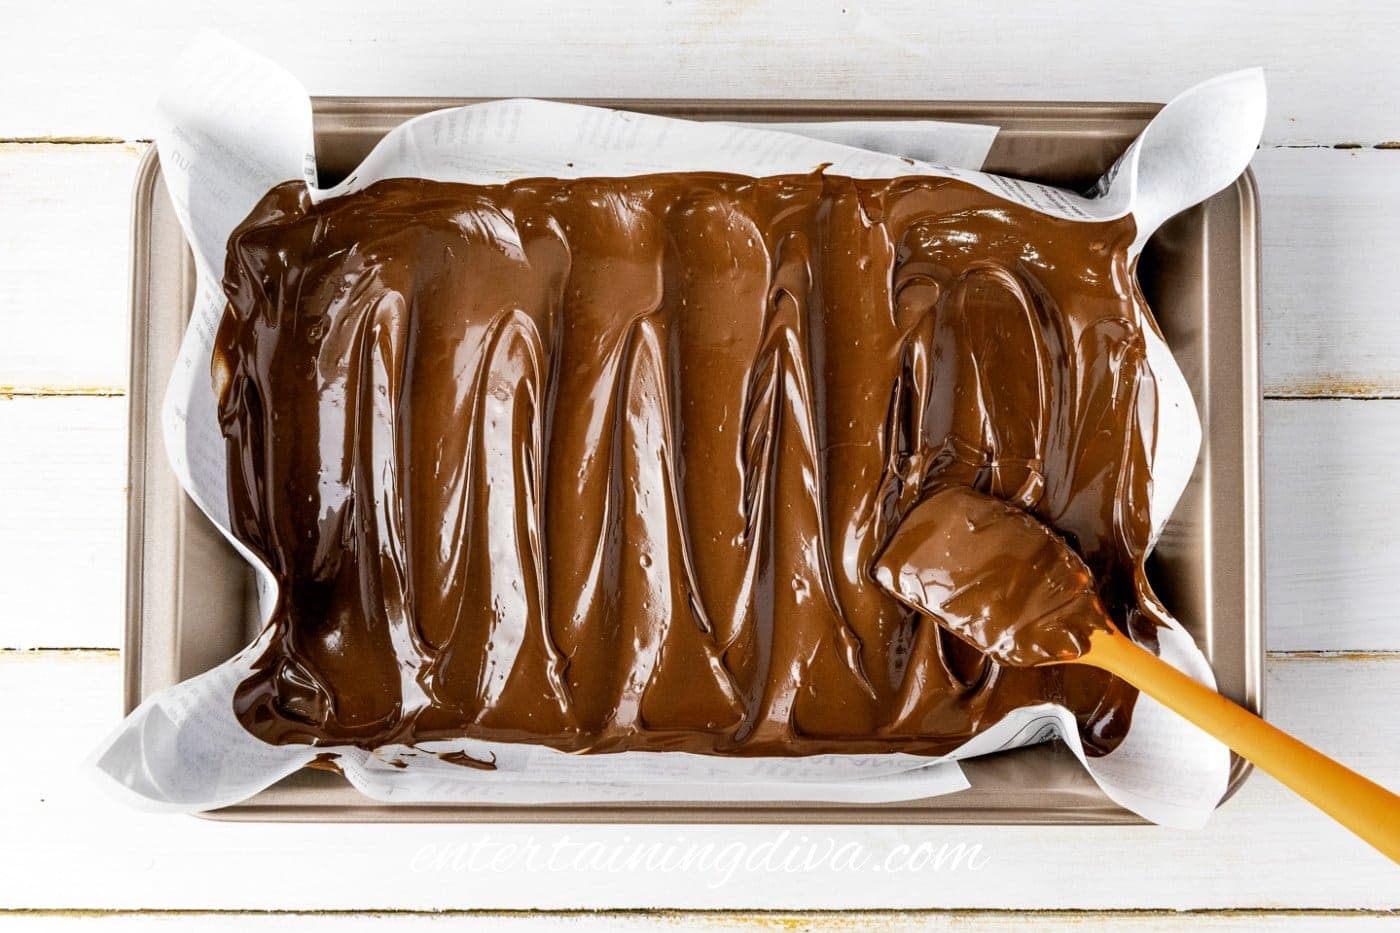
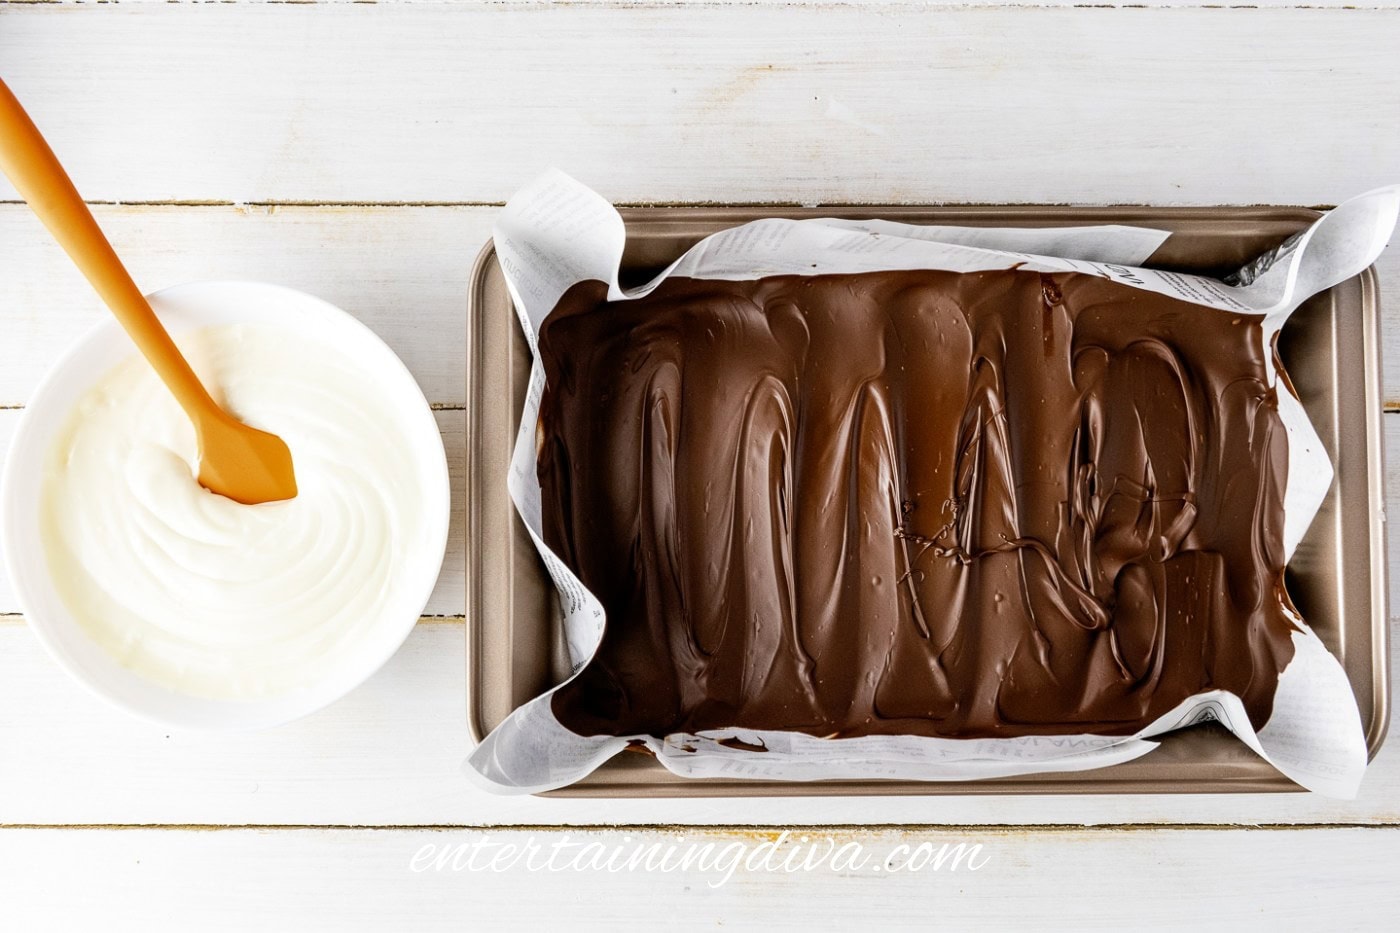
Start by melting your semi-sweet chocolate morsels in the microwave until they are smooth and glossy.
Heat the chocolate in short 30-second bursts, stirring in between, so it doesn’t get burnt or clumpy.

Carefully pour the melted chocolate onto your prepared tray and spread it out so that it covers the surface in an even, thin layer.
Use the back of a large spoon or a rubber spatula to push the chocolate out toward the edges of the tray.
Give the chocolate plenty of time to firm up completely until it feels solid and cool.
Don’t microwave for longer than 30 seconds at a time. Chocolate chips go from un-melted to burnt in a very short time span in the microwave. And you can’t tell by looking at them when they’re done.
3 | Make the white chocolate layer
Now, melt your white chocolate morsels in the microwave using the same method.
White chocolate melts faster than dark chocolate, so keep a close eye on it!
Let this white layer set until it is completely hard and smooth.

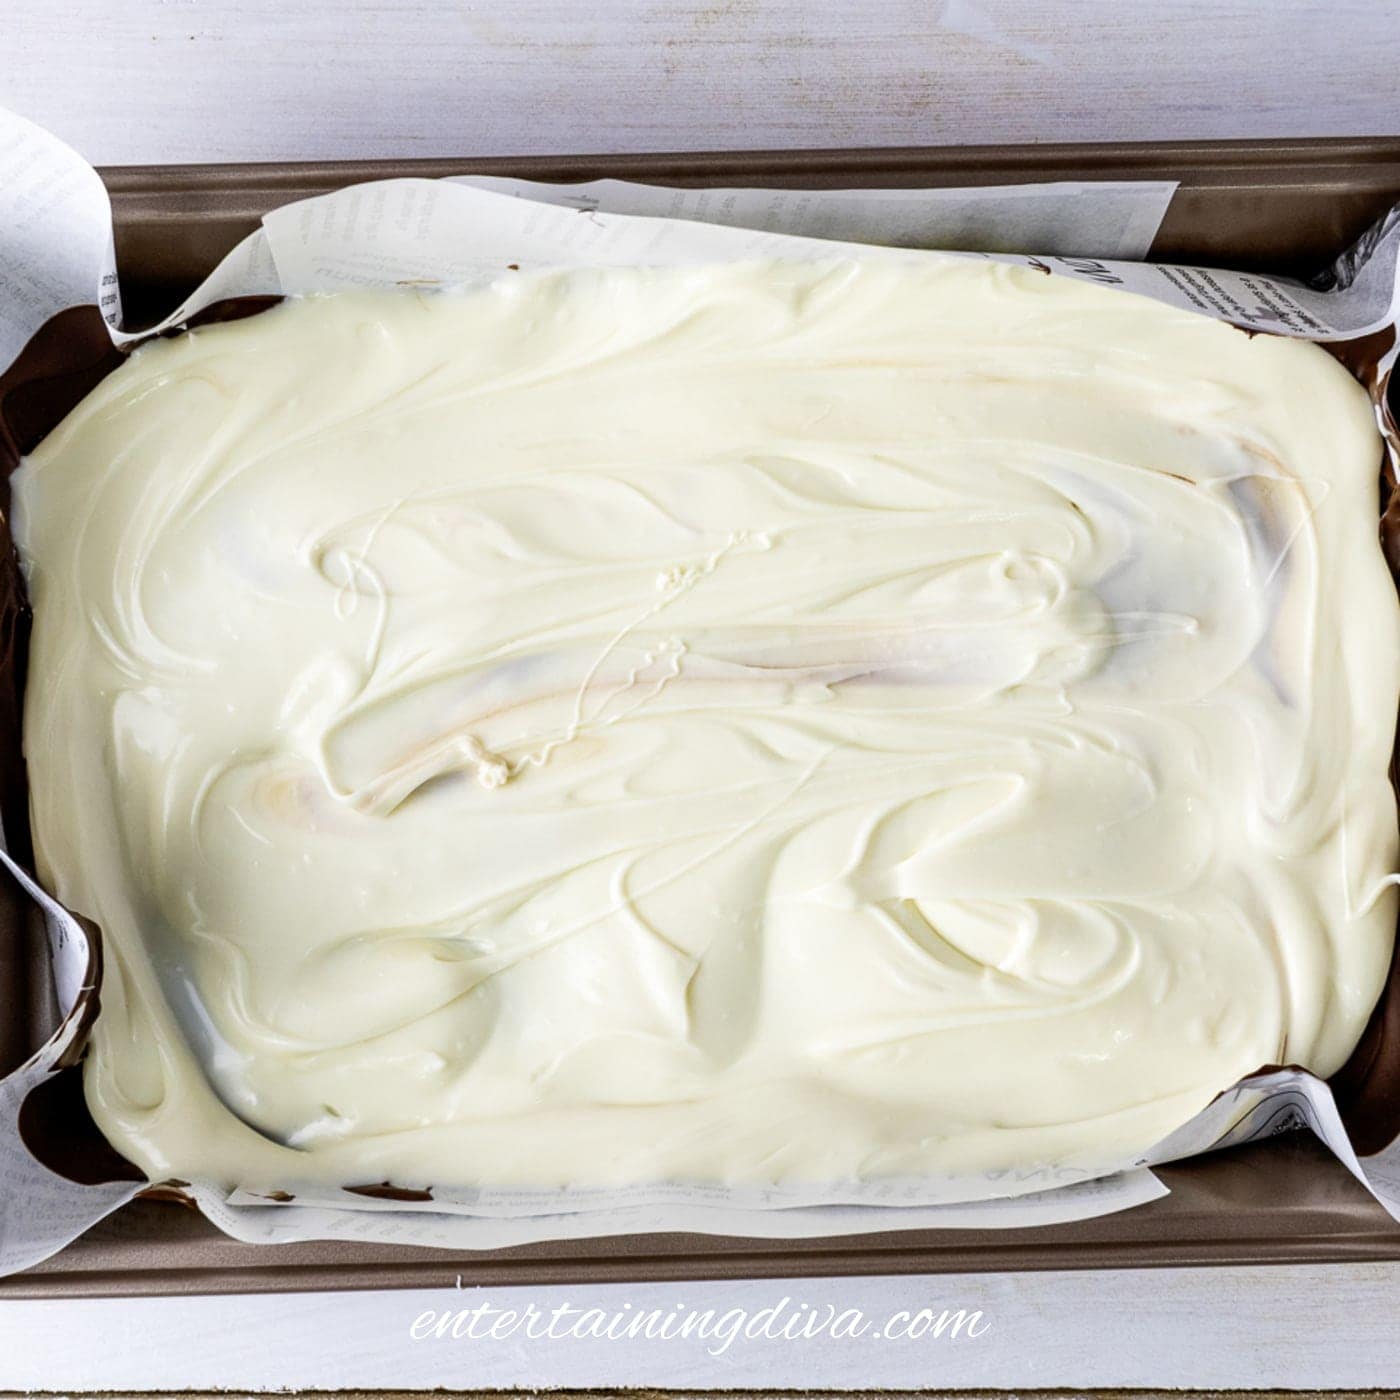
Pour the white chocolate right over the top of the firm semi-sweet layer you prepared earlier.
Use a spatula or the back of a large spoon to spread it out so it covers the chocolate layer.
4 | Make the red, white & blue layer
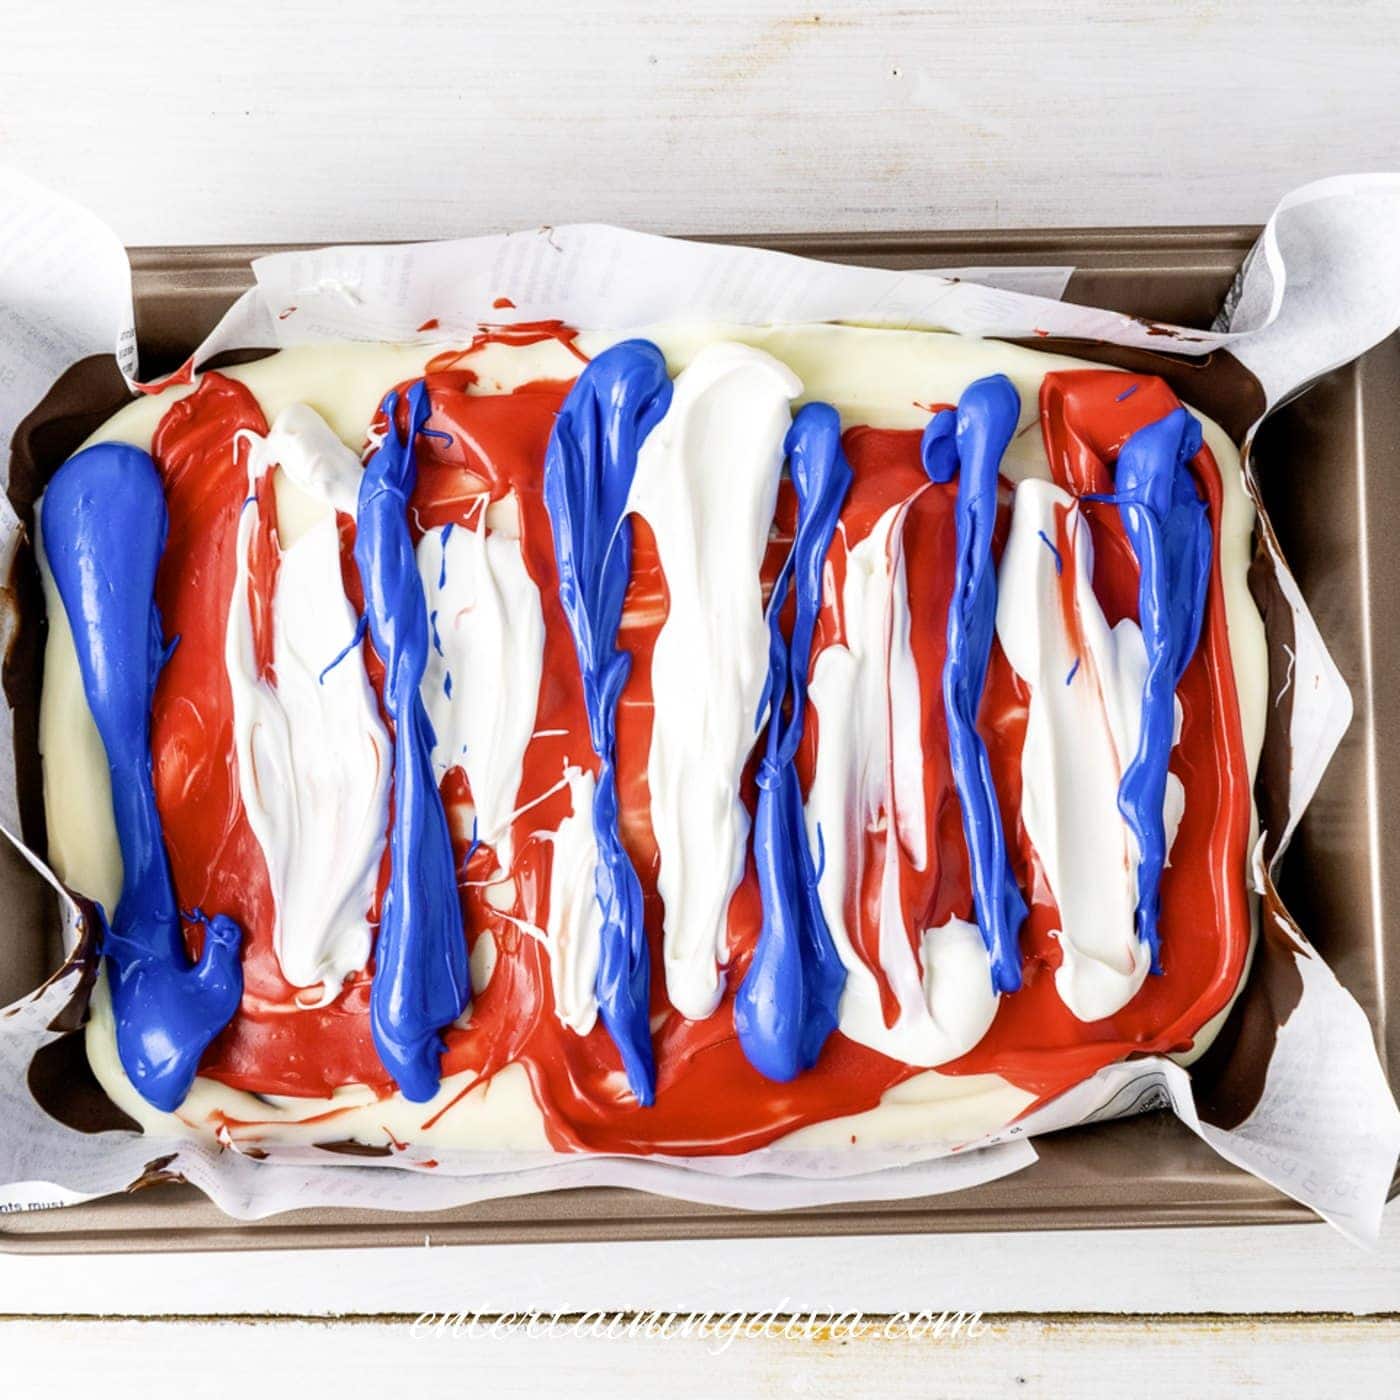
Melt your red, white, and blue candy wafers in three separate small bowls using the same 30-second heat and then stir method from above.Use a spoon to dollop and smear the melted red candy across the surface of the white chocolate.
Don’t worry about being perfect. We’ll be blending the colors later anyway.
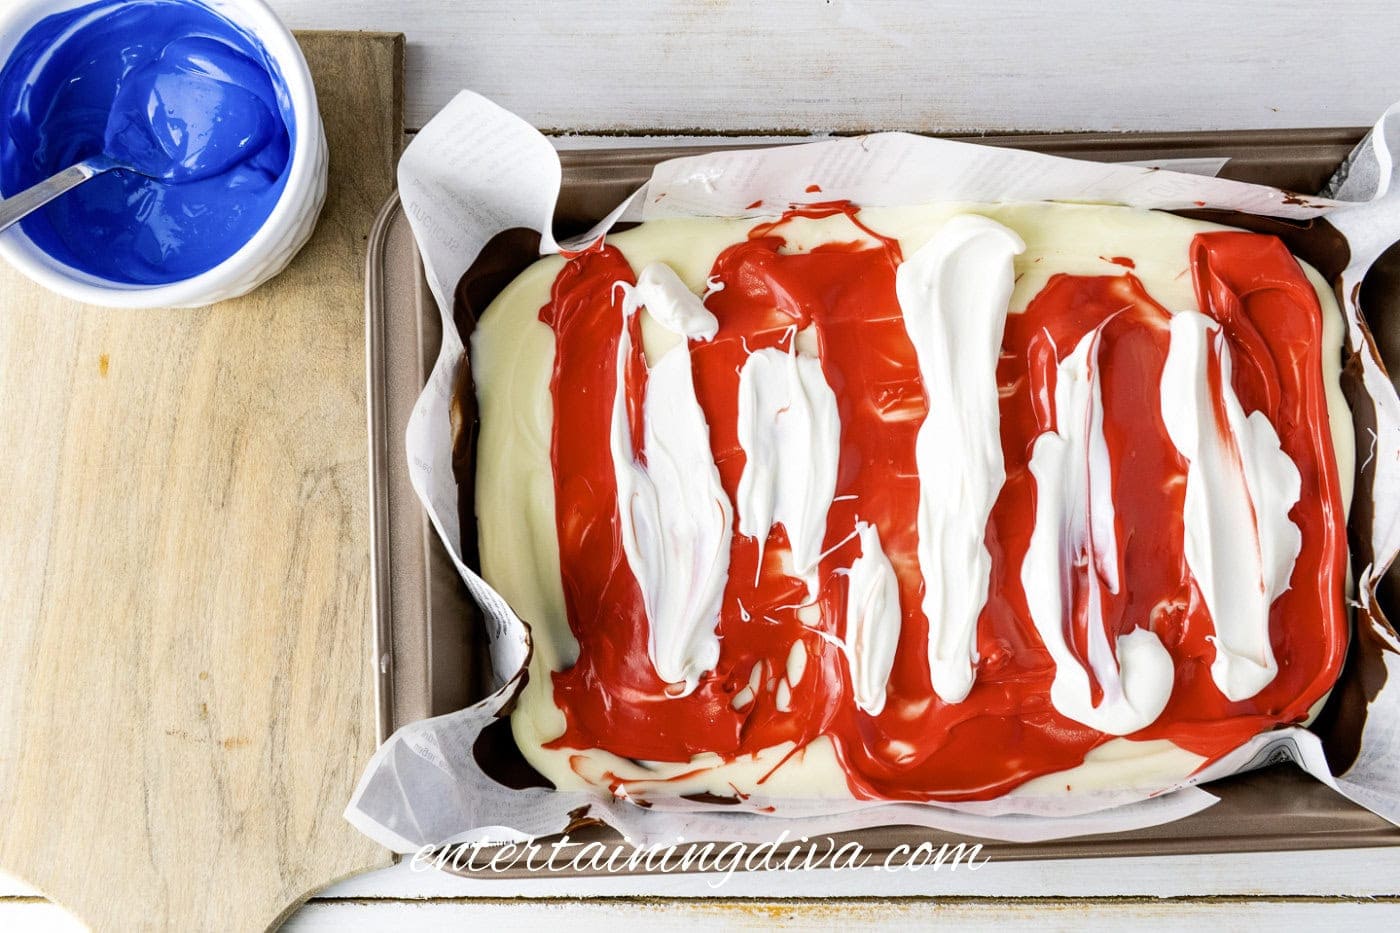
Next, spoon the melted white candy in stripes over the red layer. Leave enough space between the stripes for the blue and don’t worry about being perfect.
Finish your color layers by spooning stripes of the melted blue candy between the white stripes.
Be sure to leave some of the red showing so that it will appear in your pattern.
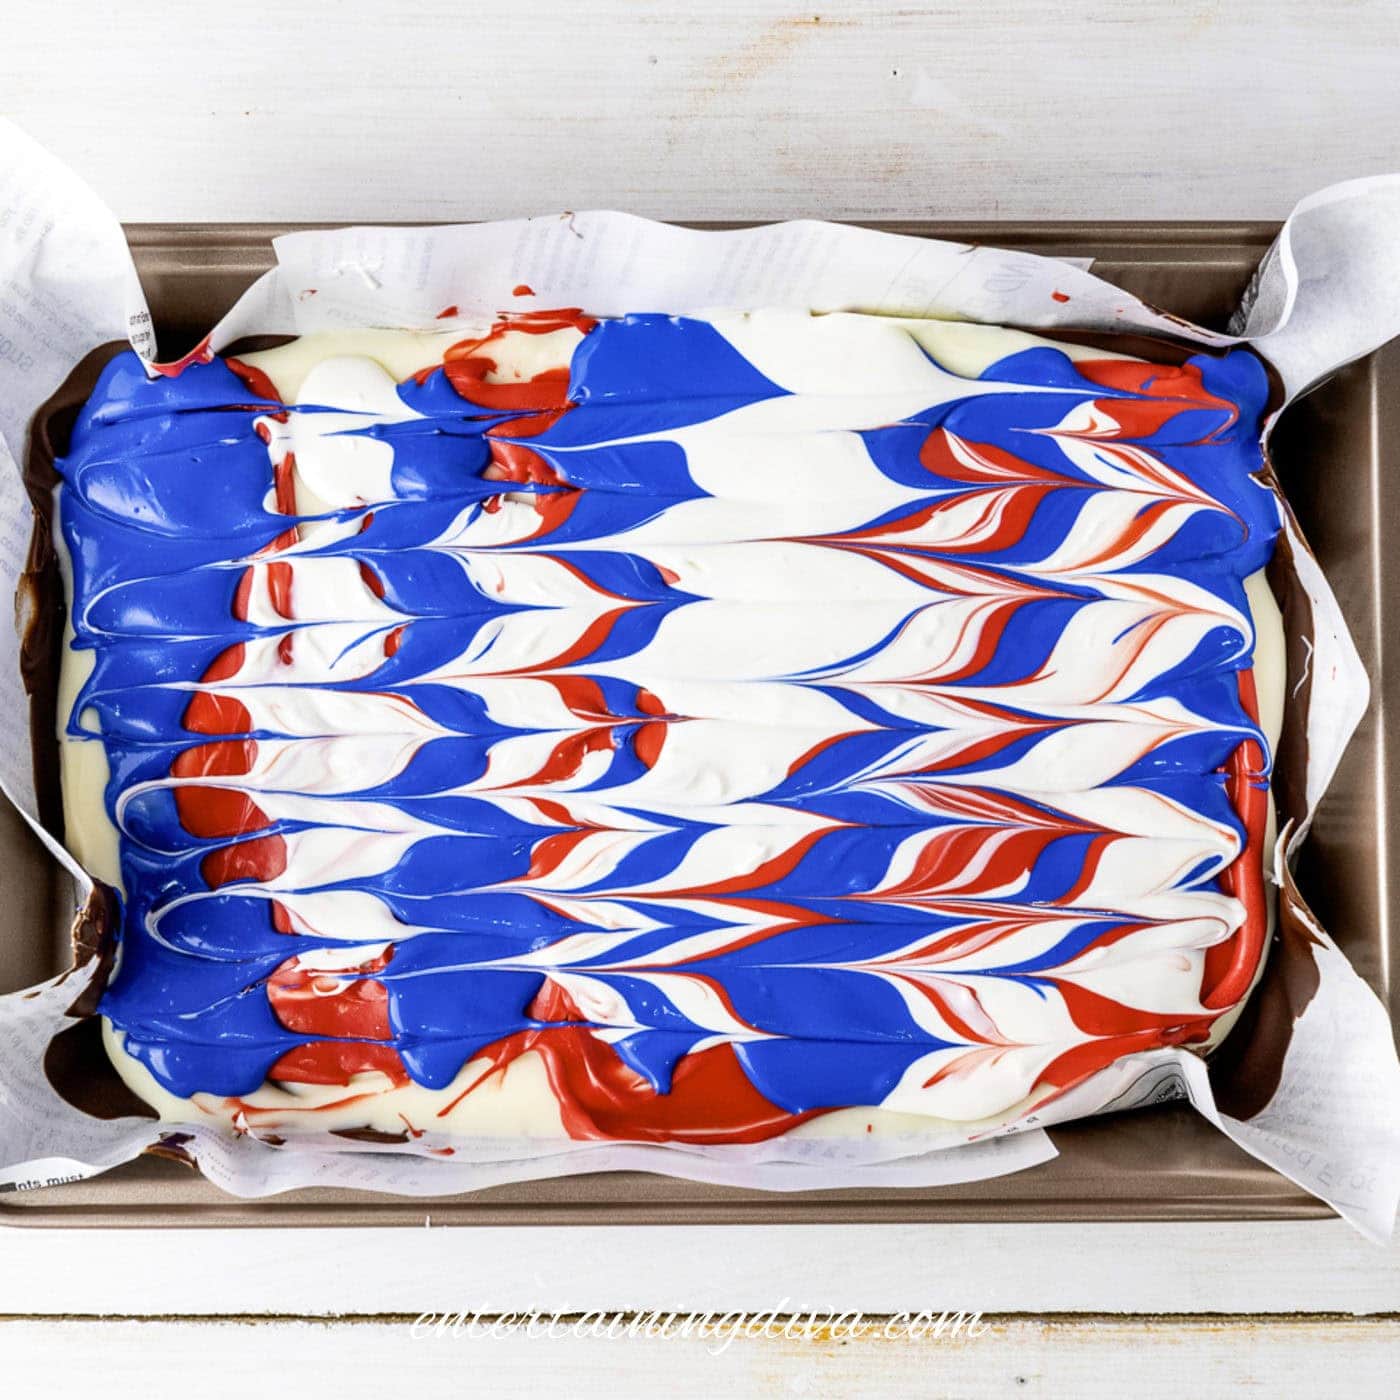
Use a toothpick to drag across the red, white and blue stripes so they pull into each other, creating a beautiful pattern.
Don’t mix too much or you’ll end up with a bunch of brown. You’ll also need to work quickly since the candy melts will start to harden.
5 | Add the toppings
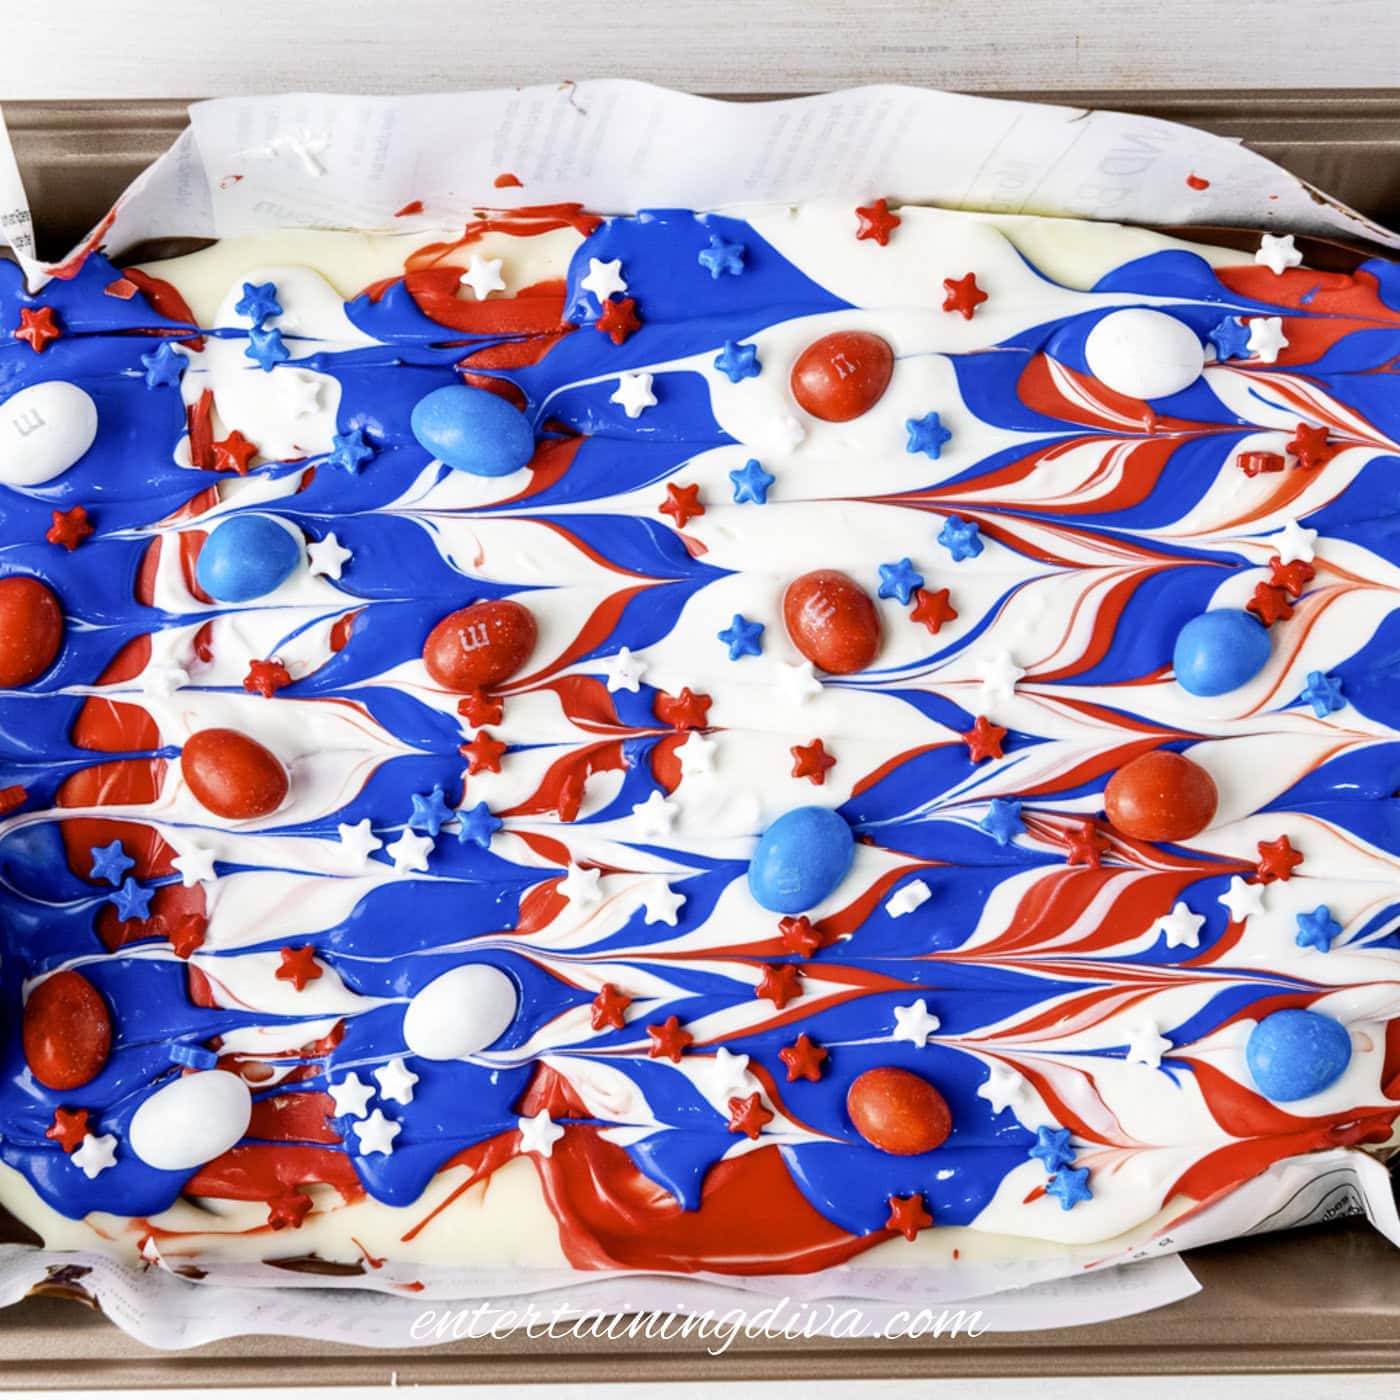
While the candy is still soft, sprinkle your star decorations and M&Ms over the top so they stick perfectly.
Press the M&Ms in just a little bit so they stay firmly in place once the bark hardens.
6 | Let it set
Let the entire tray sit undisturbed until the bark has hardened completely.
You can put it in the refrigerator to get it to harden faster if you’re in a hurry.
7 | Serve
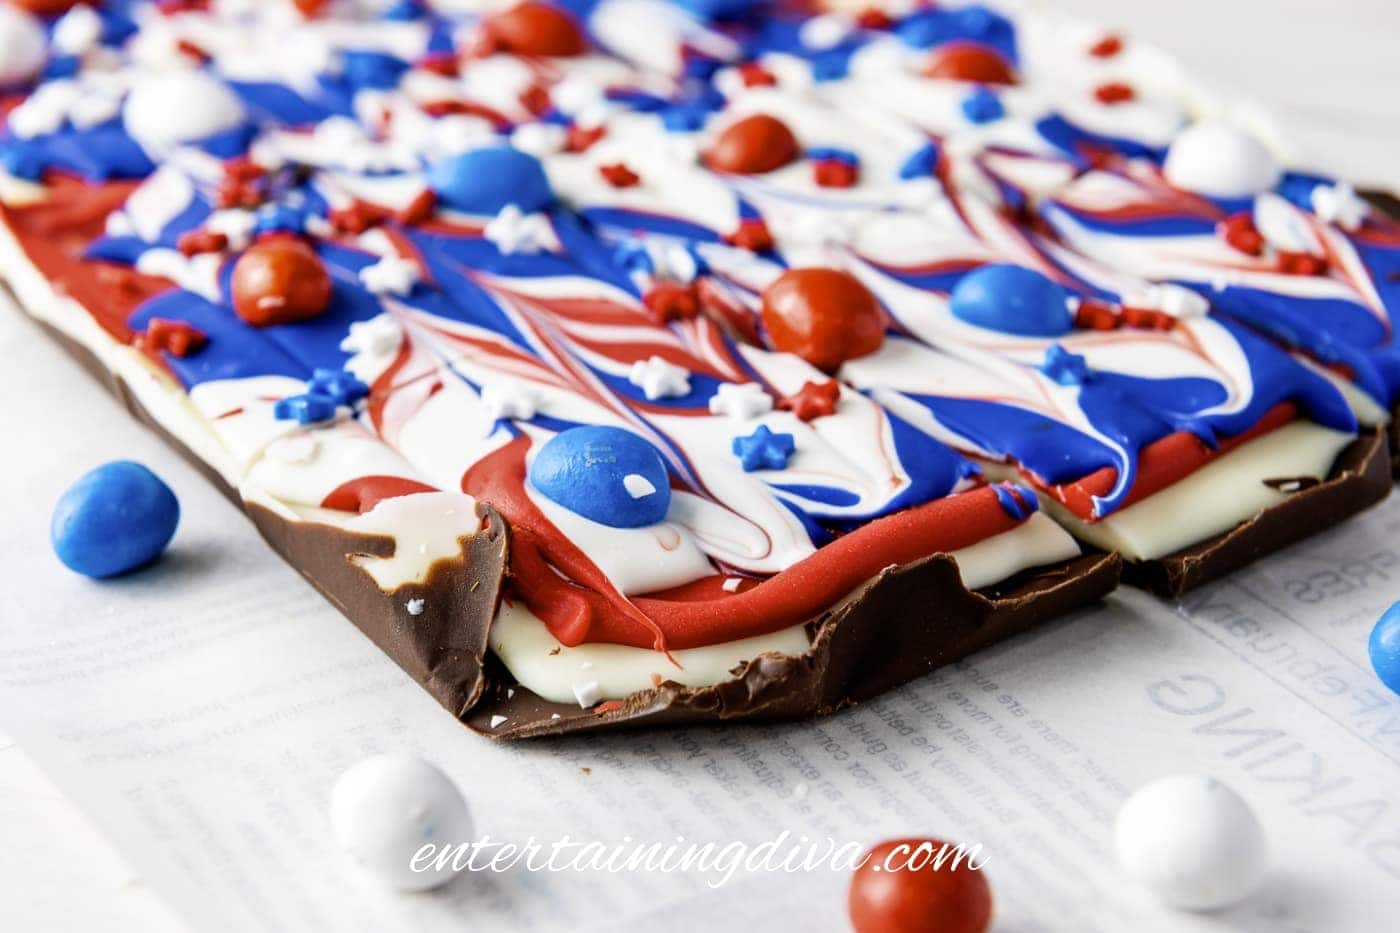
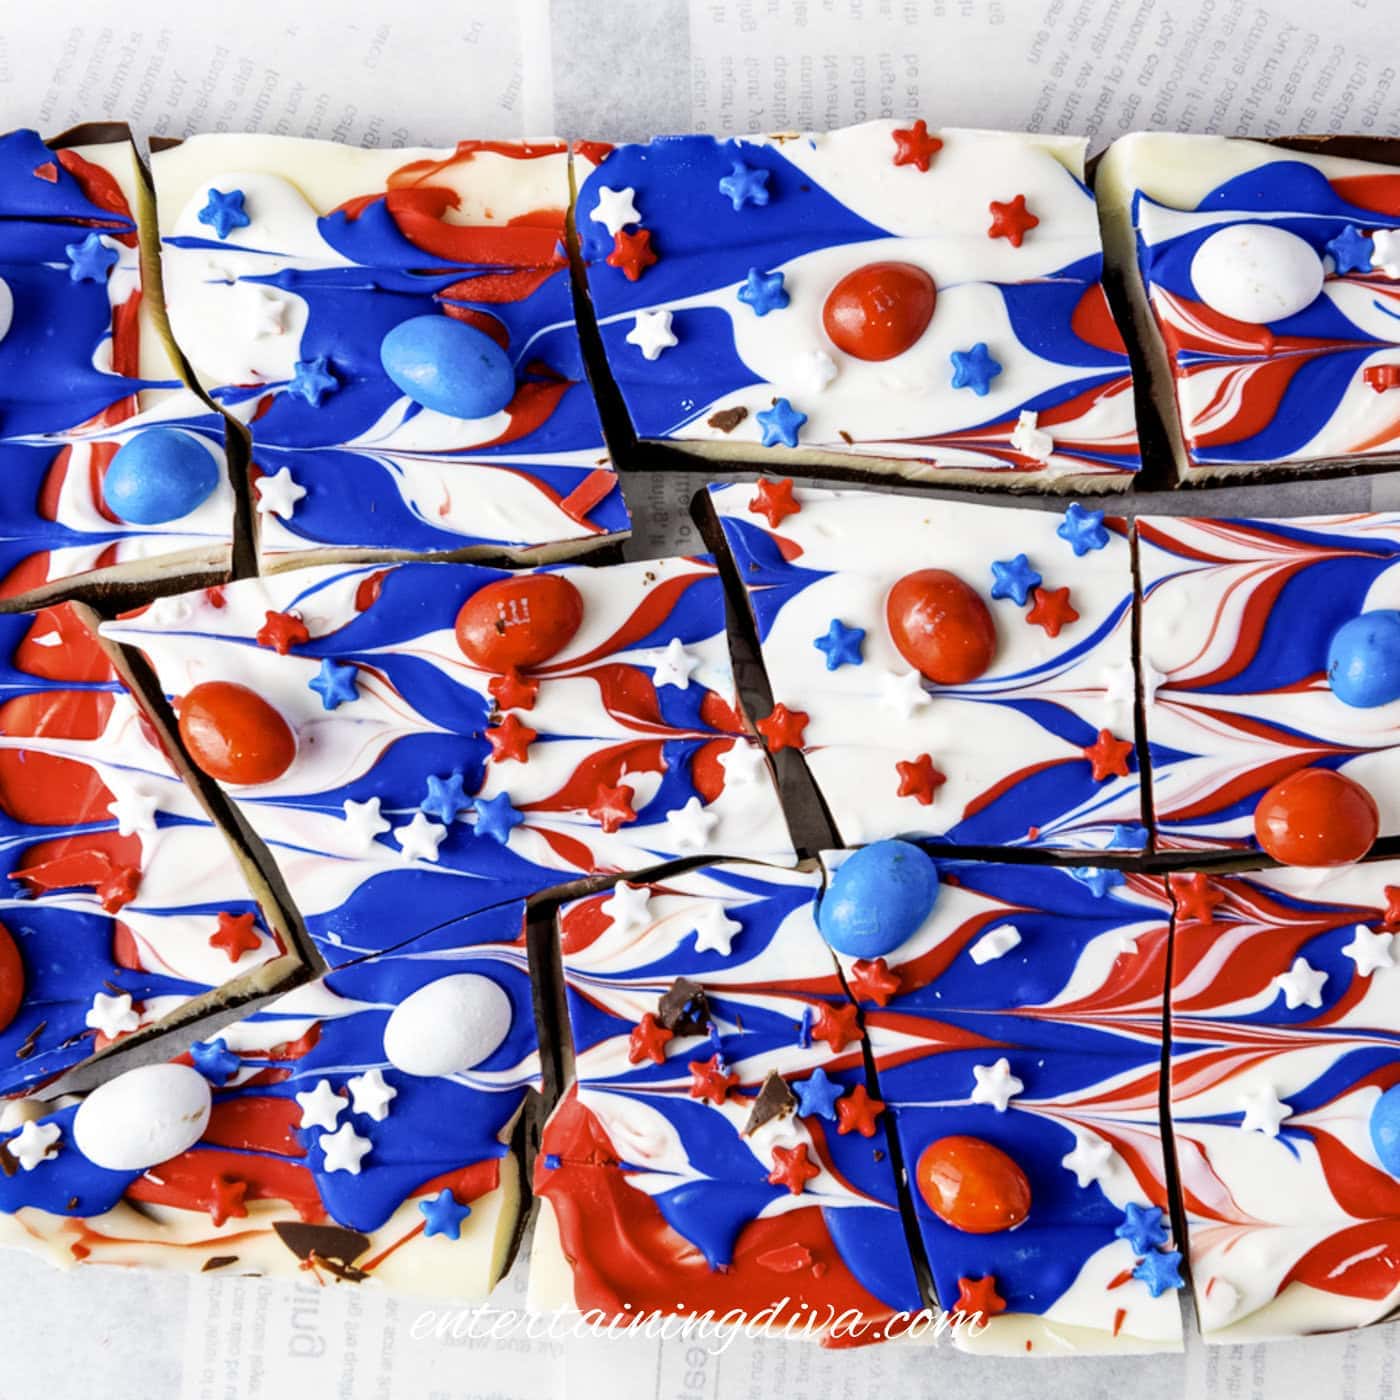
Once it is fully set, lift the bark up using the parchment paper and break it into random, fun-sized pieces to share!

 Melt your red, white, and blue candy wafers in three separate small bowls using the same 30-second heat and then stir method from above.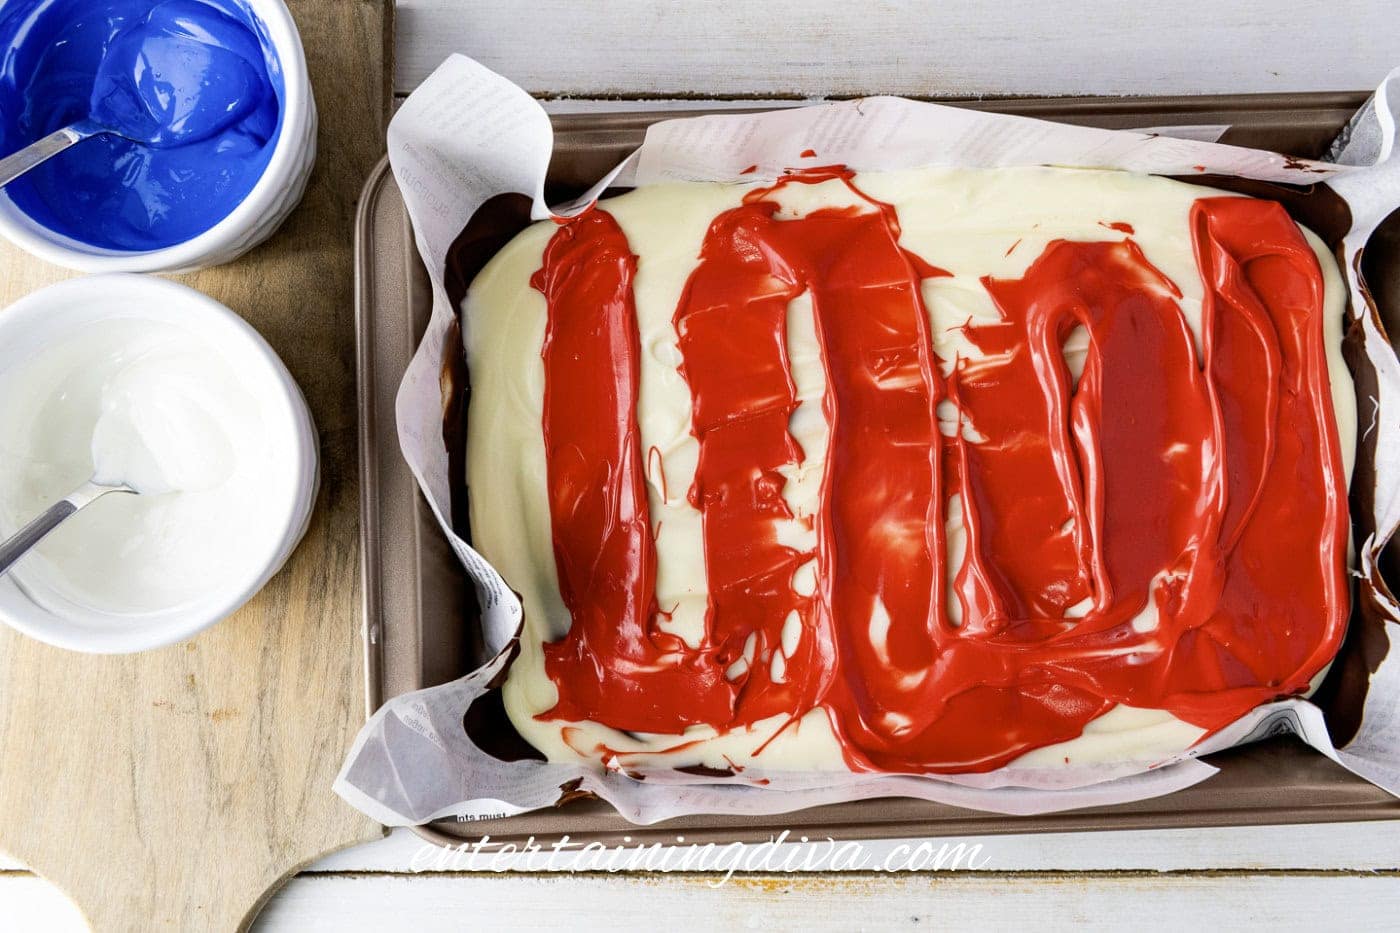
4th of July Candy Bark
Ingredients
- 2 cups semi-sweet chocolate morsels
- 2 cups white chocolate morsels
- ½ cup red candy melts
- ½ cup white candy melts
- ½ cup blue candy melts
- ¼ cup red, white, and blue M&Ms
- 1 Tablespoon red, white, and blue star sprinkles
Equipment
- baking sheet lined with parchment paper
- 3 small microwave-able bowls
- large spoon
- Toothpick
Instructions
- Melt the semi-sweet chocolate morsels in the microwave.2 cups semi-sweet chocolate morsels
- Pour the melted semi-sweet chocolate onto the prepared baking sheet, spreading it into an even layer.
- Allow this layer to harden completely. You can speed up this process by placing the tray in the refrigerator.
- Melt the white chocolate morsels in the microwave.2 cups white chocolate morsels
- Pour the white chocolate over the semi-sweet chocolate on the baking sheet.
- Let this white chocolate layer harden completely before proceeding.
- Melt the red, white, and blue candy melts in separate small bowls.½ cup red candy melts, ½ cup white candy melts, ½ cup blue candy melts
- Use a spoon to smear the melted red candy melts over the hardened white chocolate layer.
- Then use a spoon to create stripes of the melted white candy melts over the red layer.
- Finally, create stripes with the melted blue candy melts between the white stripes.
- Use a toothpick to drag through the colors, creating a marbled effect. You’ll need to work quickly to get this done before the candy melts harden.
- Sprinkle the red, white, and blue star sprinkles and M&Ms over the top while the candy melts are still slightly soft to ensure they stick.1 Tablespoon red, white, and blue star sprinkles, ¼ cup red, white, and blue M&Ms
- Allow the entire sheet to harden completely, either at room temperature or in the refrigerator if you’re in a hurry.
- Once fully set, lift the bark off the sheet using the edges of the parchment paper and break it into pieces by hand. Enjoy!
Notes
- Heat for 30 seconds, then stir.
- Repeat the heat-and-stir process until all of the chocolate has melted.
- Don’t be tempted to heat for longer or skip the stirring steps. It’s very easy to burn chocolate in the microwave since it may not look like it has melted from the outside, but it really has once you stir it.
Nutrition
Nutrition values are estimates only, using online calculators. Please verify using your own data.
Have comments or questions about our 4th of July bark recipe? Tell us in the section below.