
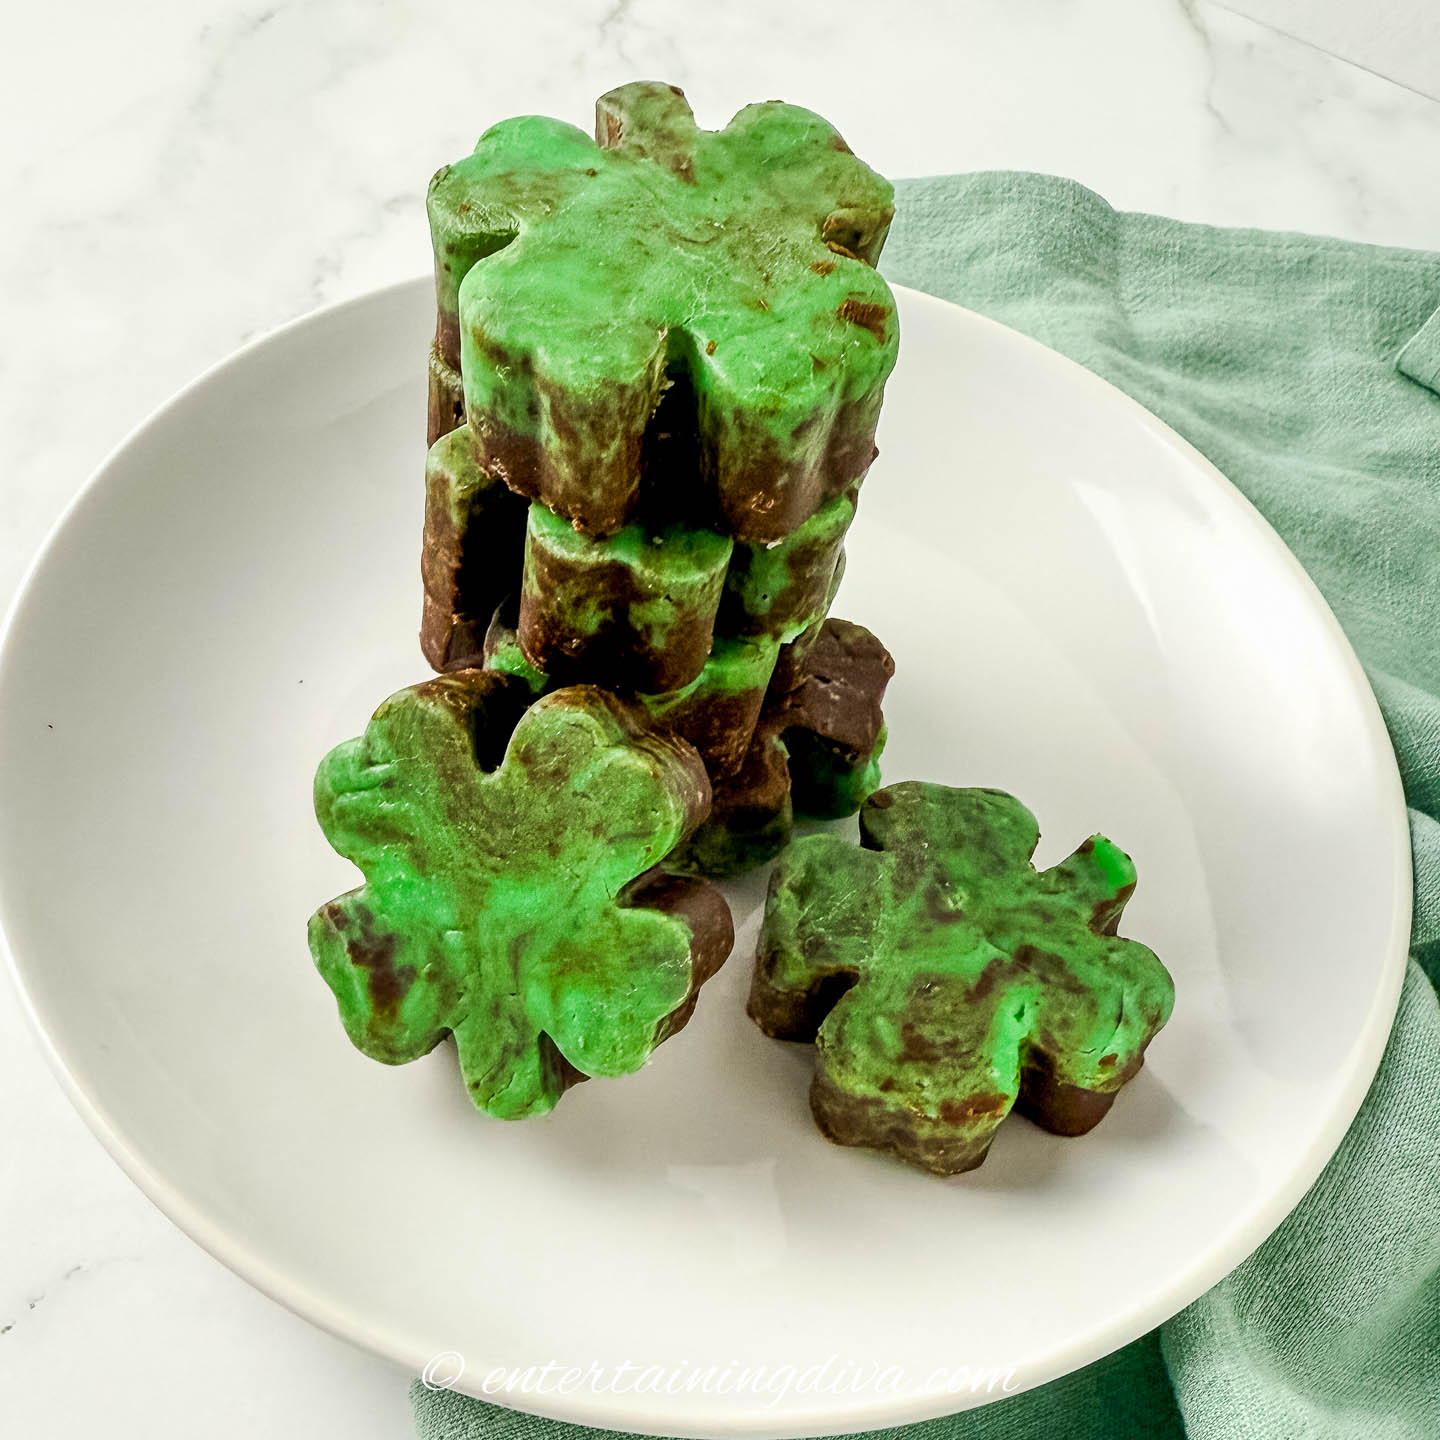
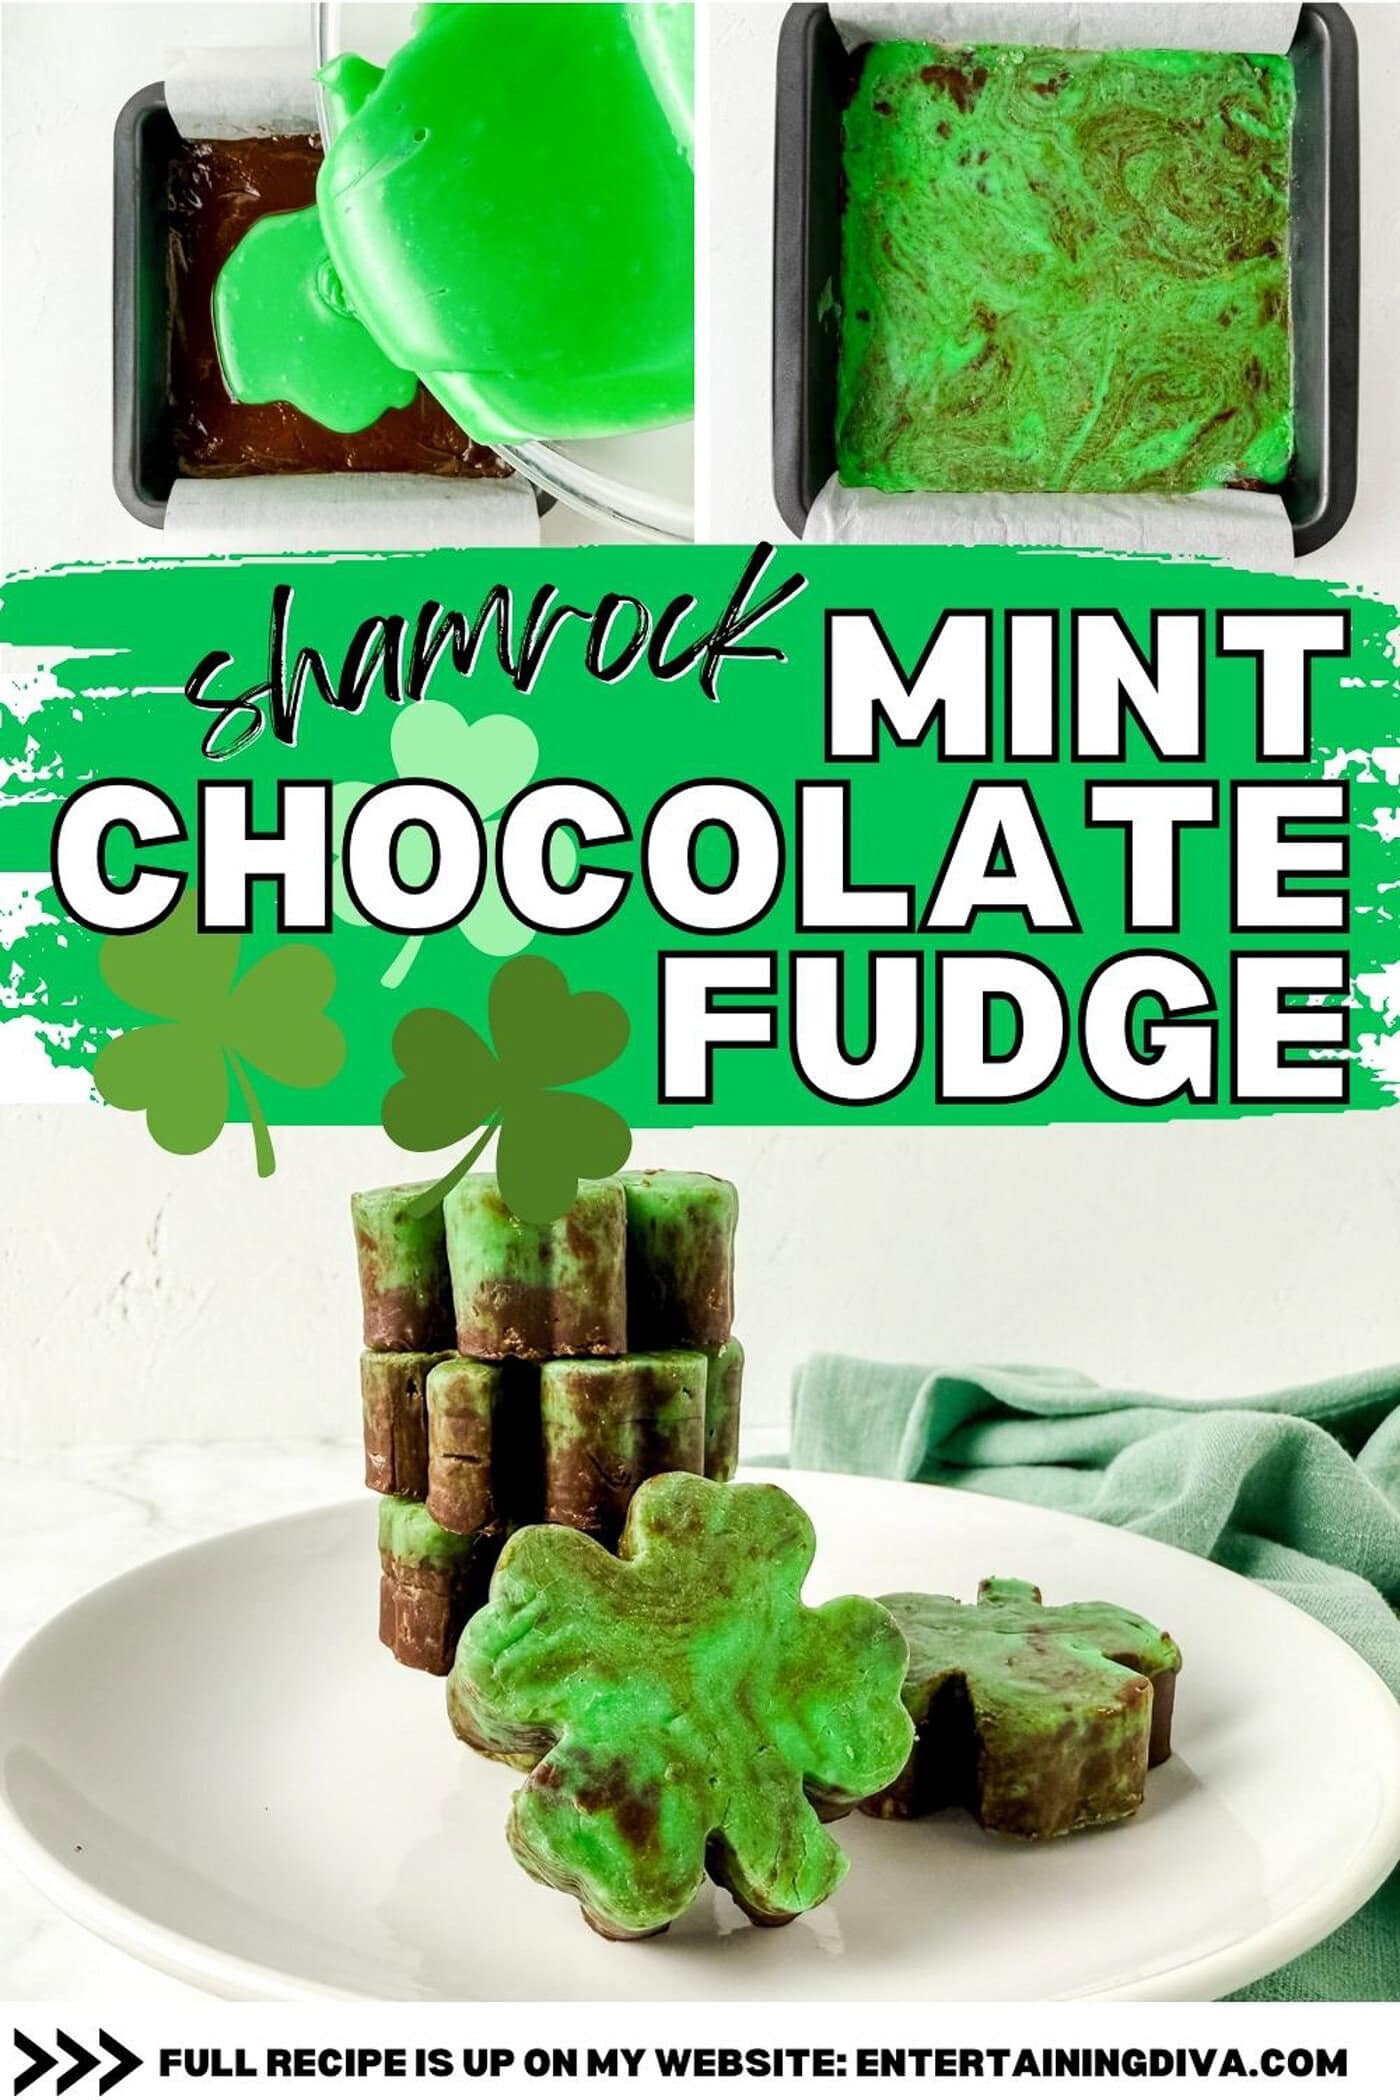
Why I love this shamrock mint chocolate fudge recipe
Mint and chocolate has always been one of my favorite flavor combinations, and this shamrock mint chocolate fudge is such a festive way to use it.
It’s rich and creamy, with cool mint combined with smooth chocolate.
And the bright green color makes it absolutely perfect for St. Patrick’s Day.
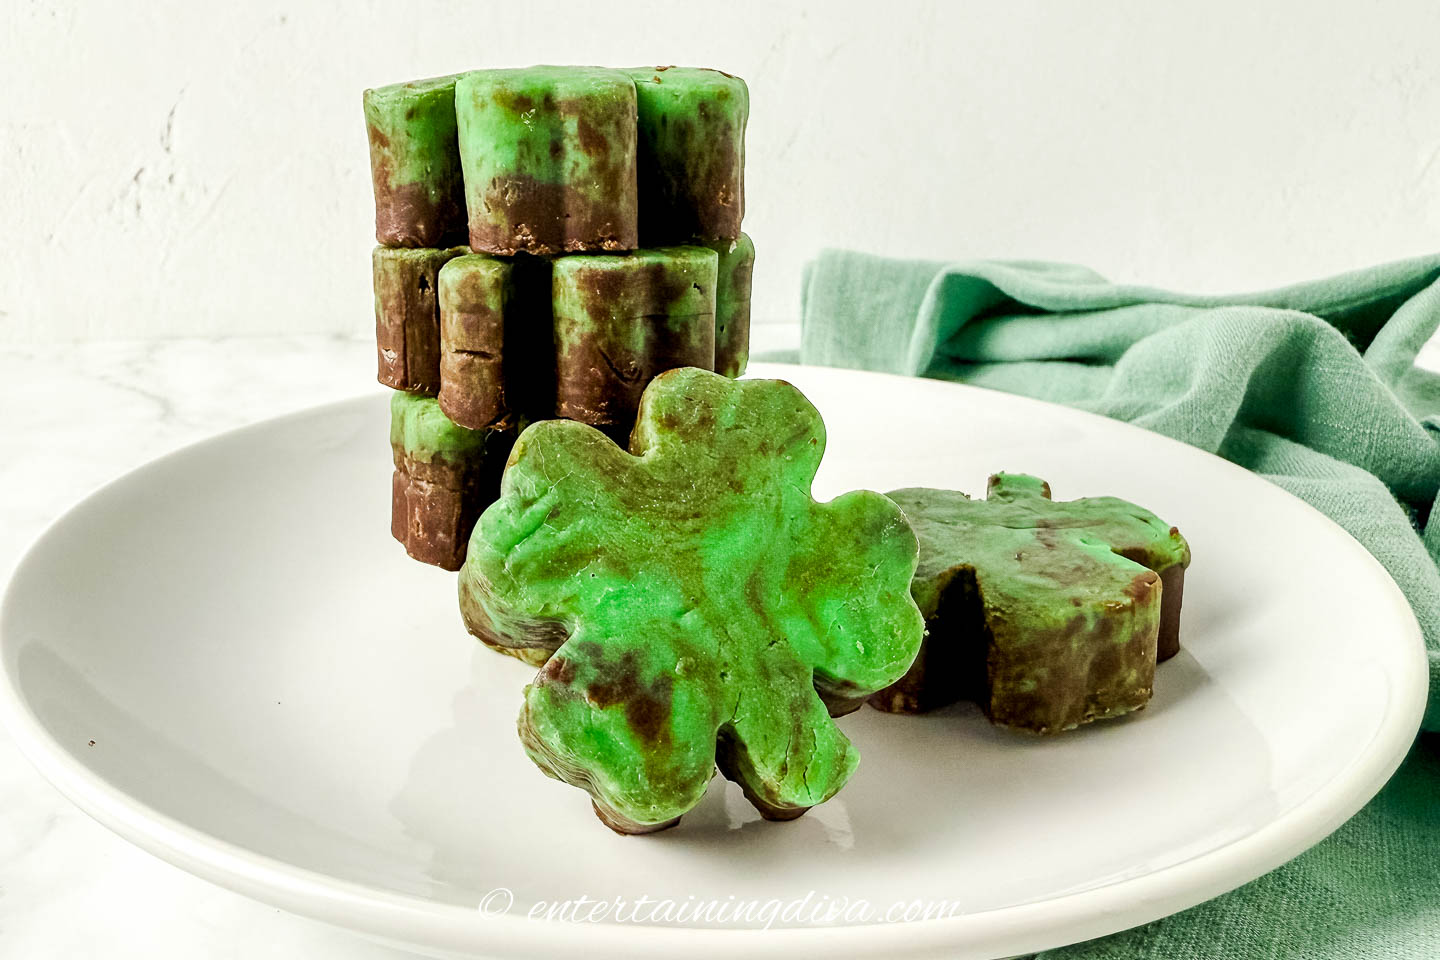
I cut mine into shamrock shapes, which instantly makes any dessert tray look more fun.
They’re the perfect treat for a party and always seem to disappear faster than I expect.
Looking for more green desserts? You'll love this Grasshopper Parfait and St Patrick's Day Cake Balls.
Ingredients
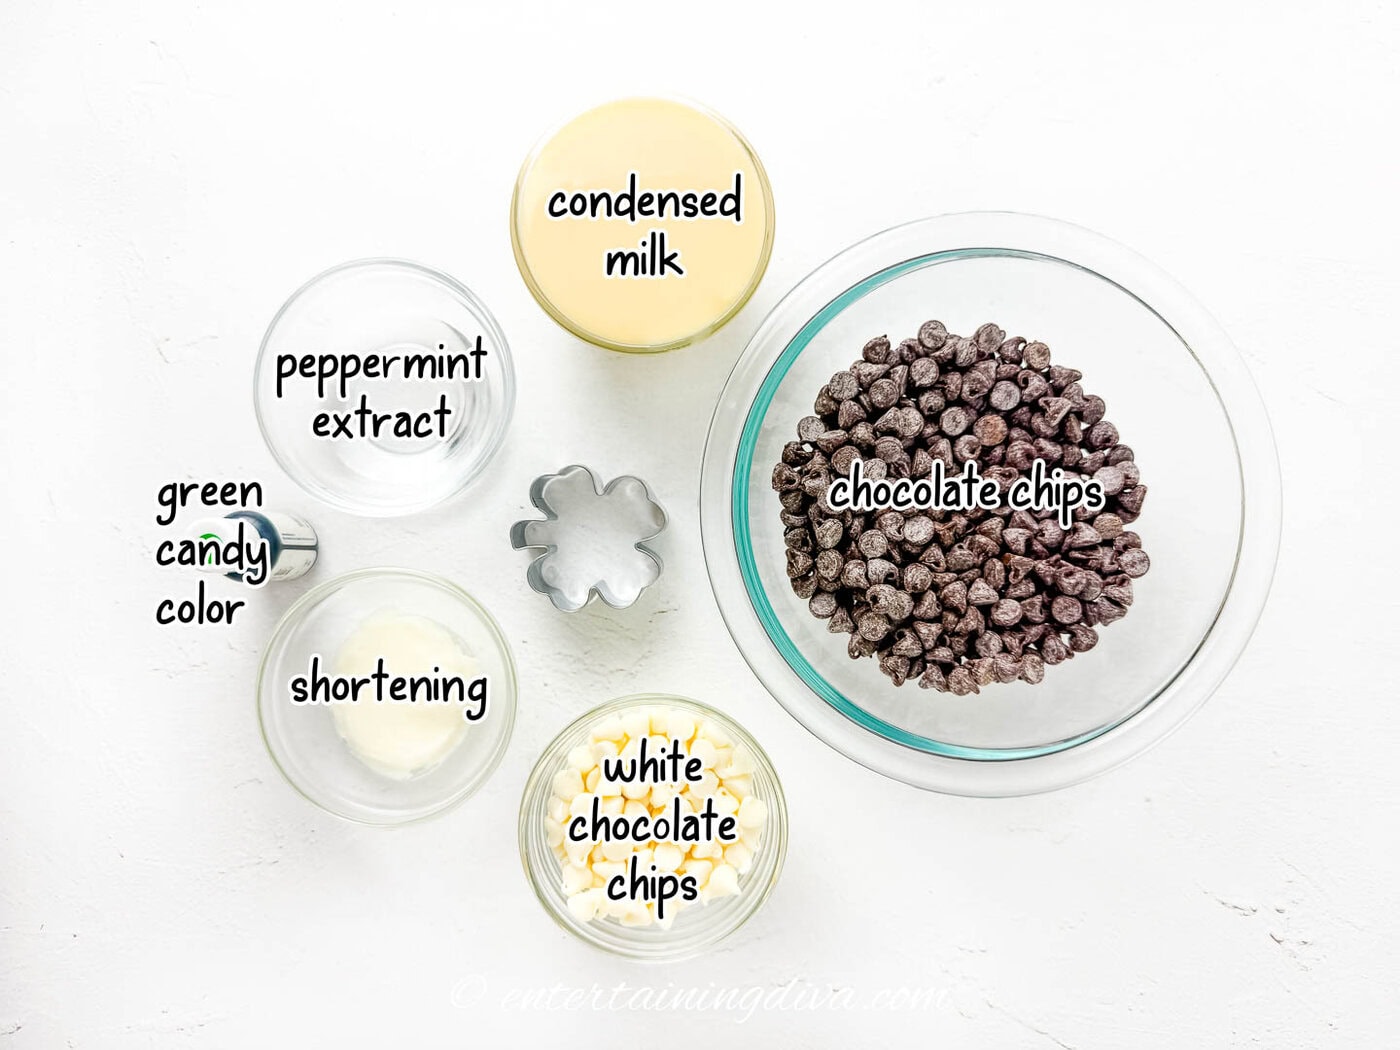
Here is your shopping list (for 10 shamrocks):
- Chocolate – 2 cups chocolate chips, 1 cup white chocolate chips
- Canned goods – 14 ounces (1 can) sweetened condensed milk
- Flavoring – 3 drops peppermint extract
- Coloring – green candy coloring*.
- Baking supplies – 2 Tablespoons vegetable shorting, plus a little extra for greasing the pan and cookie cutter.
Substitutions & Additions
- You can use green candy melts instead of the white chocolate chips and green food coloring if you prefer.
How to make mint chocolate fudge
1 | Prep work
Use a small amount of shortening to lightly grease all sides of an 8×8 inch pan.
This helps prevent the fudge from sticking and makes it easier to remove later.
Then, line the pan with parchment paper, making sure it hangs over at least two sides. This overhang acts like handles, so you can easily lift out the fudge once it’s set.
Set the pan aside for now.
2 | Melt the chocolate

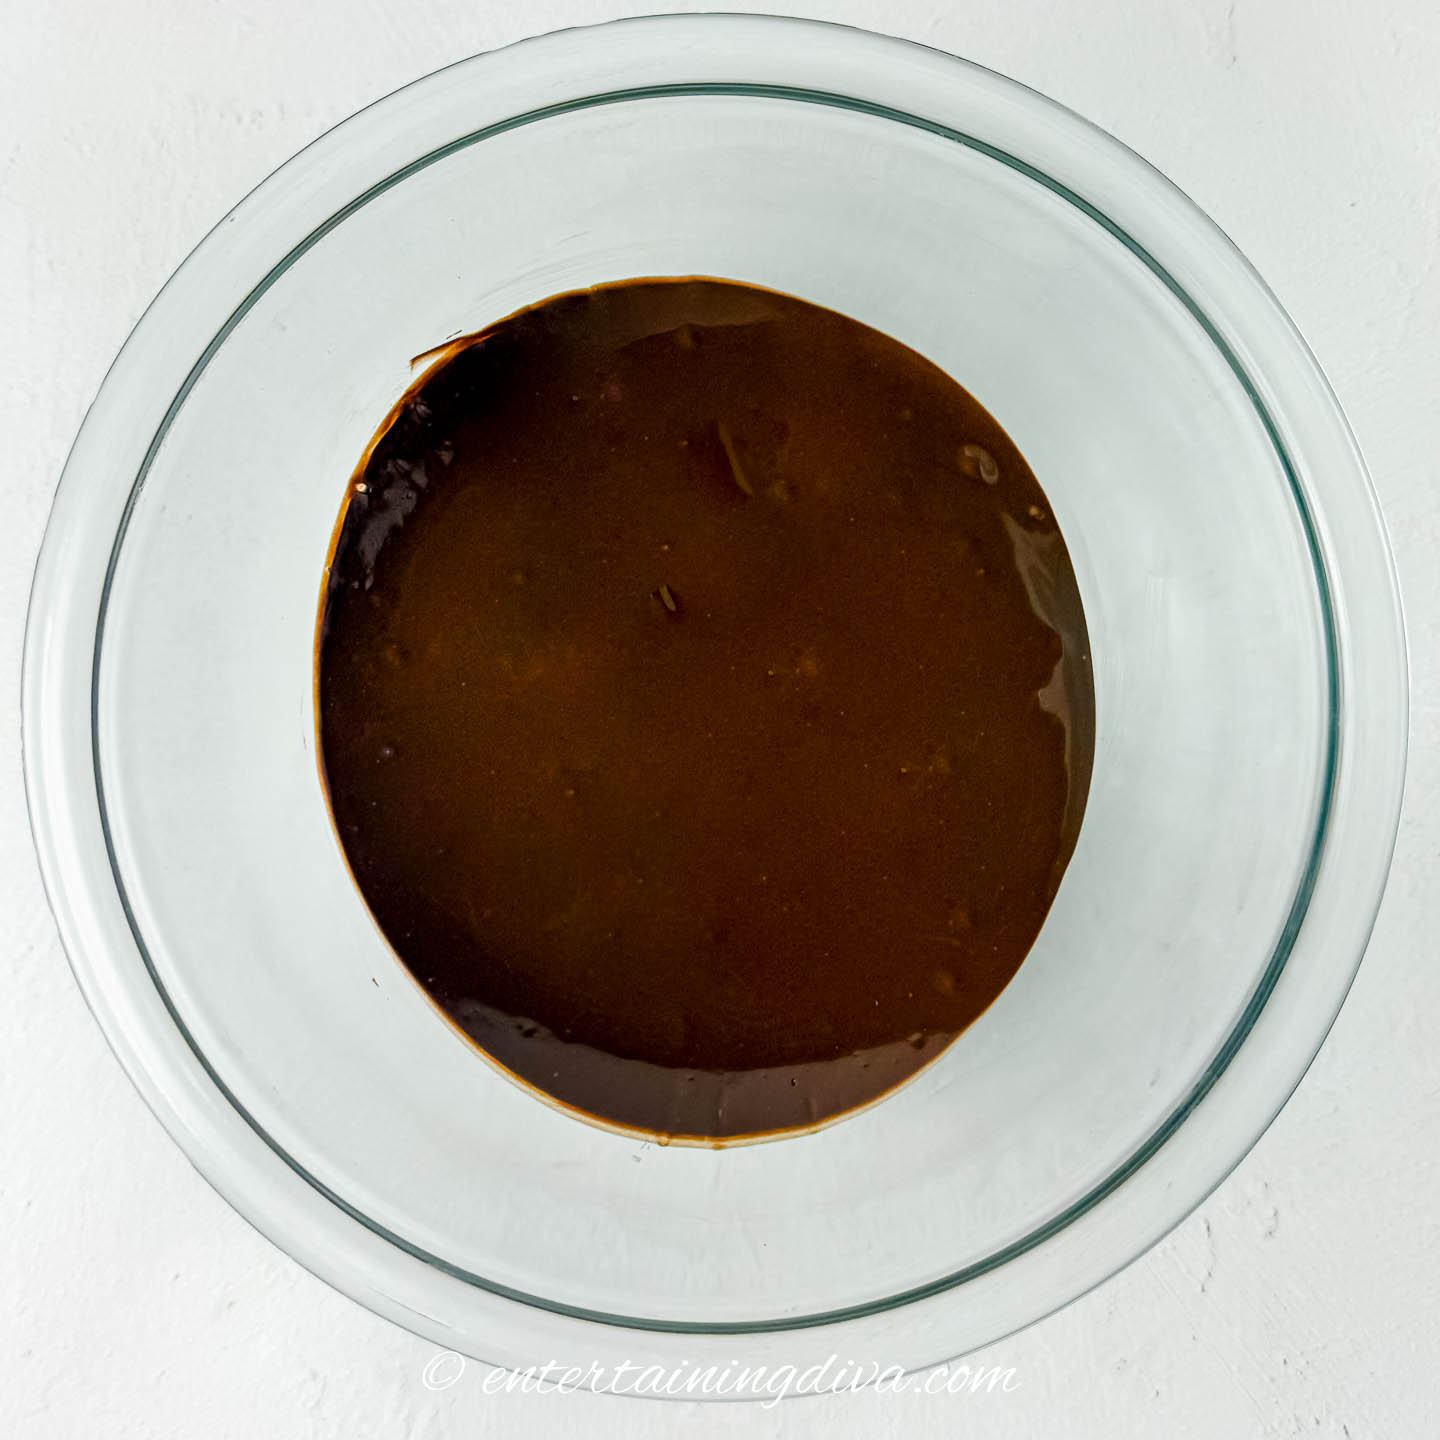
Place the brown chocolate chips in a microwave-safe bowl.
Add a tablespoon of vegetable shortening to each bowl. This helps the chocolate melt smoothly and makes it easier to work with.
Melt the chocolate chips in the microwave for 30 seconds, then remove and stir well. Repeat the microwave and stir process until the chocolate is completely melted and smooth.
Do the same for the white chocolate, using a second microwave-able bowl.
Don’t rely on what the chips look like to determine if they are melted. They often look like they are whole on the surface, but are actually melted underneath. Which you only find out when you stir them.3 | Mix the fudge
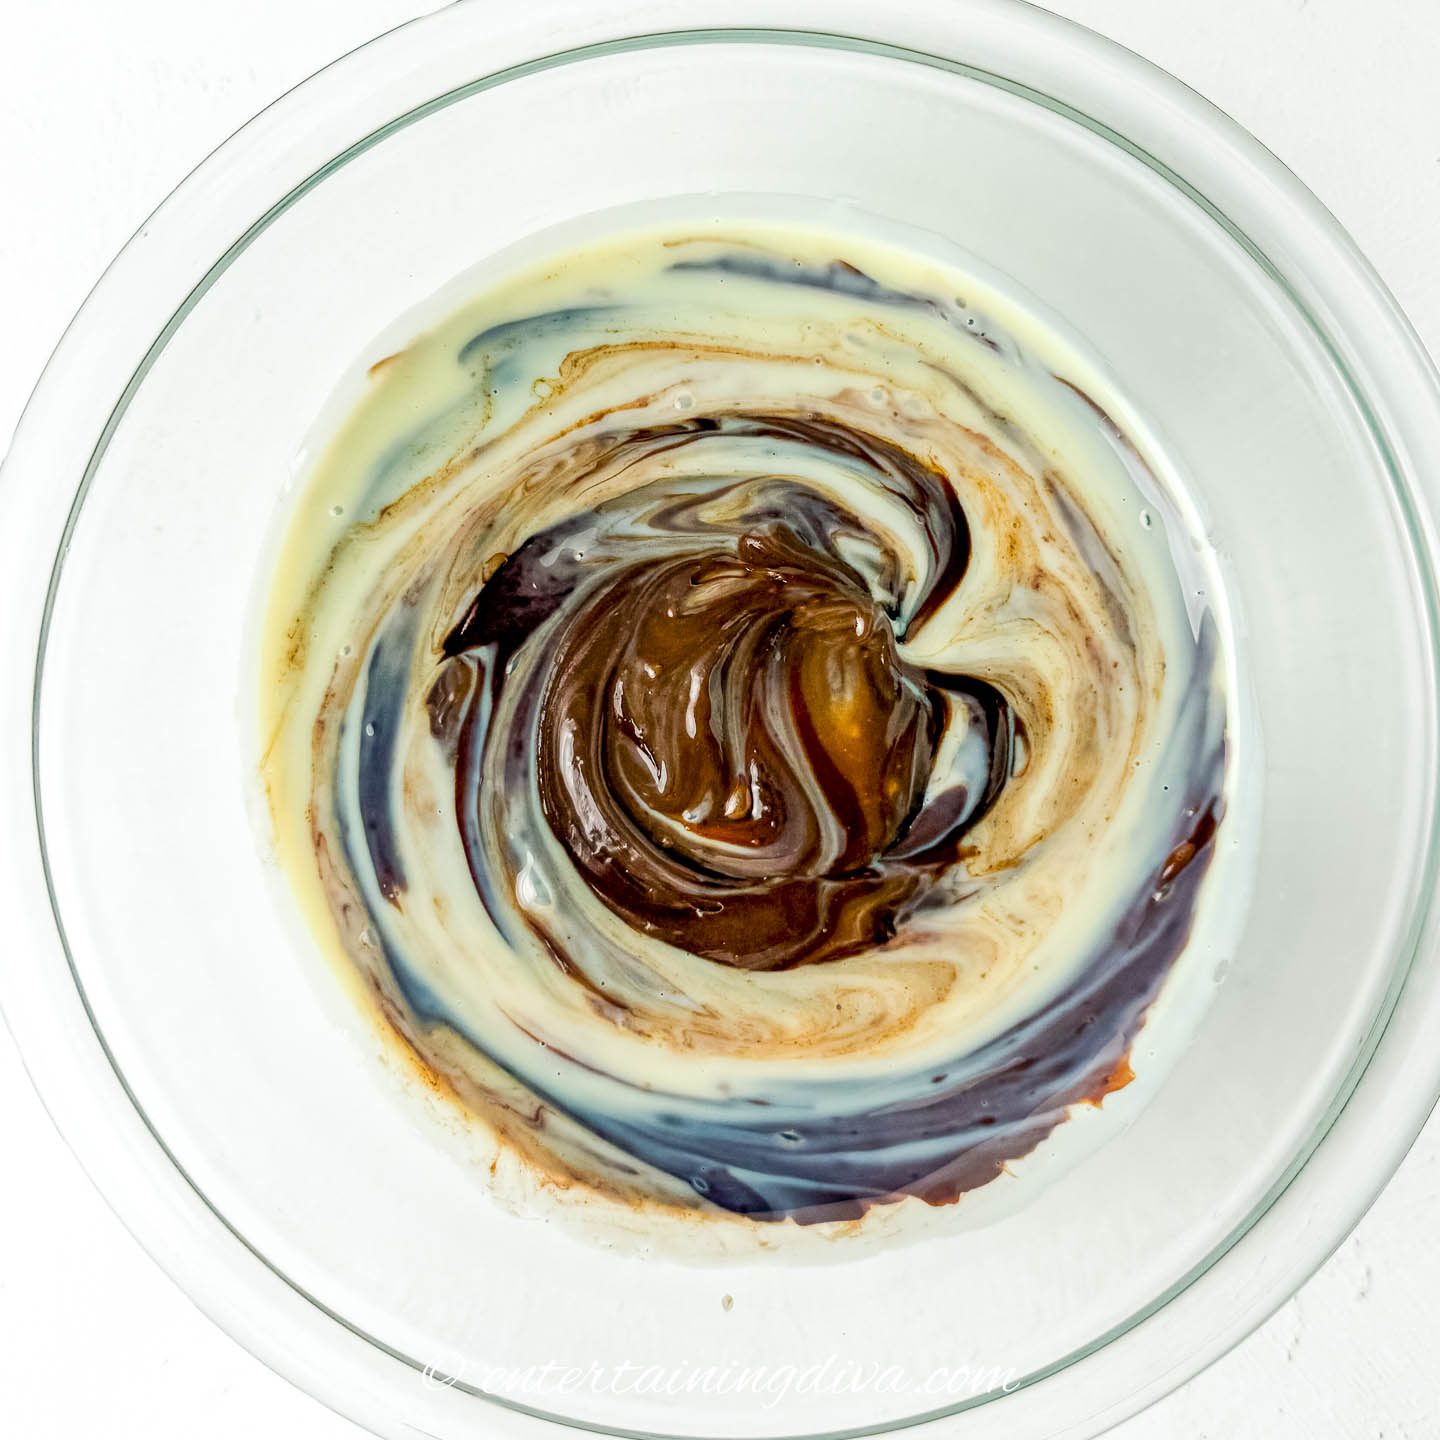
Pour about half of the sweetened condensed milk into the bowl with the melted brown chocolate.
Stir until the mixture is smooth and well combined.
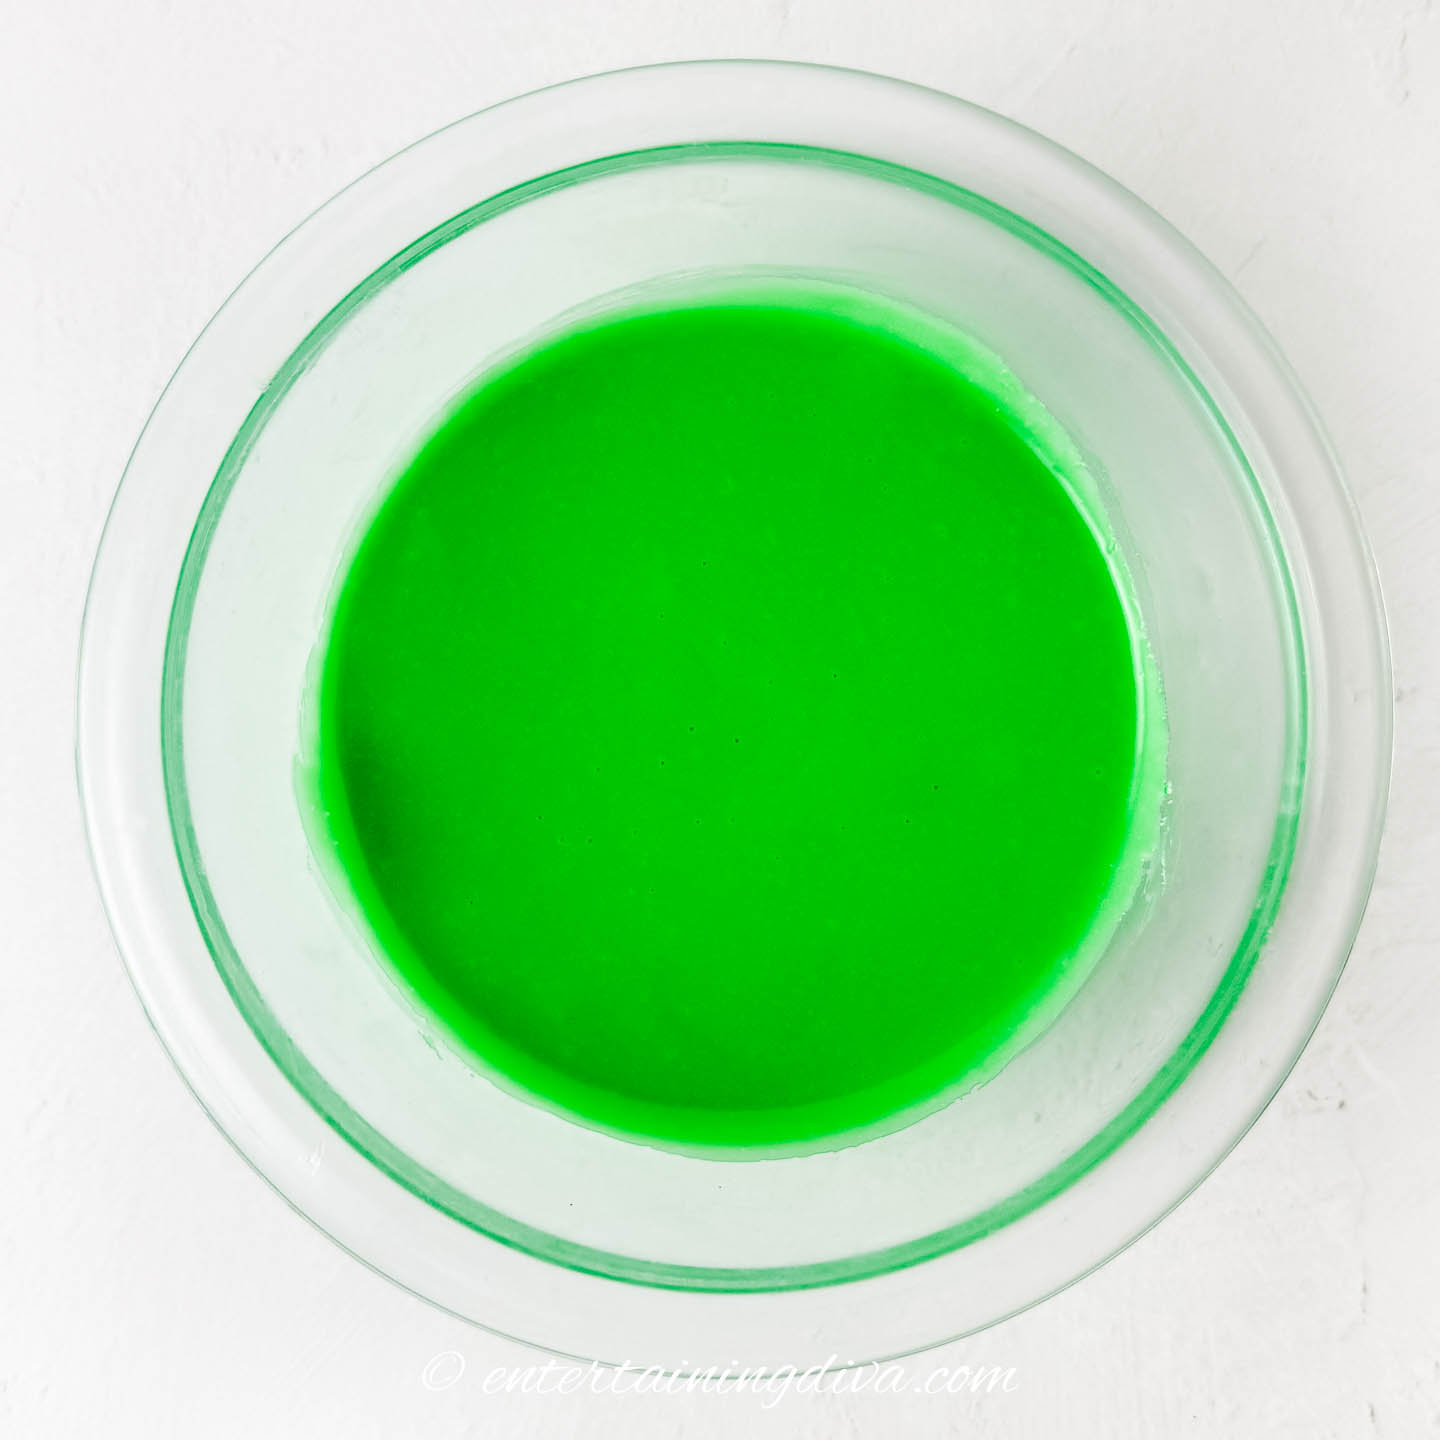
Add the rest of the condensed milk, 2 to 3 drops of peppermint extract and a few drops of green food coloring to the white chocolate bowl. Don’t add too much peppermint flavor since it tends to be really strong.
Stir until the color is evenly distributed.
4 | Add to the pan
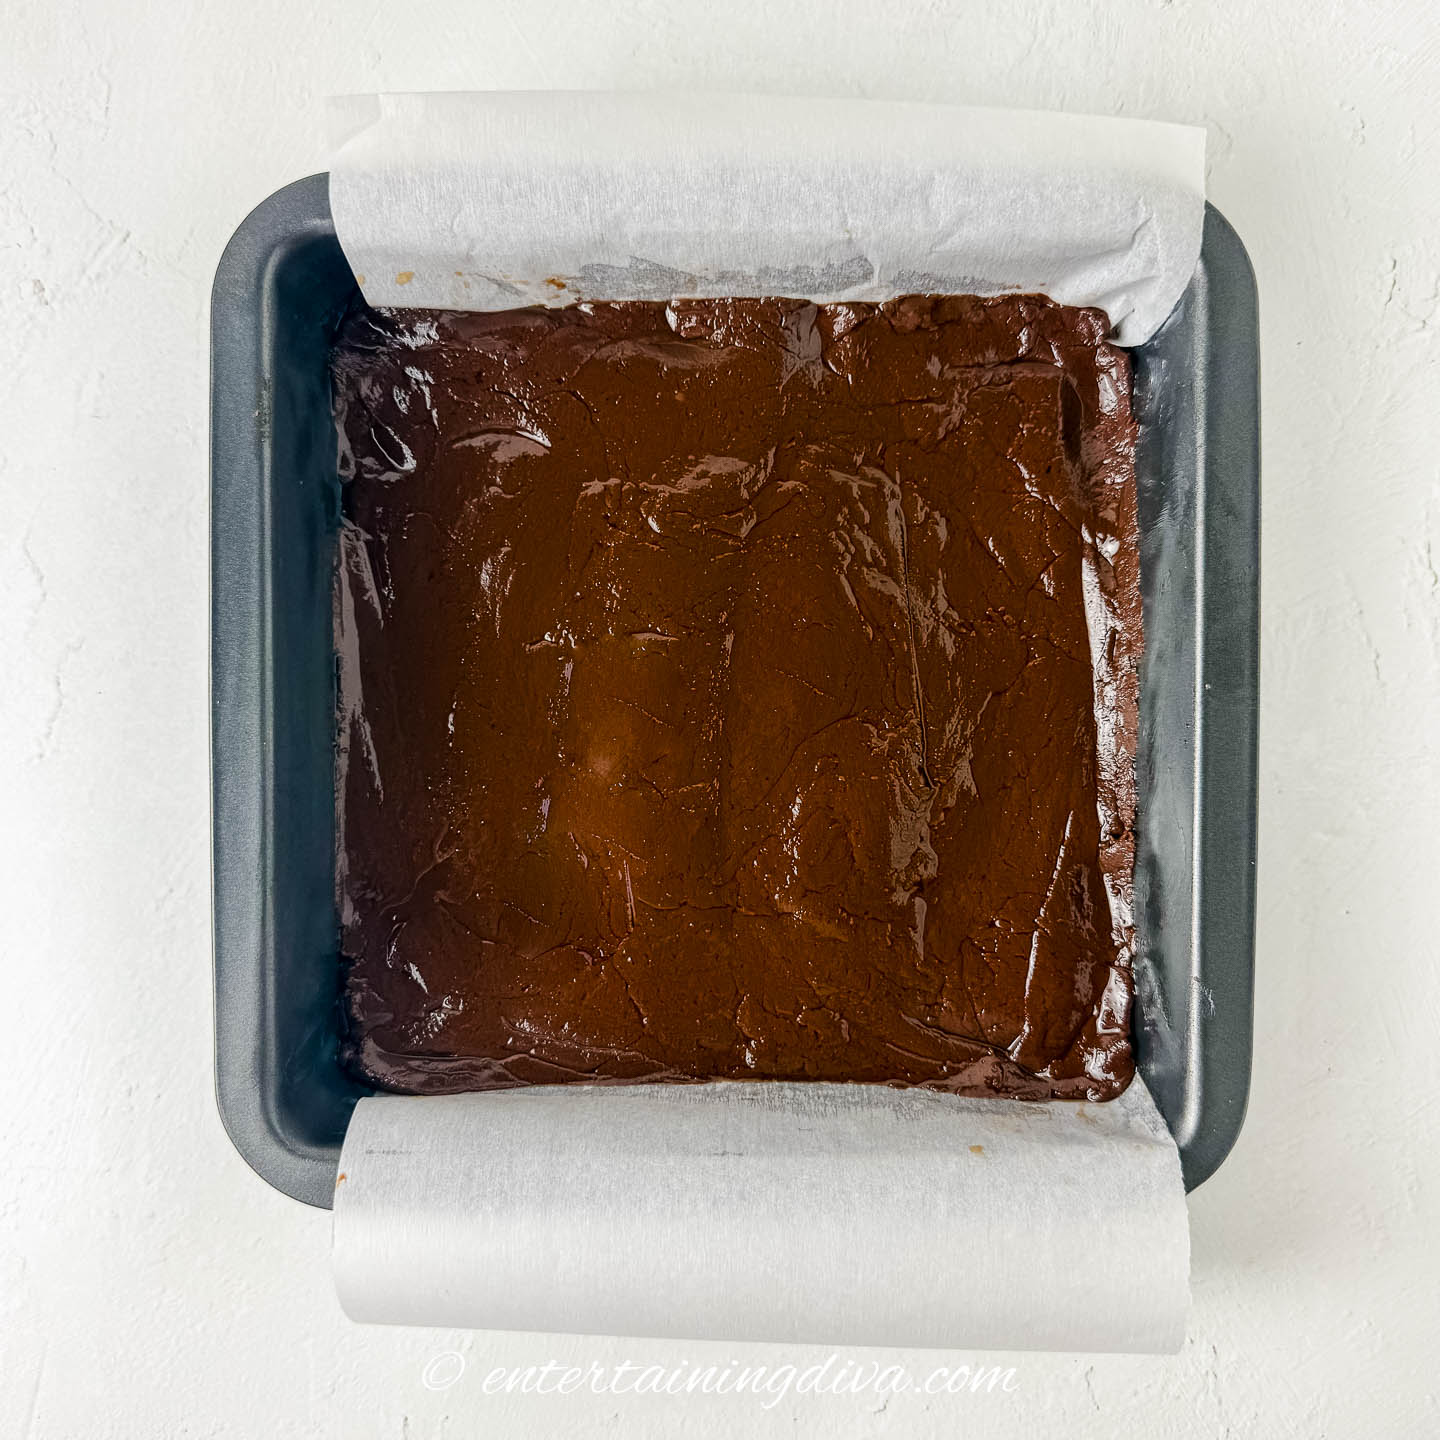
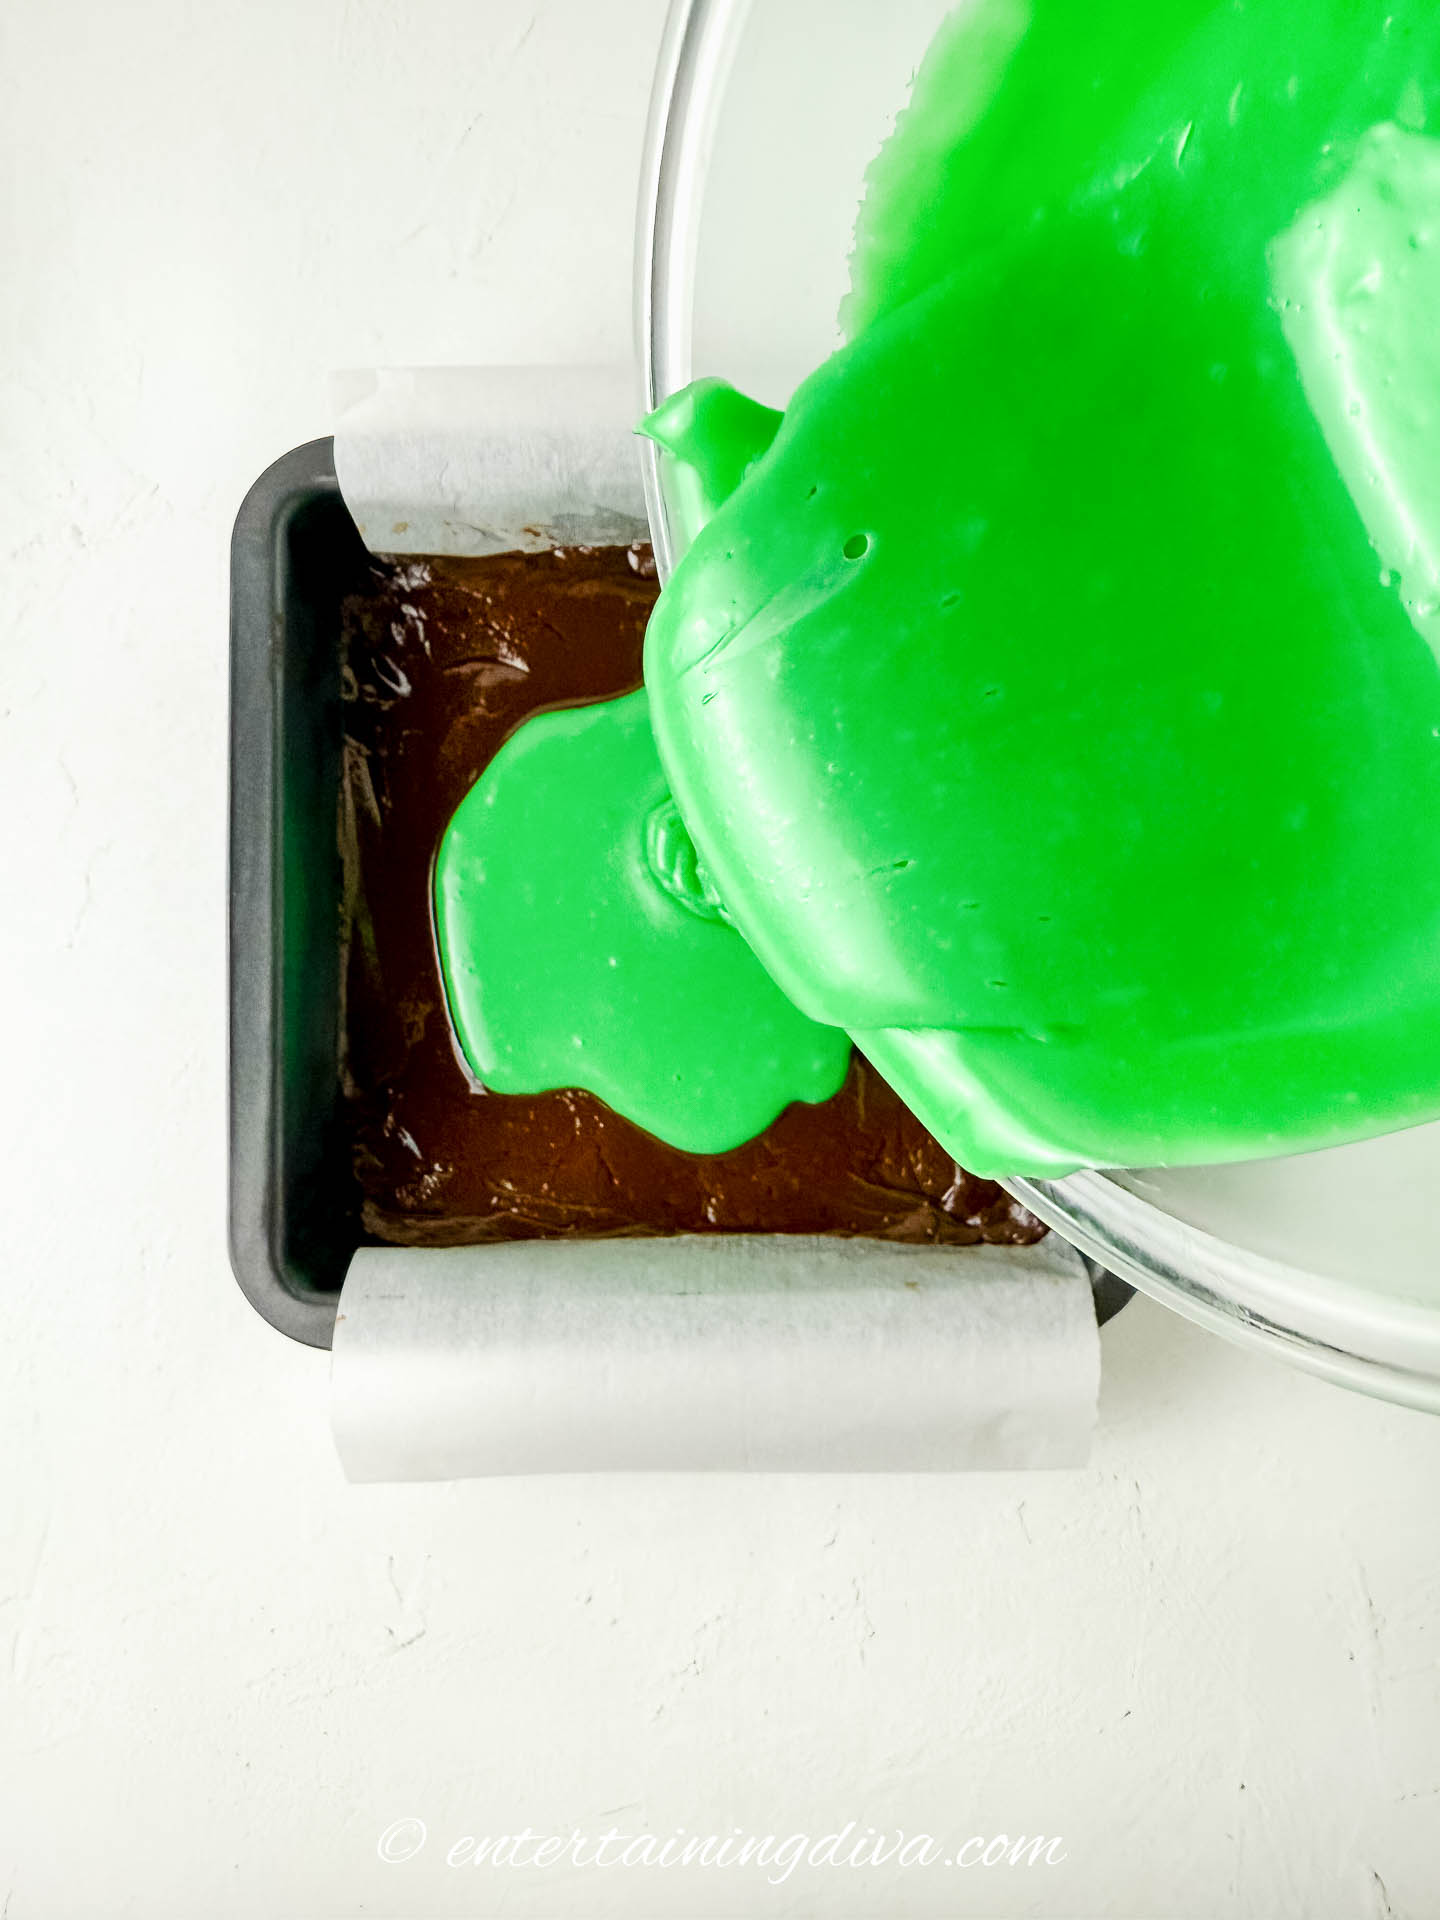
Pour the brown chocolate mixture into the prepared 8″ x 8″ pan.
Don’t worry if it is spread evenly. We’ll be swirling it into the green layer anyway.

Then carefully pour the green chocolate mixture over the brown layer.

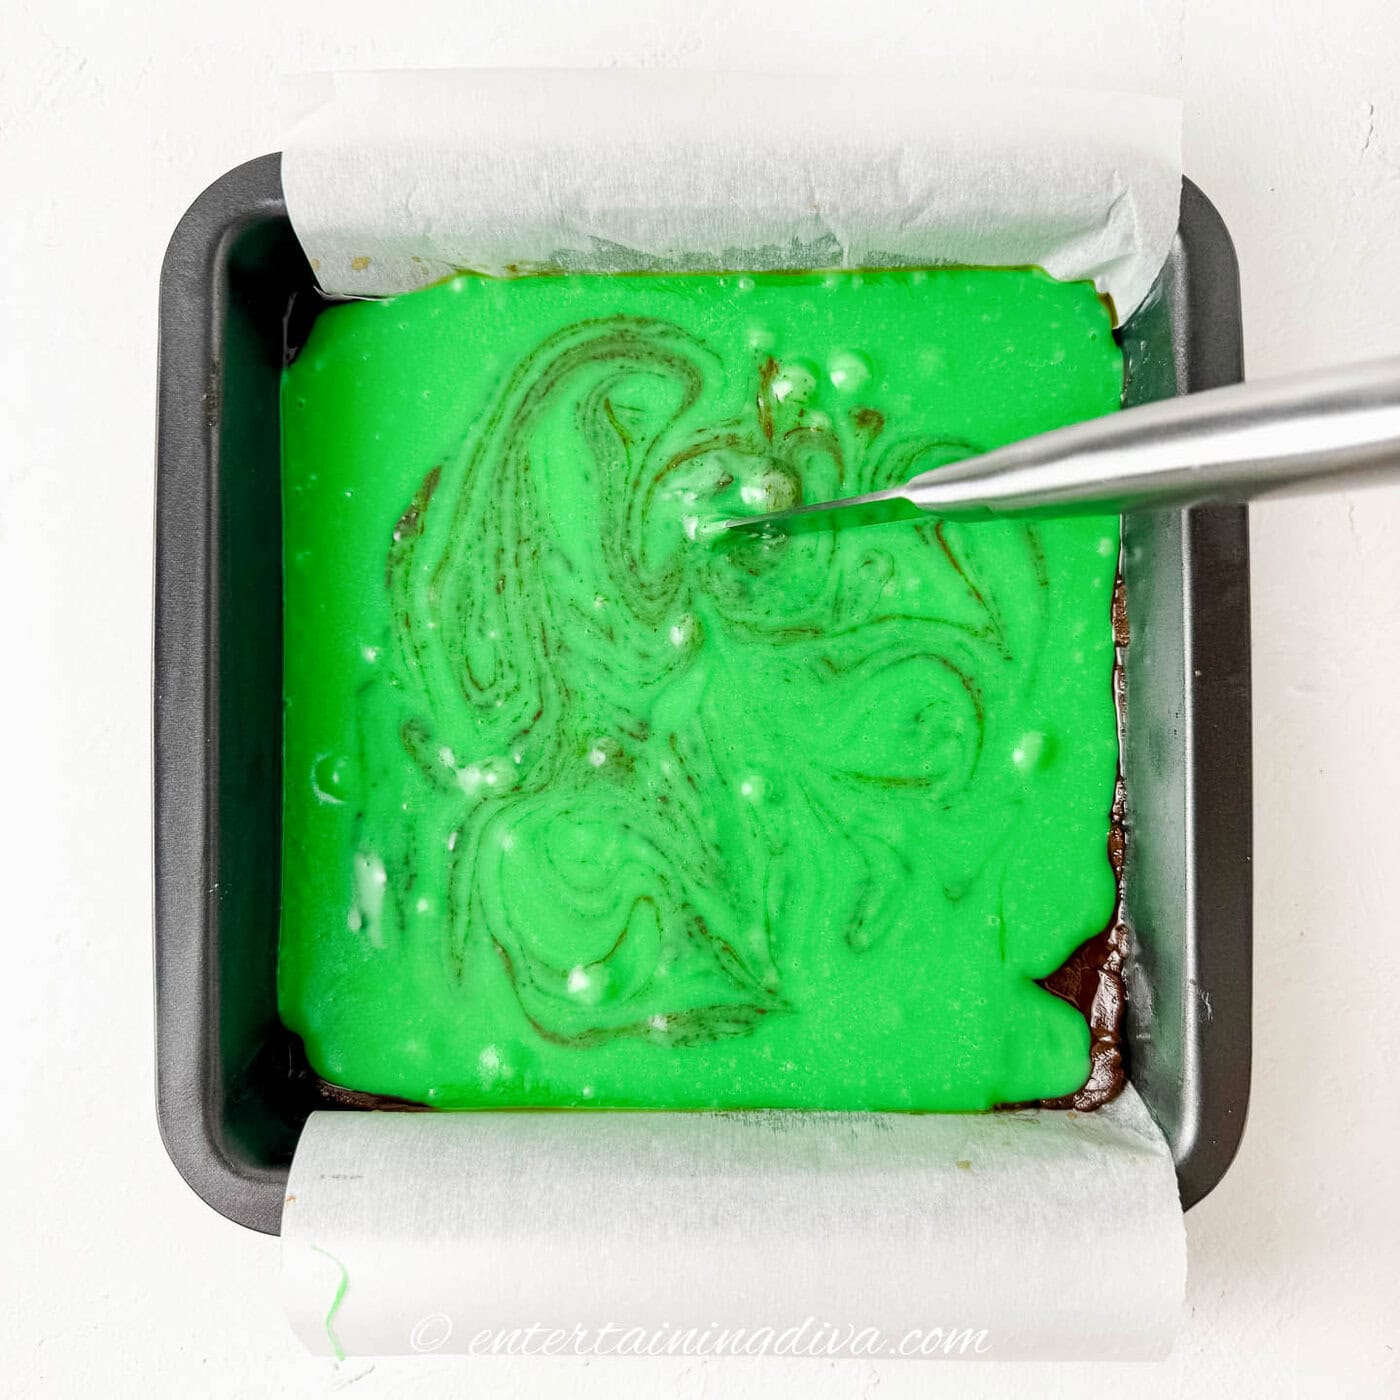
To create a marbled effect, use a knife or toothpick to drag through both layers in different directions.
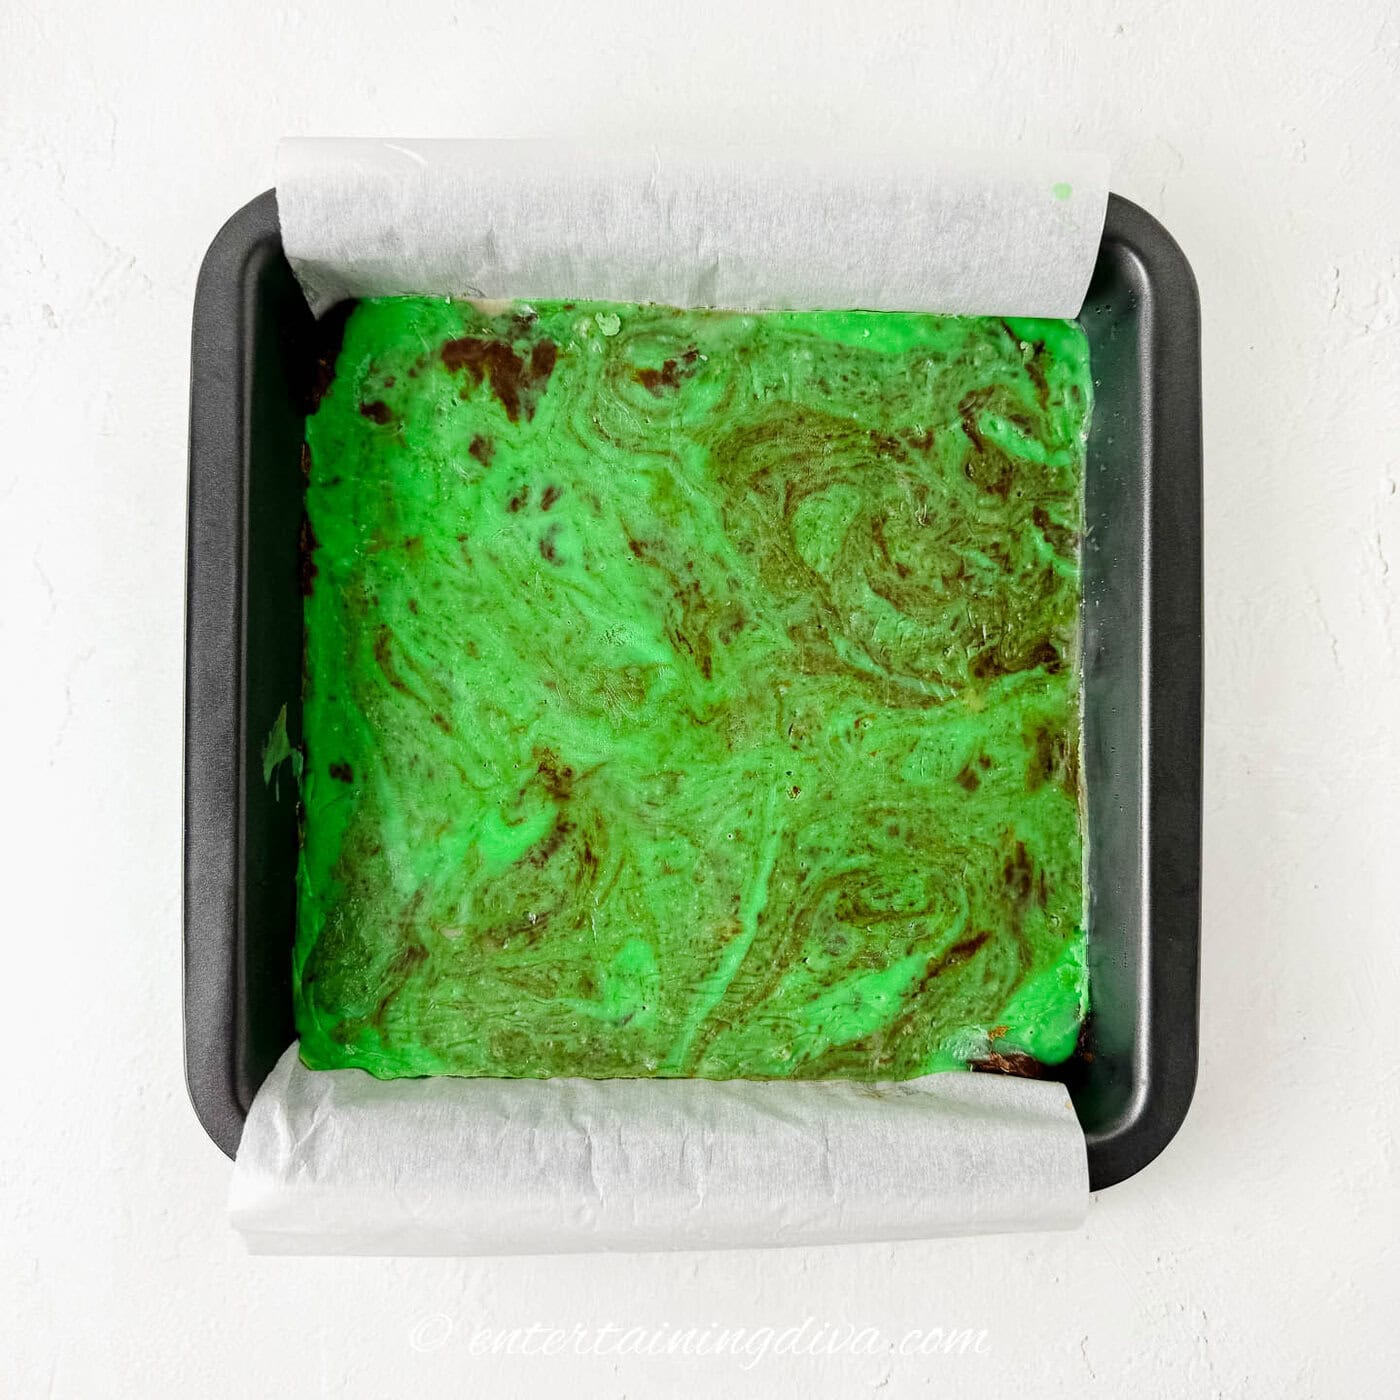
Gently shake the pan to level the surface and tap it lightly to pop any air bubbles that may have formed on top.
5 | Chill
Place the pan in the fridge for at least 3 hours or overnight for best results.

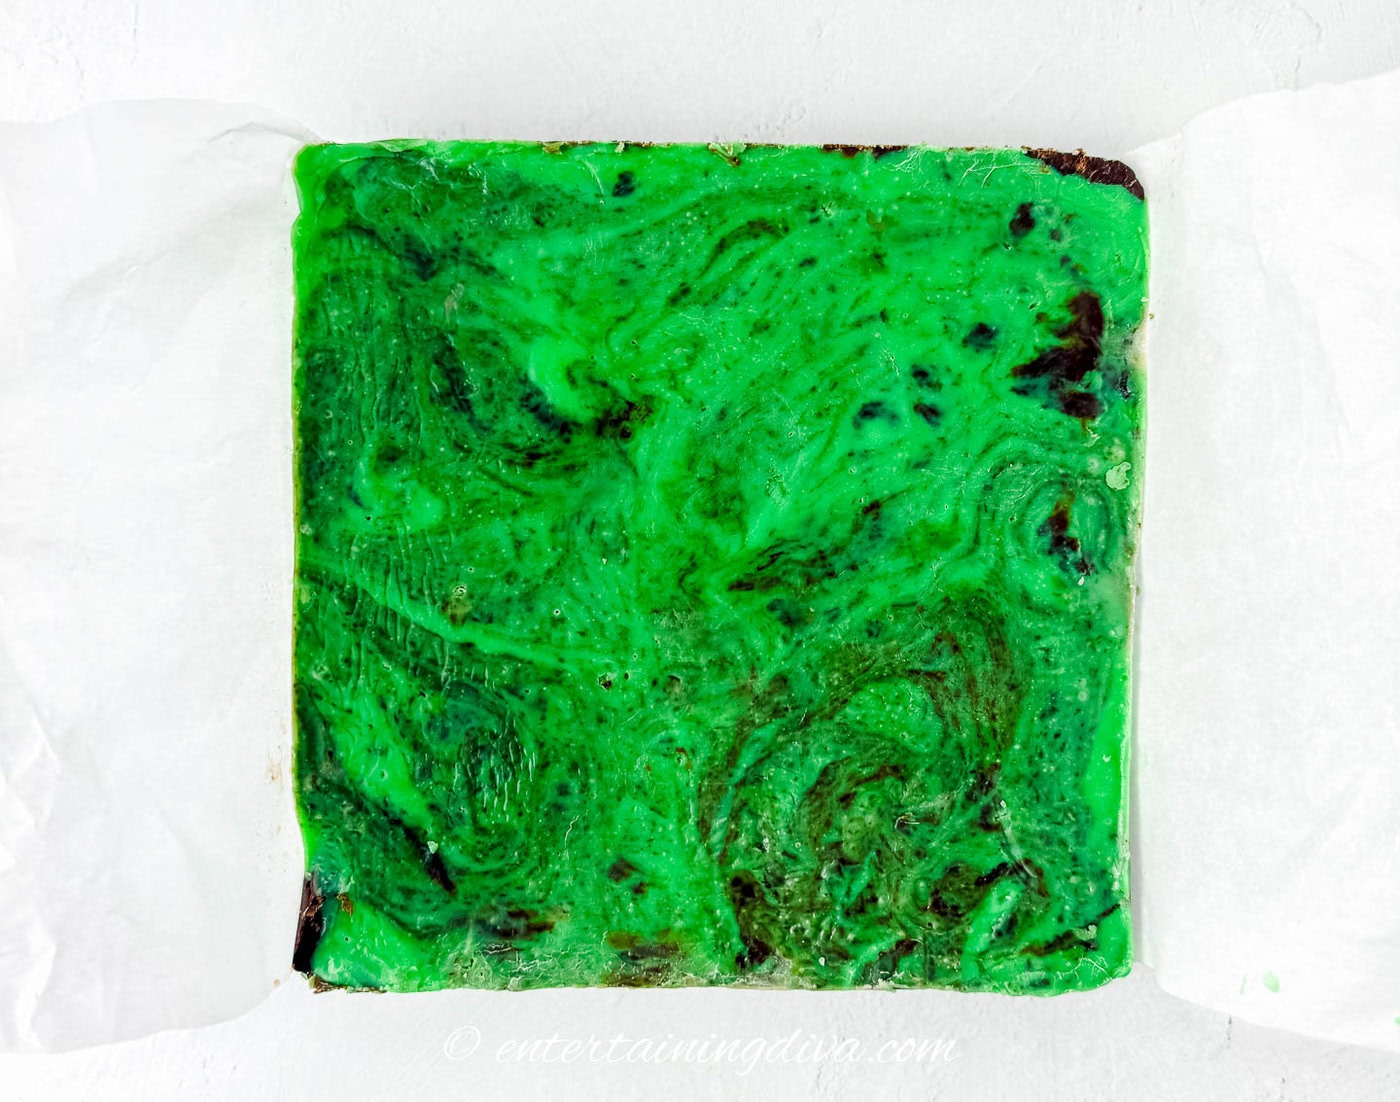
When the fudge is solid, lift it out of the pan using the overhanging parchment paper.
Let it sit at room temperature for about 20 minutes to make it easier to cut.
6 | Cut the shamrocks
Lightly grease the inside of a shamrock-shaped cookie cutter with a little shortening to prevent sticking.
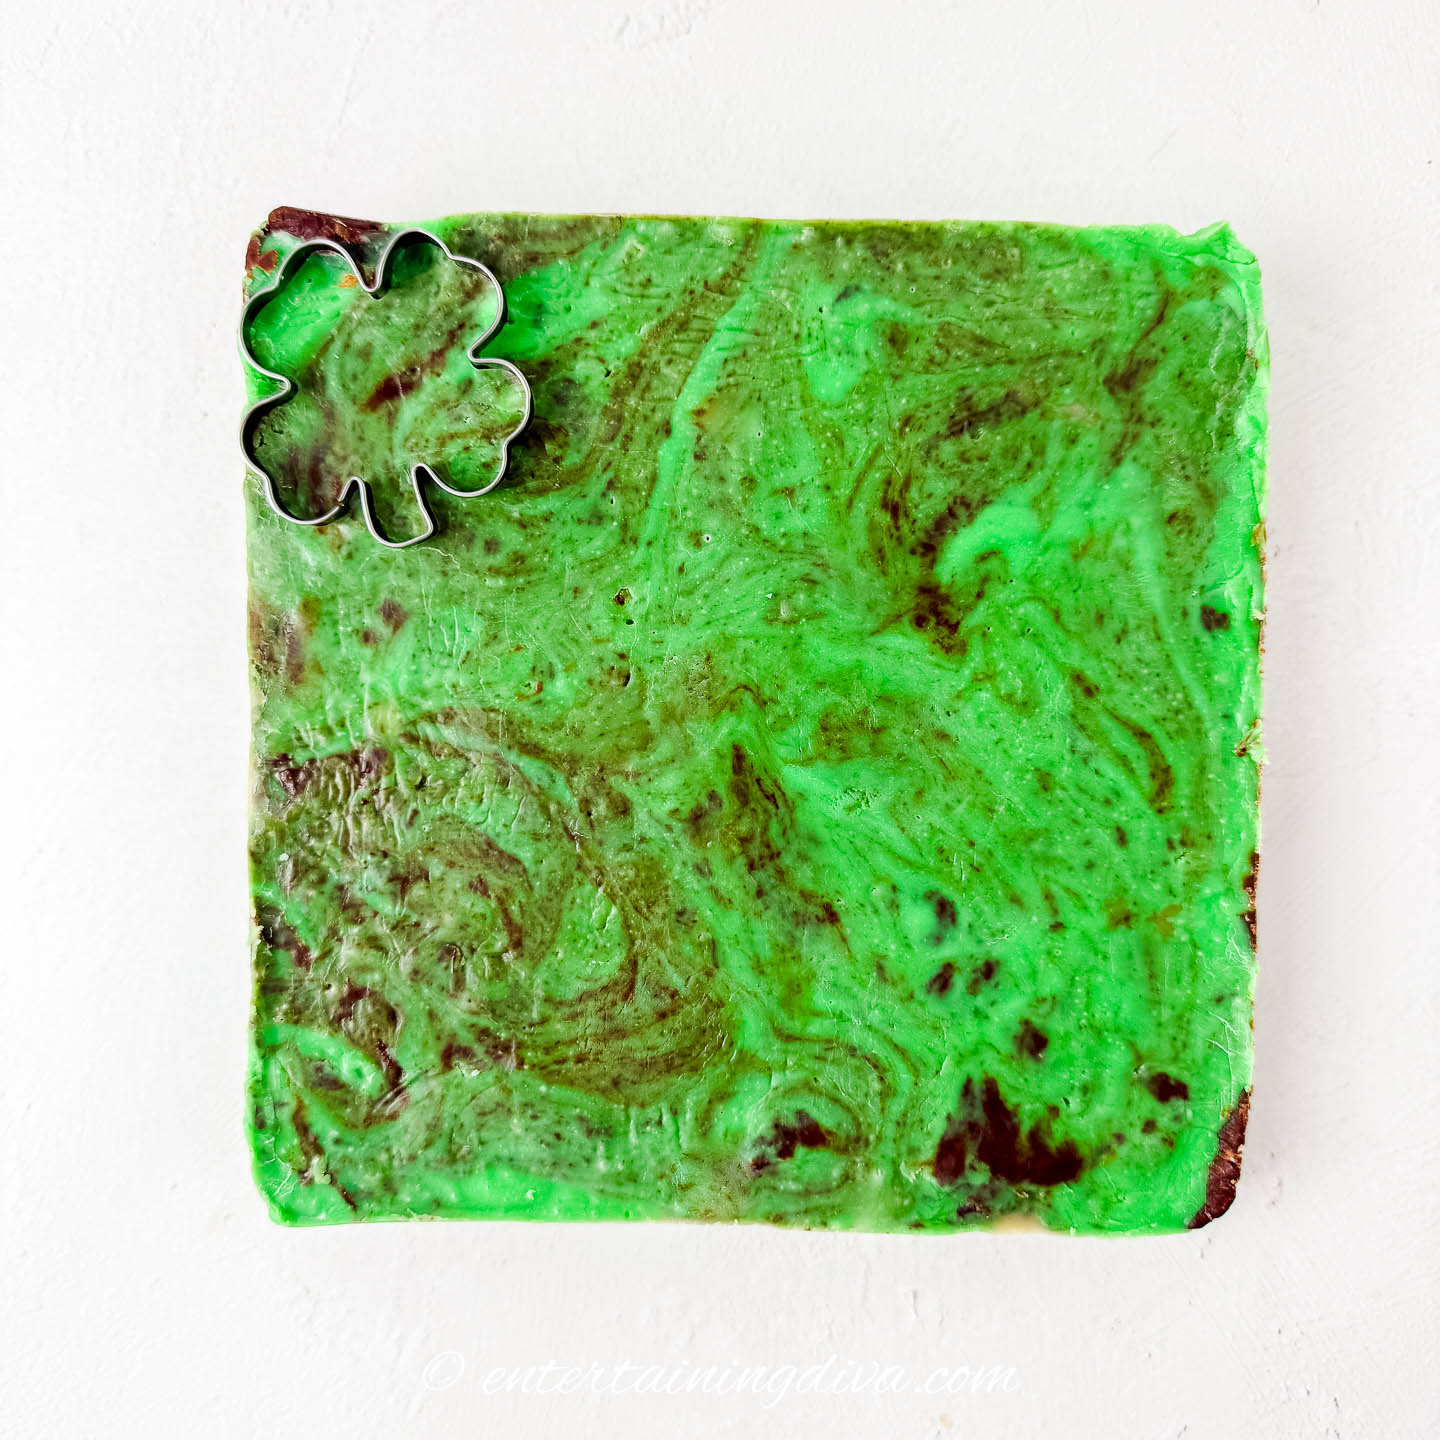
Press the cookie cutter into the corner of the fudge block, then push down and lift to remove the shape.
Push the shamrock-shaped fudge out of the cookie cutter.
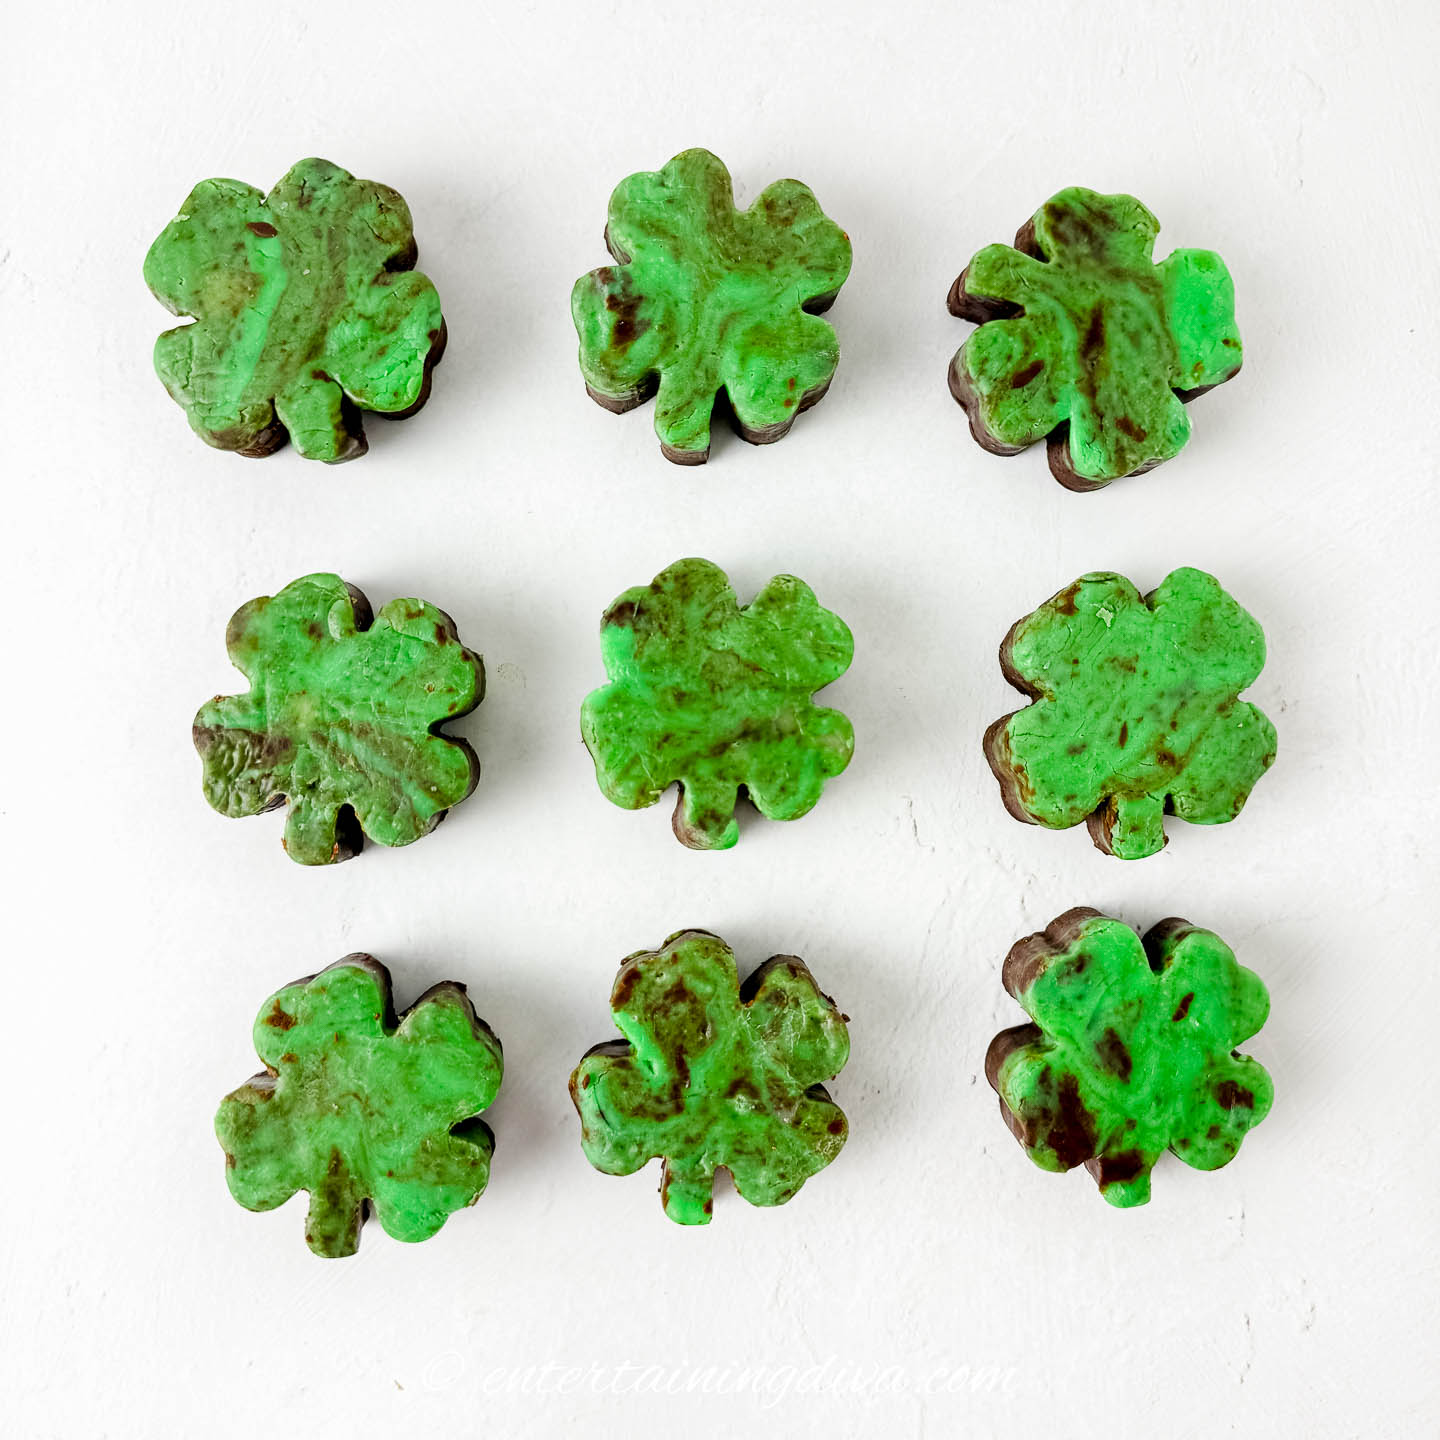
Repeat this process, moving across the fudge, until you’ve cut out all the shamrocks.
Serve and enjoy!

Storage
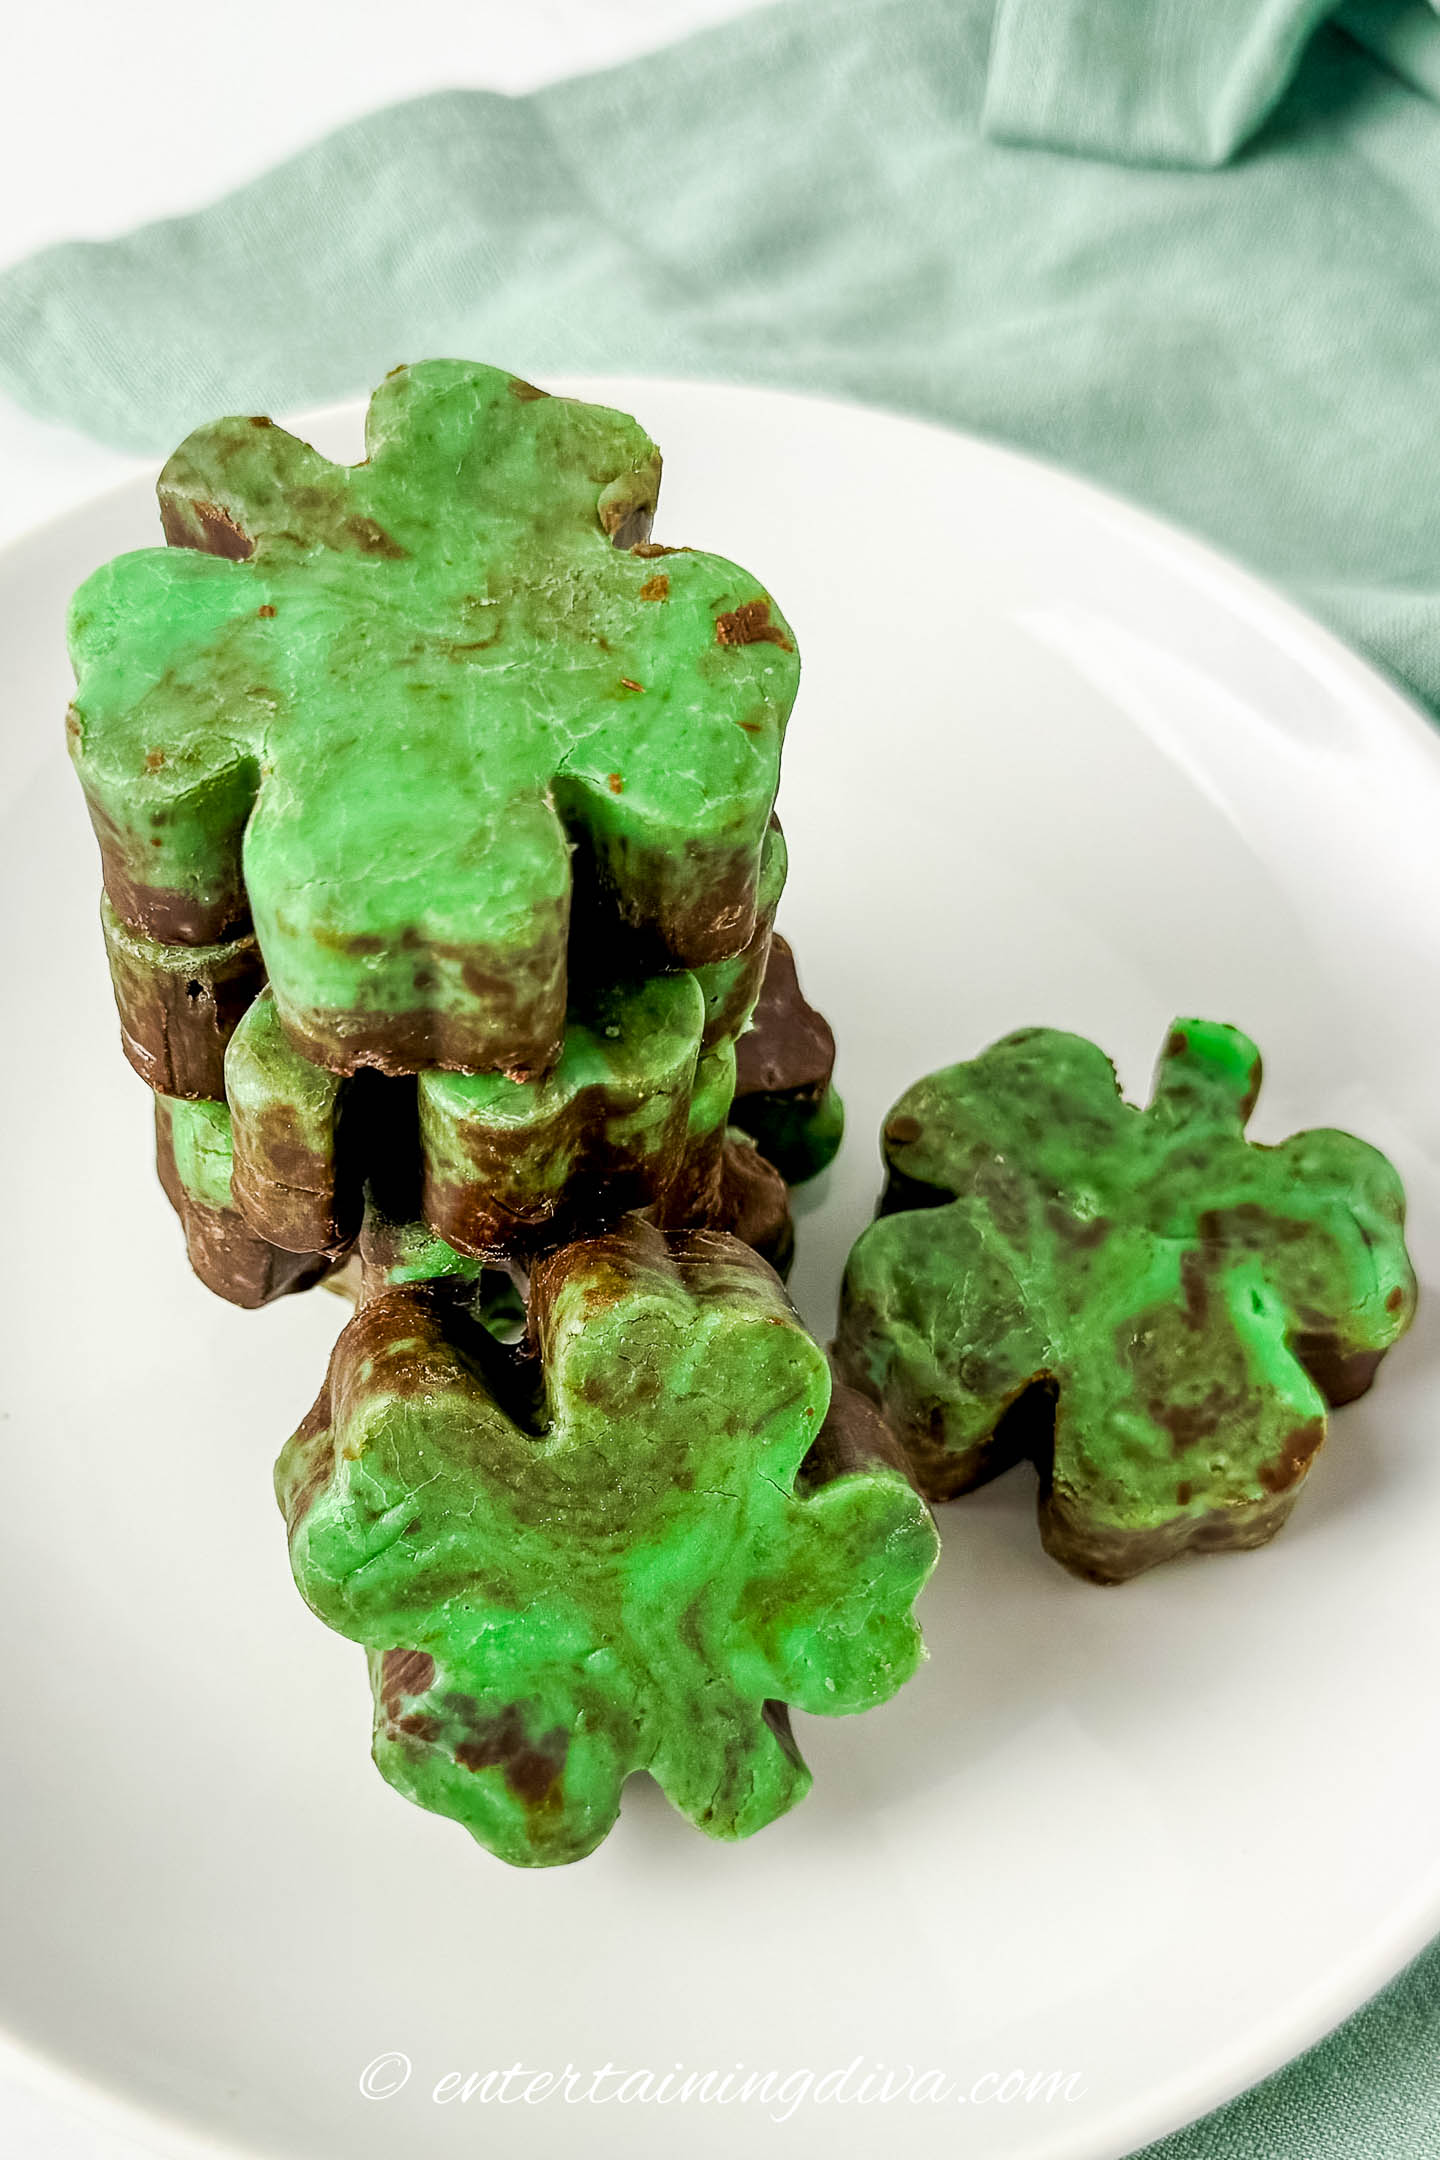
The fudge can be made in advance and stored in the refrigerator for up to a week. To do that:
- Line a plate or storage container with parchment paper to prevent sticking.
- Arrange the fudge pieces with a little space between each one. If you need to stack them, add a layer of parchment paper between the layers.
- Cover with an airtight lid or plastic wrap to prevent it from drying out or absorbing other fridge odors.
For longer storage, you can freeze the fudge by wrapping individual pieces tightly in plastic wrap and placing them in a freezer-safe container or zip-top bag.
To thaw, move it to the refrigerator the day before you want to serve it. Then take it out of the refrigerator an hour or two in advance of serving to allow it to soften up a bit.
Shamrock Mint Chocolate Fudge
Ingredients
- 2 cups chocolate chips
- 2 Tablespoons vegetable shorting divided (plus a little extra for greasing the pan and cookie cutter)
- 1 cup white chocolate chips
- 1 14-ounce can sweetened condensed milk divided
- 3 drops peppermint extract
- few drops green candy color
Equipment
- 8” x 8” cake pan
- parchment paper
- 2 medium microwave-safe bowls
- knife/ toothpick
- 2.8 inch shamrock cookie cutter
Instructions
- Use shortening to grease all the sides of a clean 8"x8" inch pan.
- Line the pan with a sheet of parchment paper. Make sure the parchment paper hangs over 2 sides of the pan. Set the pan aside for later.
- Add the brown chocolate chips and 1 Tablespoon shortening to a microwave safe bowl.2 cups chocolate chips, 2 Tablespoons vegetable shorting
- Melt the chocolate chips. To do this, melt for 30 seconds in the microwave. Then remove and stir. Repeat this melt and stir sequence until the chocolate has completely melted.
- Melt the white chocolate using the same method.1 cup white chocolate chips, 2 Tablespoons vegetable shorting
- Pour about half of the can of sweetened condensed milk into the bowl of the melted chocolate chips. Stir until combined.1 14-ounce can sweetened condensed milk
- Pour the remaining sweetened condense milk, 2 to 3 drops peppermint extract and a few drops of green candy food color into the bowl of melted white chocolate chips. Stir until combined.1 14-ounce can sweetened condensed milk, 3 drops peppermint extract, few drops green candy color
- Pour the melted brown chocolate mixture into the 8×8 pan.
- Then carefully pour the green chocolate over the brown chocolate.
- Using either a knife or toothpick, drag it in different directions through both chocolates in the pan to create a marble pattern.
- Shake the pan a little to level the mixture. Pop any bubbles that may come to the top.
- Place the pan in the fridge for 3 hours or overnight for best results.
- When the fudge is solid remove from the refrigerator and pull the fudge out of the pan using the ends of the parchment paper.
- Let it sit for 20 minutes.
- Grease the inside of the shamrock cookie cutter with a little shortening.
- Press the cookie cutter into the corner of the block of fudge. Then carefully push on the fudge to remove it from the cutter. Repeat this until you have used the entire block of fudge.
Notes
- You can replace the white chocolate chips and green food coloring with green candy melts if you prefer.
- If you are using the green color, make sure it is candy coloring (not the regular store-bought kind). Otherwise, the chocolate will seize and you will end up with grainy, lumpy fudge.
Nutrition
Nutrition values are estimates only, using online calculators. Please verify using your own data.

Have comments or questions about our shamrock mint chocolate fudge recipe? Tell us in the section below.